

Bake a special treat for the dinosaur and fossil lovers in your life! These are peanut butter spritz cookies with cocoa added to half of the dough. A chocolate-peanut butter dream! And utterly adorable as dinosaurs!🦖 My daughter Amanda is a geologist so I’m going to make them for her when she’s here for Christmas!🦕🎅

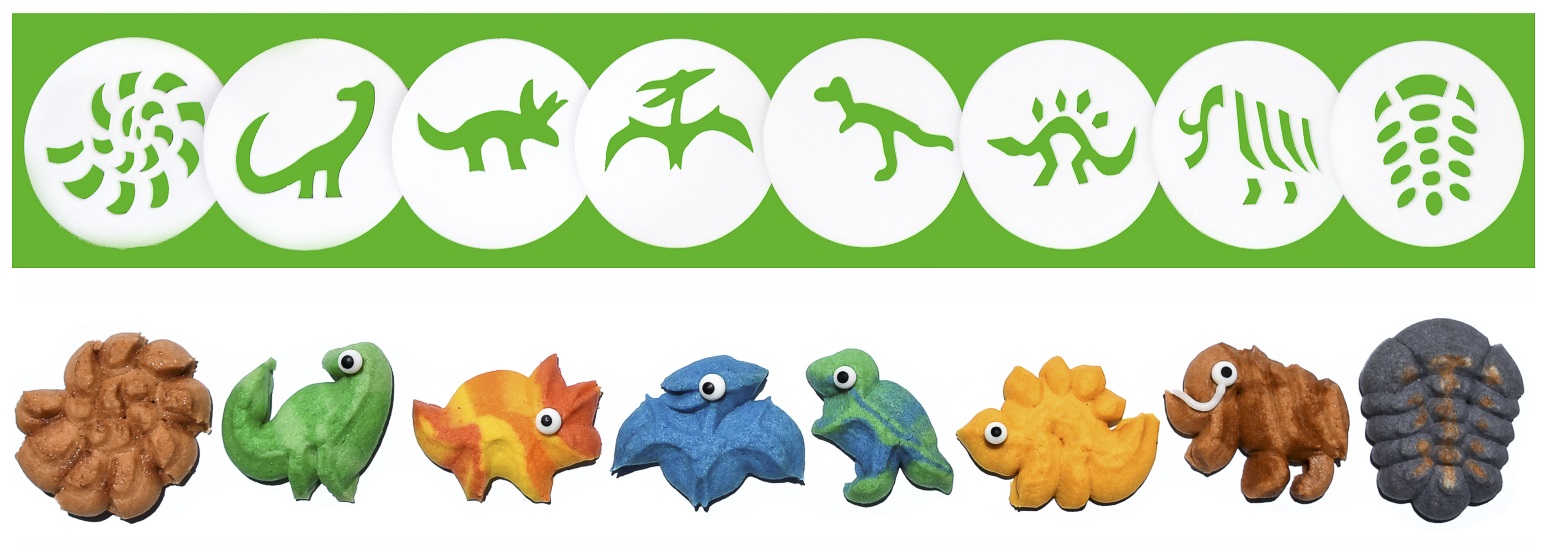
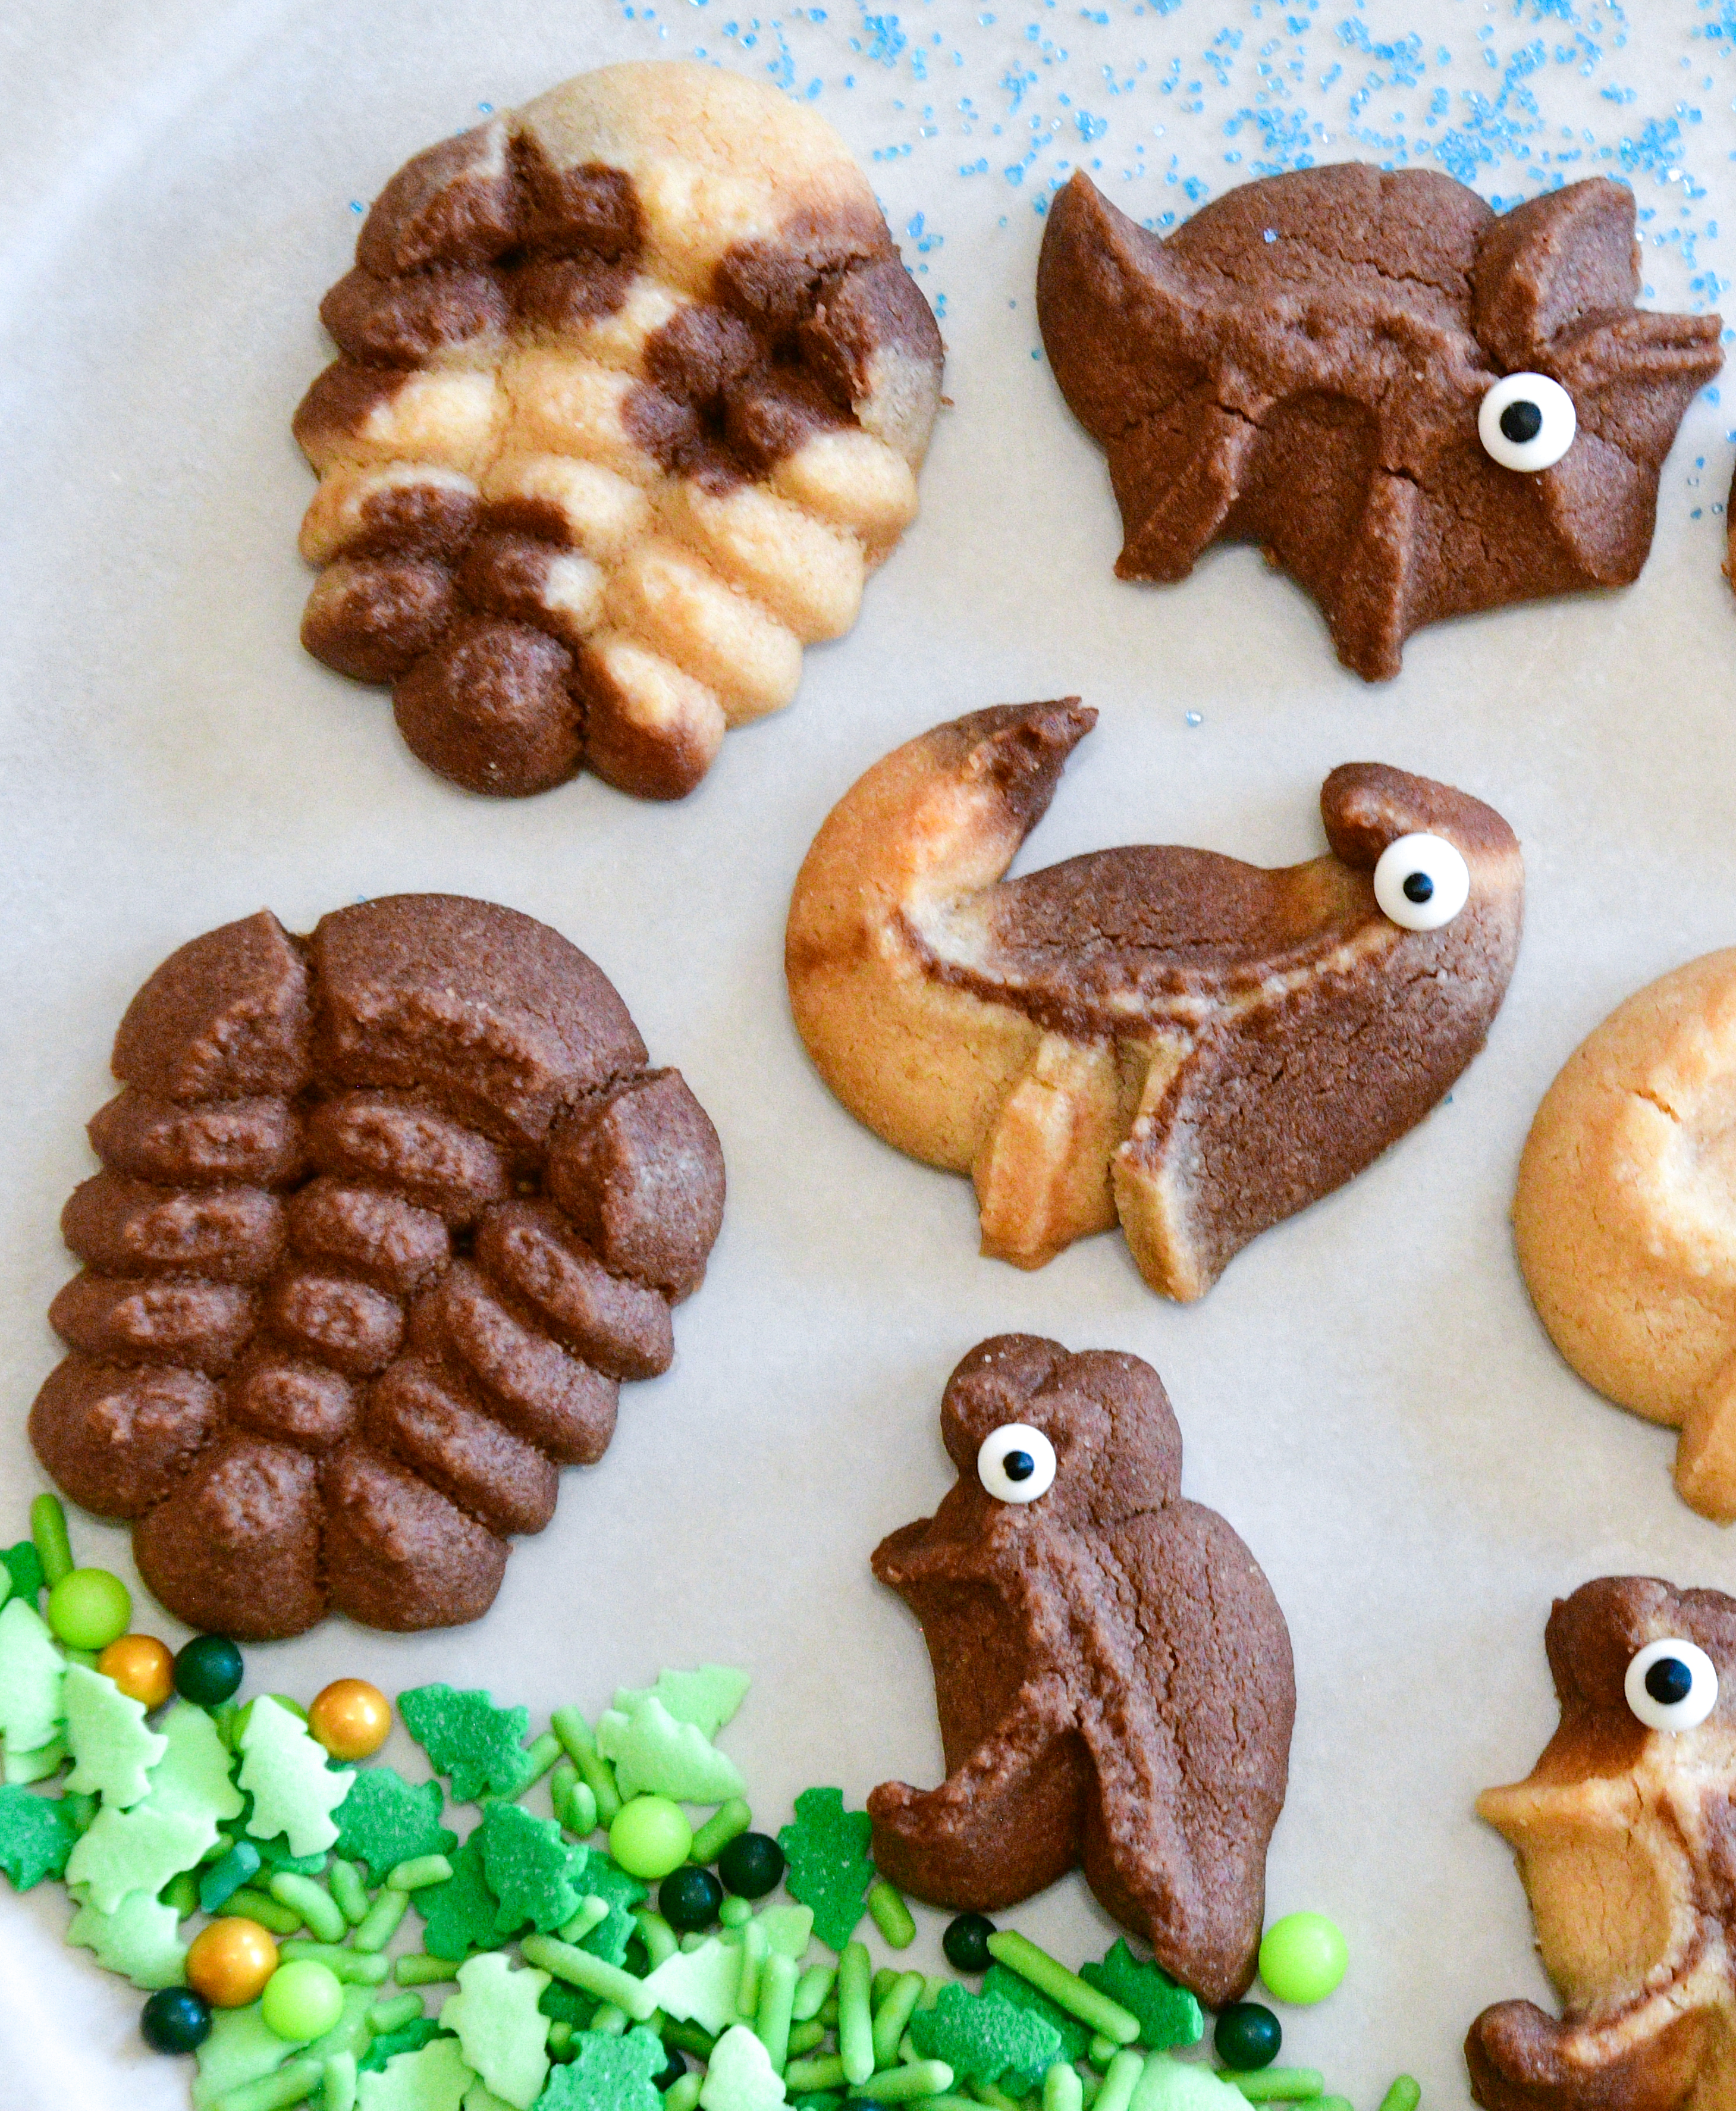
The fun two-color pattern in the cookies is made by combining the two kinds of dough in the cookie press barrel. The technique extrudes the dough with all kinds of stripes and patterns depending on how you combine the 2 colors. It’s a great, easy, versatile technique for making multicolored animals.


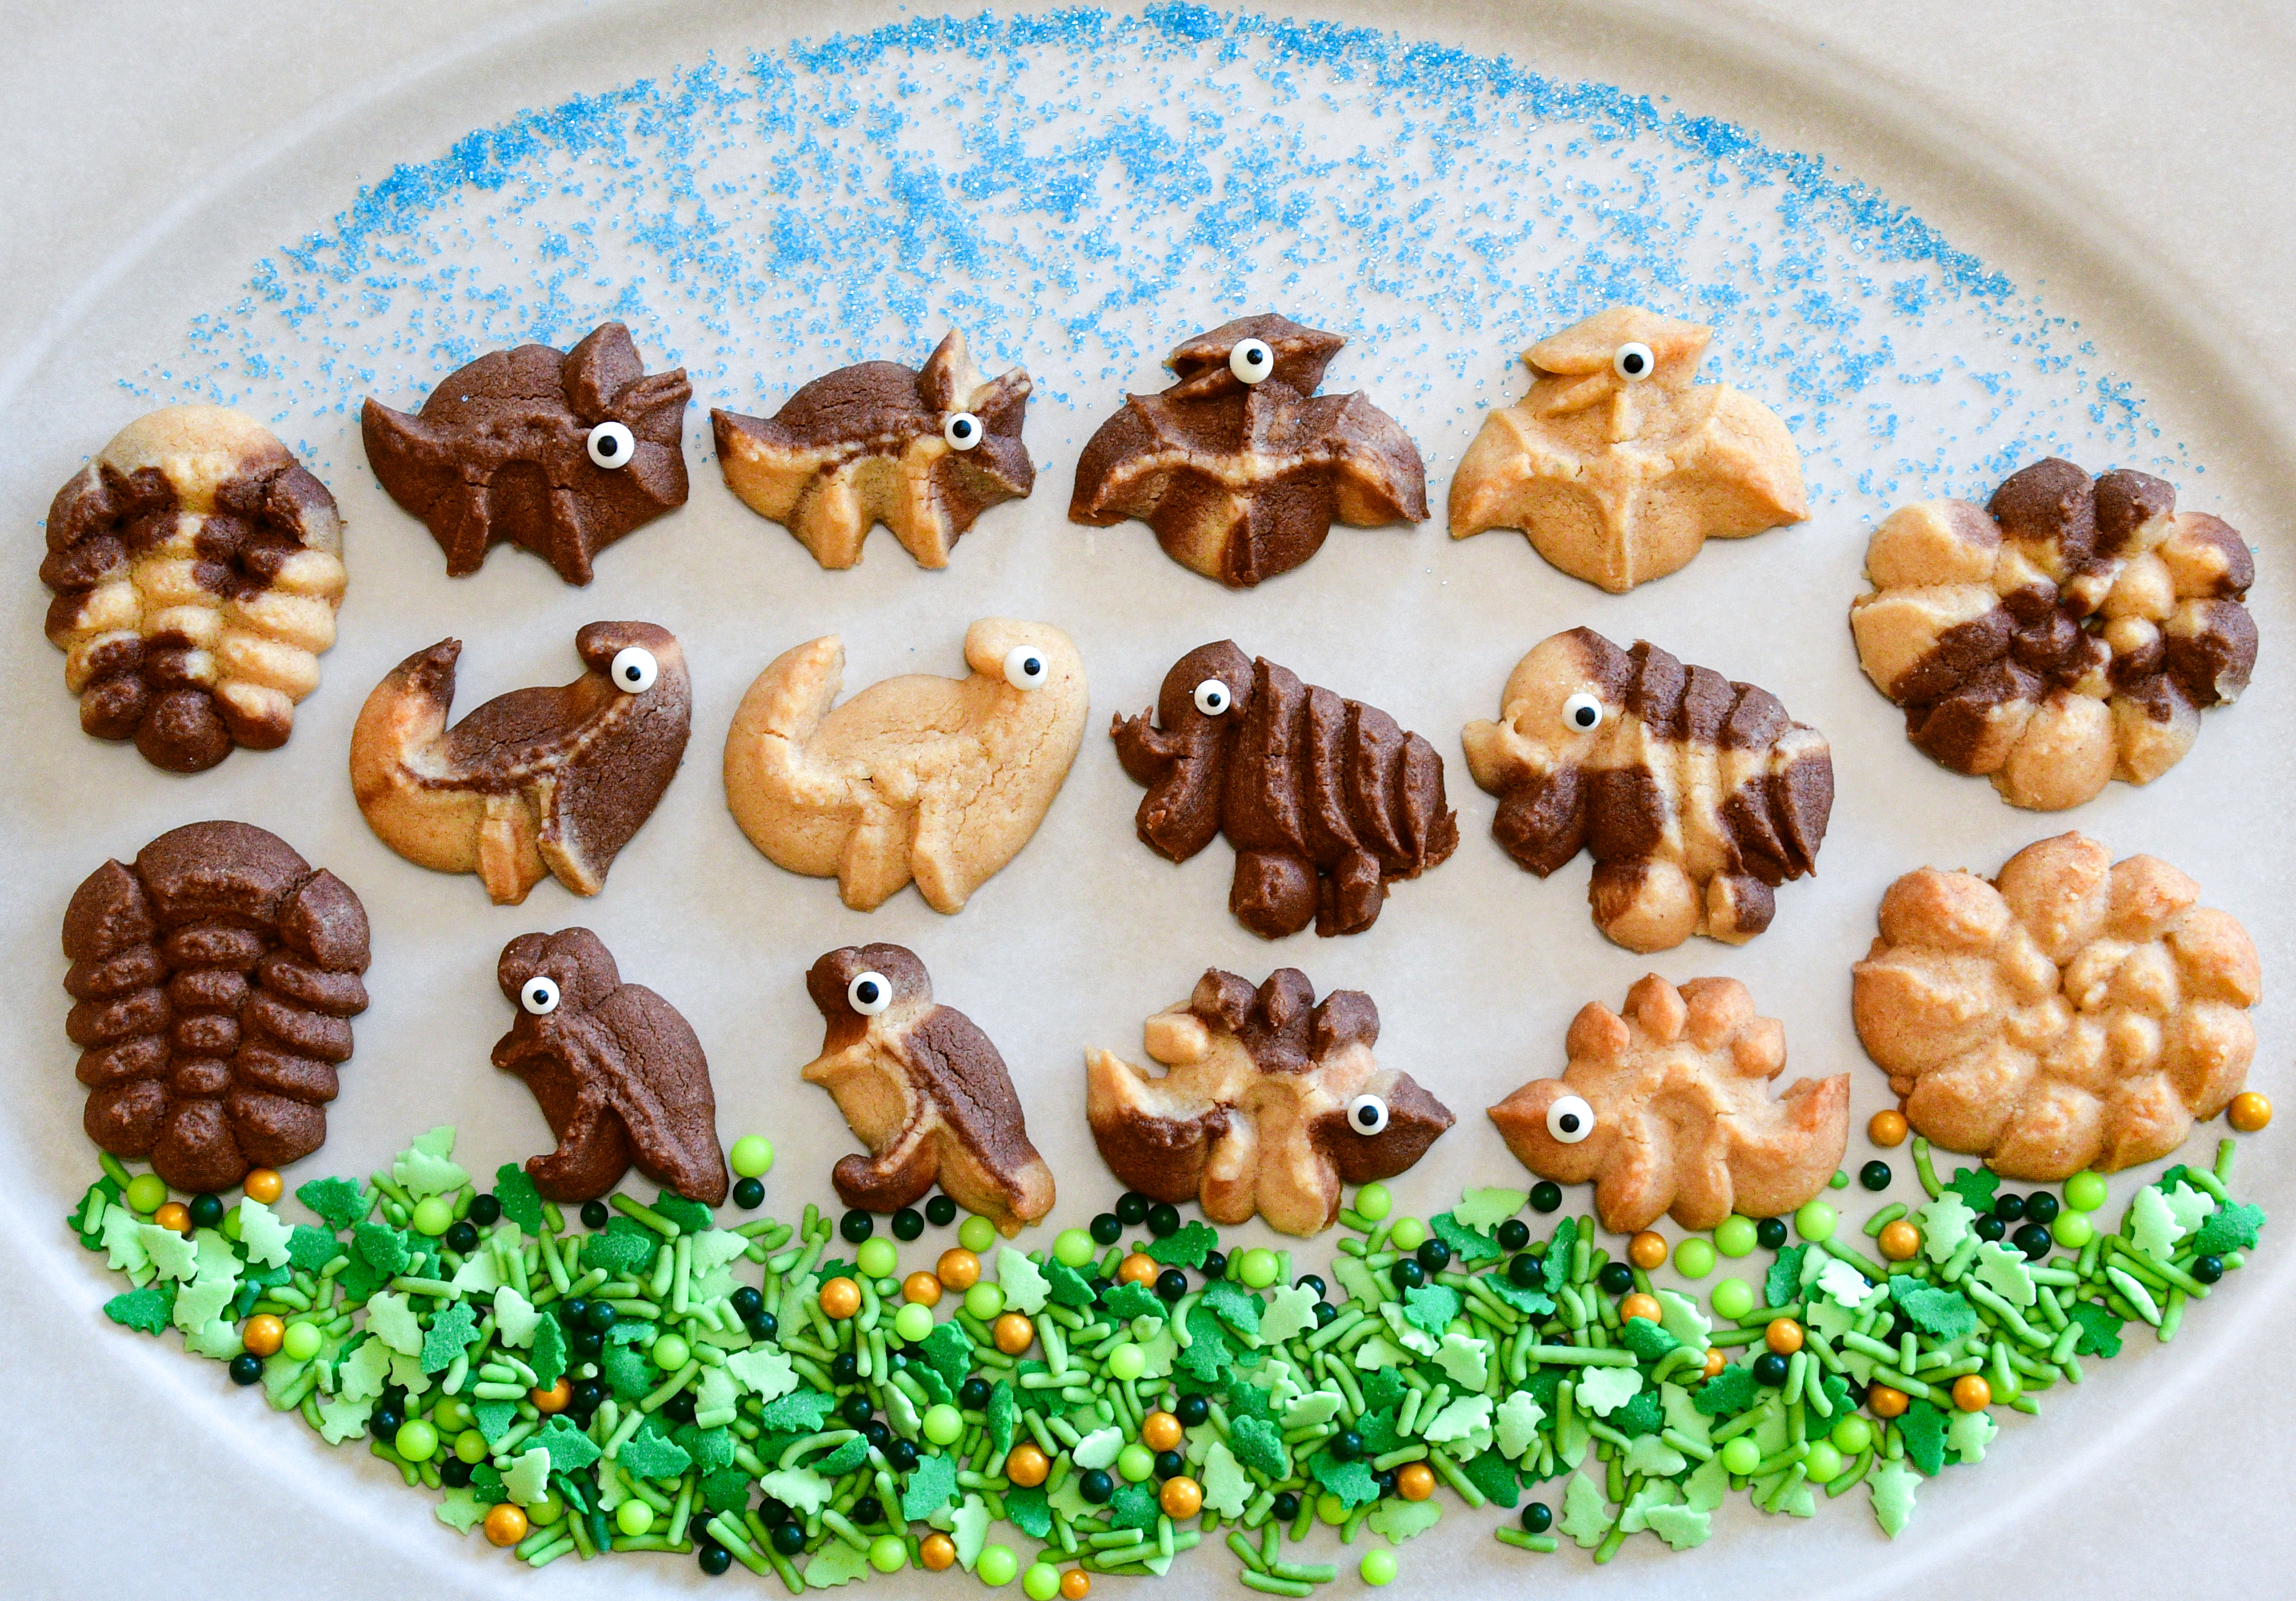
I used all of the disks in the Dinosaurs & Fossils Disk Set.
Our website has all of our 200+ disk shapes, cookie press, embossed rolling pins, baking accessories plus more about our Women/Family Owned company in beautiful Colorado Springs! impressbakeware.com
All products are on our Etsy shop.
Our Amazon shop has our cookie press and disks and embossed rolling pins.
🎉 15% OFF Last SALE of 2025 ❗
🎄Make edible art for the Holidays, because baking should be fun!
Discount on our cookie press disks, cookie press, embossed rolling pins, luster dusts, cookie cutters & baking accessories. Sale December 26 – January 4, 2026, on our website and Etsy shops ONLY! (Links above) Sale excludes holiday gift sets and our recipe book.
🎅🎄Since we’re nearing Christmas I thought I’d decorate the cuties with some simple decors just to be funny. If you’ve got a dinosaur and fossil buff to bake for, this makes a festive and entertaining option! Here they are decorated. The rest of the post describes how to make plain peanut butter & chocolate dinosaurs.
All I did was shake some nonpareils on the fossils and add green and red icing dots, bows, and scarves to the dinosaurs. Use small round or star tips to decorate. Add some Christmas and winter decors like snowflakes or the holly leaves I put on the stegosaurus. Go ahead and get silly with this; it’s purely whimsical! 😂🧣🎀🦕🦖

Let’s bake!
Peanut Butter Spritz Cookies
1 cups (2 sticks) butter, softened (not melted) (I recommend Land O Lakes brand as I know it creams well. I have had trouble with some generic butters not creaming properly and making the dough hard to press)
1/3 cup granulated (white) sugar
1/3 cup brown sugar
1/2 cup creamy peanut butter (I have not tried natural peanut butter! I Used regular JIF)
1 egg yolk
2 teaspoons vanilla extract
2 1/4 cups all-purpose flour
1/4 teaspoon salt
3 Tablespoons unsweetened cocoa powder
Note: For a gluten-free option simply replace the flour with a 1:1 substitute like King Arthur’s Gluten Free Measure for Measure.
Preheat oven to 375°F
In a large bowl, combine the flour and salt. Using a big wire whisk is a good way to mix them evenly. Set aside.
Using an electric mixer, cream the butter very well. I say this in every post so sorry for being repetitive! Creaming your butter until it is fluffy is the key to great spritz cookies. I like to pretend I’m making frosting and use the “whip” setting on my mixer. Butter turns a slightly lighter color when it’s creamed well. Add the peanut butter and cream it again.
It’s so pretty as it comes together!

Add the sugar and brown sugar and cream it very well again.
Add the vanilla extract, then the egg yolk, re-creaming the mixture after each new addition. Next add the flour mixture a little at a time, mixing on a slow speed until a soft dough forms. Perfect spritz dough has a soft malleable texture that is not too sticky or too stiff. You can always knead it by hand at the end if your mixer is leaving any flour unincorporated. Smooshing it into a play-dough like texture by hand is actually pretty fun.
This dough does well and presses better if you let it sit for 10 minutes or so. It absorbs the liquids and “sets up”, making it easier to press.

Always remember that you can tweak overly stiff dough by adding more vanilla a teaspoon at a time (or by the tablespoon if it’s particularly stiff), or tweak overly soft or sticky dough by adding flour a tablespoon at a time. Watch some of my videos to see what a correct spritz dough texture looks like.
Divide you dough in half. Set one half aside and cover it to keep it from drying out. To the other half, add the 3 Tablespoons of cocoa powder and mix until thoroughly incorporated and you have an evenly chocolate brown dough.
For single color cookies, press as you normally would. Pack your dough into your cookie press barrel, using the back of a spoon to press the air bubbles out as you add dough. This helps create consistent pressure to avoid mis-shaped cookies.
Place the disk in the bottom ring, attach to your press, and start pressing onto an un-greased cookie sheet. Use a consistent rhythm to keep the shapes a uniform size. It’s not at all uncommon for your first few cookies to be mis-shaped, as pressure needs to build in the barrel to make consistent shapes. It’s totally ok! Just throw them back in the bowl to be re-pressed. If you’re still having trouble pressing (mis-shaped cookies, trouble sticking to the pan, etc) press one cookie into the air and wipe it off and toss back into the bowl to re-set your pressure in the press. You can also refrigerate your cookie sheets for 5 minutes if sticking is an issue. (There are more troubleshooting tips on the Troubleshooting and Decorating Tips page- see the top menu on the blog homepage. 🙂 )

Most of these shapes pressed quite easily. This peanut butter dough is pretty soft so as my dough warmed up the big ammonites got a bit trickier to press! If you have issues with that shape, chill part of your dough for 15 to 20 minutes and then re-knead it until the temperature is even throughout. Or add a little flour to that chunk of dough to stiffen it up a bit.
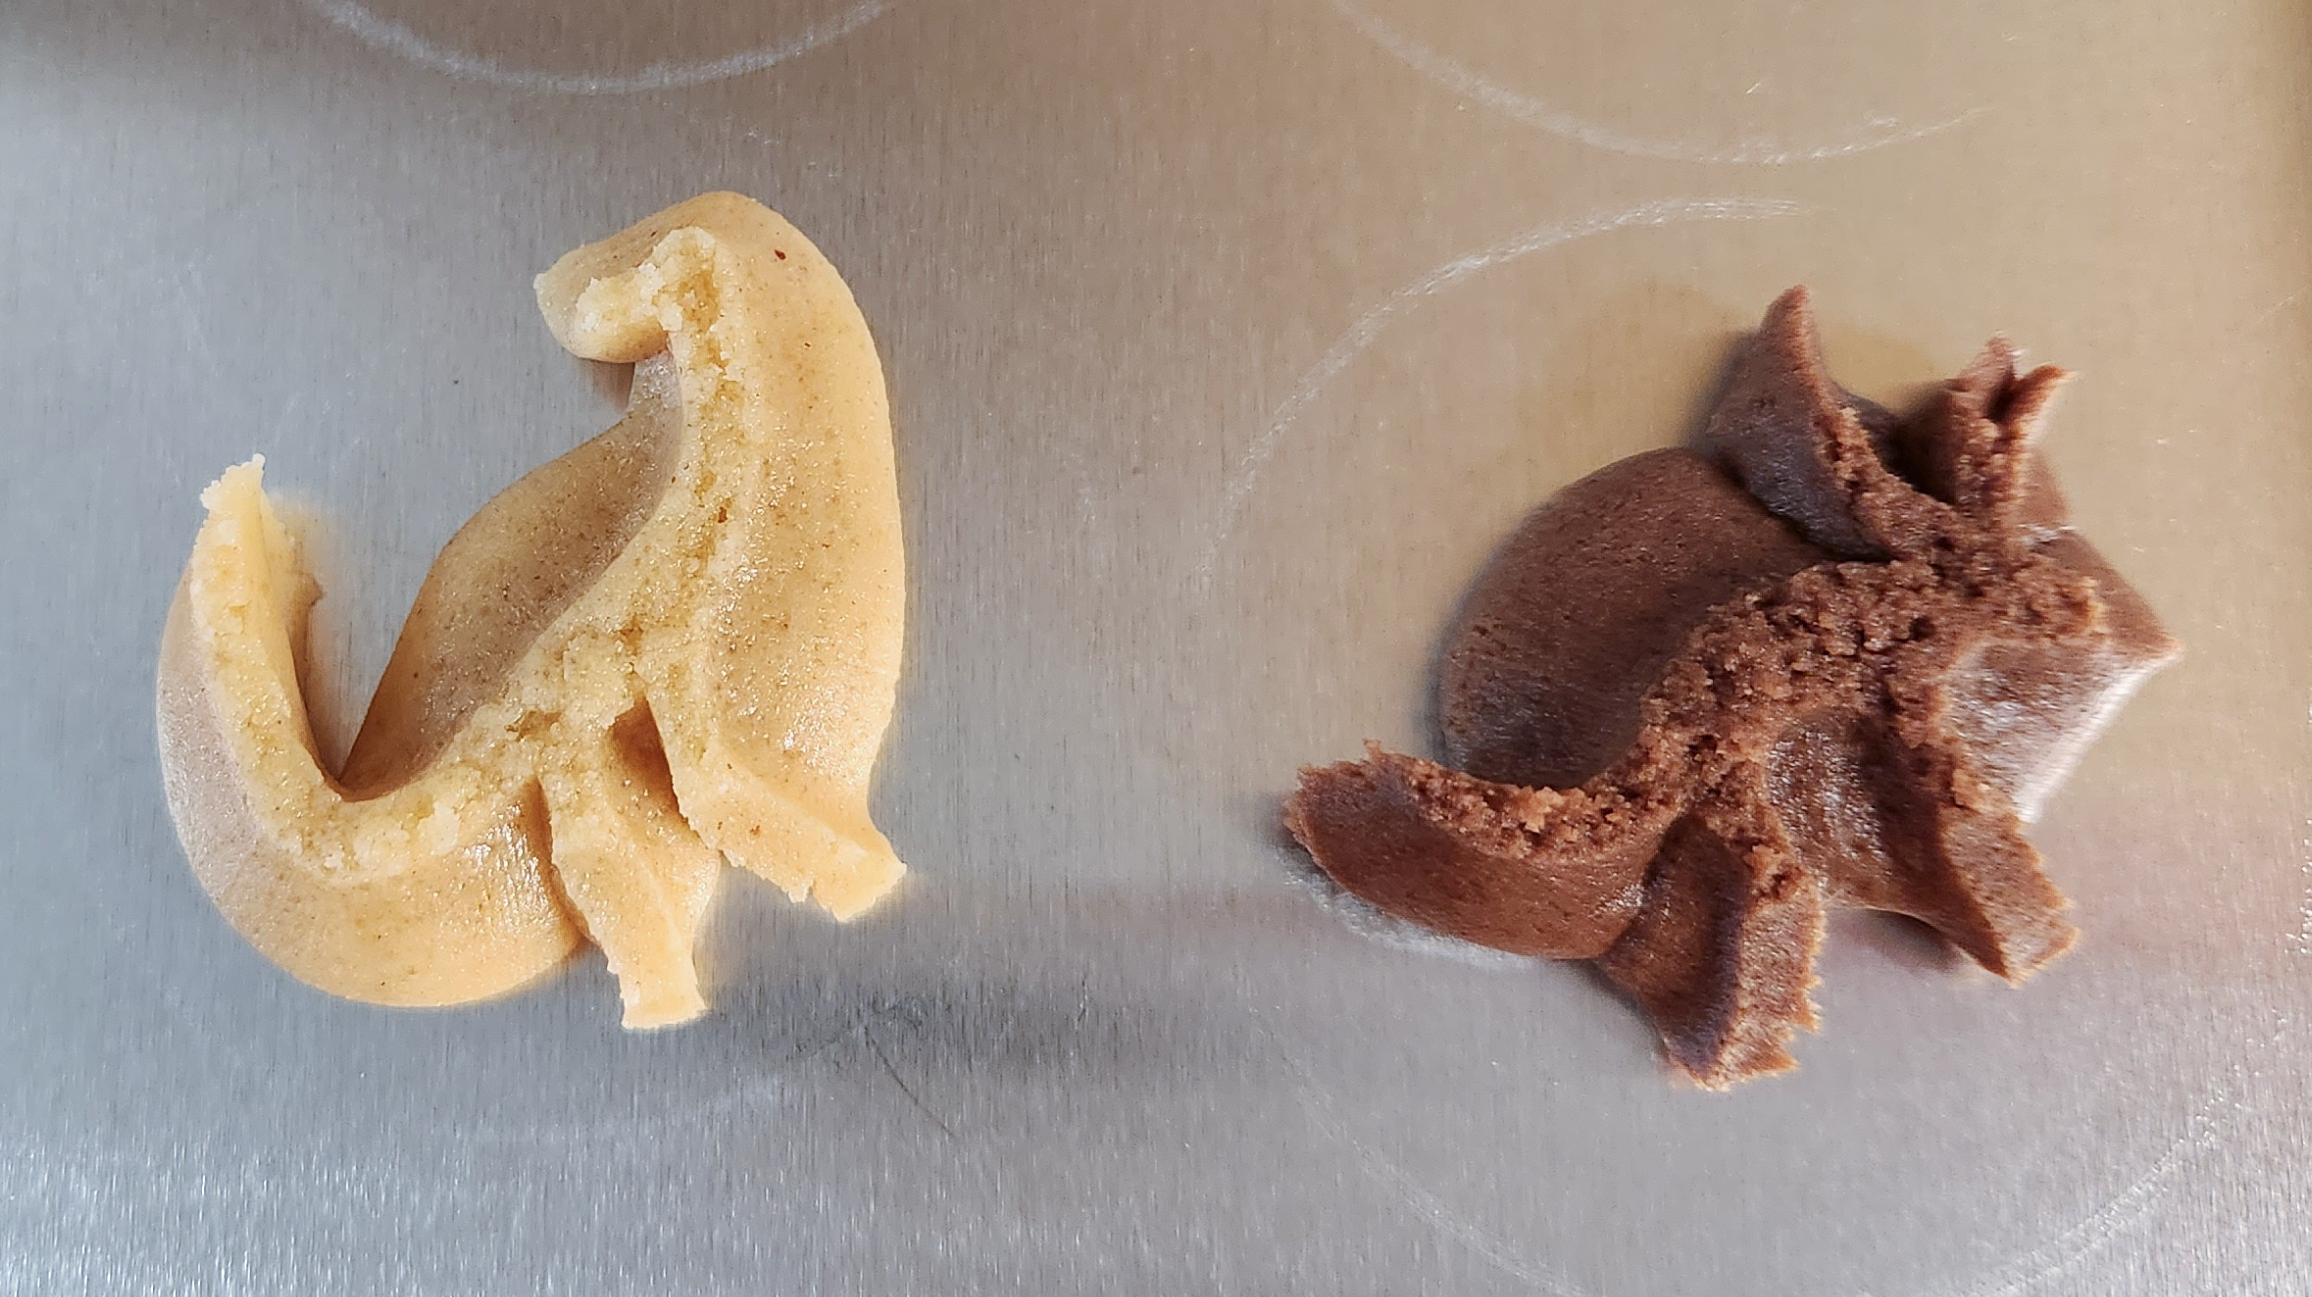
For multicolor cookies, roll small sections of peanut butter and chocolate dough into logs matching the length and volume of your cookie press. It can be easier to work with sorter lengths so if you’re new to this maybe start with half-barrel length sections like I show here.

Roll the logs then stack them, placing alternating colors on top of each other. Pick up the stack of dough logs and shape it into one big log and place in the press barrel.


Put your disk in the ring, attach to the press and start pressing.


If using a one-click-per-cookie type press remember that you don’t always have to follow that guideline. Some shapes may take more or less than one click and that’s ok! Cookies don’t have to come out in even “clicks”. One click, half a click, it doesn’t matter. A press (any press) is a dough pump (it’s kind of like a caulking gun). It’s simply a mechanism for pumping dough out, however many (or few) “clicks” it takes. Again, you can read all about that in the Troubleshooting and Decorating Tips page if you’re new to this.
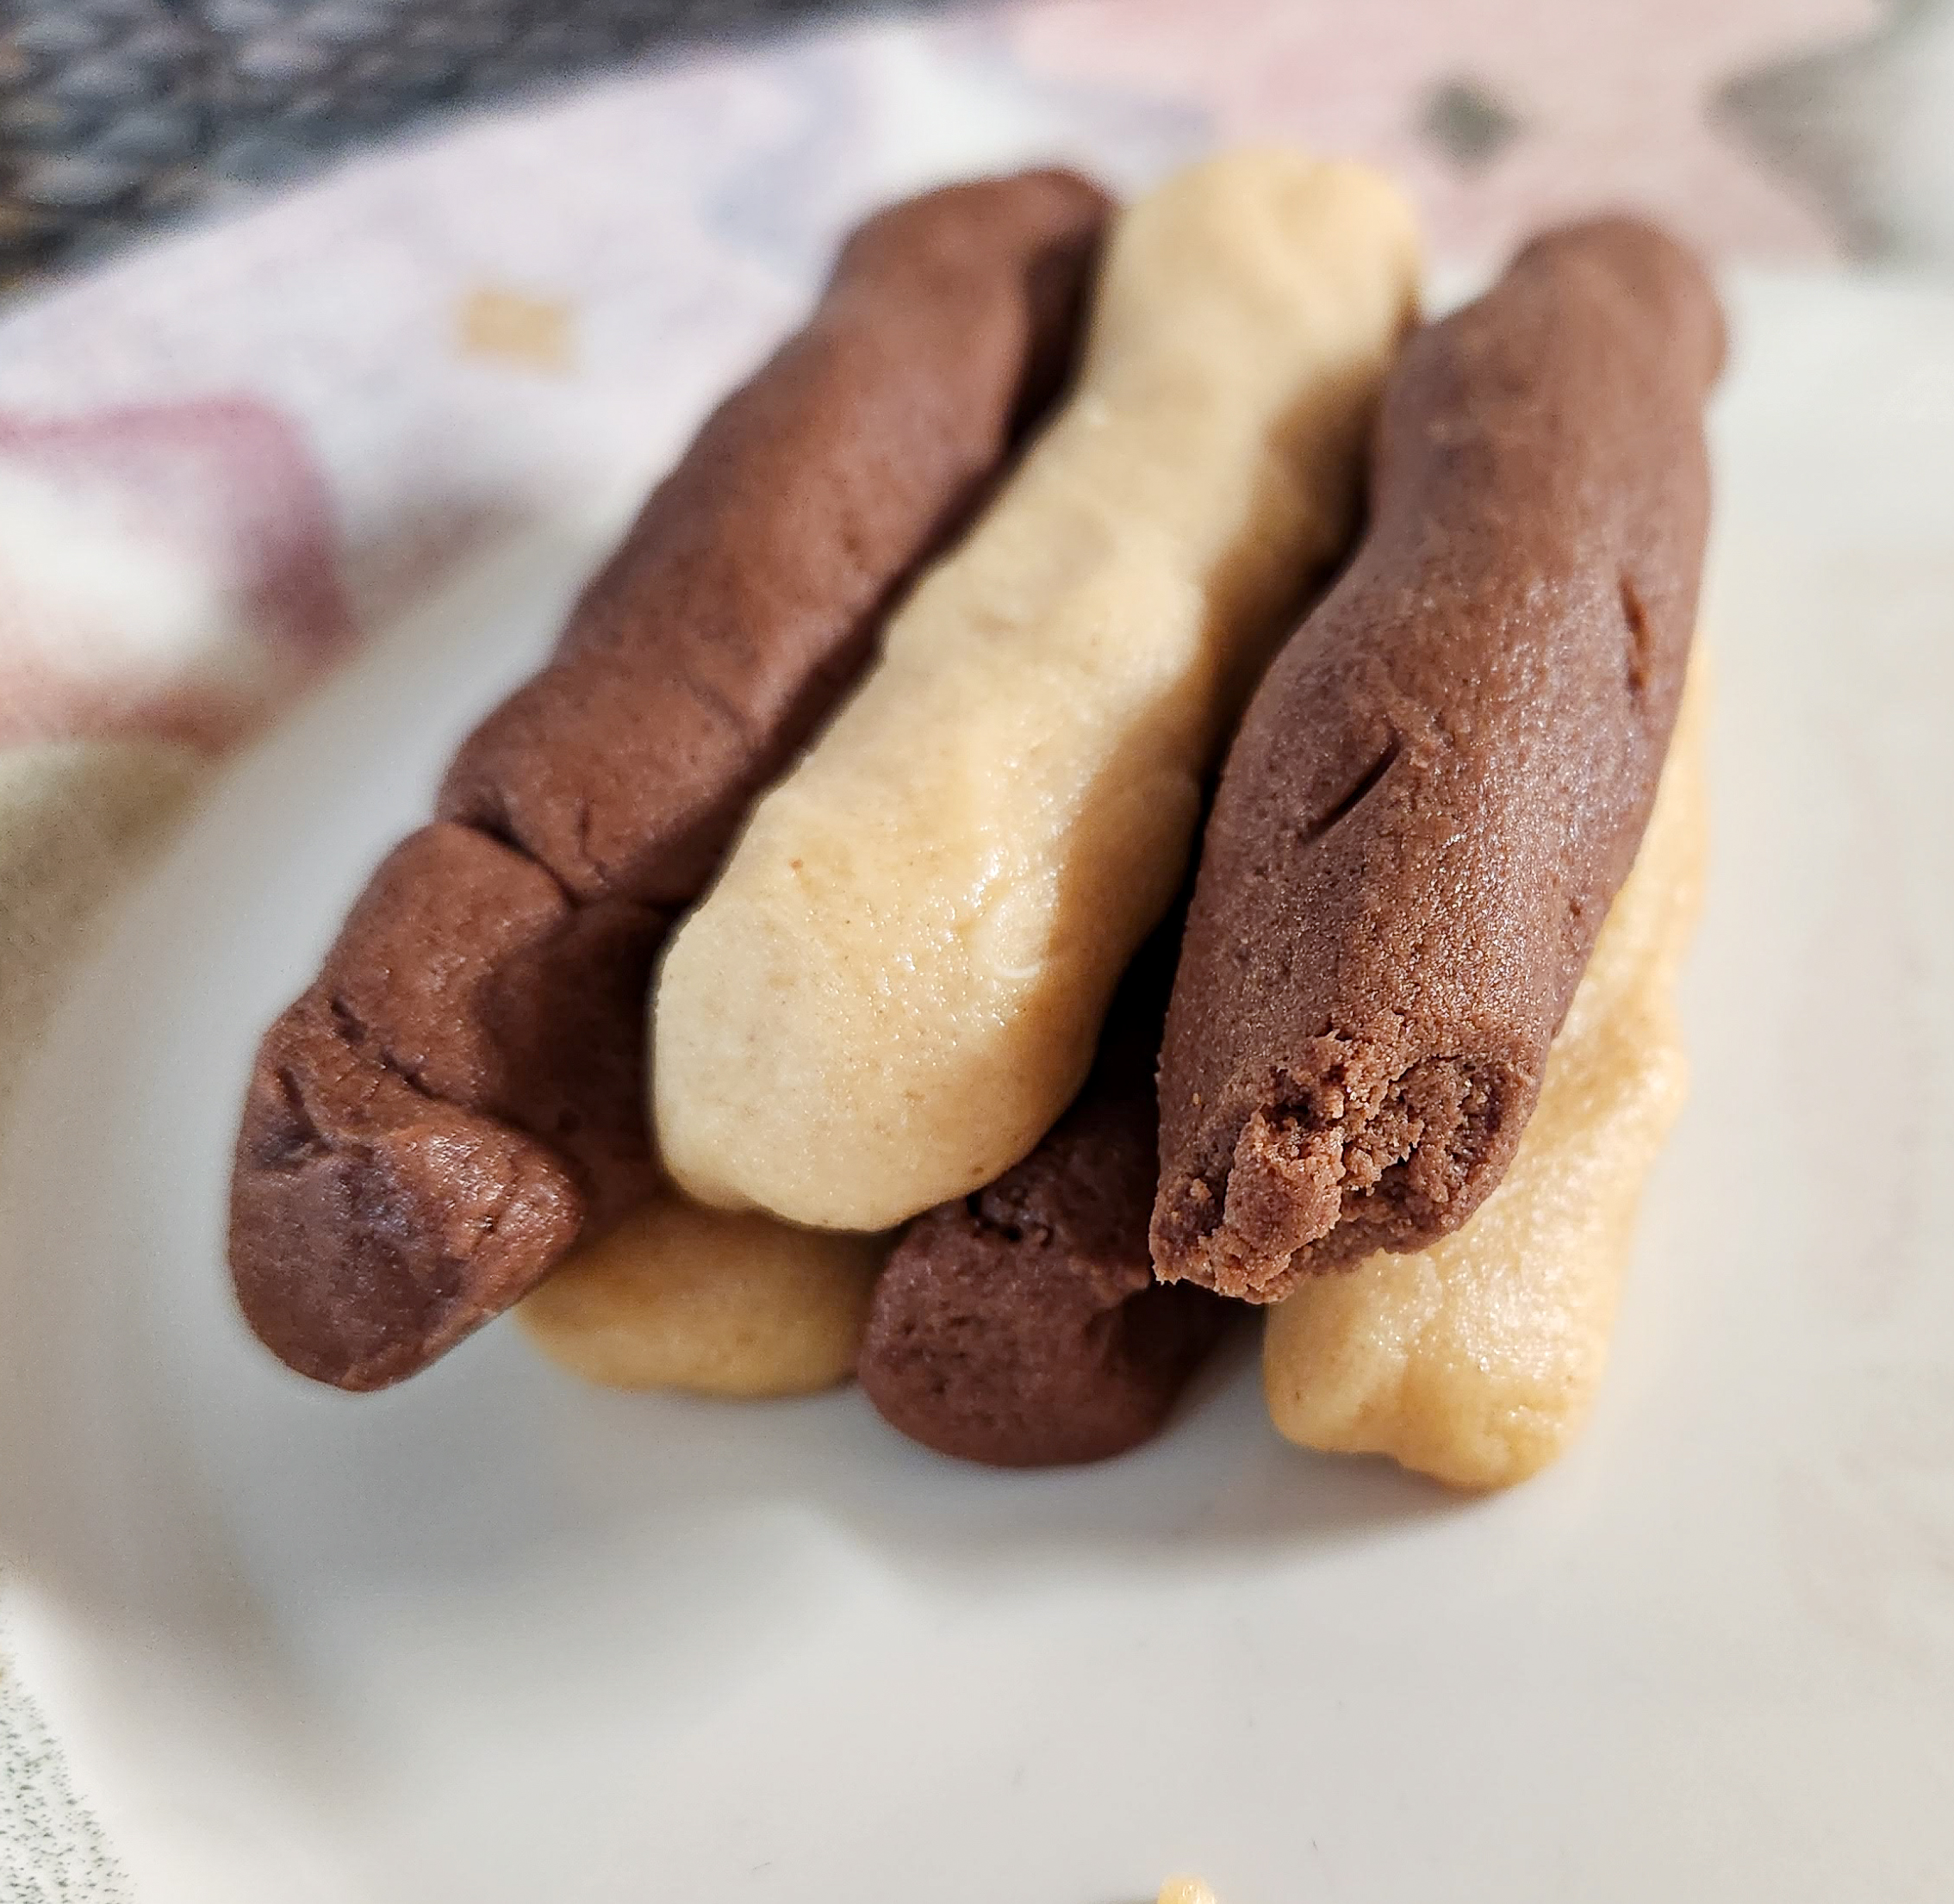
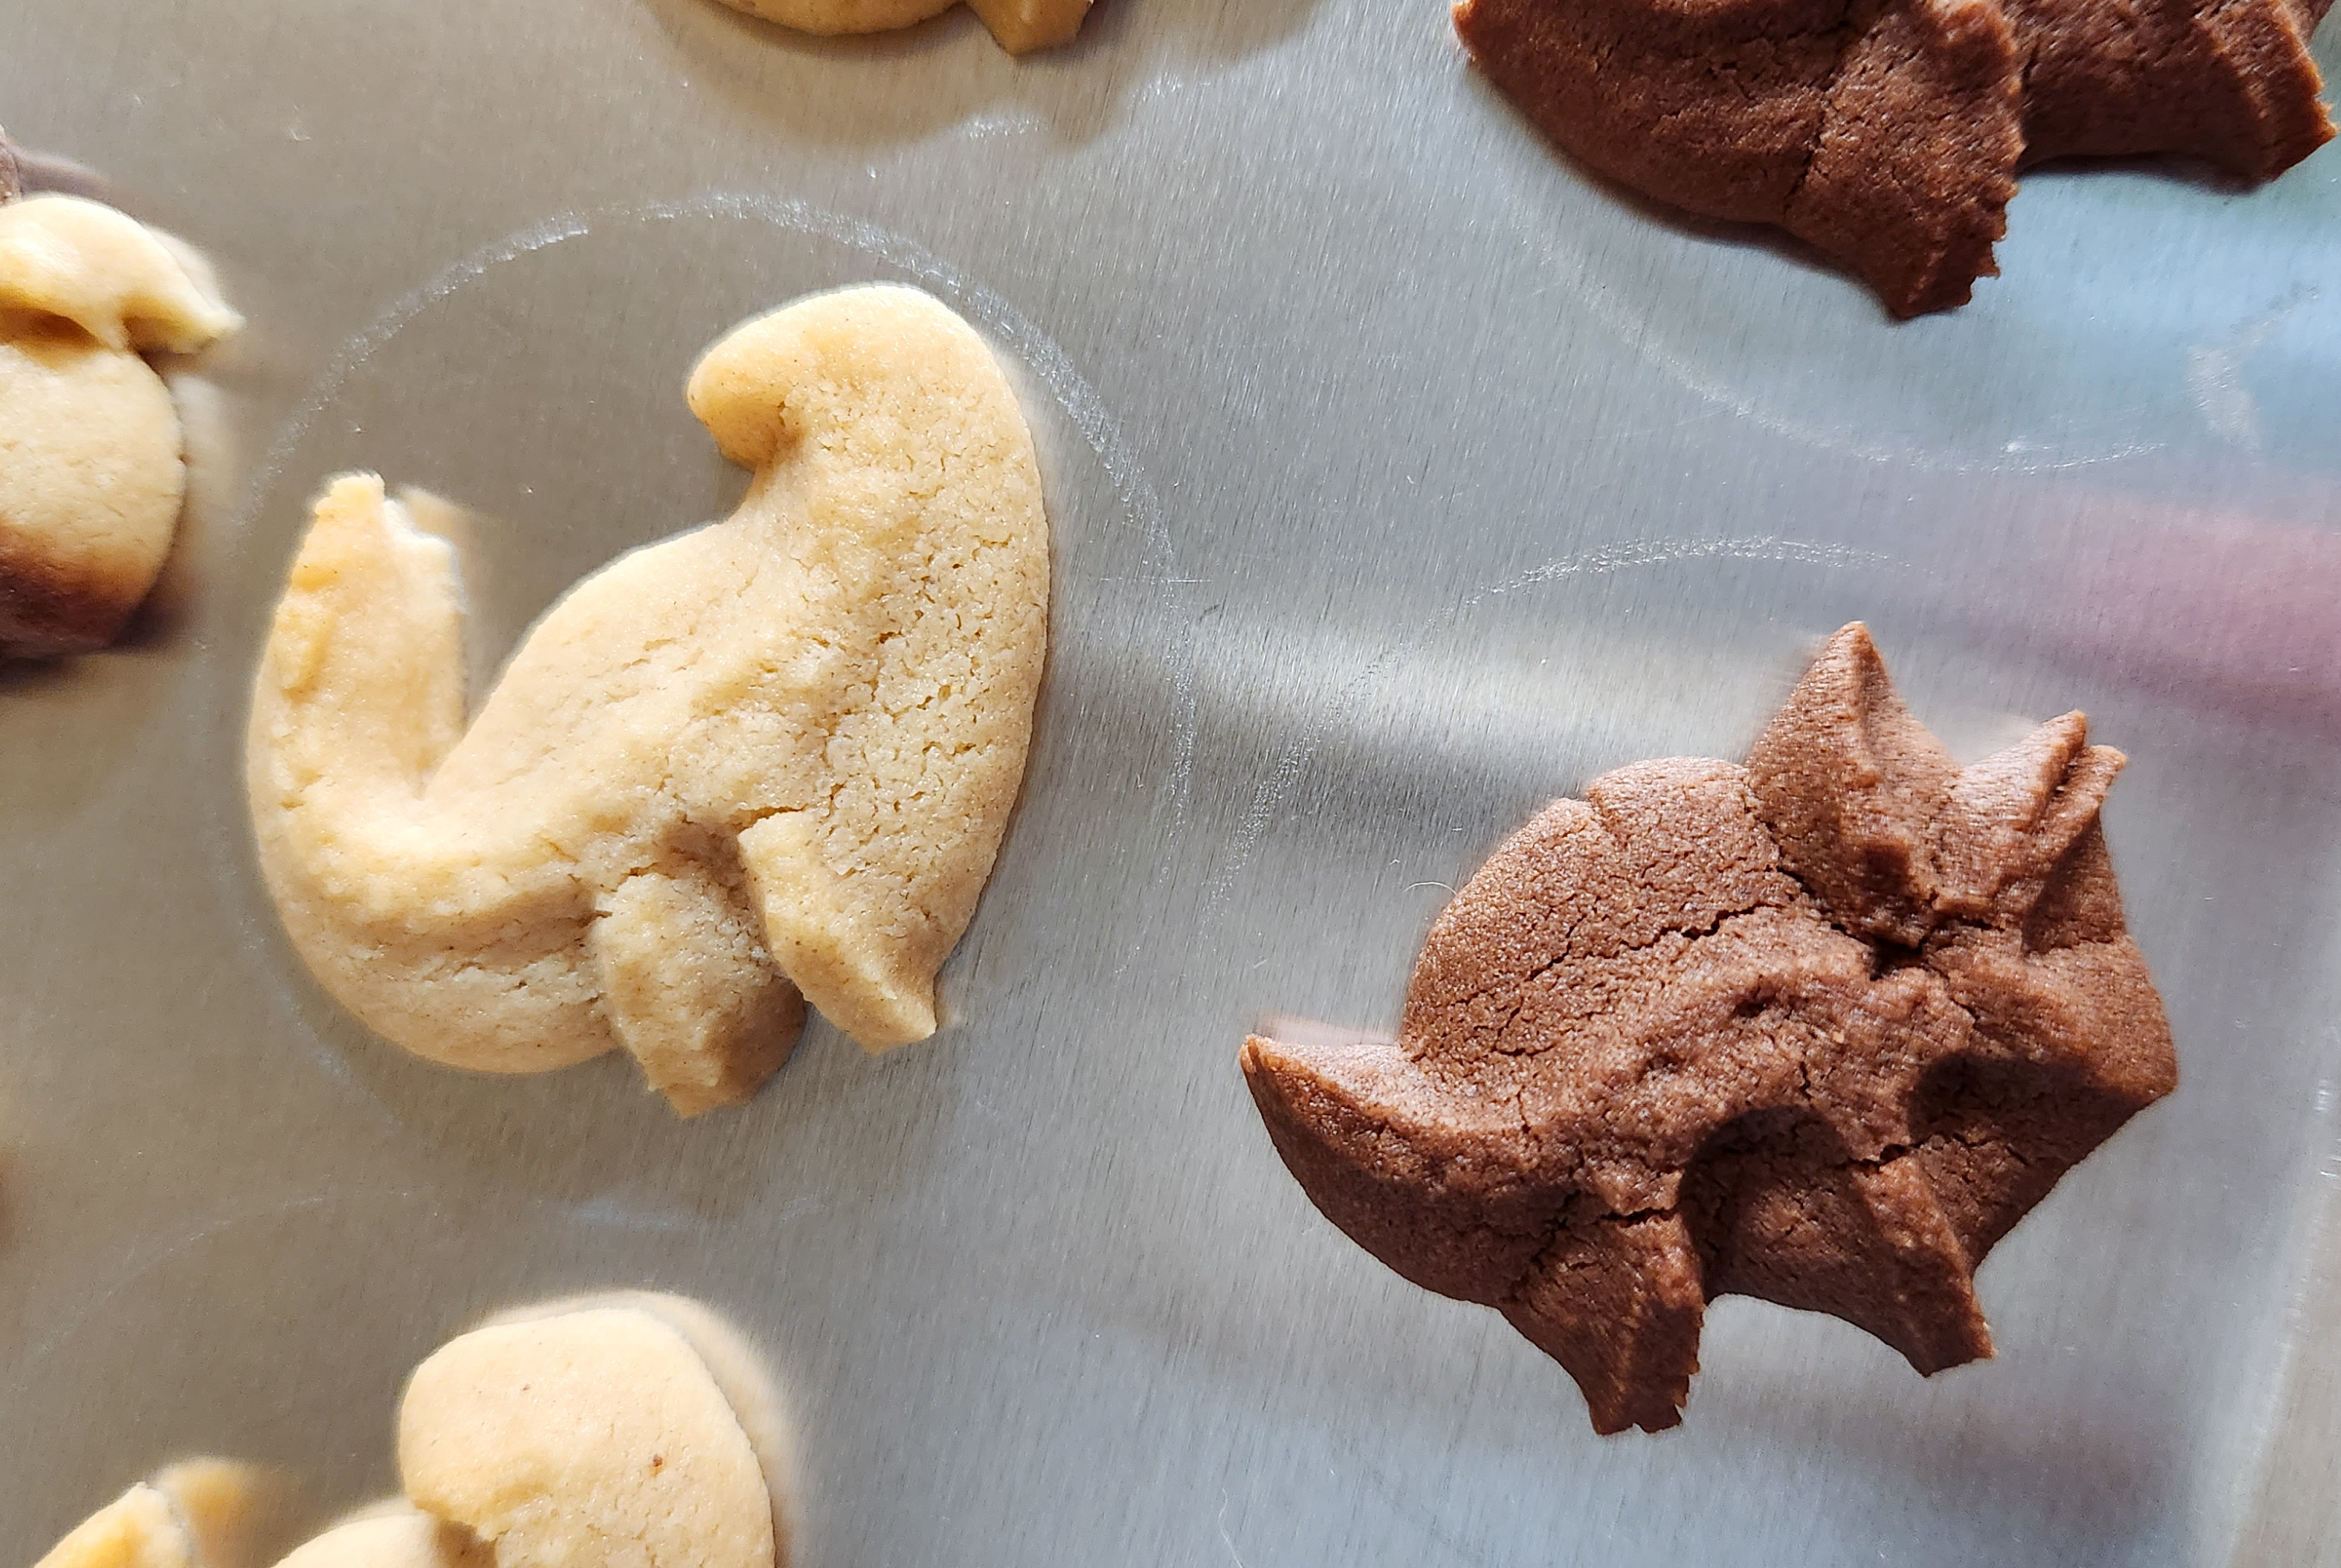
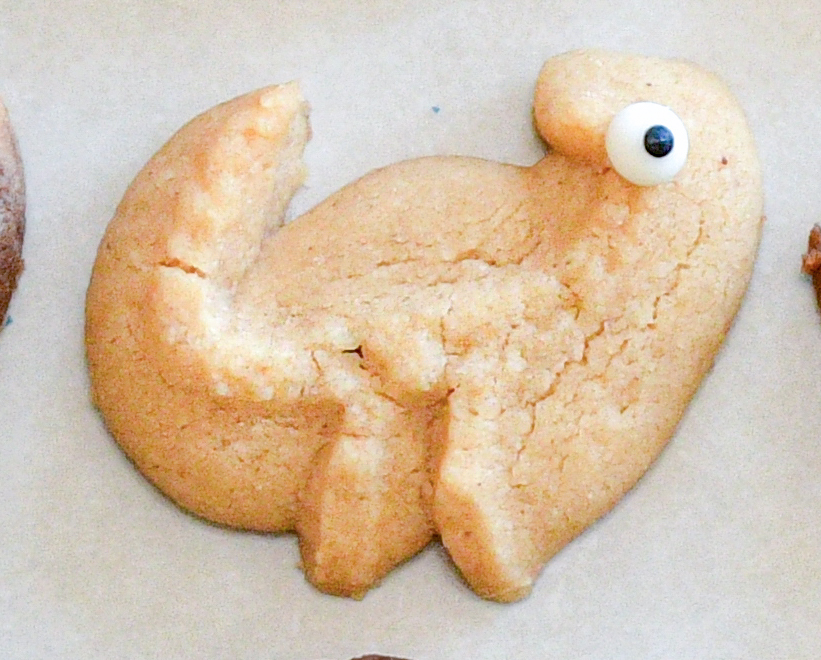
Try to press your shapes neat, clean, and small. If you let them extrude too much dough they become shapeless blobs! Press well-defined, skinny-looking shapes. They will fill out nicely as they bake and puff up. Press especially skinny T-Rex’s. They tend to become blobs if you press too big! 😂

Bake for 8 to 10 minutes or until they look puffed up and dry and “set”. They do not brown much so don’t over-bake! Check them early and often as all ovens are different. Let sit for 5 minute or so and move to a cooling rack. See how these two puffed up and spread in baking?
The only decorating to do is add eyes! You can buy 3/16″ candy eyes at places like Etsy, or make your own with decorating icing. Make the white eye dots first and after they dry and harde, add smaller black dots to the centers.
Rawr!


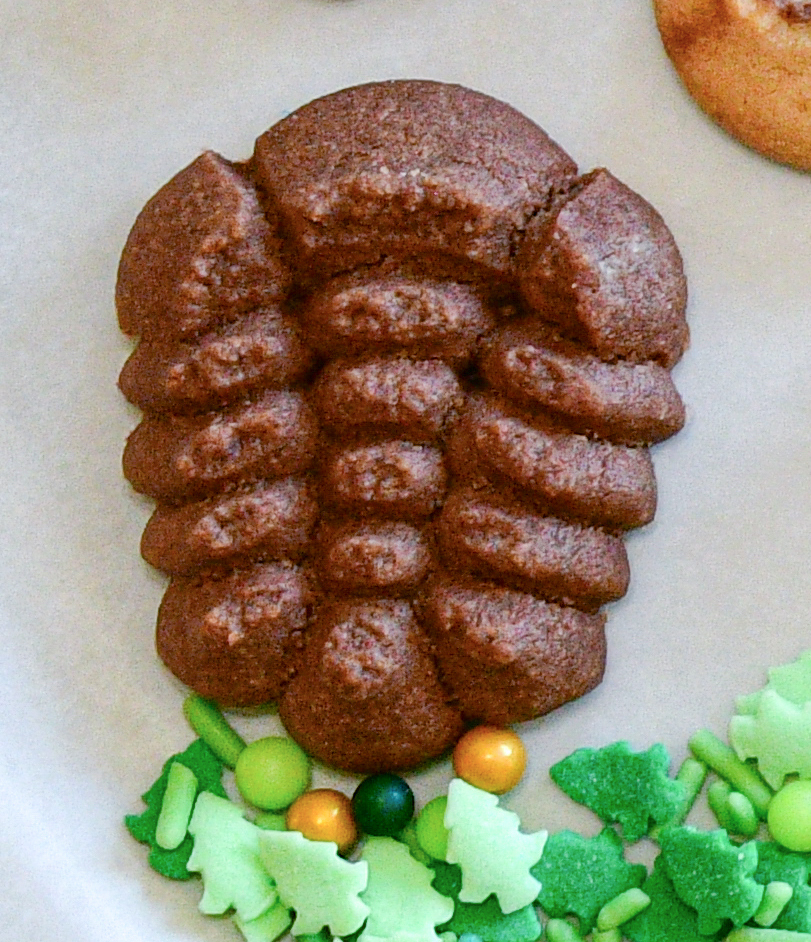
I love the Ammonite and Trilobite cookies! My daughter Amanda and I have been collecting fossils for decades and I had so much fun designing these shapes years ago! I put one of my own ammonite fossils here to show my inspiration for the multicolored fossil cookies. LOL I’m such a nerd!

That’s it! Enjoy!
Happy Baking!
~Susie
Disk Designer/Co-Owner at Impress! Bakeware, LLC
Our website has all of our 200+ disk shapes, cookie press, embossed rolling pins, baking accessories plus more about our Women/Family Owned company! impressbakeware.com
All products are on our Etsy shop.
Our Amazon shop has our cookie press and disks and embossed rolling pins.
Follow us on facebook!

