

Caramel and apple is the perfect pair of flavors for fall!
If you love that gooey, delicious flavor combination as much as I do, then have I got the cookies for you!
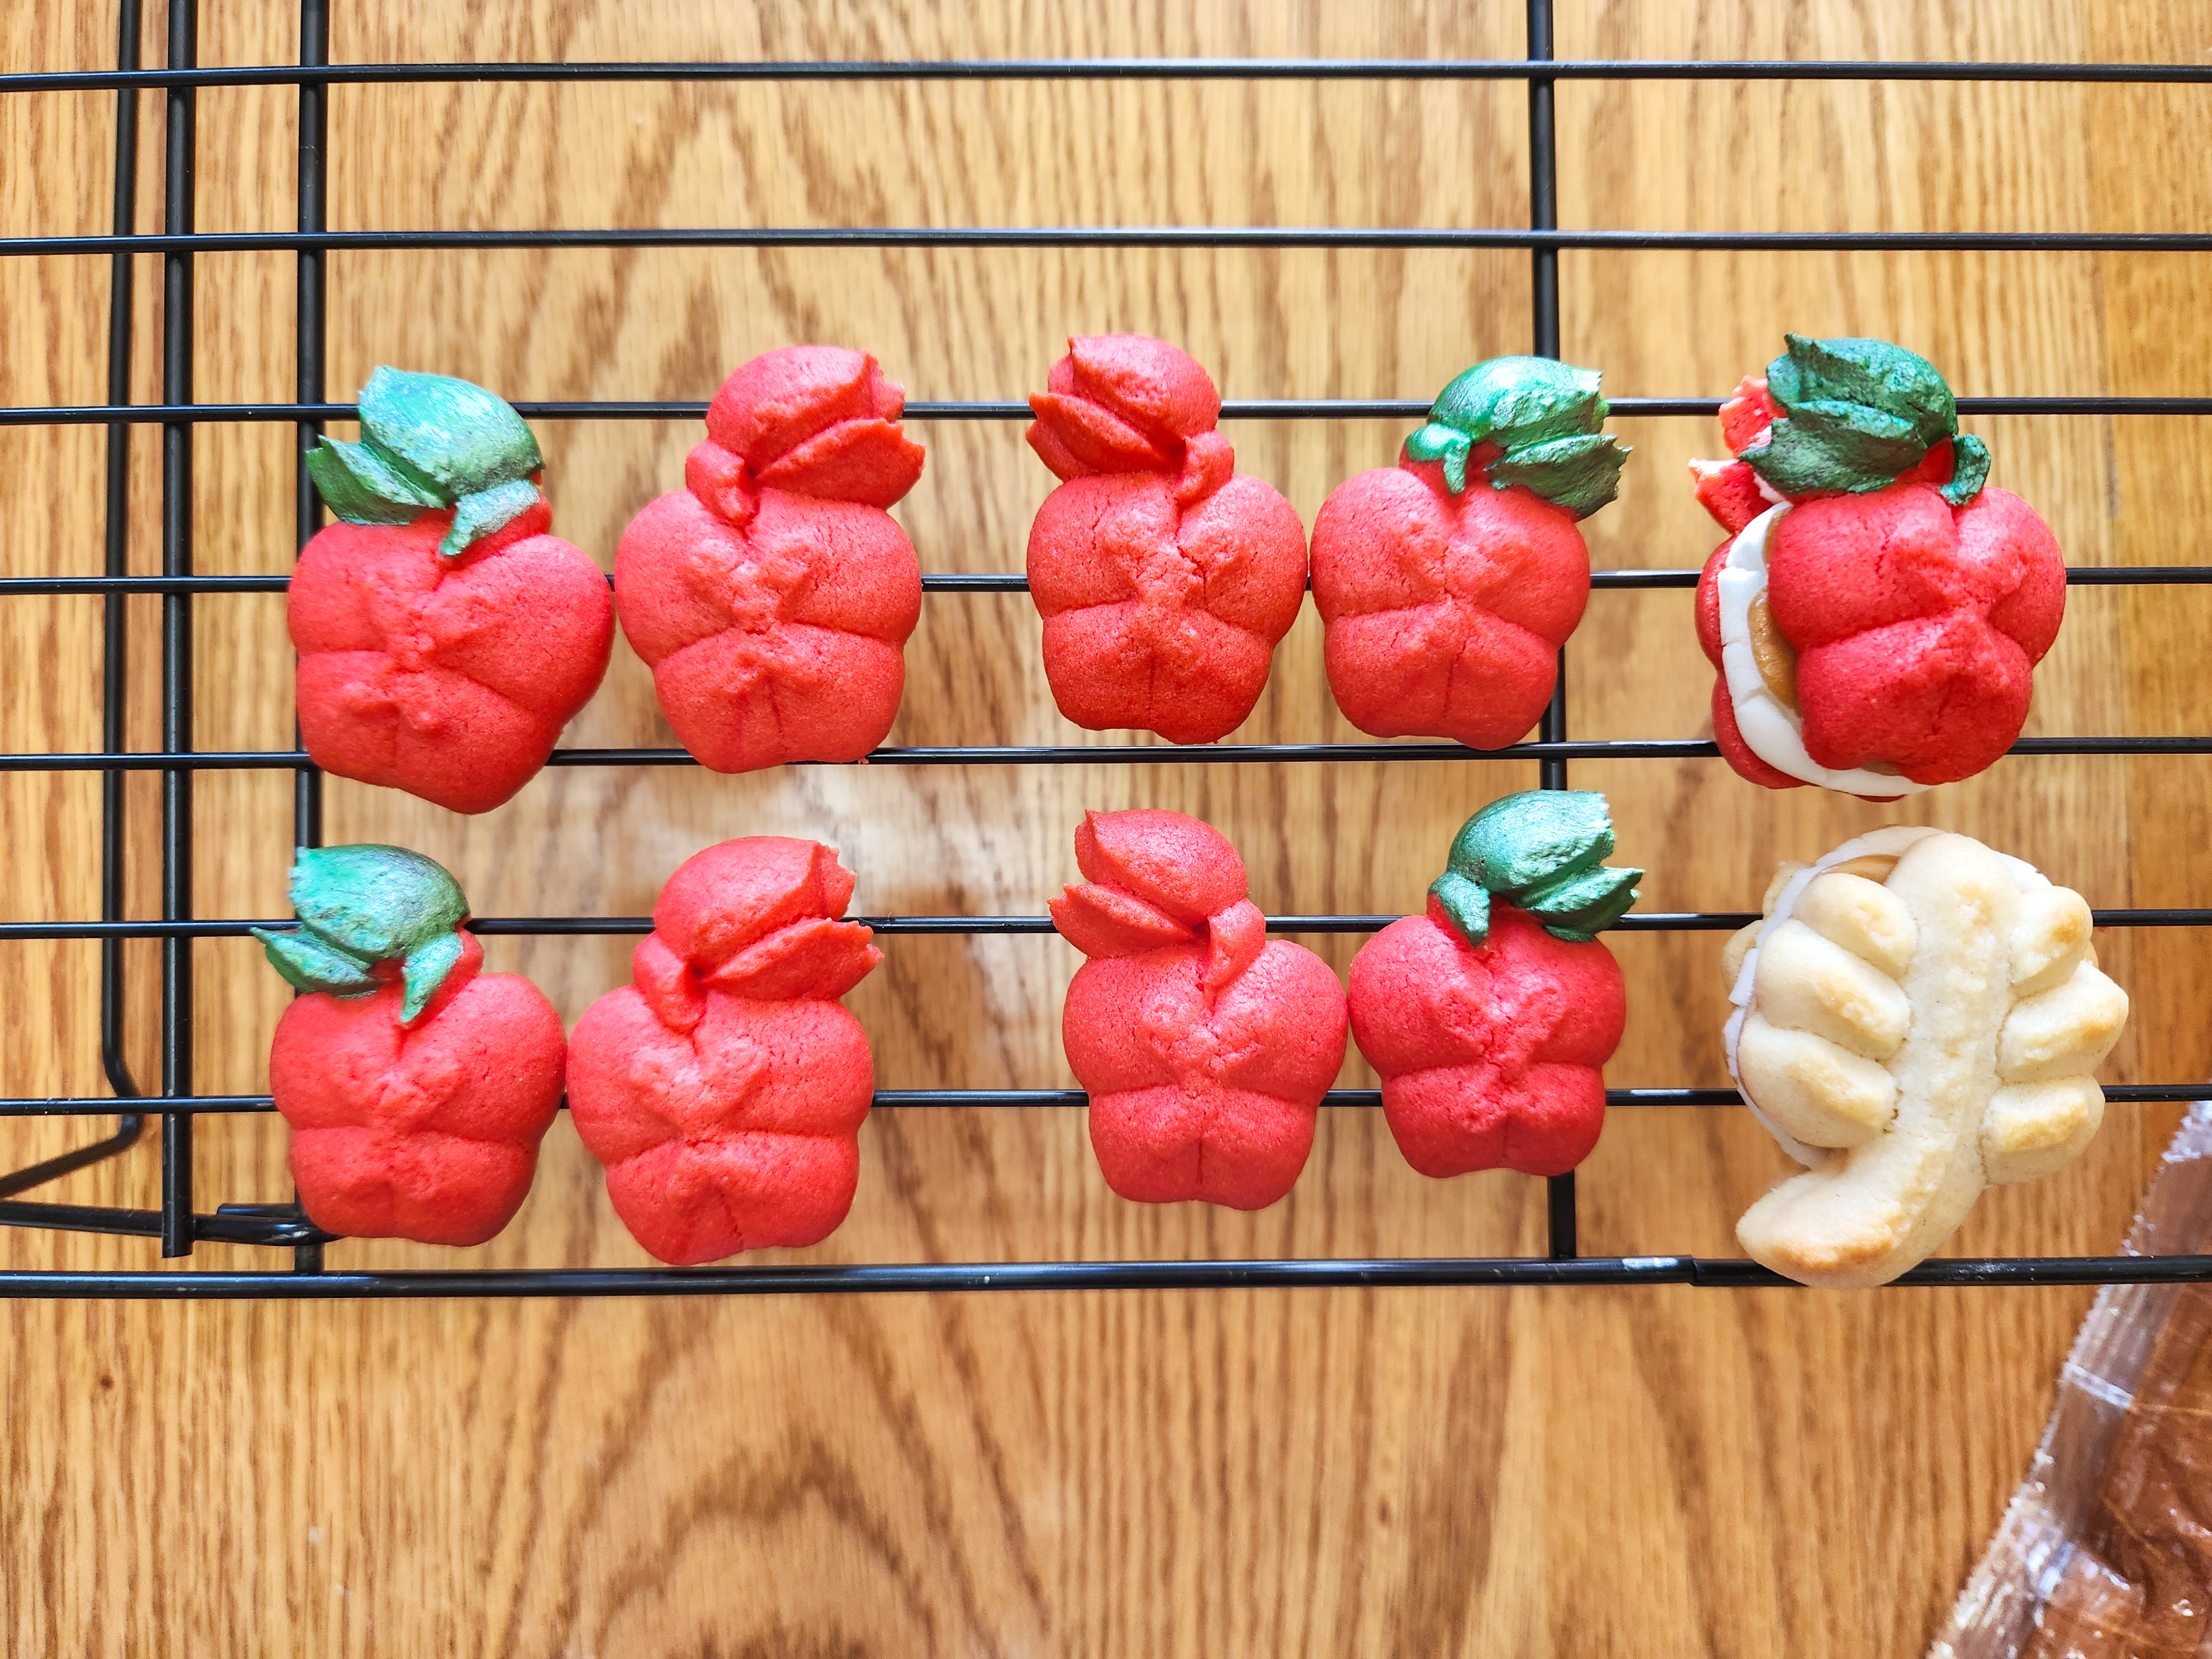
I originally blogged this recipe back in 2014. Ten years later it is definitely time for an update! Back then I did a 2-colored dough technique to make red apples with green leaves. This time I’m taking the much easier approach and simply painting the leaves with green luster dust.
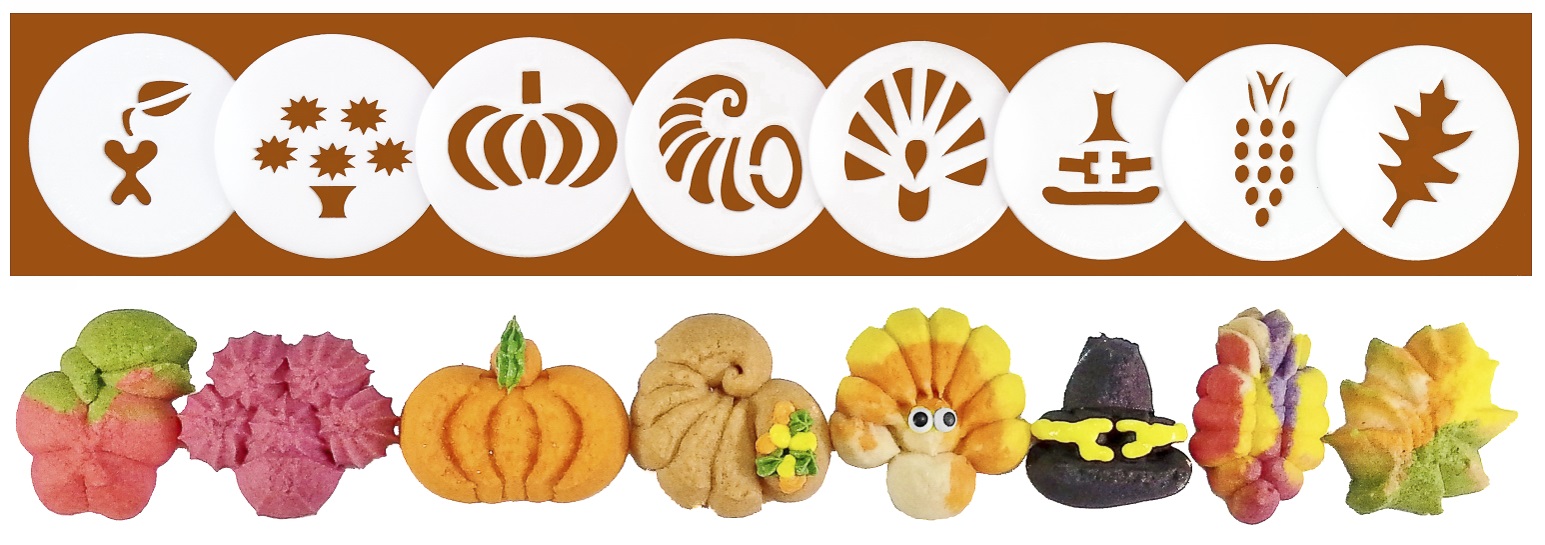
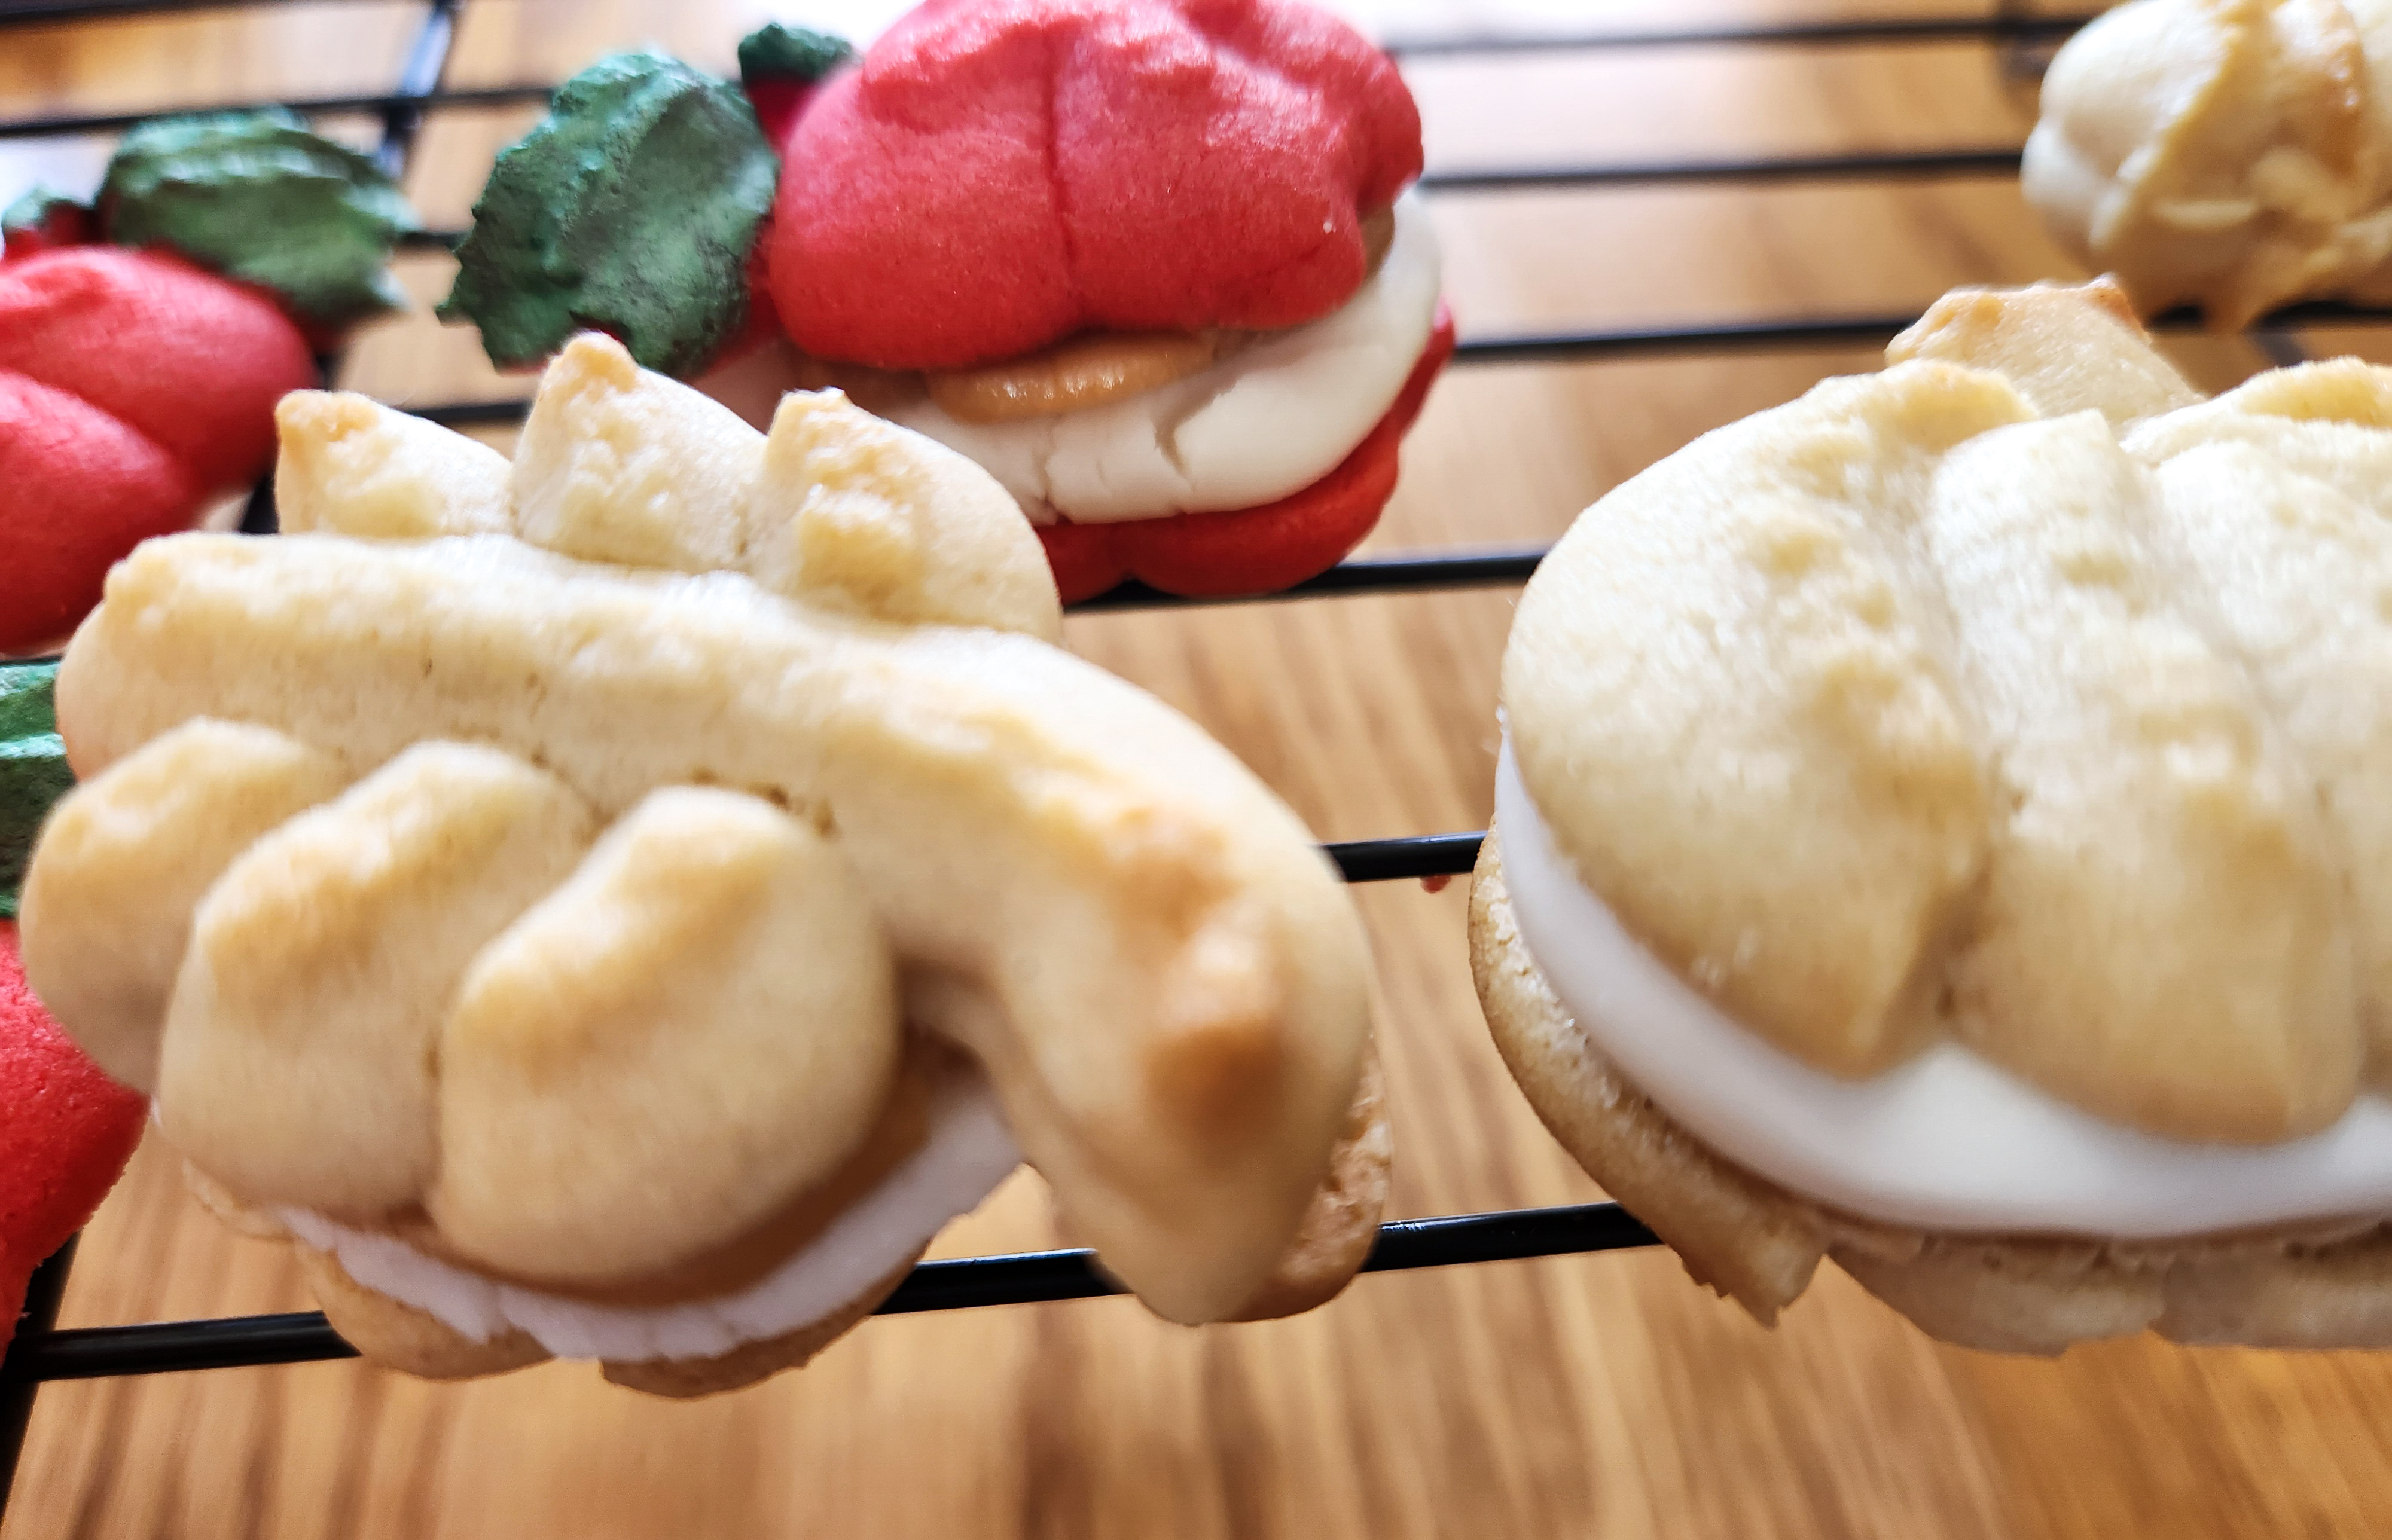
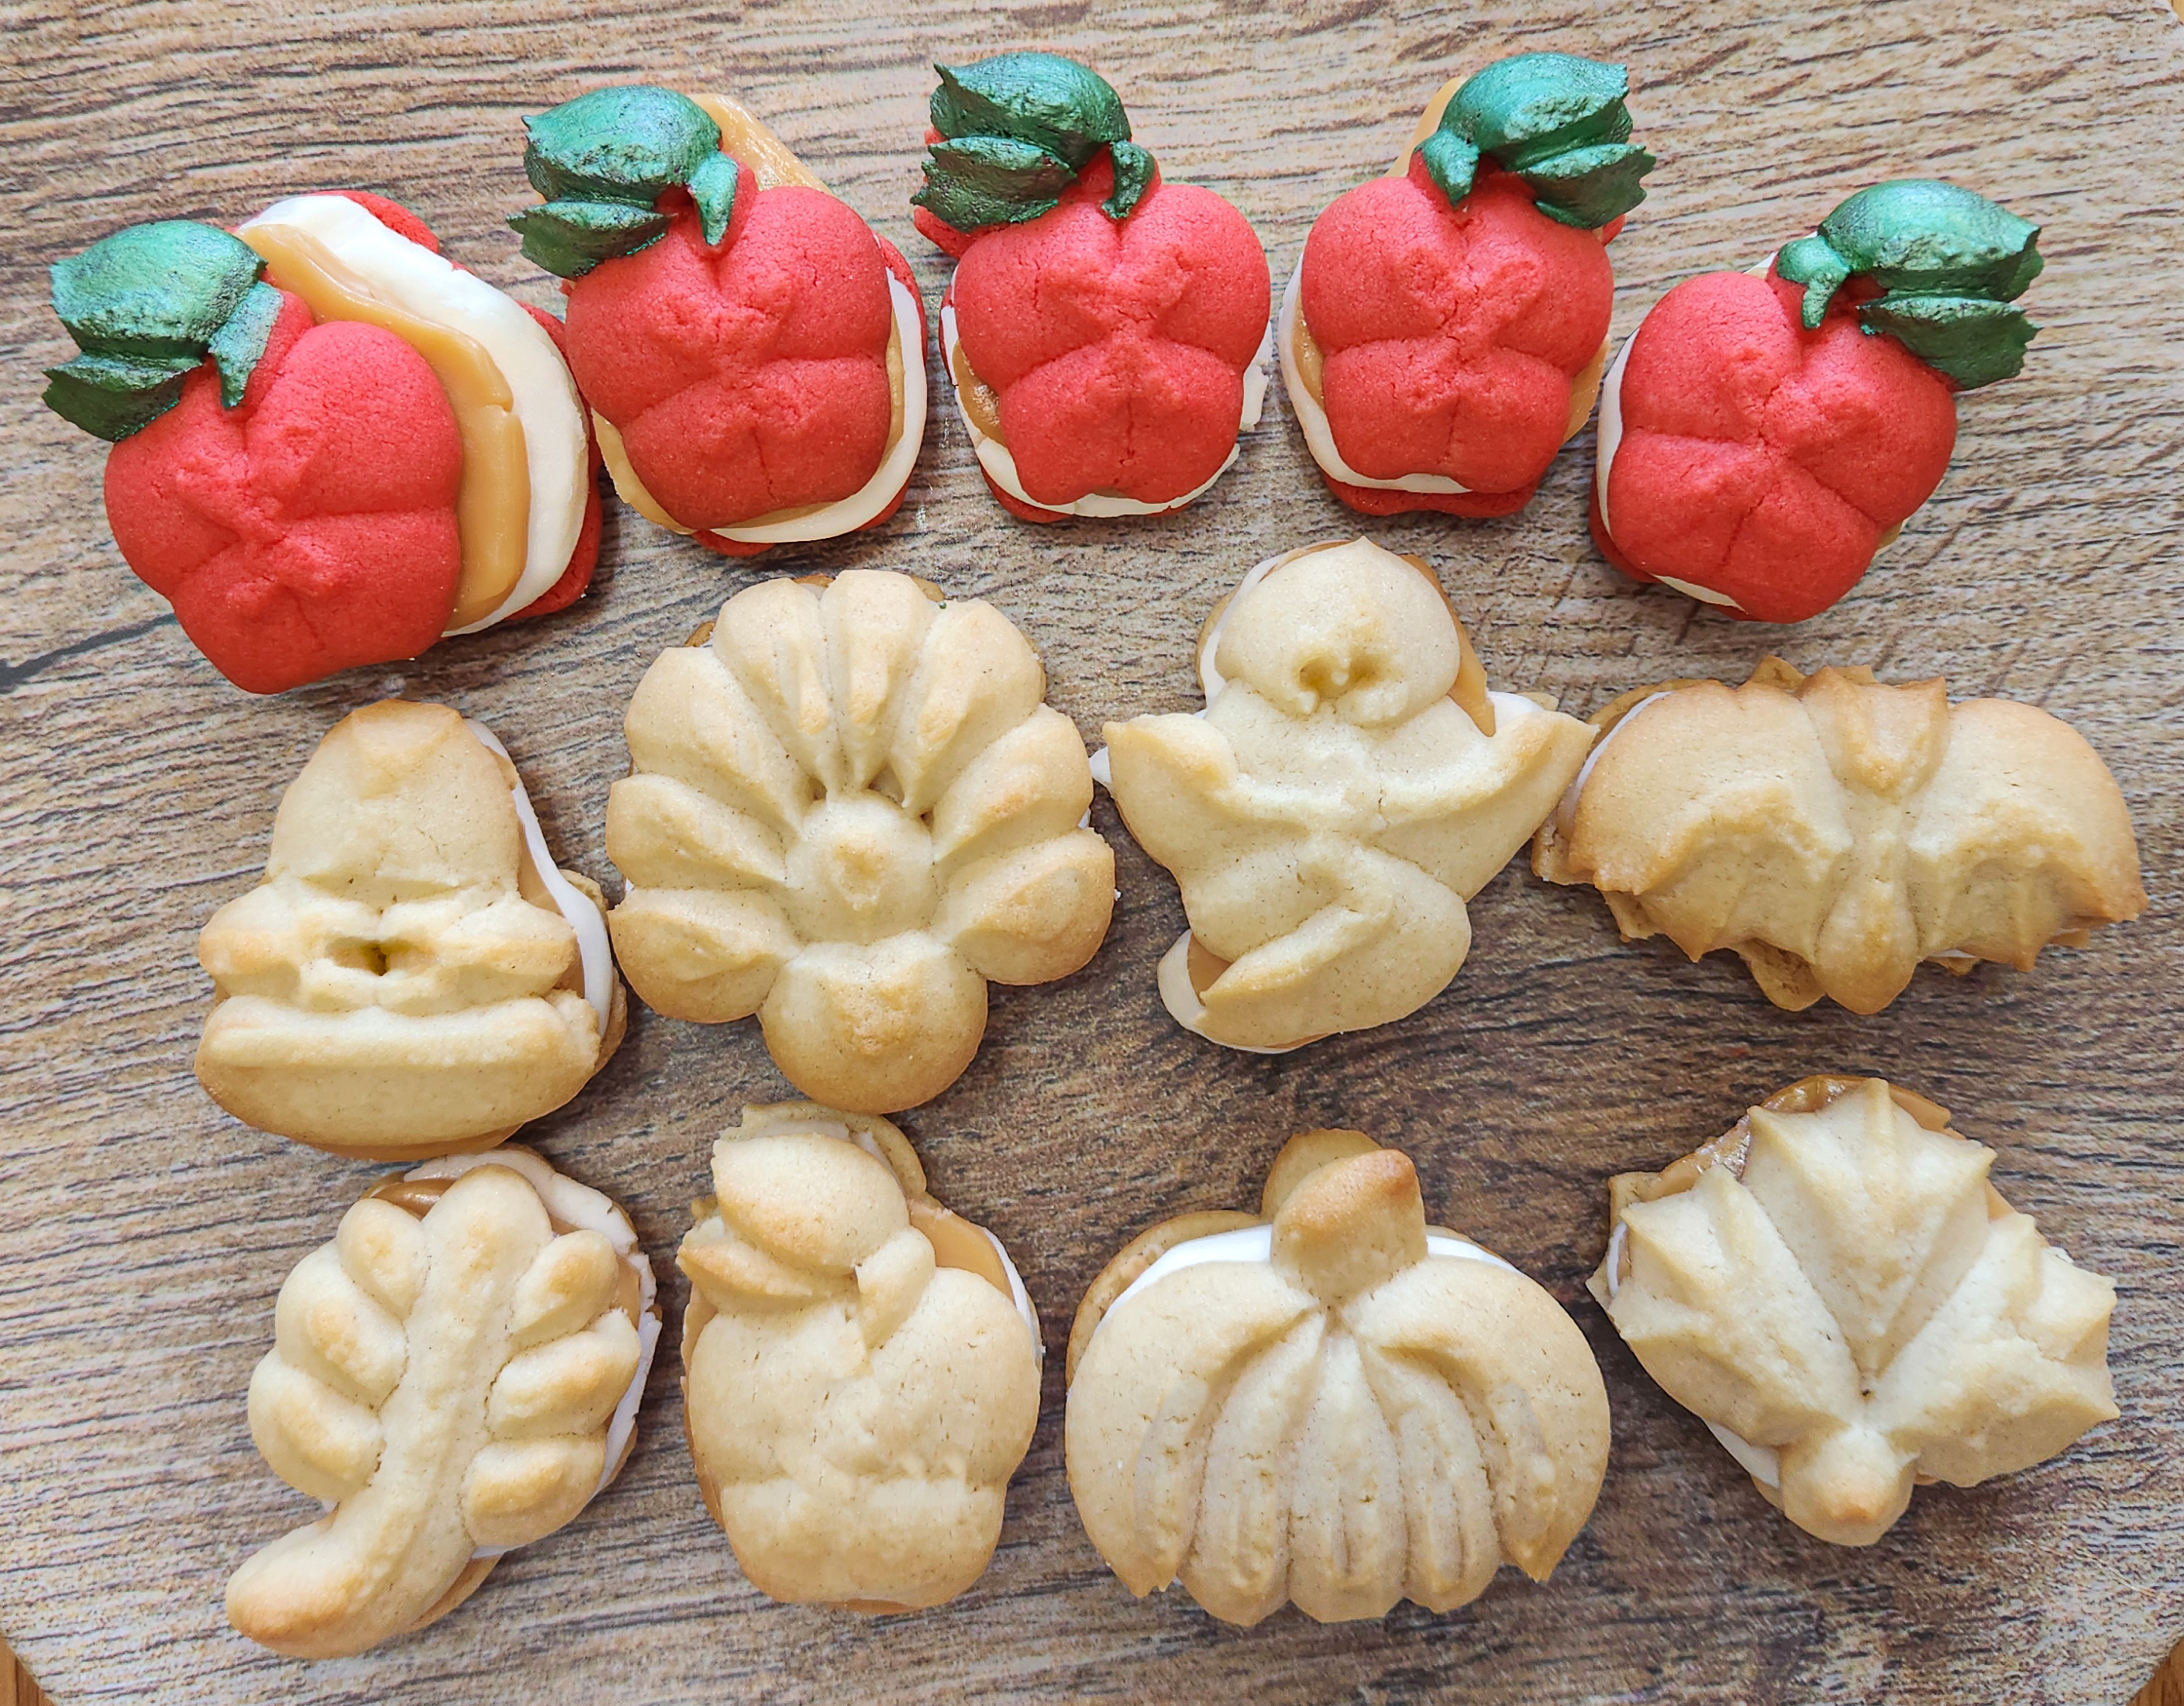
I also included other shapes this time. Instead of just red apples (which are in the Thanksgiving disk set), I showcased shapes from the Leaves, Halloween, and Thanksgiving disk sets, to give you some ideas and choices. I like the idea of leaving all of the cookies simple, un-colored and un-decorated, letting the colorful red apples stand out!


This recipe is a breeze to make. Make the vanilla cookies with a cookie press, make a simple apple flavored thick buttercream, and slice caramels in half. Put together sandwiches and you’re done. Super easy.

Our website has all of our 200+ disk shapes, cookie press, embossed rolling pins, baking accessories plus more about our Women/Family Owned company! impressbakeware.com
All products are on our Etsy shop.
Our Amazon shop has our cookie press and disks and embossed rolling pins.
Let’s bake!
Impress! Vanilla-Honey Spritz
1 1/2 cups (3 sticks) butter, softened (not melted) (I recommend Land O Lakes brand as I know it creams well. I have had trouble with some generic butters not creaming properly and making the dough hard to press)
1/2 cup granulated sugar
1/3 cup honey
1 & 1/2 Tablespoons vanilla extract
1 egg
4 cups all-purpose flour
3/4 teaspoon baking powder
1/4 teaspoon salt
Note: For a gluten-free option simply replace the flour with a 1:1 substitute like King Arthur’s Gluten Free Measure for Measure.
Preheat oven to 400°F.
In a large bowl, combine the flour, baking powder, and salt. Using a big wire whisk is a good way to mix them evenly. Set aside.
Using an electric mixer, cream the butter very well. I say this in every post so sorry for being repetitive! Creaming your butter until it is fluffy is the key to great spritz cookies. I like to pretend I’m making frosting and use the highest setting on my mixer. Butter turns a slightly lighter color when it’s creamed well.
Add the sugar and cream it very well again. Then incorporate the honey, the vanilla extract, and egg, and re-cream the mixture after each new addition. Next add the flour mixture a little at a time, mixing on a slow speed until a soft dough forms. Perfect spritz dough has a soft malleable texture that is not too sticky or too stiff. It should not stick to your hands. You can always knead it by hand at the end if your mixer is leaving any flour unincorporated. Smooshing it into a play-dough like texture by hand is actually pretty fun. Always remember that you can tweak overly stiff dough by adding more vanilla a teaspoon at a time (or by the tablespoon if it’s particularly stiff), or tweak overly soft or sticky dough by adding flour a tablespoon at a time. Watch some of my videos to see what a correct spritz dough texture looks like.


To make the red apples tint some of your dough using gel food coloring. Not gel writing icing, but food dye that’s a gel, not liquid. Gel maintains the consistency of the dough while liquid would change it too much. You can work the color in with a spoon or knead it by hand. Most gel colors wash off your hands surprisingly easily. Just make sure it’s evenly incorporated.

Press the dough
Get your disks and pack your dough into your cookie press barrel, using the back of a spoon to press the air bubbles out as you add dough. This helps create consistent pressure to avoid mis-shaped cookies.
Place the disk in the bottom ring, attach to your press, and start pressing onto an un-greased cookie sheet. Use a consistent rhythm to keep the shapes a uniform size. It’s not at all uncommon for your first few cookies to be mis-shaped, as pressure needs to build in the barrel to make consistent shapes. It’s totally ok! Just throw them back in the bowl to be re-pressed. If you’re still having trouble pressing (mis-shaped cookies, trouble sticking to the pan, etc) press one cookie into the air and wipe it off and toss back into the bowl to re-set your pressure in the press. You can also refrigerate your cookie sheets for 5 minutes if sticking is an issue. (There are more troubleshooting tips on the Troubleshooting and Decorating Tips page- see the top menu on the blog homepage. )
If using a one-click-per-cookie type press remember that you don’t always have to follow that guideline. Some shapes may take more or less than one click and that’s ok! Cookies don’t have to come out in even “clicks”. One click, half a click, it doesn’t matter. A press (any press) is a dough pump (it’s kind of like a caulking gun). It’s simply a mechanism for pumping dough out, however many (or few) “clicks” it takes. Again, you can read all about that in the Troubleshooting and Decorating Tips page if you’re new to this.
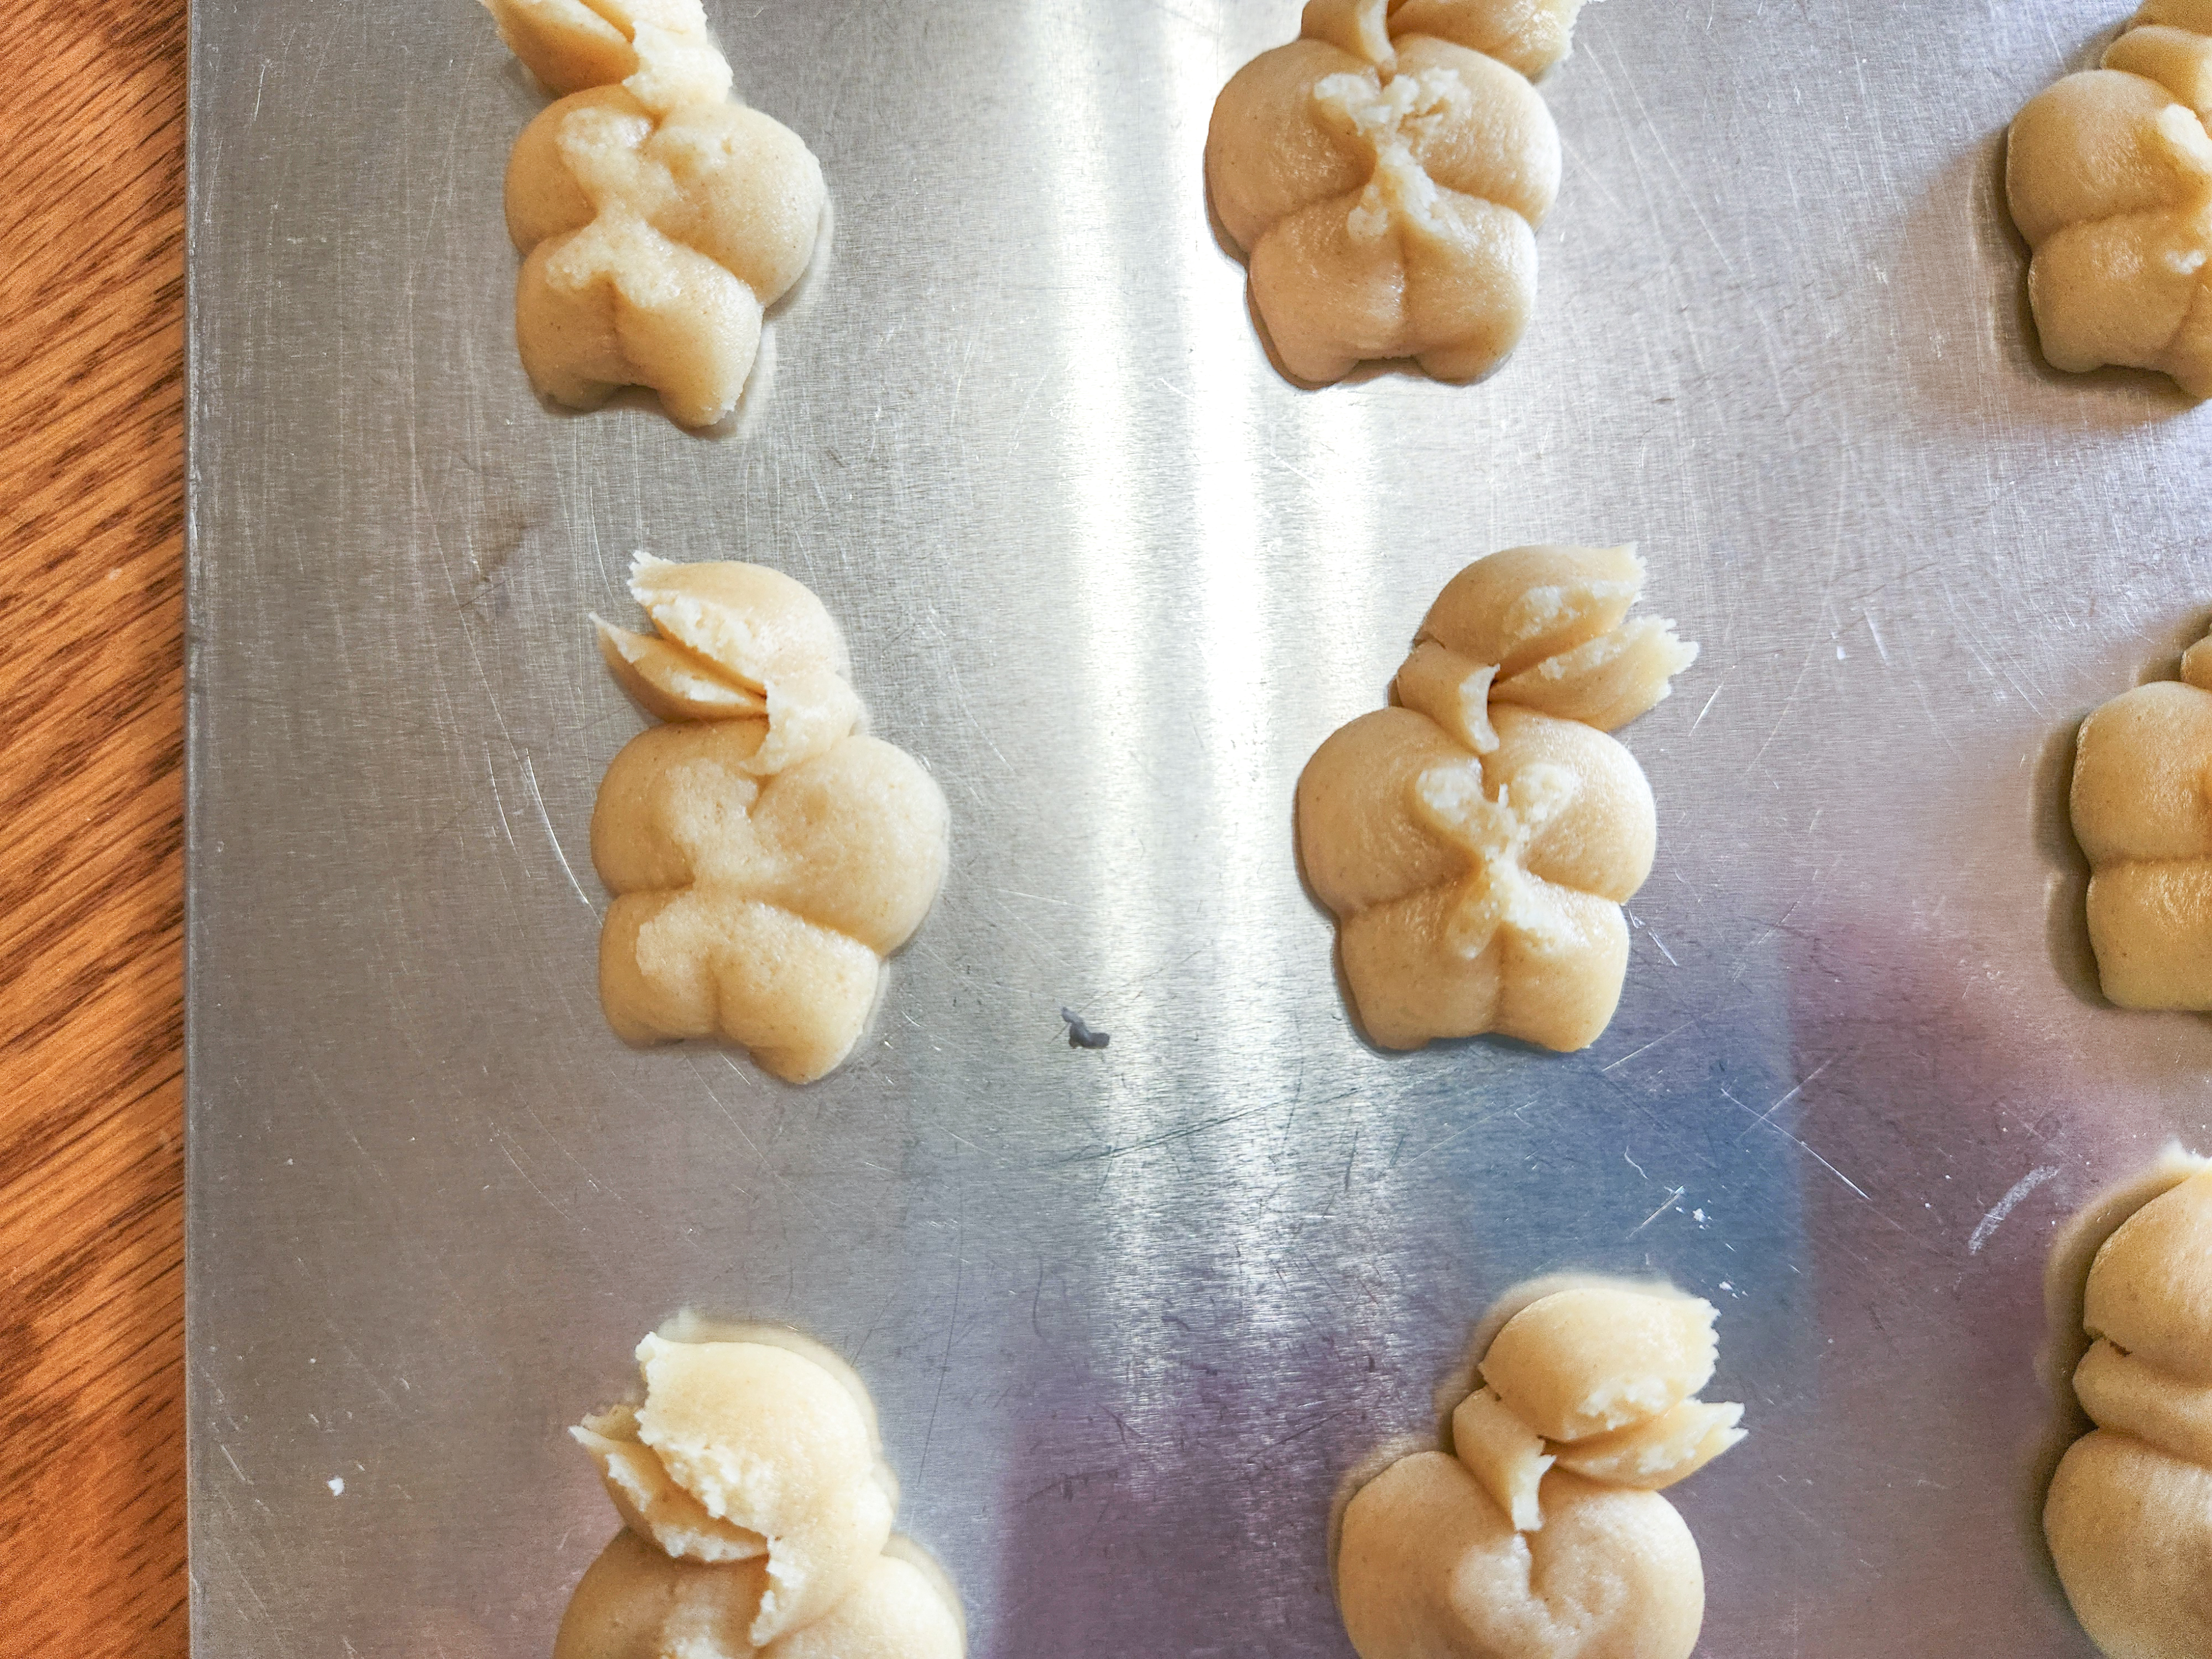
The shapes pressed easily in this dough. Try to keeps your shapes on the small side, neat and tidy. To make sandwich cookies, press cookies in both “directions”. In other words, press some then flip the disk over in the ring to press some facing the other way. Then when you put them back-to-back for a sandwich they will fit together well. Shapes like the apple, oak leaf, and pumpkin work better this way. No big deal if you forget! Your sandwiches will just match a little less tidy. But no big deal, they’ll still taste great.
Here’s how some of mine pressed. Note I pressed both ways with apples and pumpkins.


Bake in a 400 degree oven for 6-10 minutes or until the edges just begin to brown slightly. Check them early and often as all ovens are different, and spritz can brown quickly once they start to go. Let them cool for four or five minutes before removing to a cooling rack. If they’re too soft after baking they may break when you lift them, and if you wait too long they could stick to the pan. With time you’ll get a feel for it. Keep your spatula flat to the pan as you slide under the cookies! Check them to see if they’re ready to be moved. If not, wait a few more minutes.

If you want to paint the apple leaves green do it now before sandwiching! It’s much easier to handle a single-layer cookie than a thick sandwich. 😉
Here’s how to do it. (Photo of luster dusts is from my last recipe post before this one – Fall Leaves made with one of our embossed rolling pins!)
Luster dust is what makes this beautiful presentation possible. I use it so often in my cookie press posts that in 2022 we started selling it on our website and Etsy shop! We chose to partner with an American company, Bakell, that makes dusts here in the USA. They make gorgeous dusts that are silky, vibrant, and a joy to work with. Their 4 gram jars last and last. A little goes a long way!

To make the apple leaves red for this recipe, you’re going to paint with edible luster dust mixed with clear alcohol. You could alternatively use any clear extract. Vodka is definitely the best choice and makes the smoothest, fastest-drying paint! The taste disappears. As you experiment, you’ll get the hang of mixing dust and liquid. We also sell a wonderful decorating brush set.
My technique (you may come up with a better one) is to put a small amount of vodka in a little dish or cup, then use a larger brush (always use food safe brushes) to drip the liquid a little at a time next to your piles of dust. I use a big plate and place small dust piles around it, then add extract a little at a time- it doesn’t take much! It also dries out quickly so you’ll find yourself adding more. I save that big brush and keep it clean so I’m always re-dipping it in a clean liquid.
NOTE: Always make sure you are using EDIBLE dusts! Some luster/pearl/glitter dusts on the market are “non-toxic” but that does not mean they are edible. Plenty of brands have actual food ingredients and are marked “edible”. ONLY use those for safety’s sake!
Start adding vodka to the dust and swirl it around until it forms a paint. Not too thick, not too runny or transparent. You want the color to show up but not be gloppy. So start painting and experiment! It takes a little practice to not get it too heavy or too light. Be patient and take a few minutes to see how runny or thick your “paint” needs to be. For this recipe it’s super simple. Just green leaves.
If you want a more opaque green, combine it with our snowflake white dust. You can make colors more opaque or more pastel by adding white dust.


The sandwich filling is a buttercream so thick you can roll it out and play with it like play dough! Try not to eat it all before the sandwiches are done.
Super Thick Apple Buttercream
1/2 cup (1 stick) butter, softened
4 cups powdered sugar
2 & 1/2 teaspoons heavy cream
1 & 1/4 teaspoons vanilla extract
1/4 teaspoon LorAnn Apple flavor (available at Michaels, online, & more)
Cream the butter with an electric mixer, then add the heavy cream and vanilla extract and mix thoroughly. Add powdered sugar a little at a time. Do not be alarmed or surprised! This mixture will be super thick, so if you have to, finish kneading by hand until a smooth clay-like dough forms. It will be much stiffer than the cookie dough. Keep kneading even if it seems very stiff, until it forms a workable ball as pictured. It will warm and soften as you work it. Add cream to an overly stiff mixture, or powdered sugar to a soft sticky mixture, as needed to get a workable clay-like consistency. It will be fun to knead, though still quite stiff, when it’s the right texture.

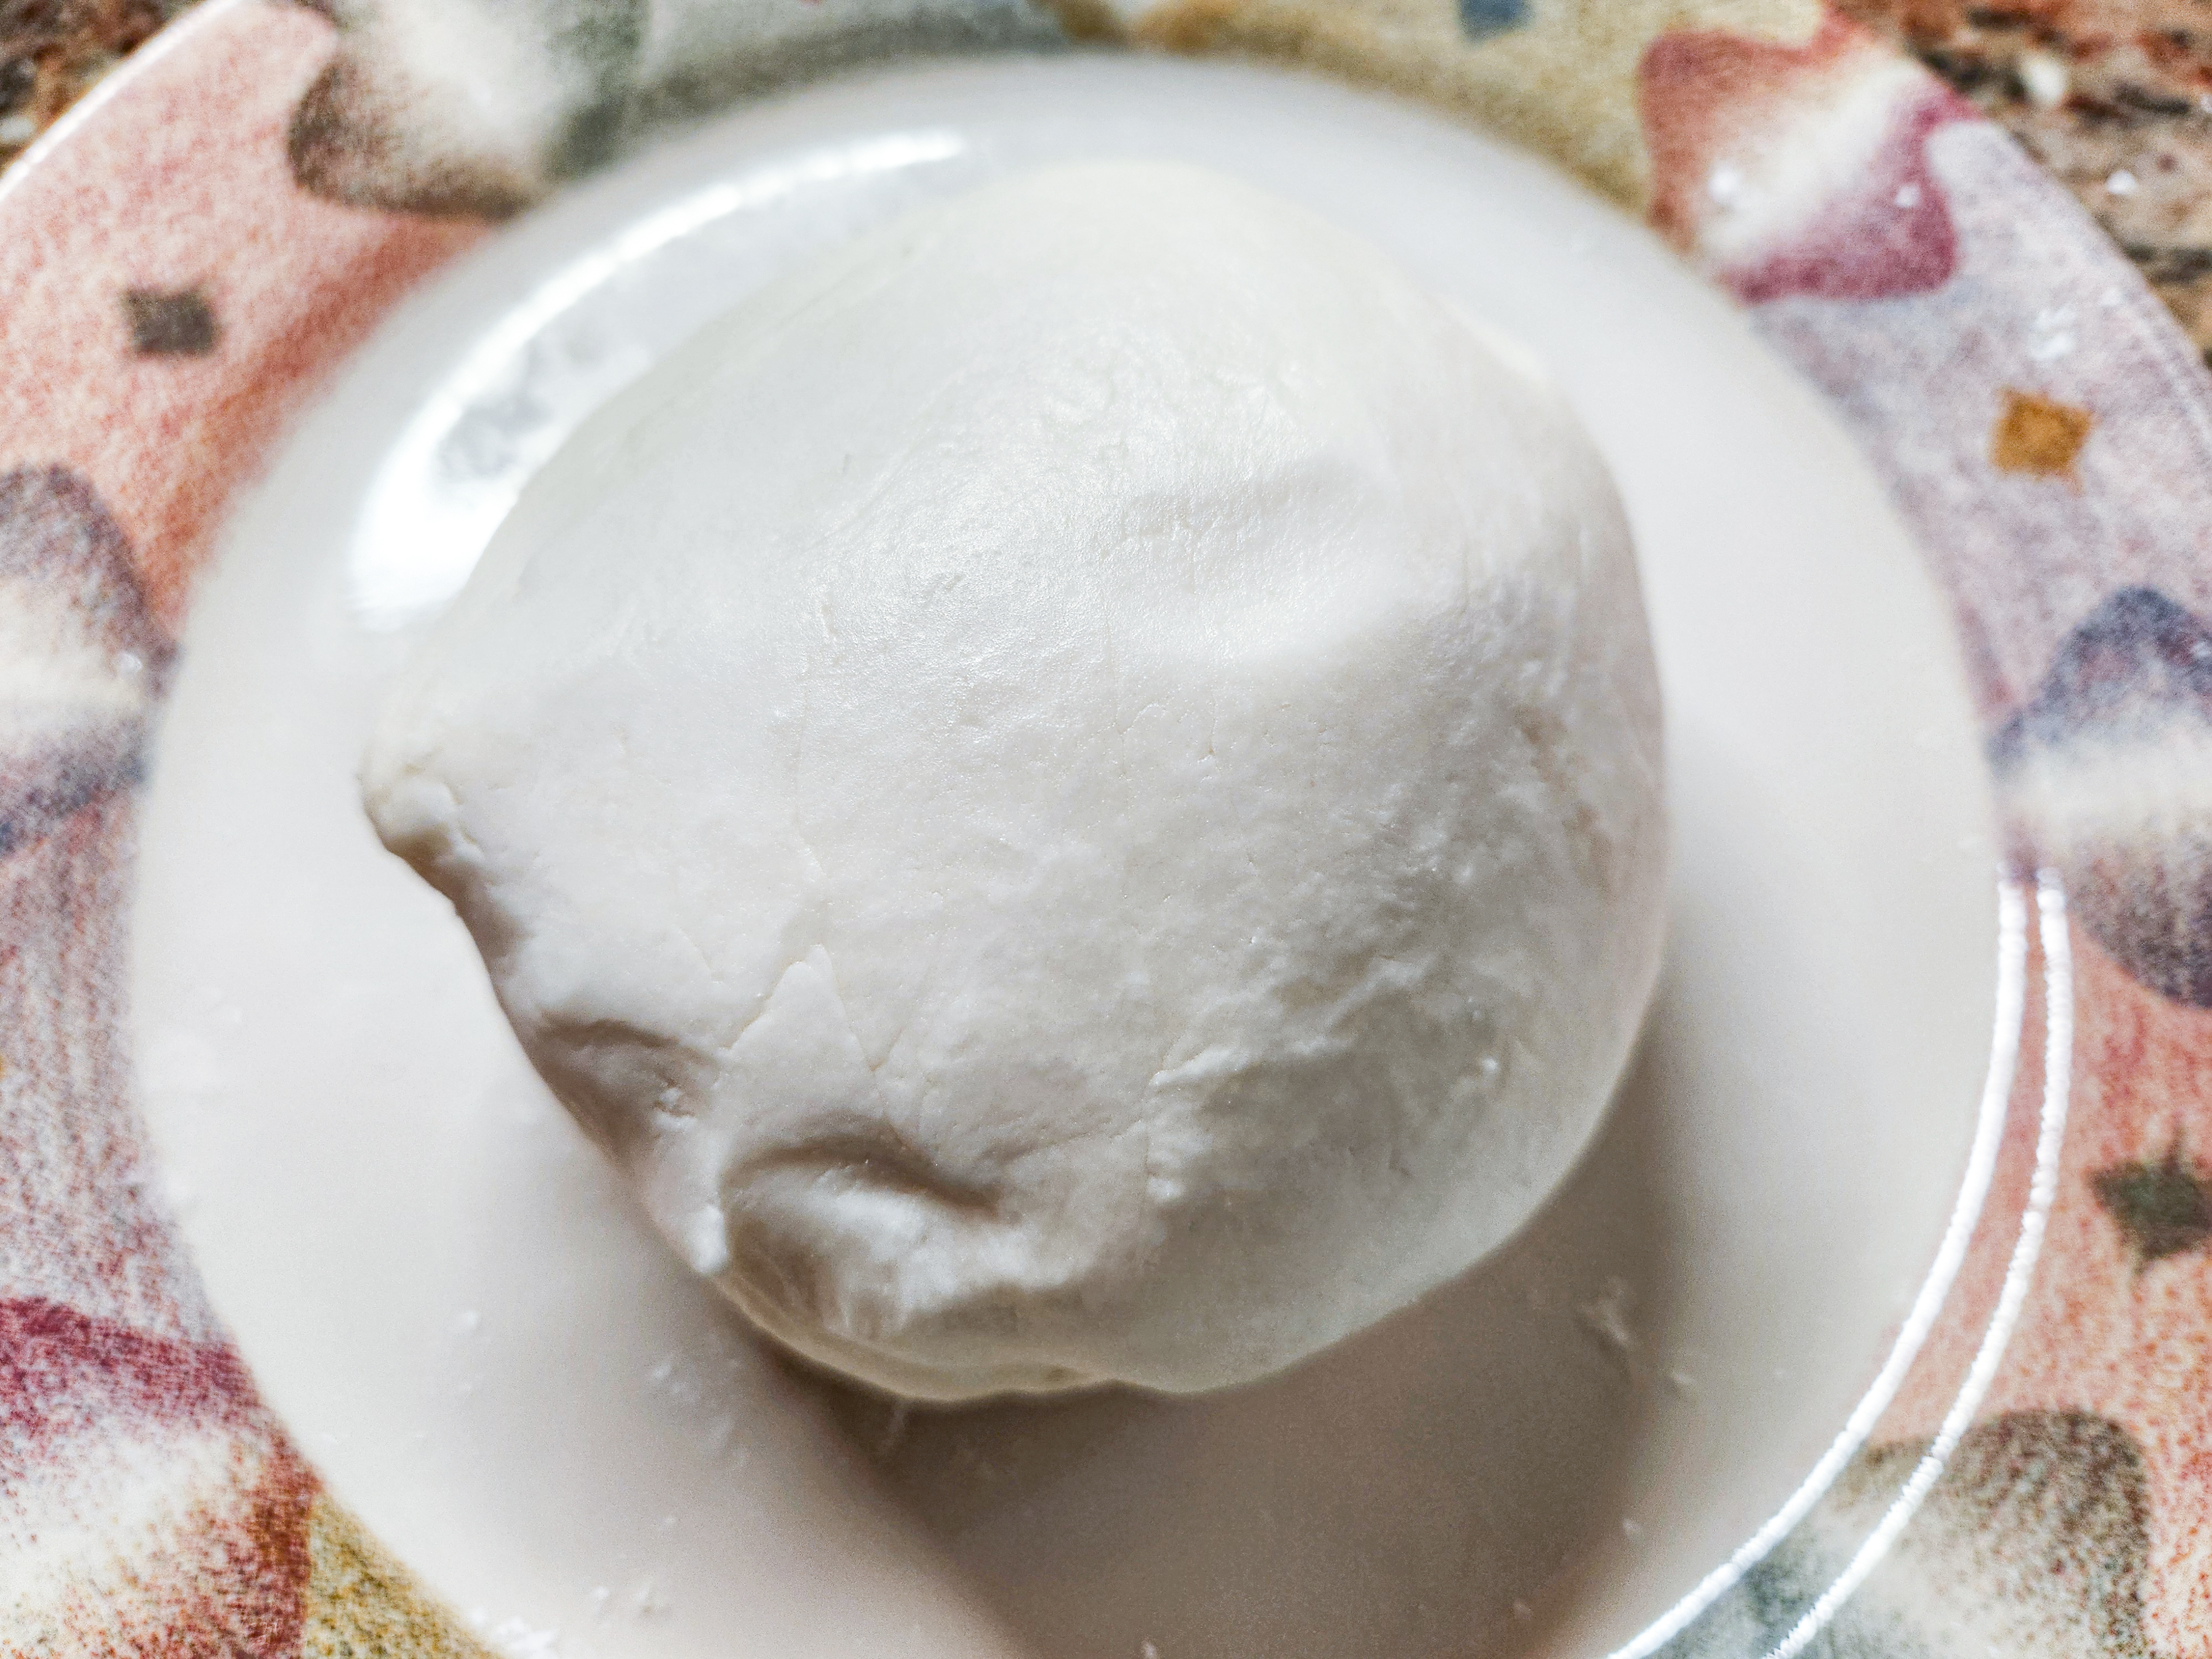
It should feel like play-dough and be fun to smoosh and sculpt. 🙂
For this recipe you’re going to do just that. For this recipe, you want to hand-sculpt this sturdy, thick buttercream to fit on your cookies. Roll it into little balls in your hand and smoosh it to fit the shape of the cookie! Make it as thick or thin as you like. If you’re a regular reader of this recipe blog, you know I’m bonkers for thick sandwich fillings, so that’s how I did mine.
Pair up your cooled cookies with their opposite-direction match.

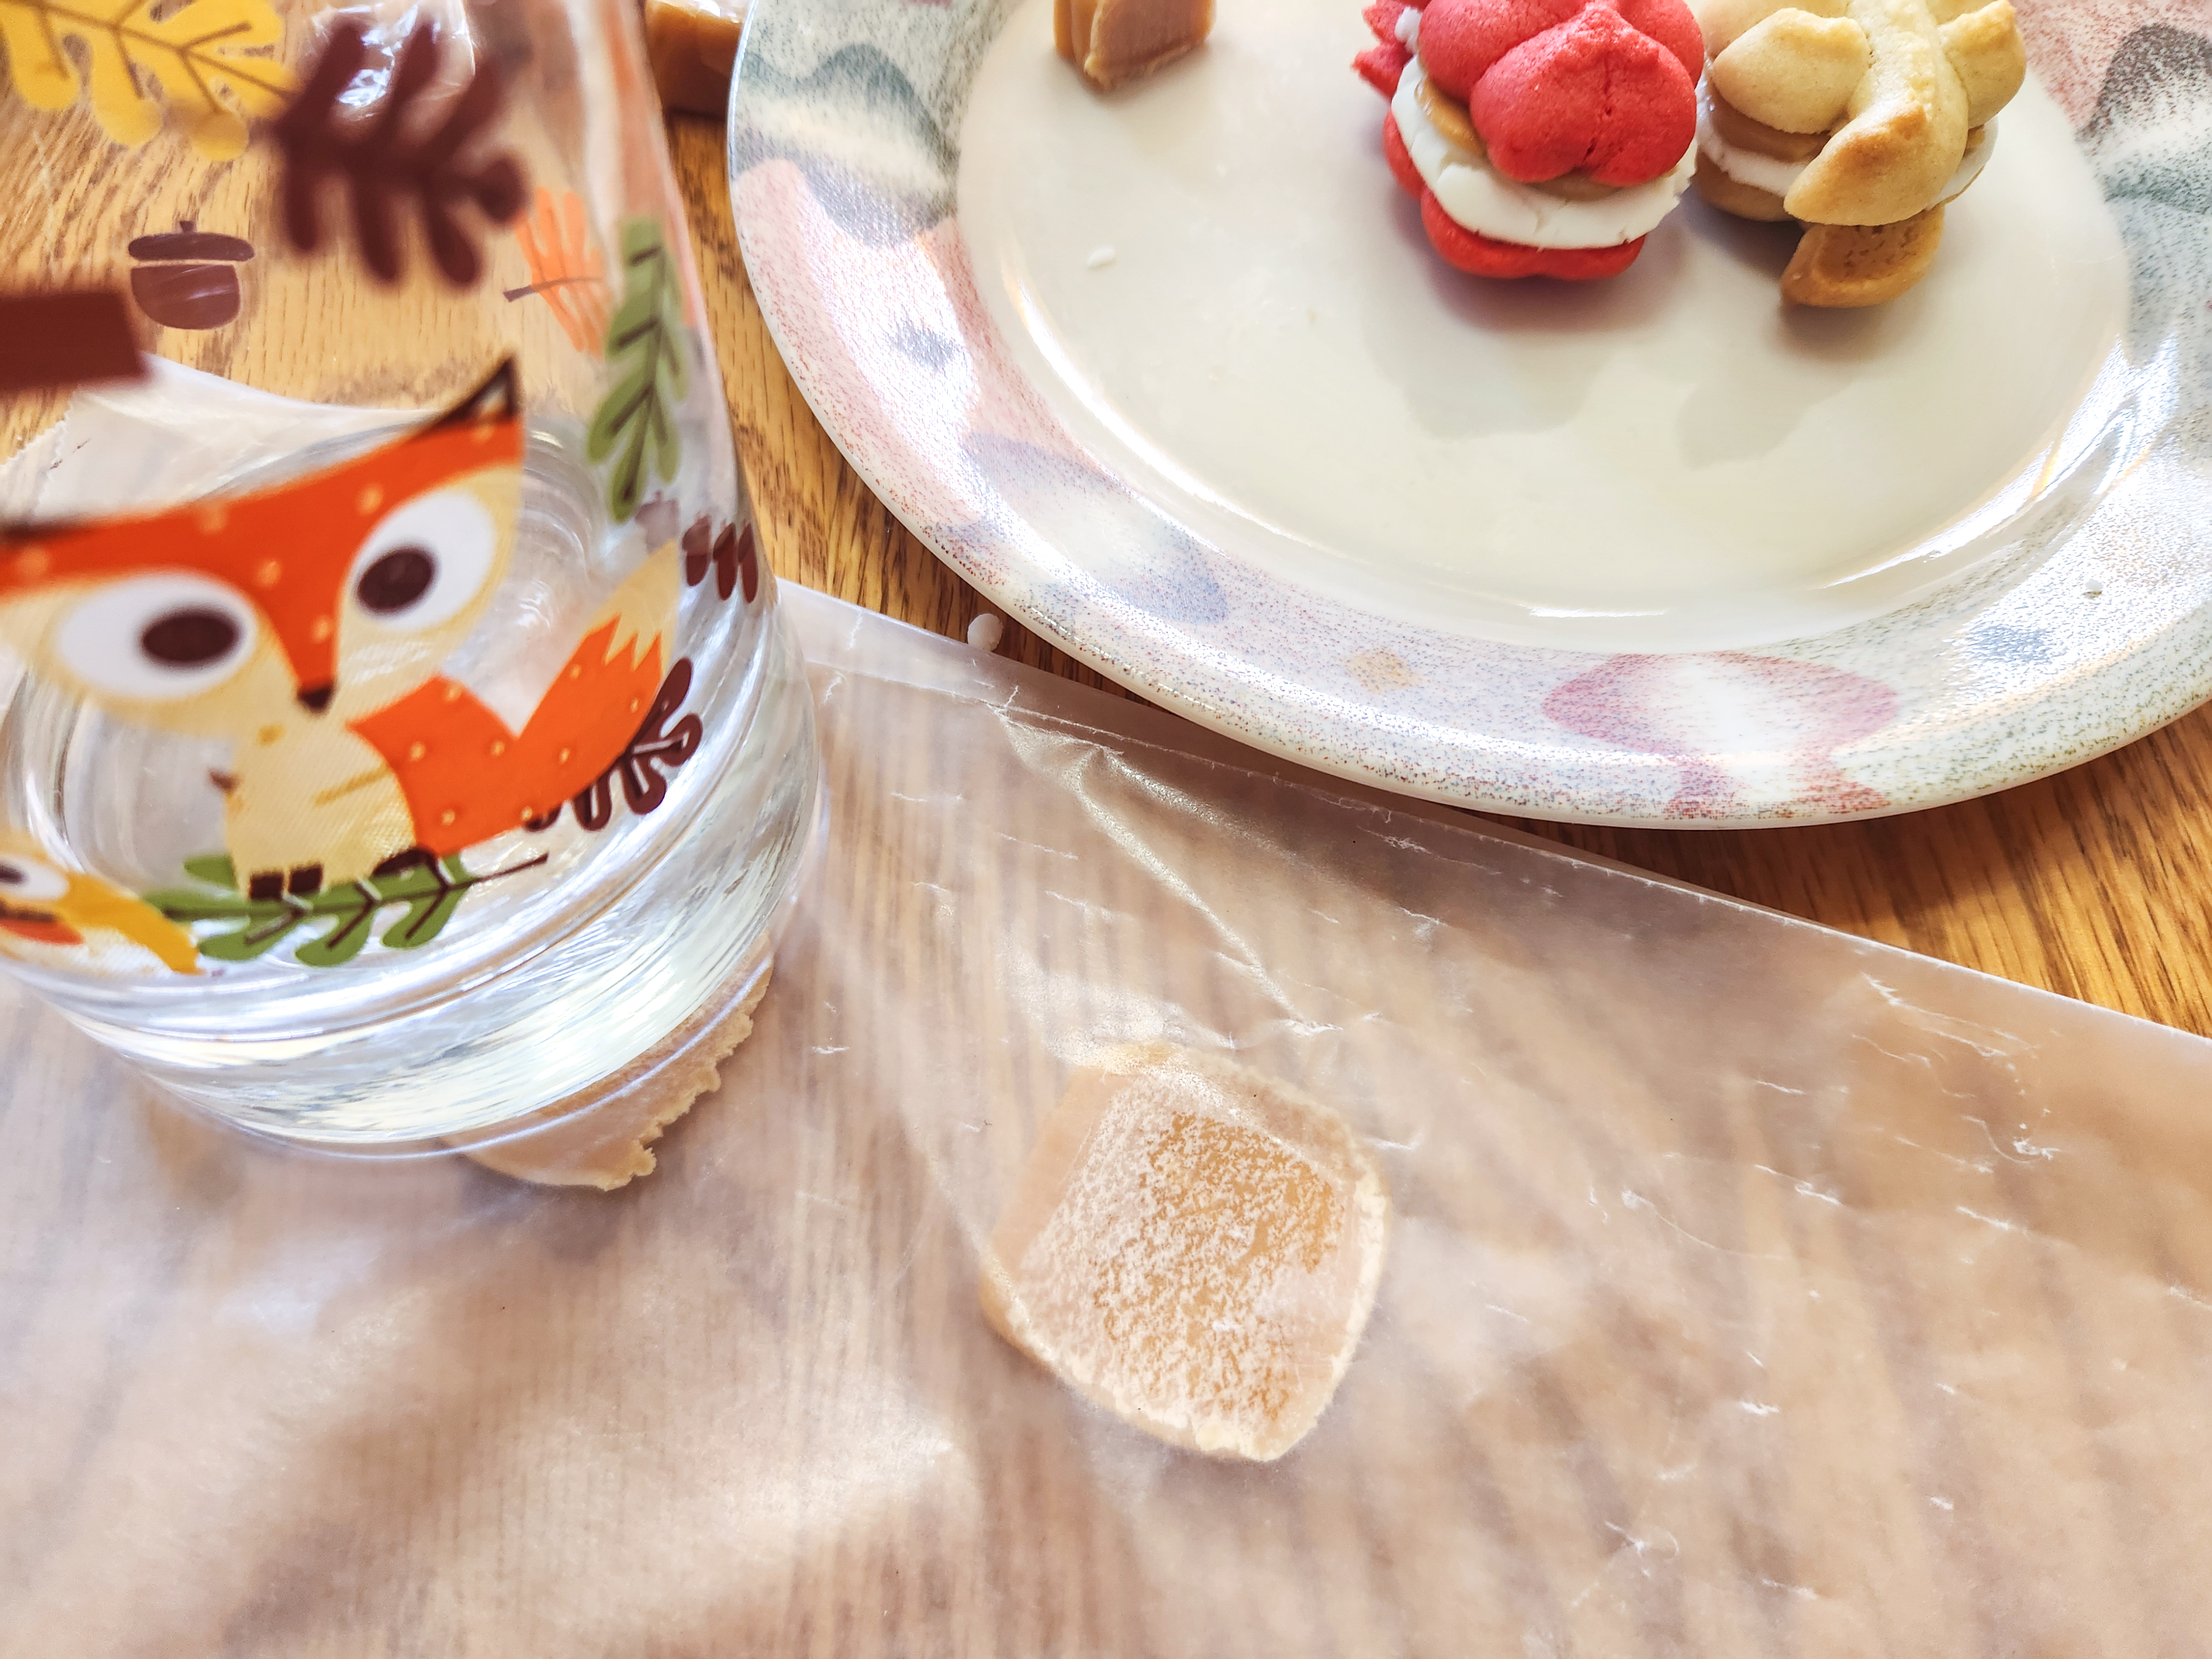
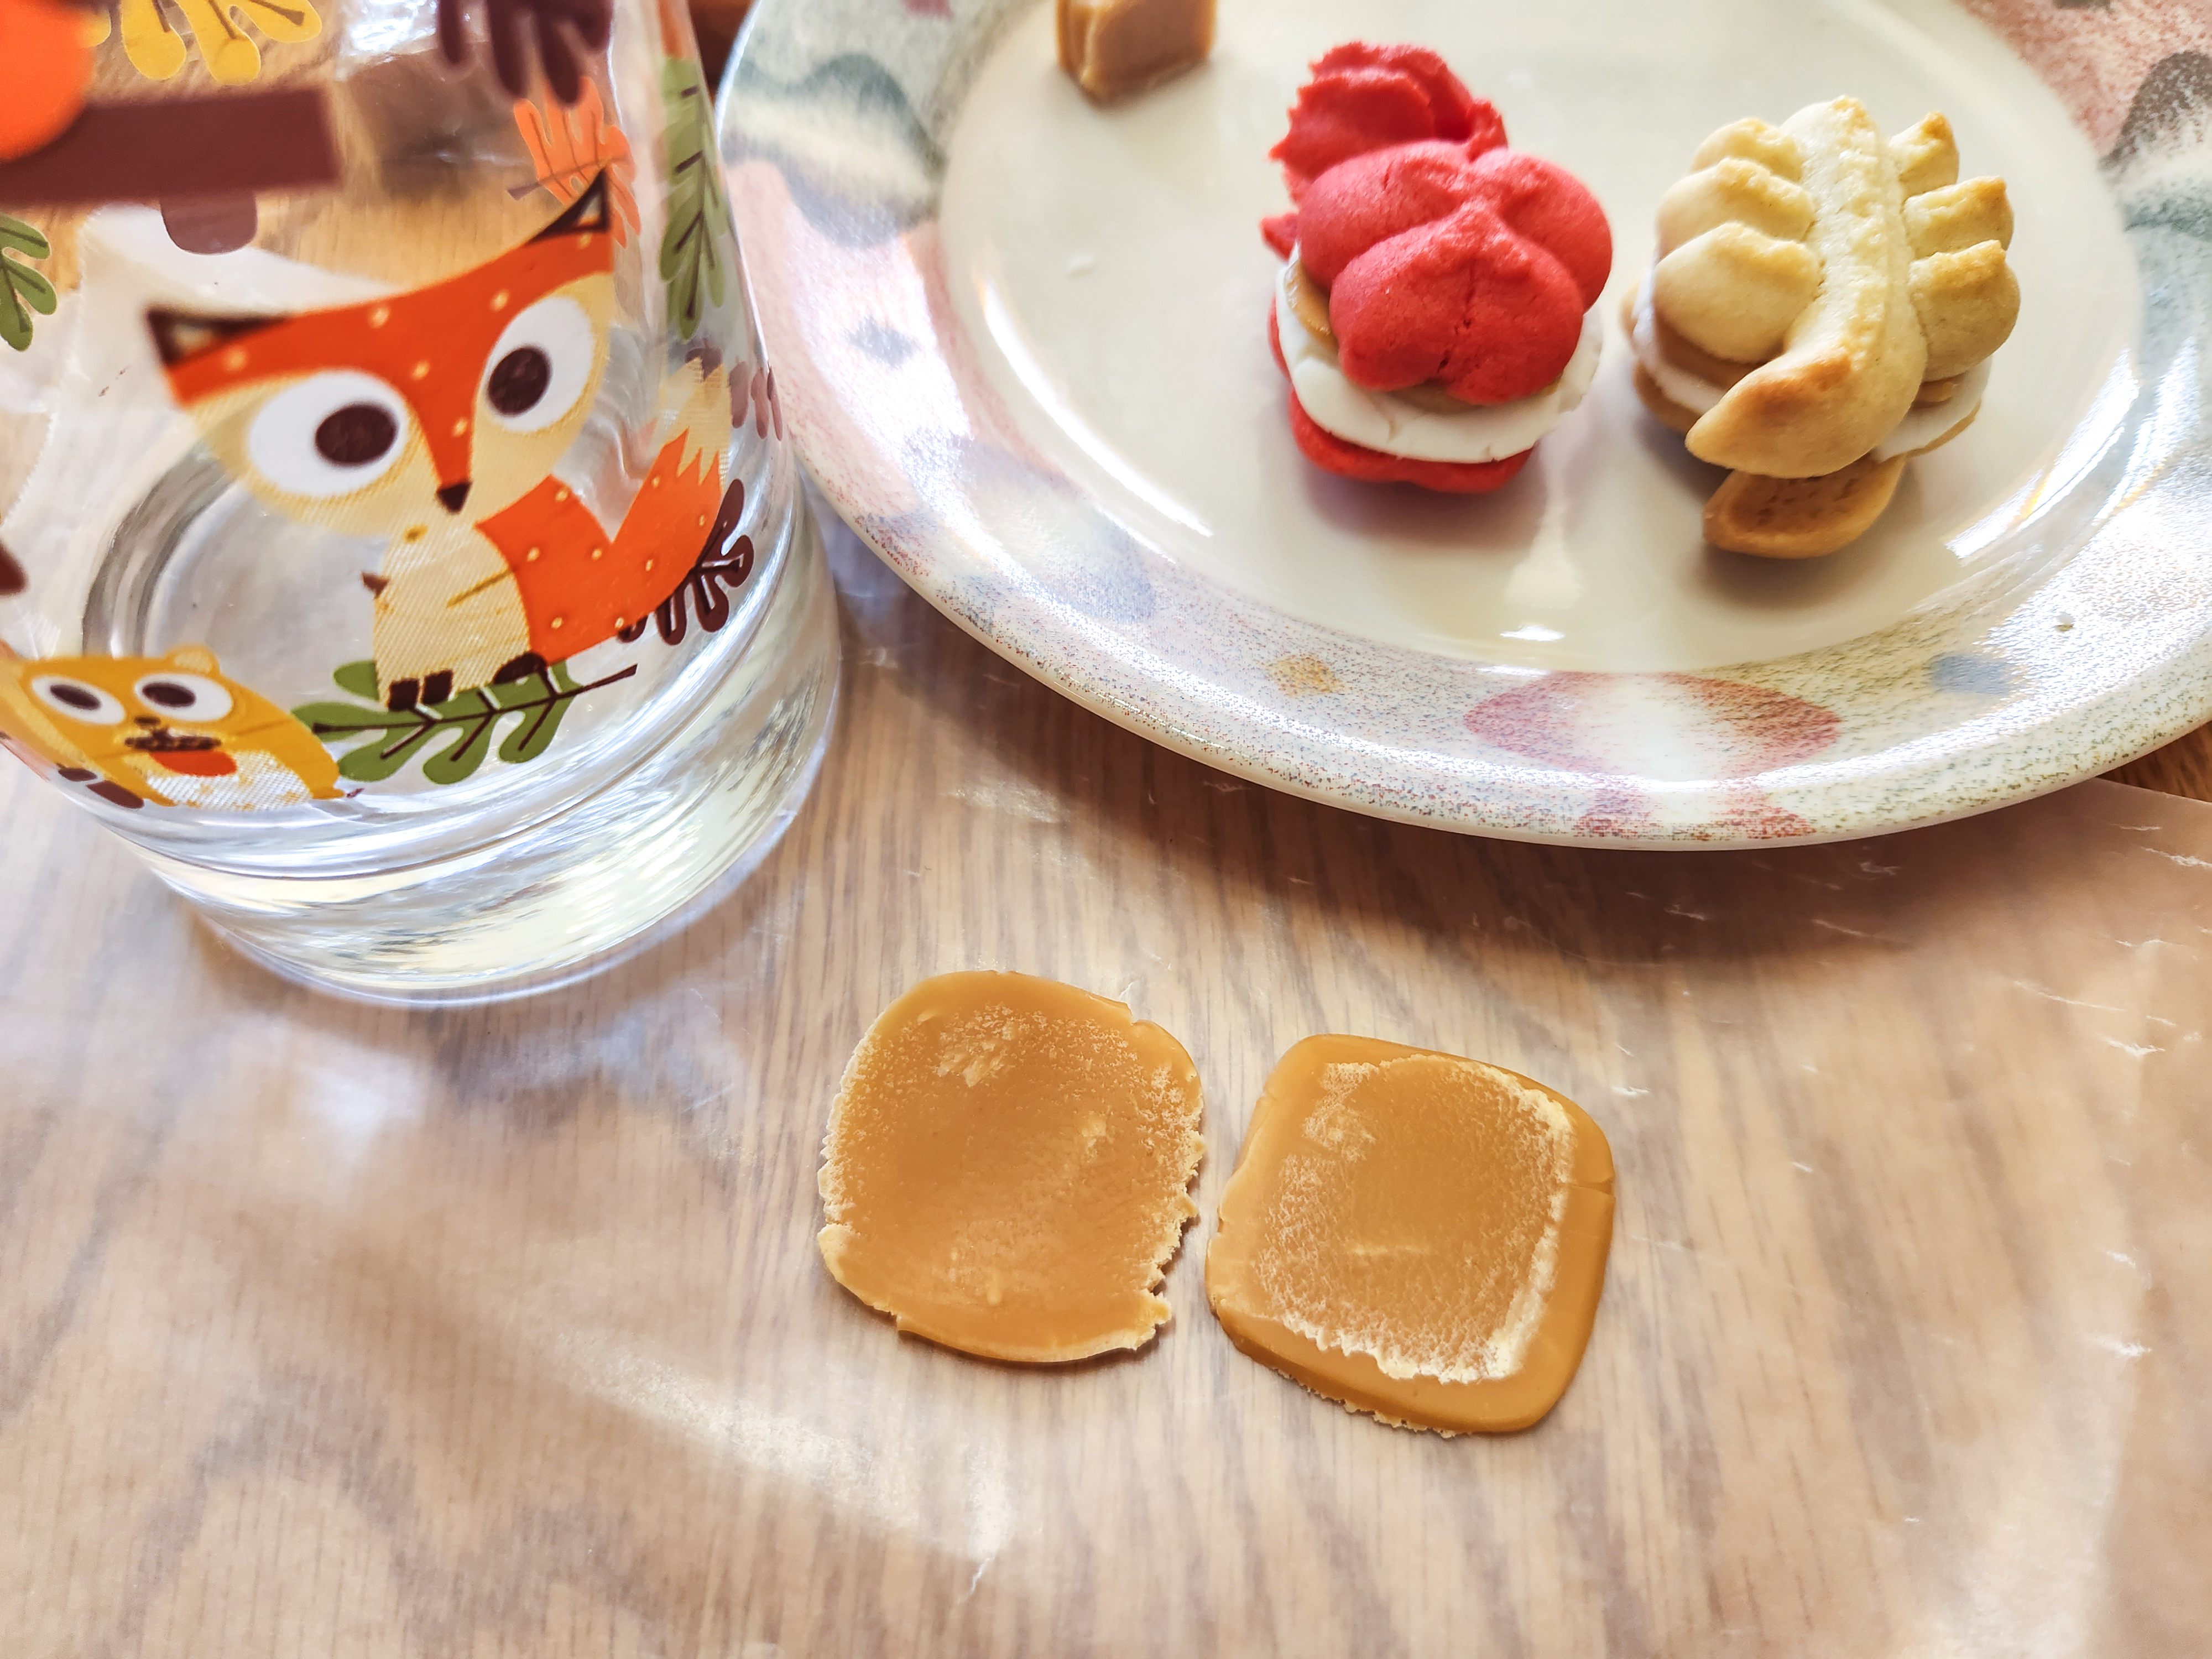
Unwrap caramels and slice them in half. Place the halves between wax paper sheets and press them flat with a solid flat object. I used the bottom of a sturdy glass. Wiggle as you press down and they will give and flatten.

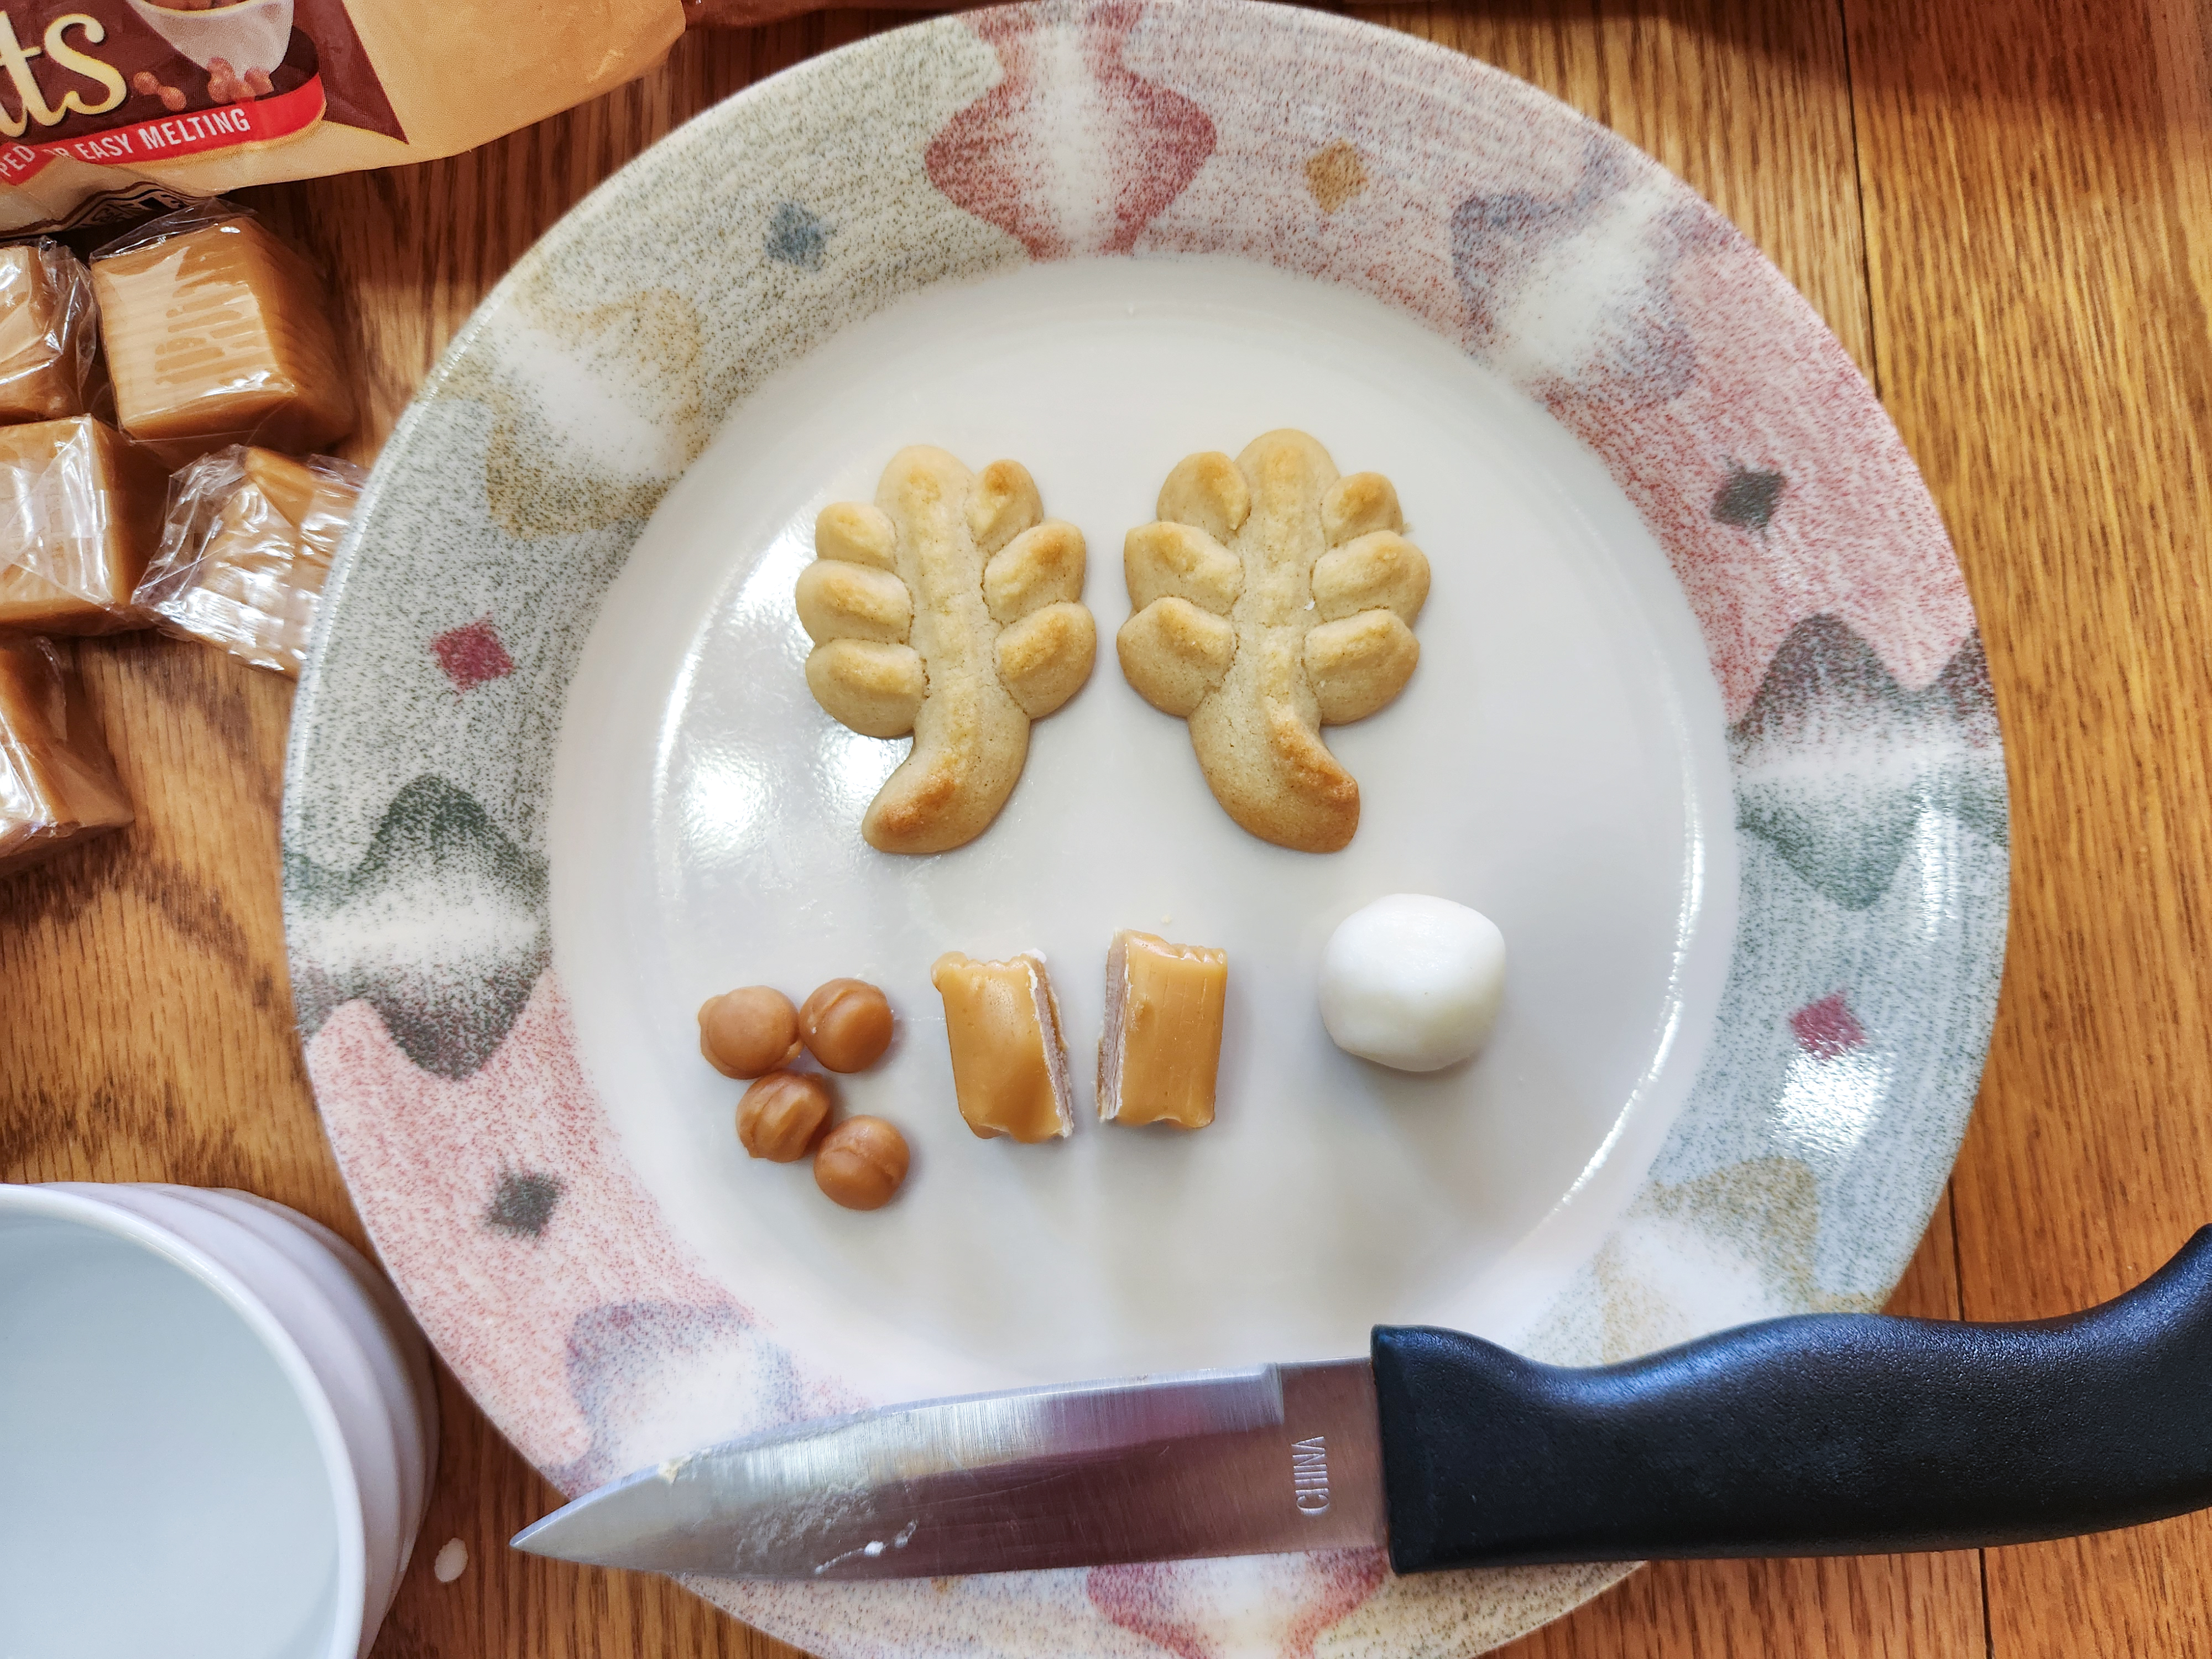
Ok, so now you have all the parts for your sandwiches!

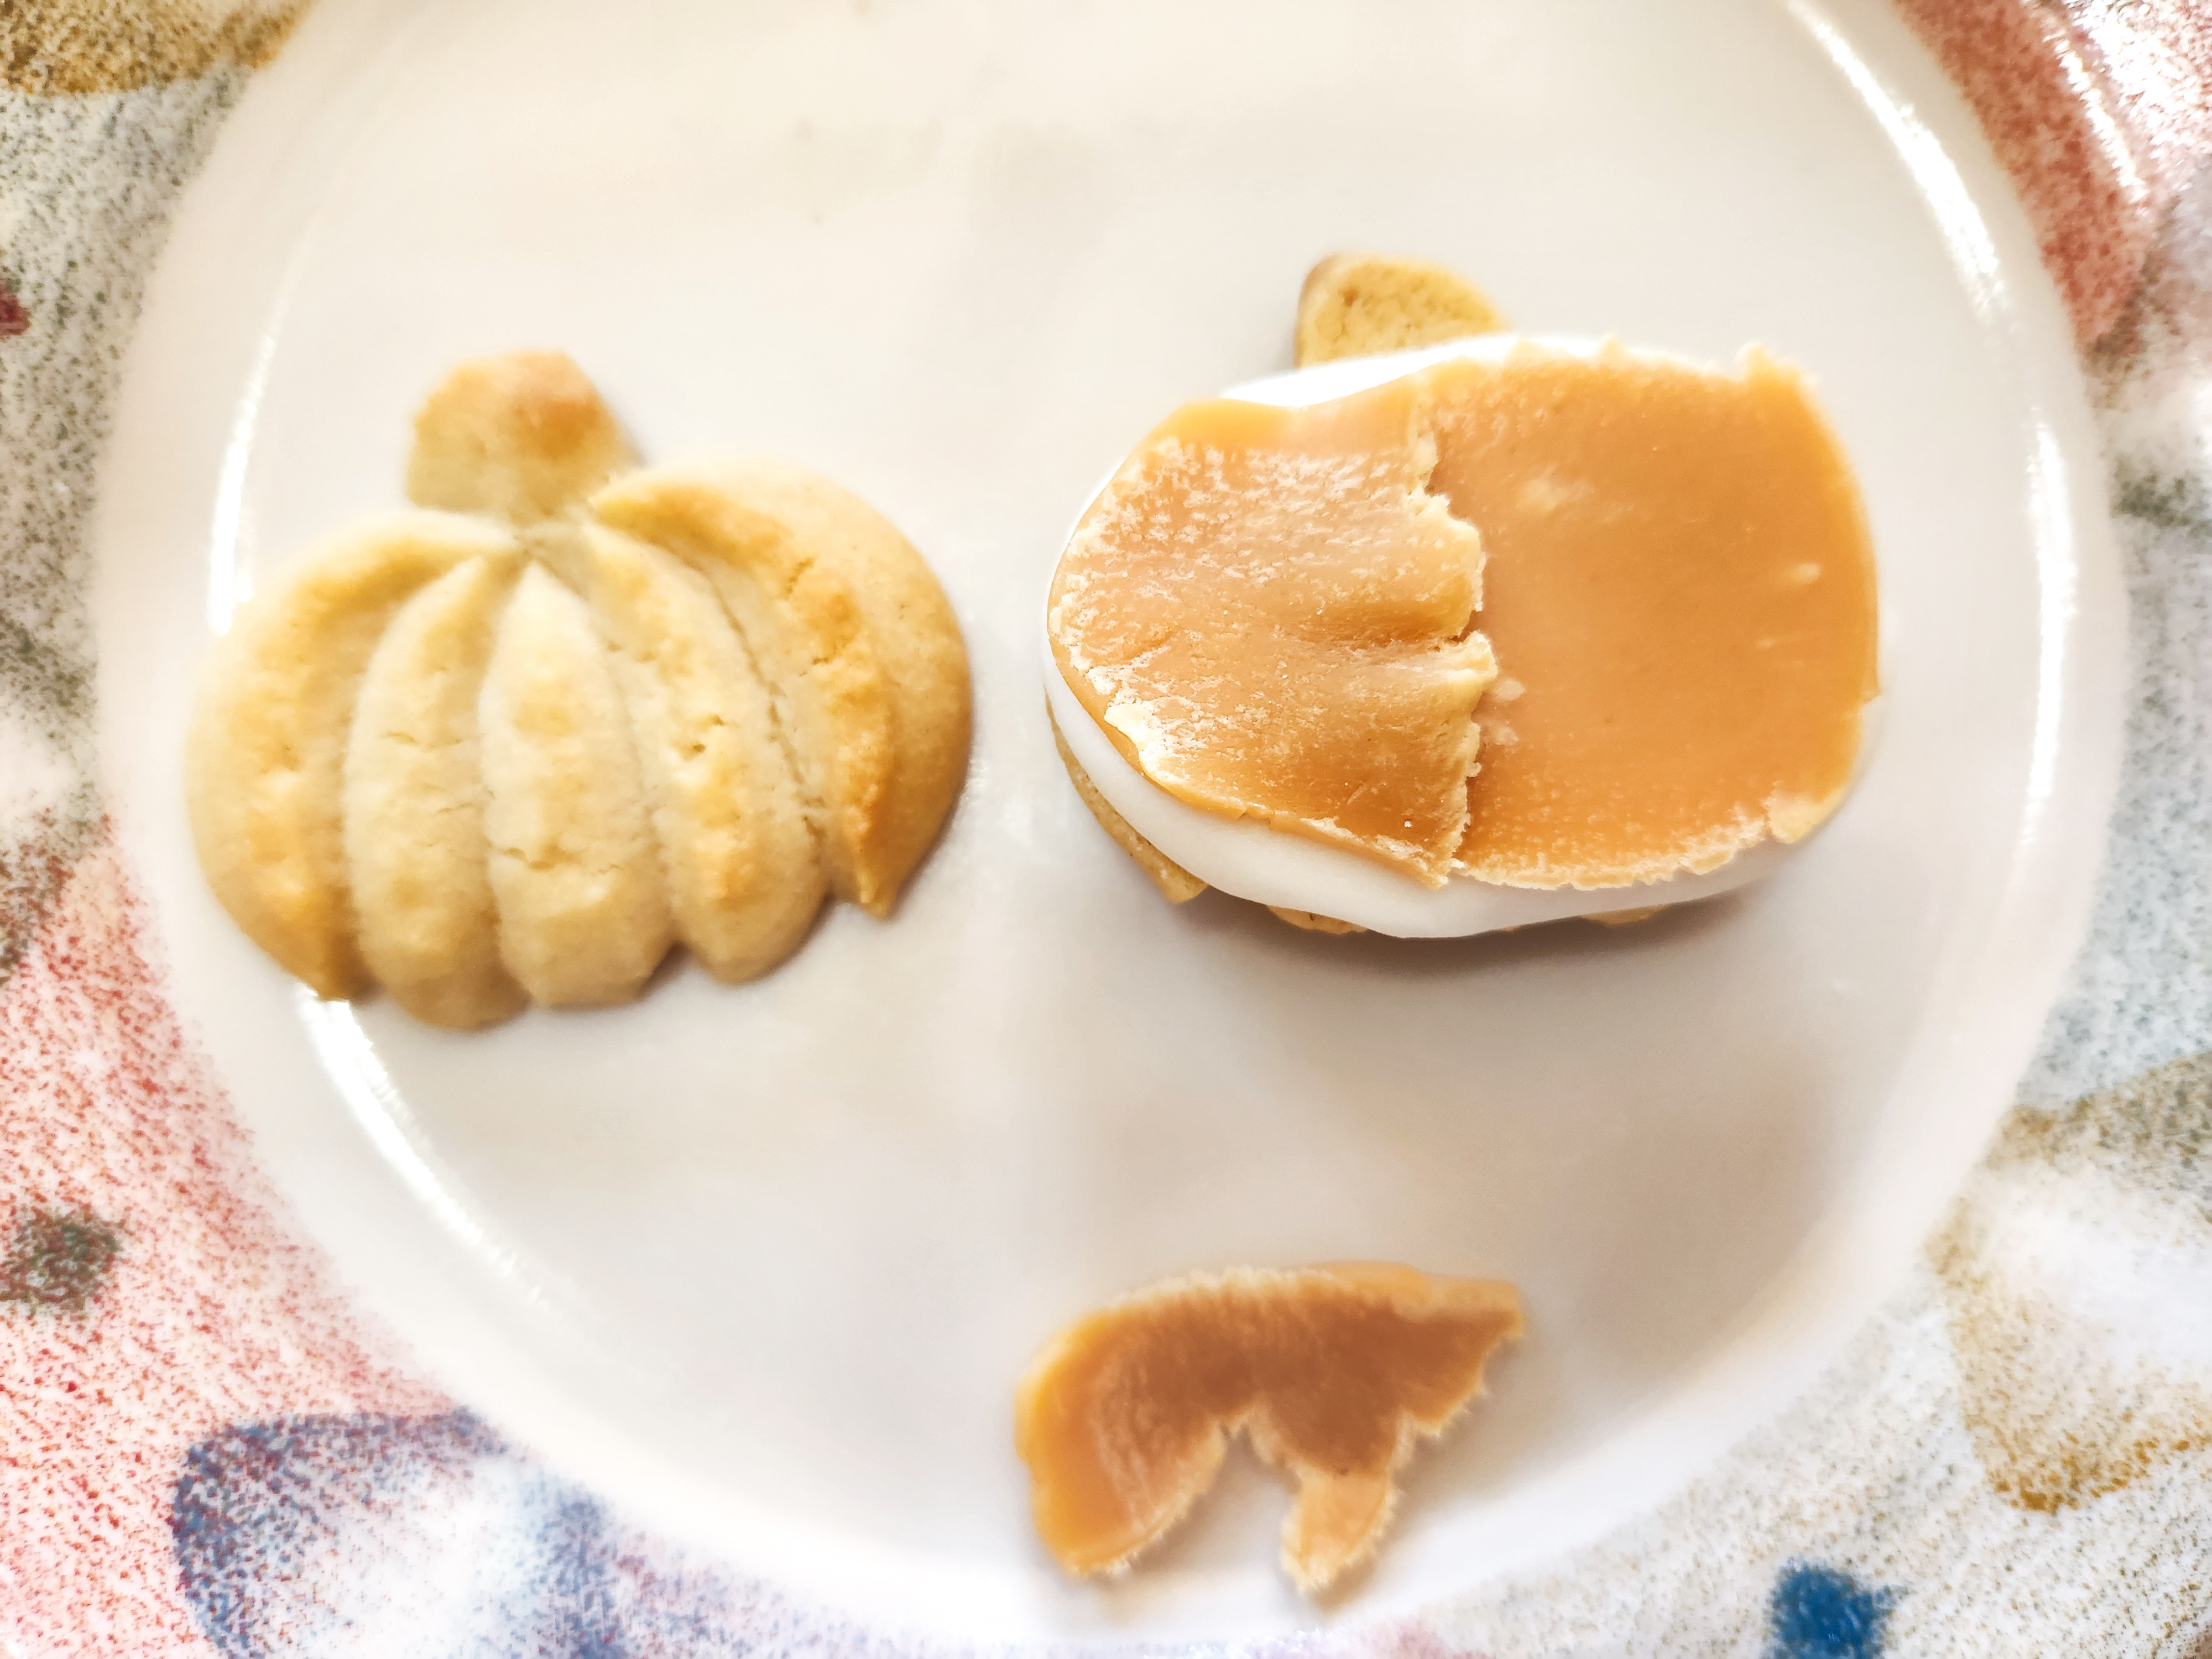
To assemble, take small balls of the apple buttercream and smoosh them into shapes to fit the cookie shapes. Place them on an upside-down cookie. This is the bottom cookie pf the sandwich. Now trim the caramel to fit also. You can put the caramel on pretty haphazardly. It’s going to taste AMAZING no matter how perfect or imperfect your caramel. NOTE: you can also use caramel bits in place of sliced caramels. Flatten and use as many as you need for each cookie. TIP: Get a small dish of warm water, and use your fingers to dampen the buttercream and caramel so they stick to the cookie and each other. It’s like magic!


That’s it! I hope you enjoy these as much as we do. I hope they make your fall a festive one!
Happy Baking!
~Susie
Disk & Pin Designer/Co-Owner at Impress! Bakeware, LLC
Our website has all of our 200+ disk shapes, cookie press, embossed rolling pins, luster dusts, baking accessories plus more about our Women/Family Owned company! impressbakeware.com
All products are on our Etsy shop.
Our Amazon shop has our cookie press and disks and embossed rolling pins.
Follow us on facebook!
