
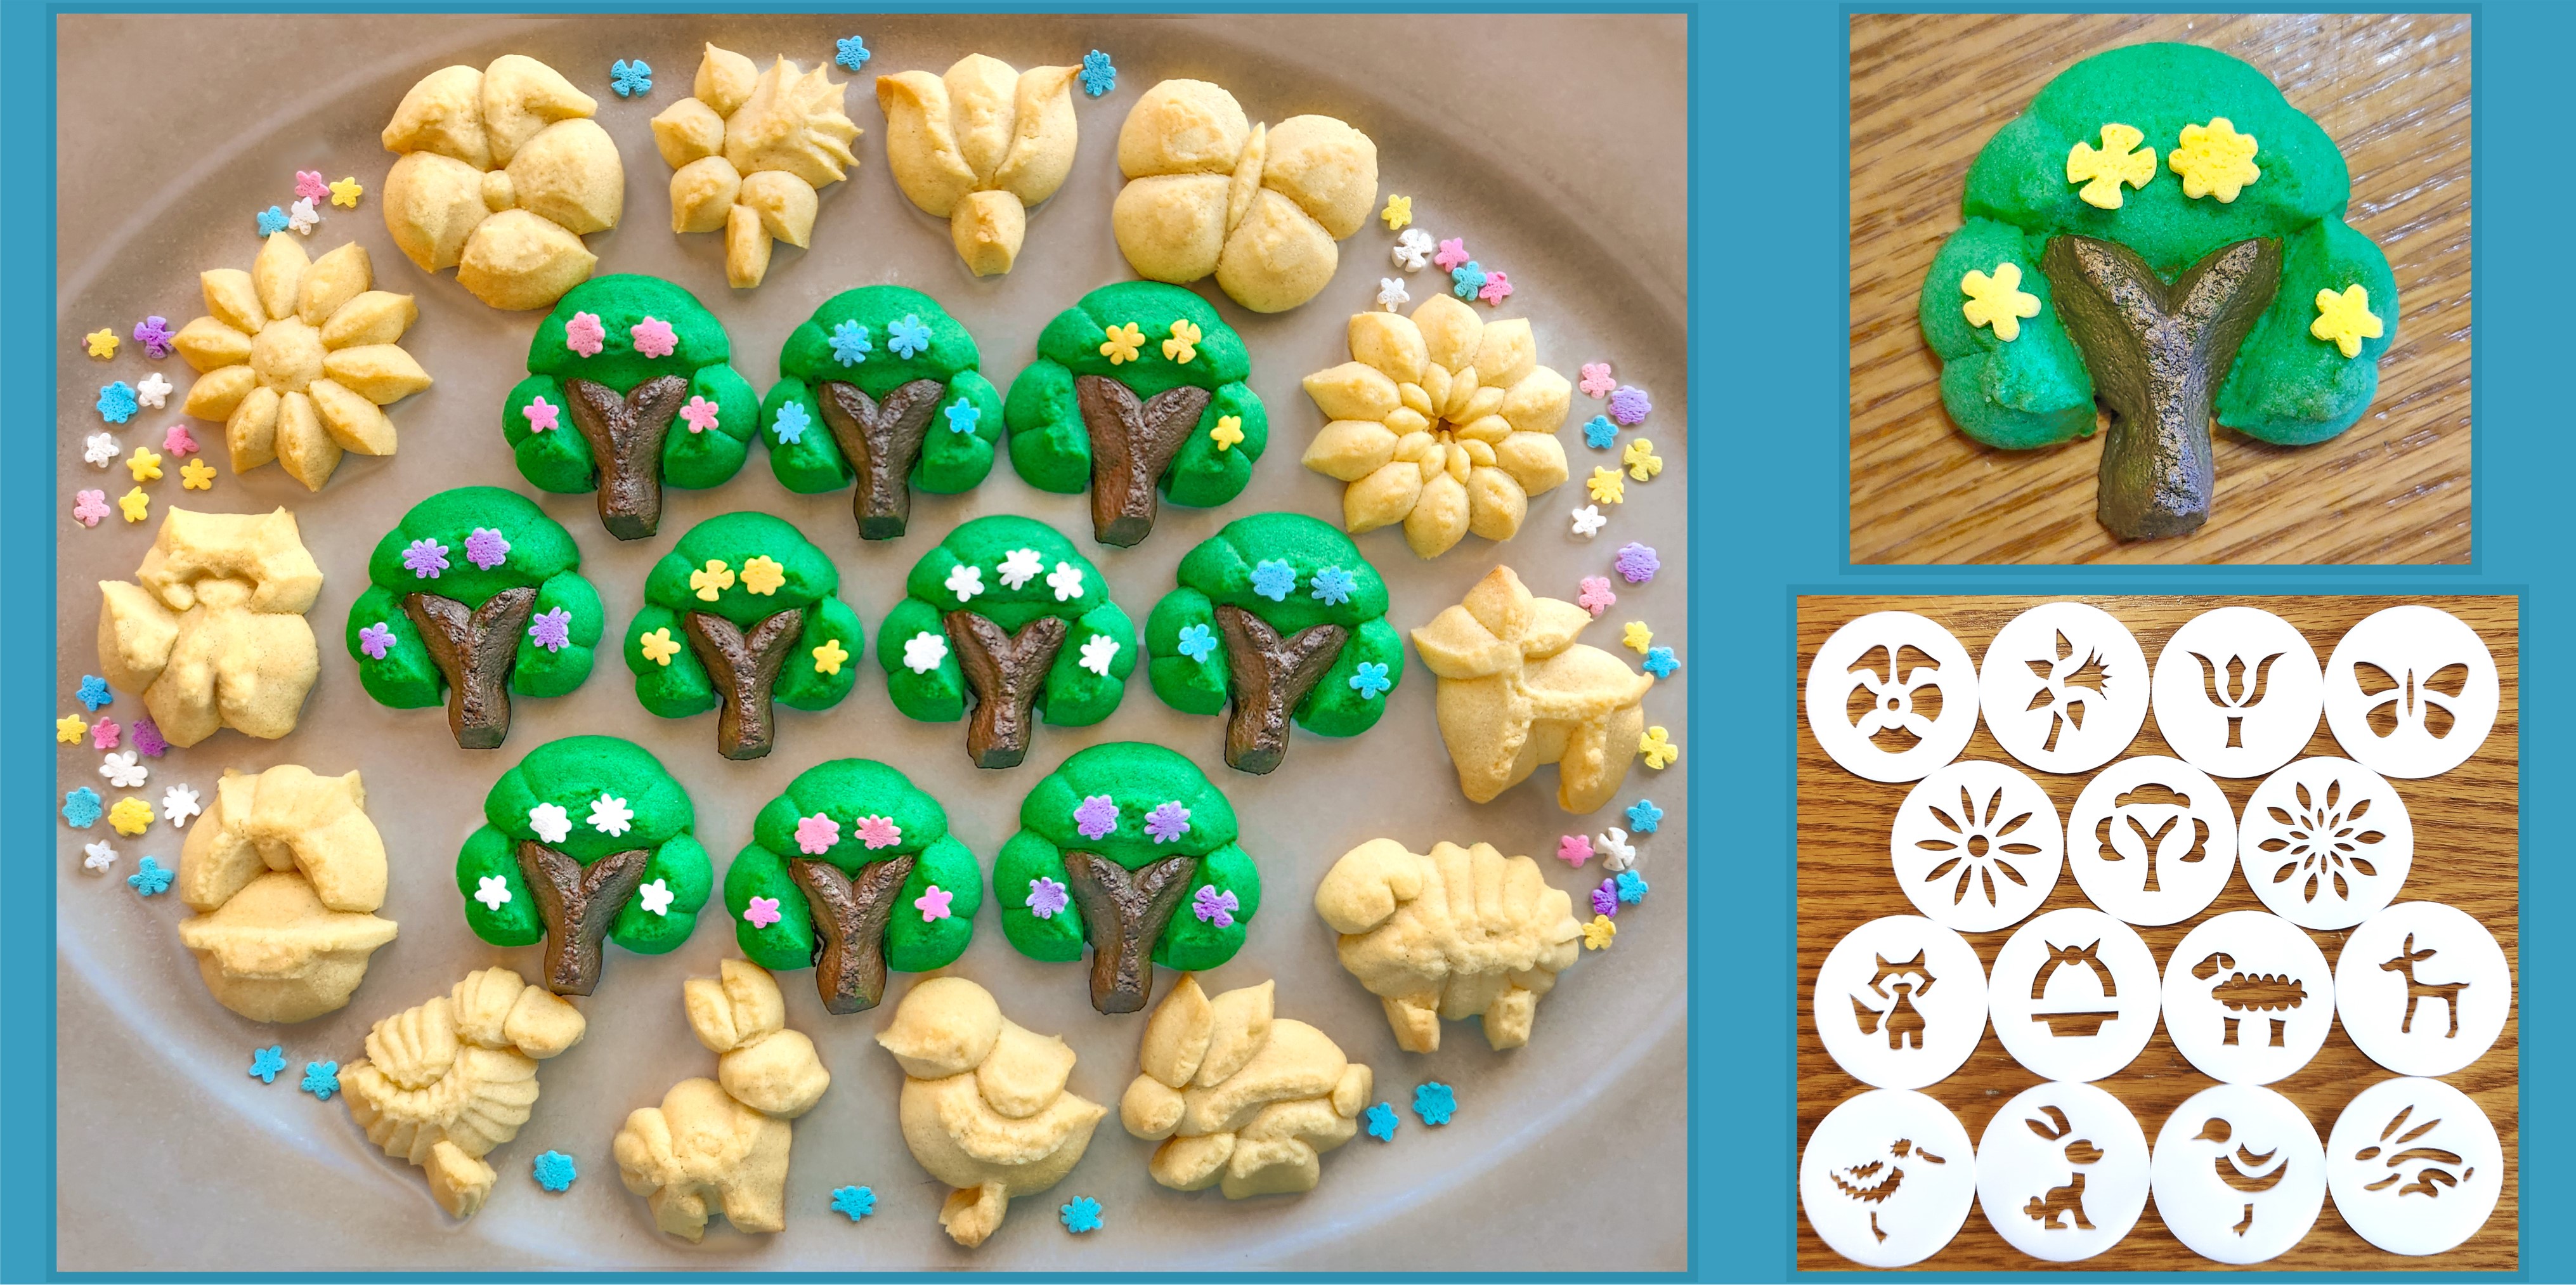
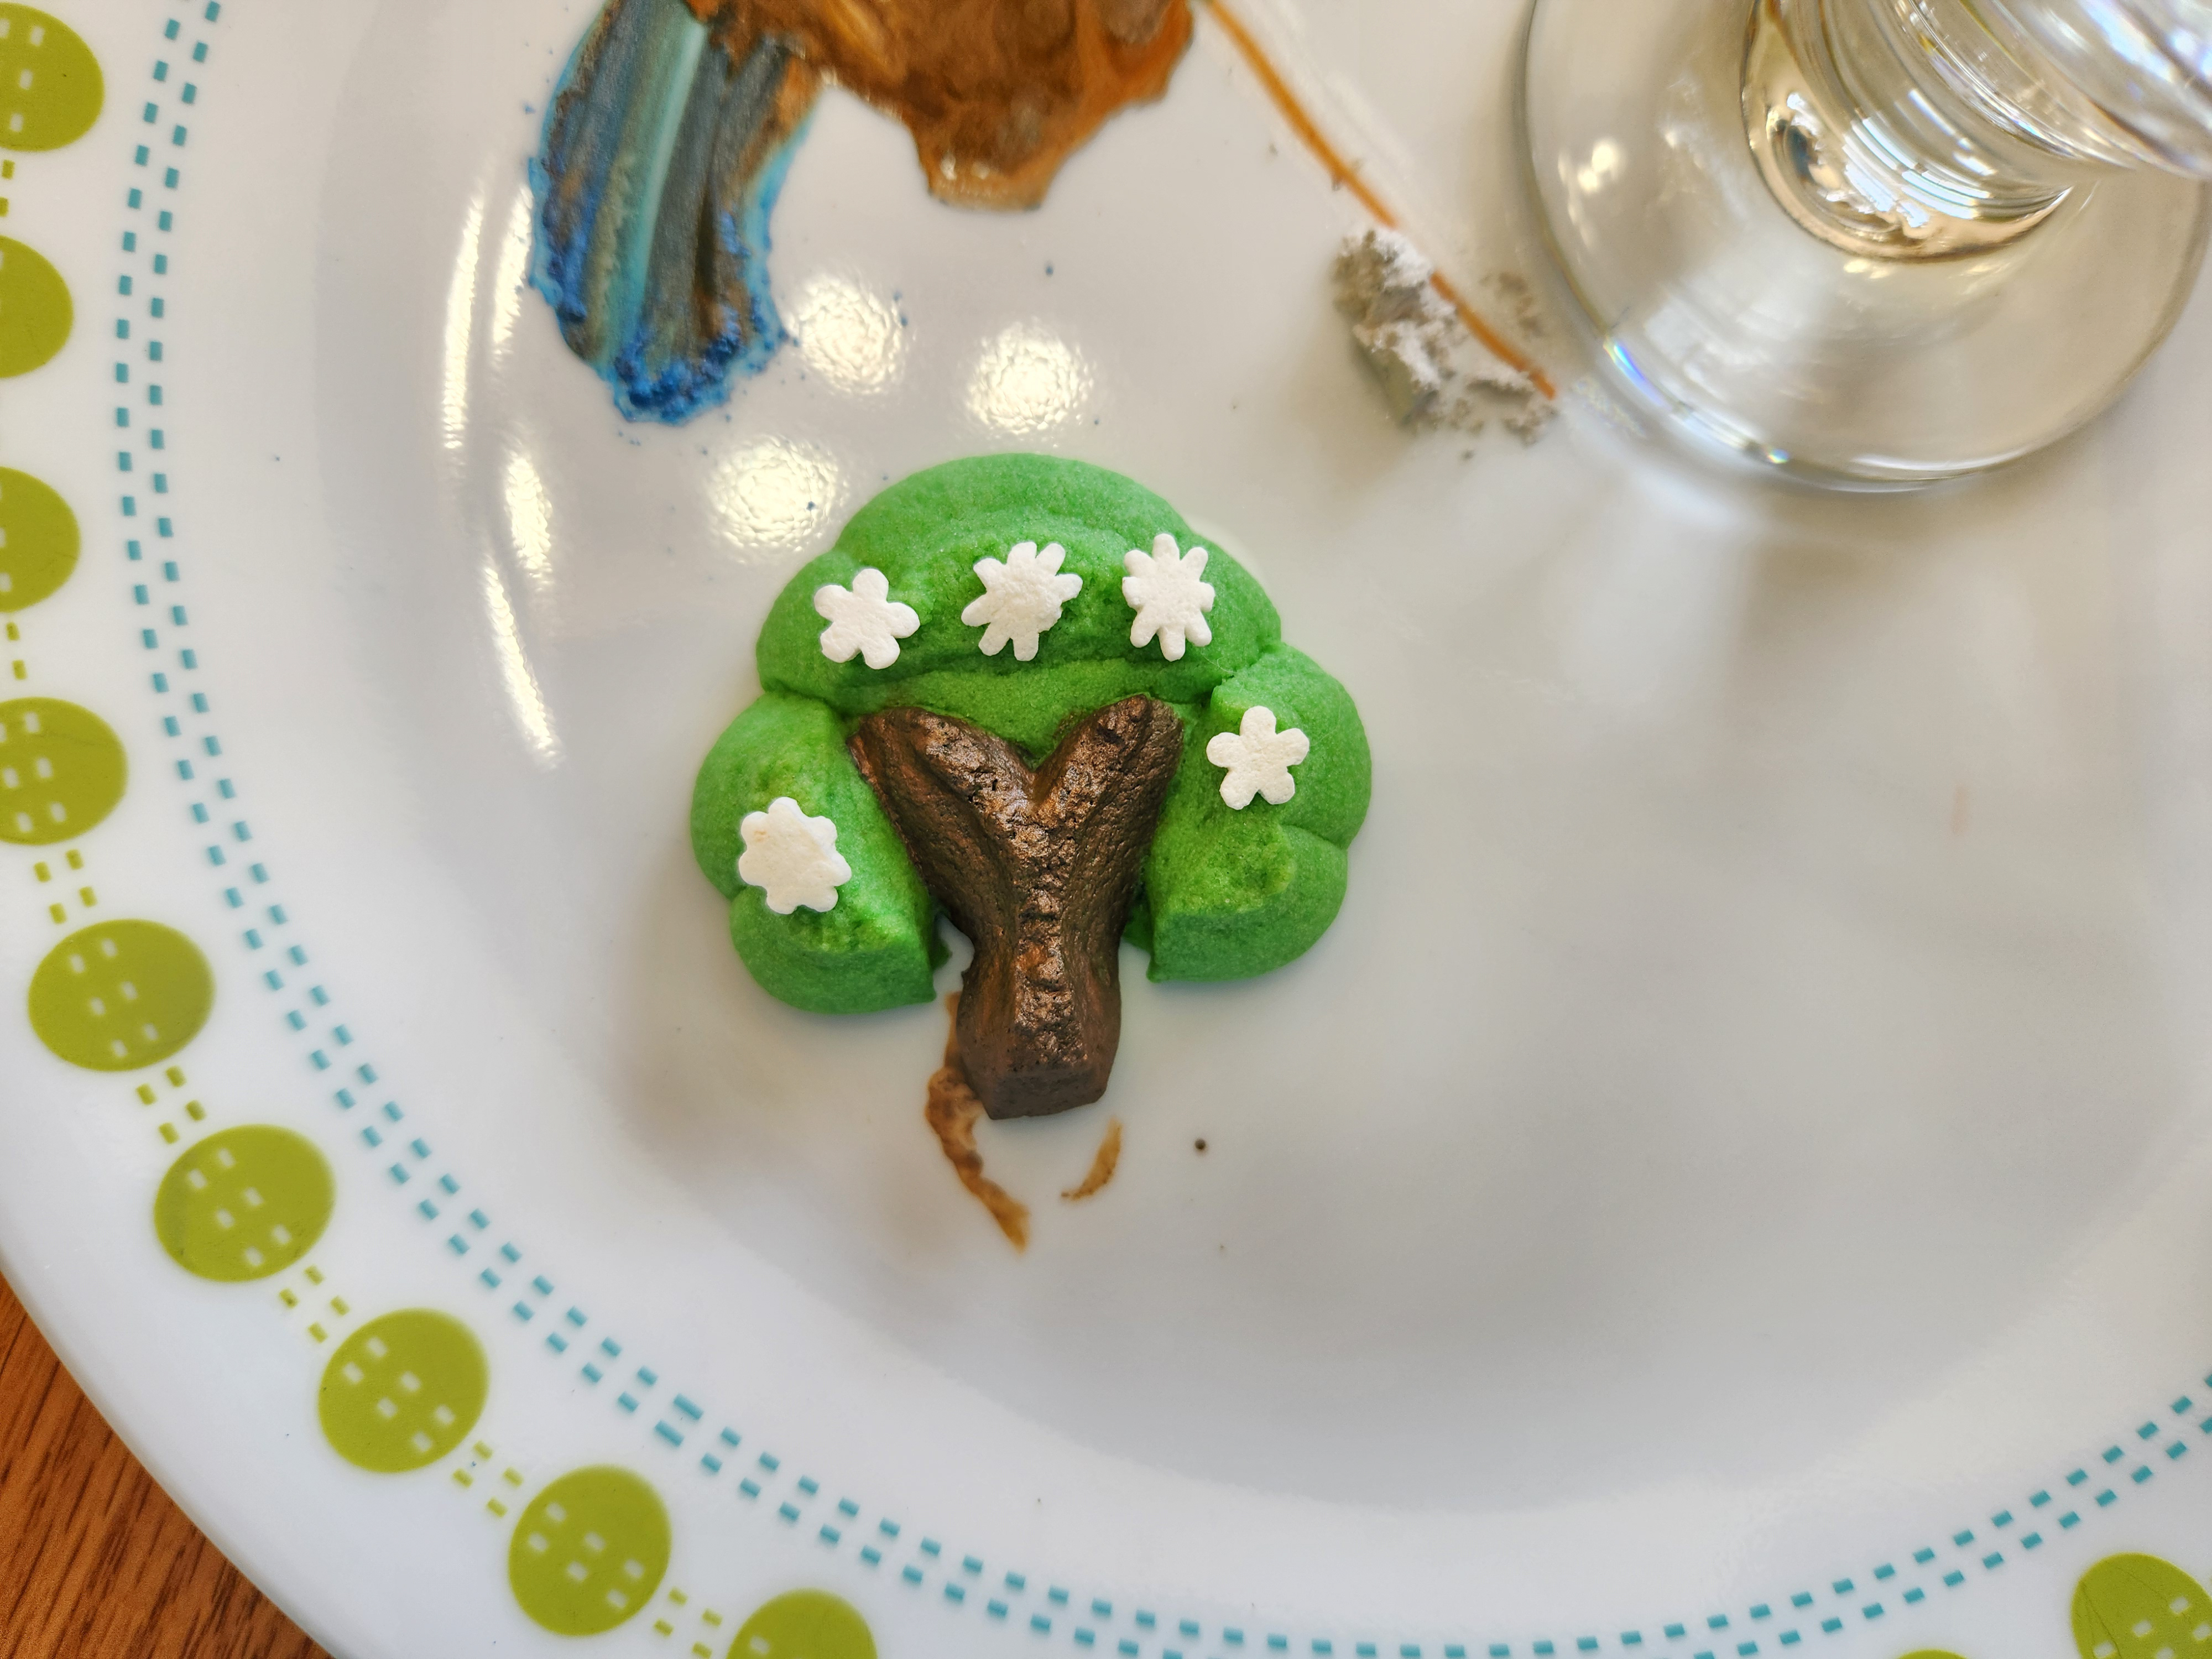
Cake Batter Spring and Easter spritz cookies have a rich, cozy flavor that warms your heart! Pressed in festive shapes, this is one of my simplest recipe posts ever. Just showing off our beautiful Spring and Easter shapes. No super fancy decorating, no sandwich filling. Just spritz cookies looking & tasting fabulous! All I did was tint some dough green for the trees, add a touch of brown luster dust on the trunk, and add some flower sprinkles. Simplicity.
I originally did this recipe a few months ago for Christmas! So this post is a copy-and-paste of that one, with the pictures and a few instructions updated.
If you want to decorate these cookies I have plenty of tutorials on this site! Look in the menu under “Easter” and “Spring”.
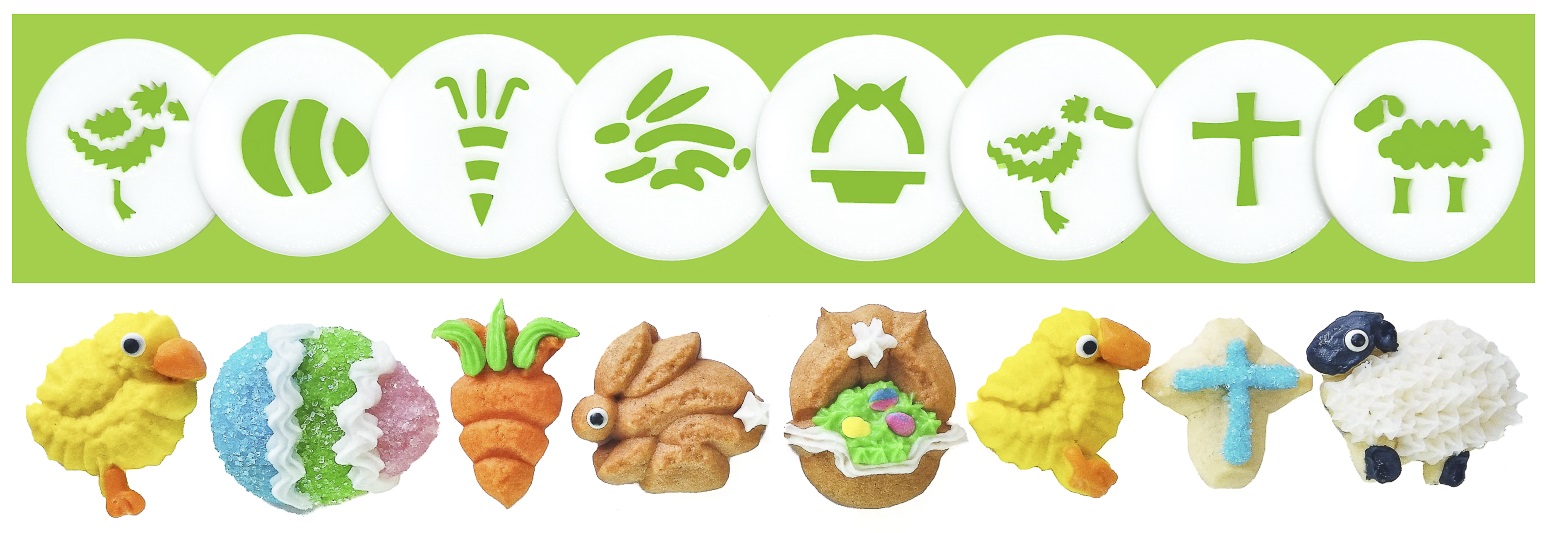
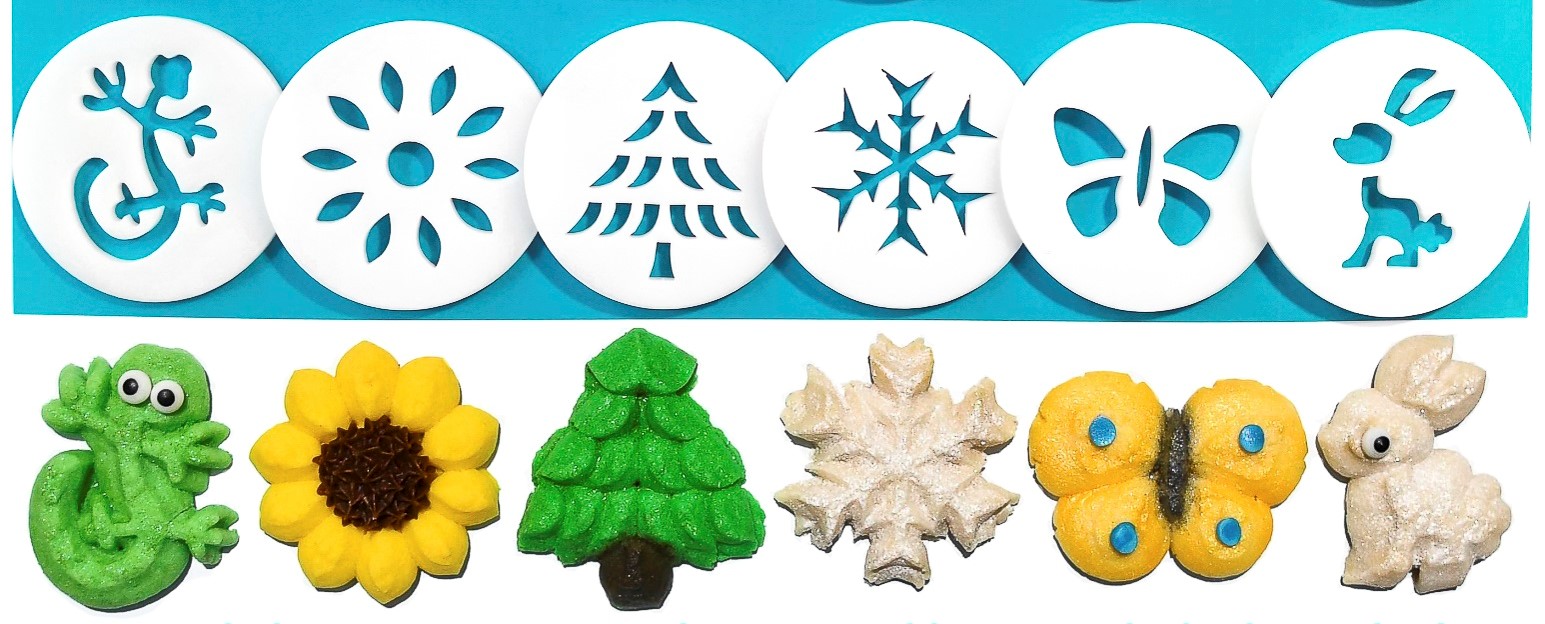
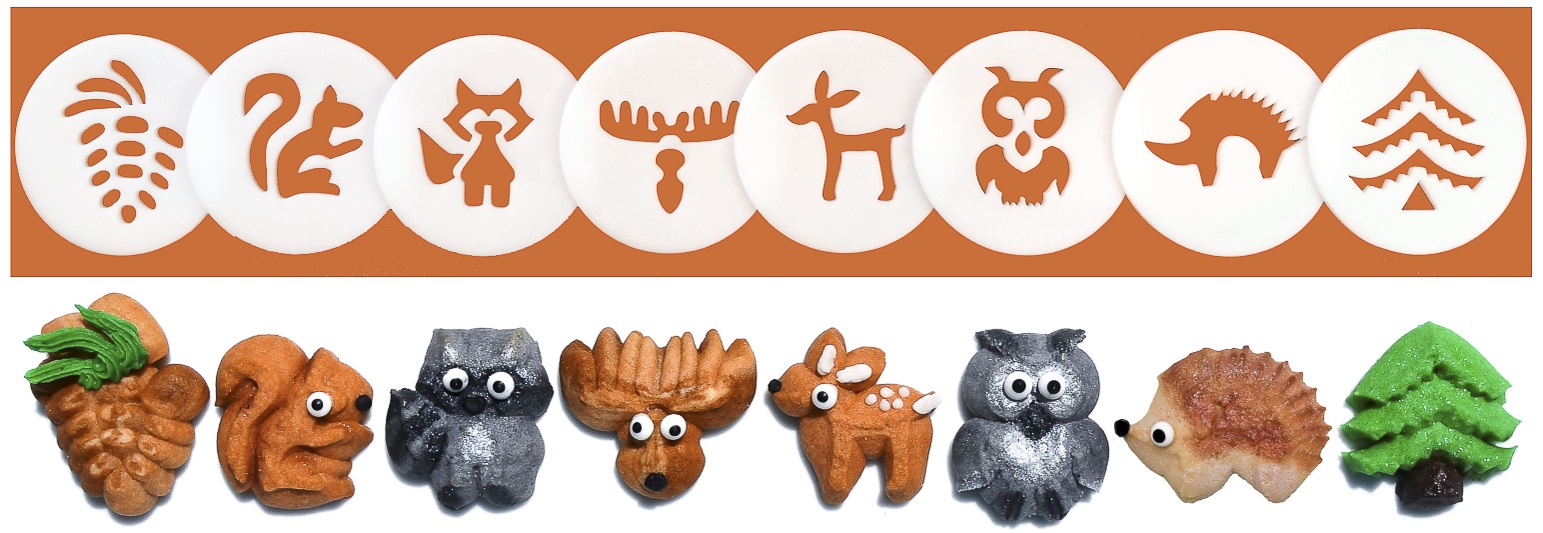
To make these, I used the Pansy, Daffodil, Tulip, and Daisy disks from our Flowers Cookie Press Disk Set, plus the Easter Basket, Duckling, lamb, and Bunny from our Easter set, the Double Daisy, Bluebird/Songbird, Delicate Butterfly, and Sitting Bunny from our Press Box Disk Set (sold by themselves without the press on our website and Etsy), the Deciduous Tree from the Leaves & Trees, and the Fox/Raccoon and Fawn from the Woodland disk sets. We have over 300 disk shapes so choose whatever makes you happy.


Our website has all of our 200+ disk shapes, cookie press, embossed rolling pins, baking accessories plus more about our Women/Family Owned company in beautiful Colorado Springs! Ordering HERE helps us the most and we appreciate it! https://www.impressbakeware.com/
All products are on our Etsy shop.
Our Amazon shop has our cookie press and disks and embossed rolling pins.
Cake Batter Spritz Cookies
1 1/2 cups (3 sticks) butter, softened (not melted) (I recommend Land O Lakes brand as I know it creams well. I have had trouble with some generic butters not creaming properly and making the dough hard to press)
1/2 cup granulated sugar
1/4 cup honey
2 teaspoons vanilla extract
1 Tablespoon + 1 teaspoon cake batter flavoring – I used McCormick
1 egg
4 1/4 cups all-purpose flour
1/2 teaspoon baking powder
1/4 teaspoon salt
Note: For a gluten-free option simply replace the flour with a 1:1 substitute like King Arthur’s Gluten Free Measure for Measure.
Preheat oven to 400°F.
In a large bowl, combine the flour, baking powder, and salt. Using a big wire whisk is a good way to mix them evenly. Set aside.
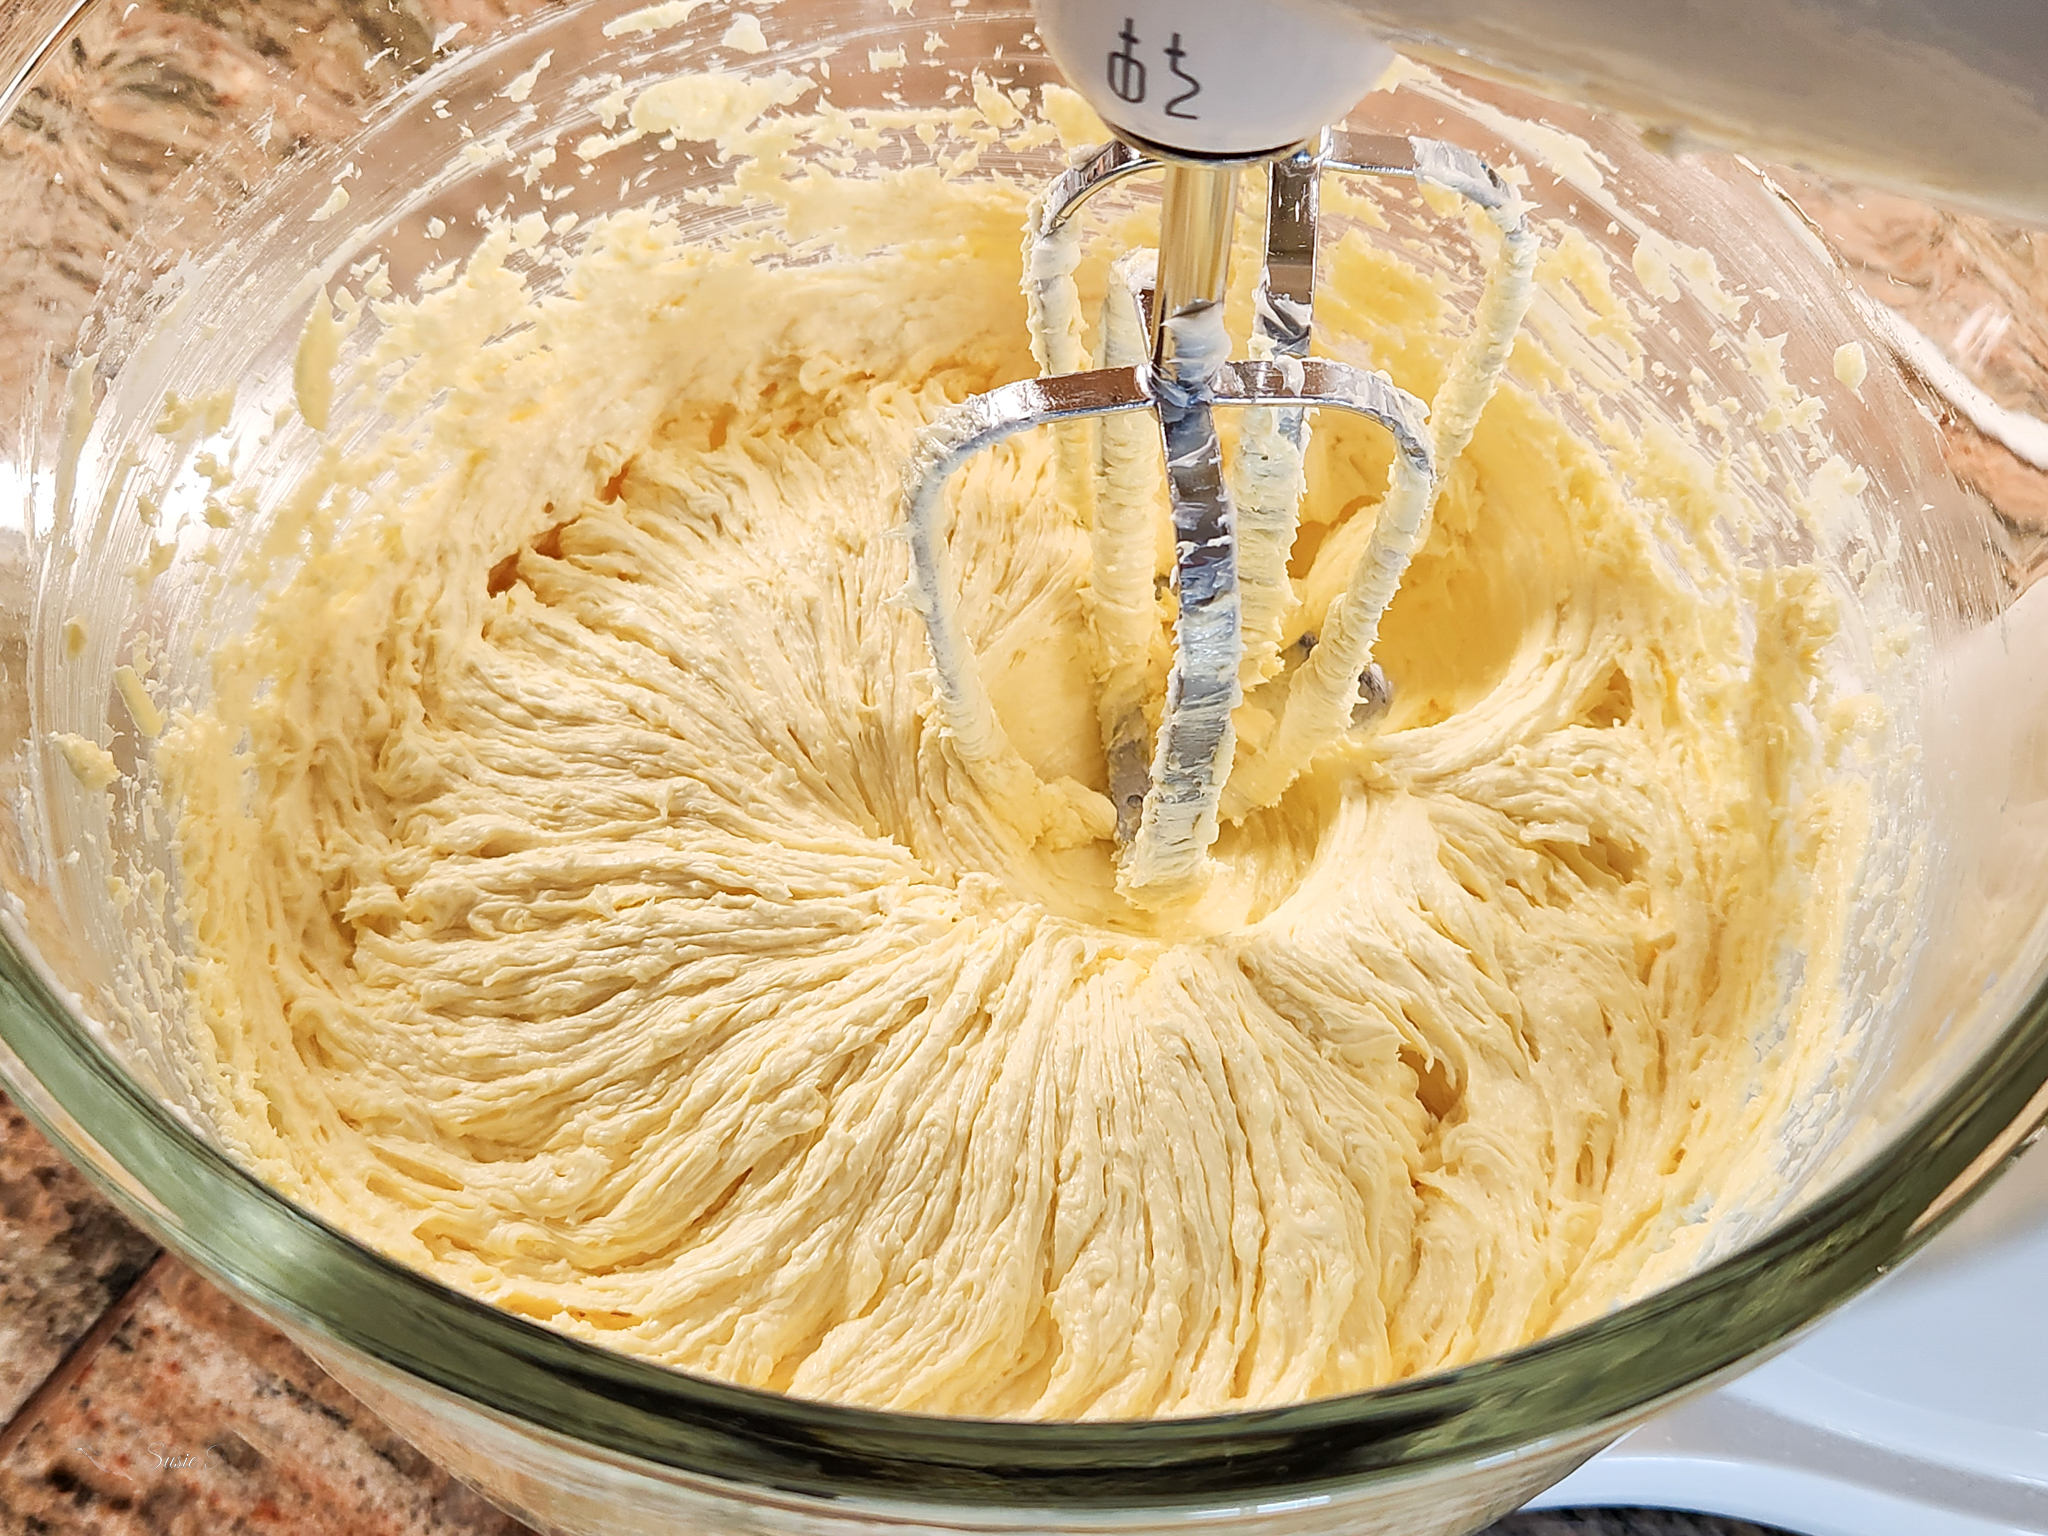
Using an electric mixer, cream the butter very well. I say this in every post so sorry for being repetitive! Creaming your butter until it is fluffy is the key to great spritz cookies. I like to pretend I’m making frosting and use the “whip” setting on my mixer. Butter turns a slightly lighter color when it’s creamed well.

Add the sugar and cream it very well again. Add the honey, the vanilla extract and cake batter flavoring, and egg, mixing very well after each new addition. At this stage it is the most delightful yellow color!
Next add the flour mixture a little at a time, mixing on a slow speed until a soft dough forms. Perfect spritz dough has a soft malleable texture that is not too sticky or too stiff. You can always knead it by hand at the end if your mixer is leaving any flour unincorporated. Smooshing it into a play-dough like texture by hand is actually pretty fun. Always remember that you can tweak overly stiff dough by adding more vanilla a teaspoon at a time (or by the tablespoon if it’s particularly stiff), or tweak overly soft or sticky dough by adding flour a tablespoon at a time. Watch some of my videos to see what a correct spritz dough texture looks like.
If you’re wondering why I used cake batter flavor instead of cake mix, the leavening in cake mix is too much for spritz cookies. The flavoring was a much better way to go! The flavoring is a bit syrupy, though, so this recipe has less honey and more flour than my usual recipes. Please adjust as needed to get that correct spritz texture! It should feel like fun workable clay and not stick to your fingers!

If you’re making the trees green, tint some of your dough green for the trees using gel food coloring (liquid changes the consistency too much!) Remember to start with just a little color – you can always add more, but you can’t take it out! You can knead it in by hand or use a mixer. Color as much dough as you need to make trees and leave the rest plain. Keep any dough you are not currently using or pressing covered so it doesnt dry out.
Get your disks and pack your dough into your cookie press barrel, using the back of a spoon to press the air bubbles out as you add dough. This helps create consistent pressure to avoid mis-shaped cookies.
Place the disk in the bottom ring, attach to your press, and start pressing onto an un-greased cookie sheet. Use a consistent rhythm to keep the shapes a uniform size. It’s not at all uncommon for your first few cookies to be mis-shaped, as pressure needs to build in the barrel to make consistent shapes. It’s totally ok! Just throw them back in the bowl to be re-pressed. If you’re still having trouble pressing (mis-shaped cookies, trouble sticking to the pan, etc) press one cookie into the air and wipe it off and toss back into the bowl to re-set your pressure in the press. You can also refrigerate your cookie sheets for 5 minutes if sticking is an issue. (There are more troubleshooting tips on the Troubleshooting and Decorating Tips page- see the top menu on the blog homepage.)
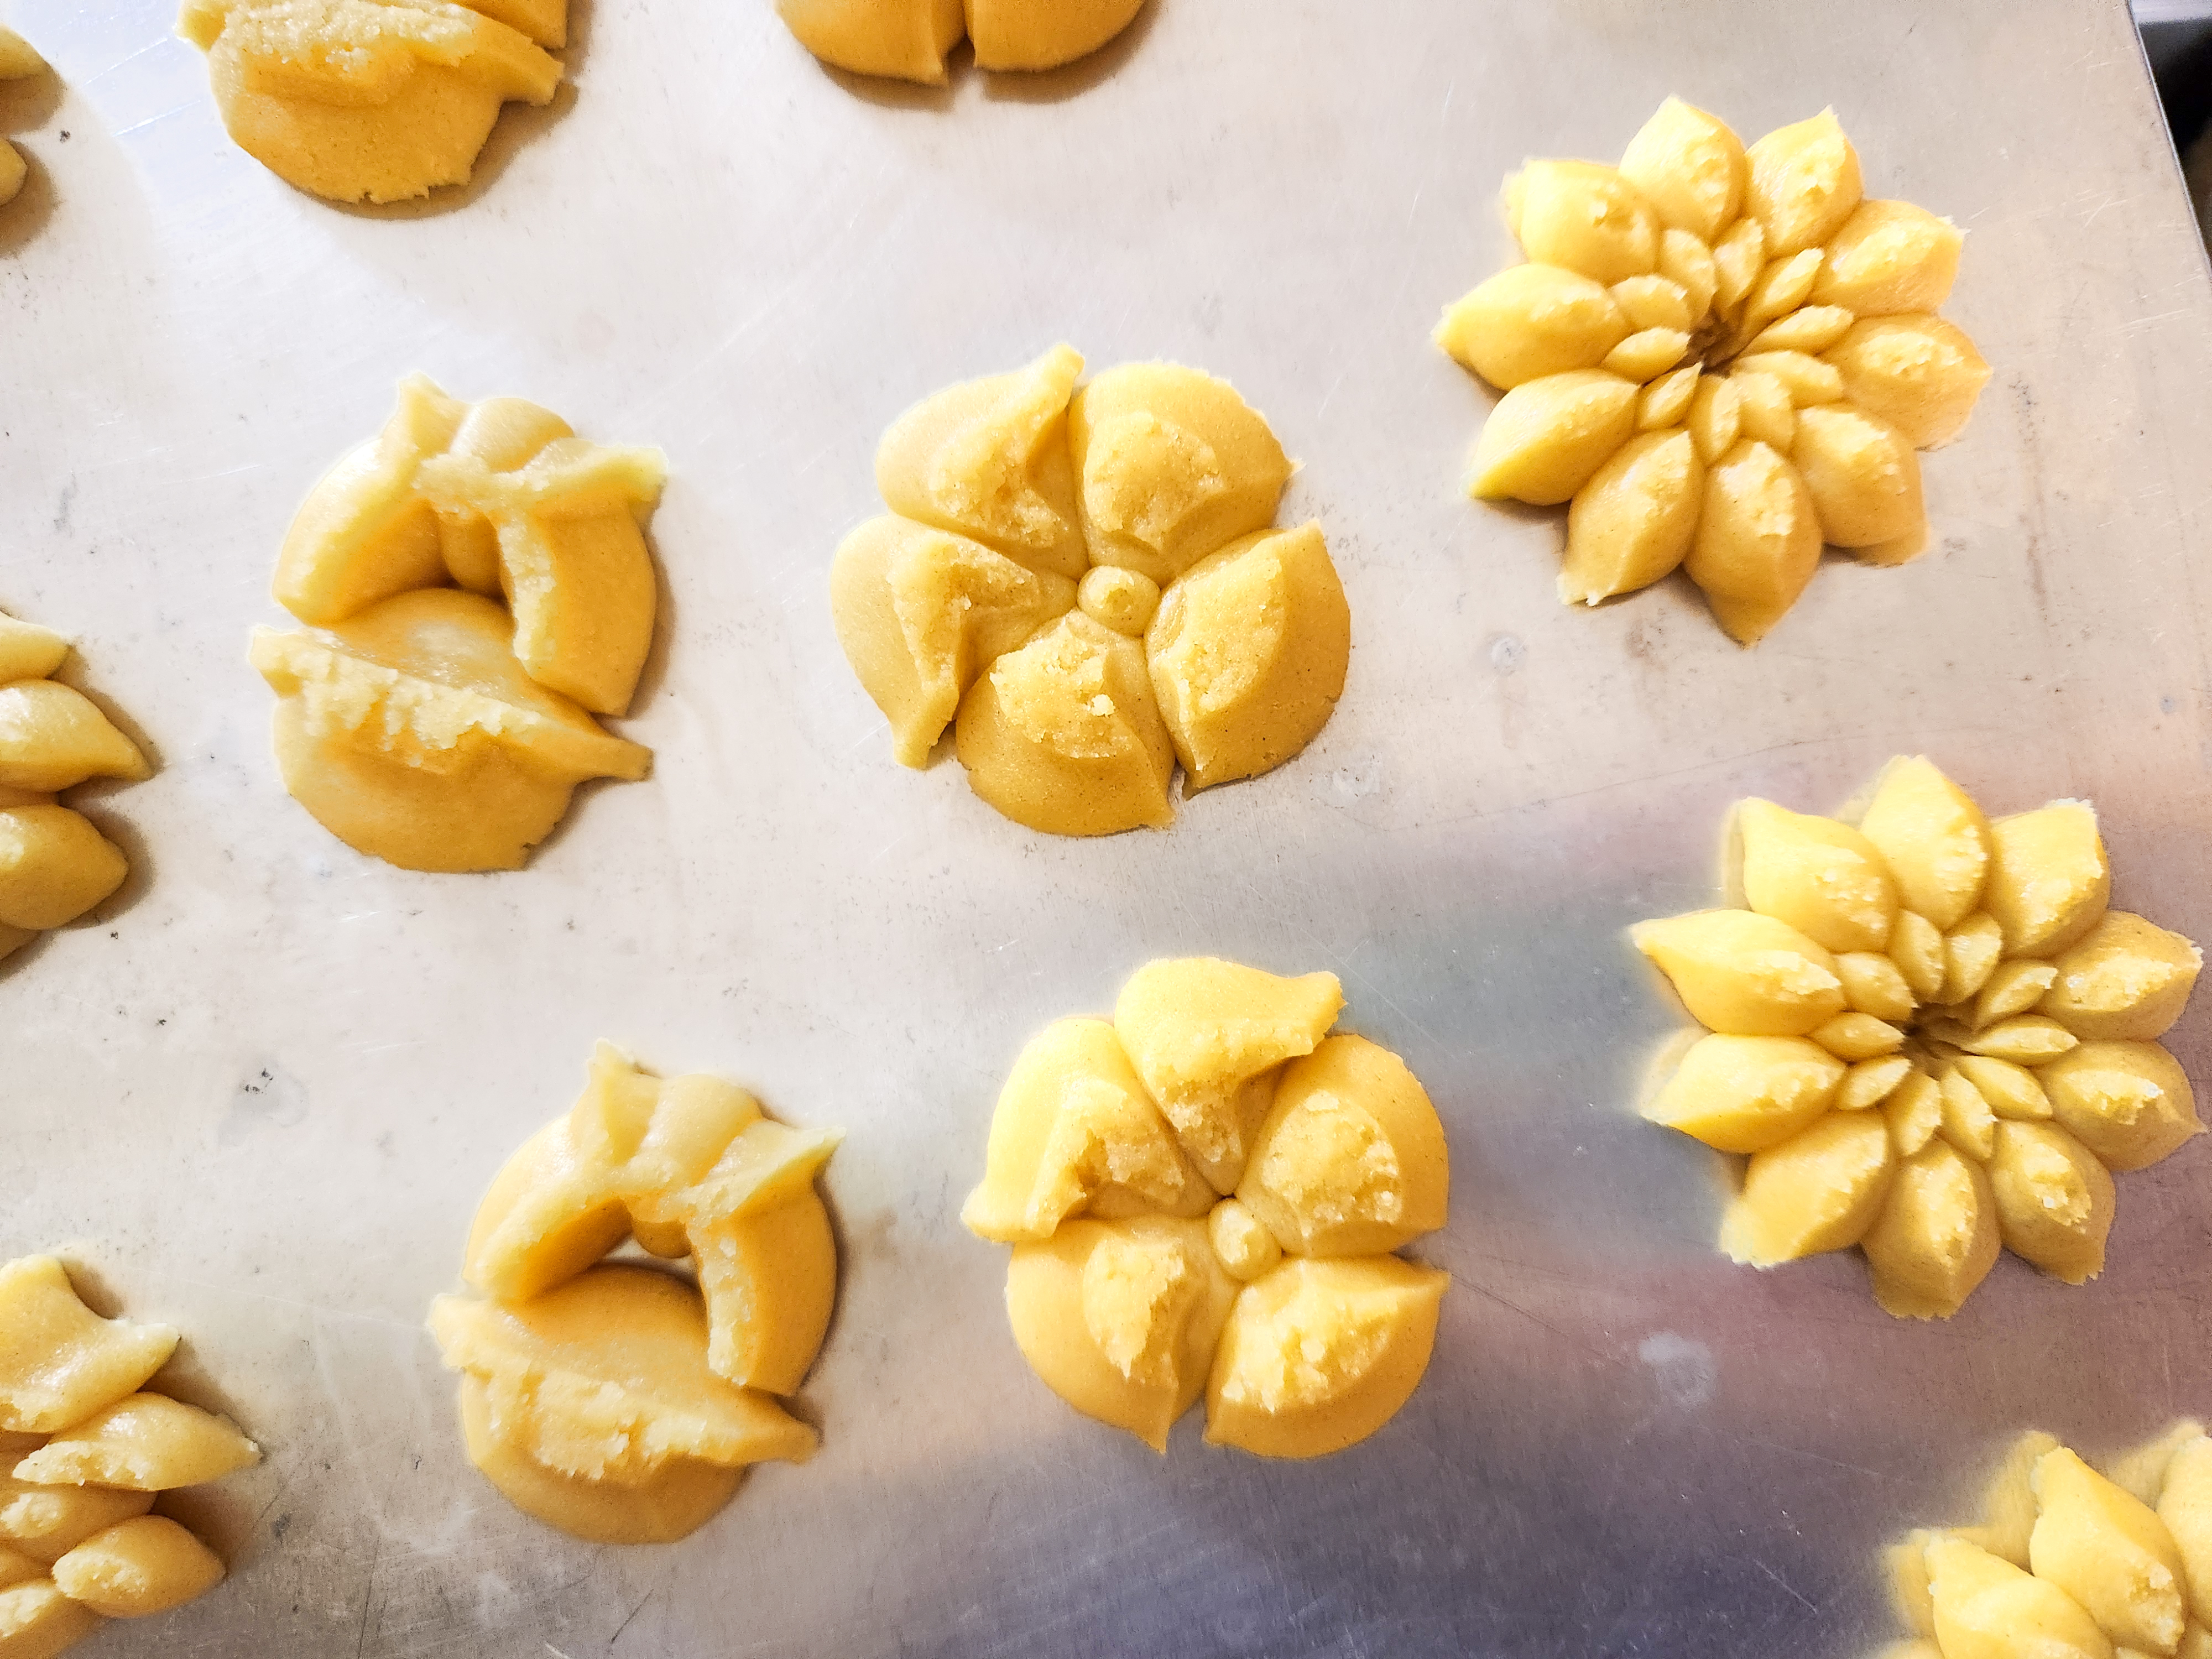
All of these shapes pressed easily. Keep your shapes small enough that they keep their definition. If they’re too big they become blobs.

If using a one-click-per-cookie type press remember that you don’t always have to follow that guideline. Some shapes may take more or less than one click and that’s ok! Cookies don’t have to come out in even “clicks”. One click, half a click, it doesn’t matter. A press (any press) is a dough pump (it’s kind of like a caulking gun). It’s simply a mechanism for pumping dough out, however many (or few) “clicks” it takes. Again, you can read all about that in the Troubleshooting and Decorating Tips page if you’re new to this.

Tap down any rough spots on your shapes after pressing, if desired. The ridges serve the purpose of creating the shapes, but if they’re too rough just smooth the surface out with a fingertip.
Bake in a 400 degree oven for 6-9 minutes or until the edges begin to brown. Check them early and often as all ovens are different, and spritz can brown quickly once they start to go. Do a test of just a few cookies first to get your timing right for desired doneness. You want these done, but not overly dried out. Check a few to get your timing right!

Let them cool for four or five minutes before removing to a cooling rack. If they’re too soft after baking they may break when you lift them, and if you wait too long they could stick to the pan. With time you’ll get a feel for it. Check them to see if they’re ready to be moved. If not, wait a few more minutes.

The only decorating I did was to paint the tree trunks brown with a little luster dust, and add flower sprinkles/decors to the trees.
We sell Bakell luster dusts on our website and on Etsy! Their dusts are made in the USA and are silky smooth and a joy to work with! I made brown dust by combining blue and orange, with just a touh of white (optional, it lightens the color a bit). Black could substitute for the blue.
To color the trunks, paint with edible luster dust mixed with clear alcohol. You could alternatively use any clear extract. Vodka is definitely the best choice and makes the smoothest, fastest-drying paint! The taste disappears. As you experiment, you’ll get the hang of mixing dust and liquid. Piece of cake… or cookie. We also sell a wonderful decorating brush set.


My technique (you may come up with a better one) is to put a small amount of vodka in a little dish or cup, then use a larger brush (always use food safe brushes) to drip the liquid a little at a time next to your piles of dust. I use a big plate and place small dust piles around it, then add extract a little at a time- it doesn’t take much! It also dries out quickly so you’ll find yourself adding more. I save that big brush and keep it clean so I’m always re-dipping it in a clean liquid.
Sinply brush on the brown paint where the tree trunk is!
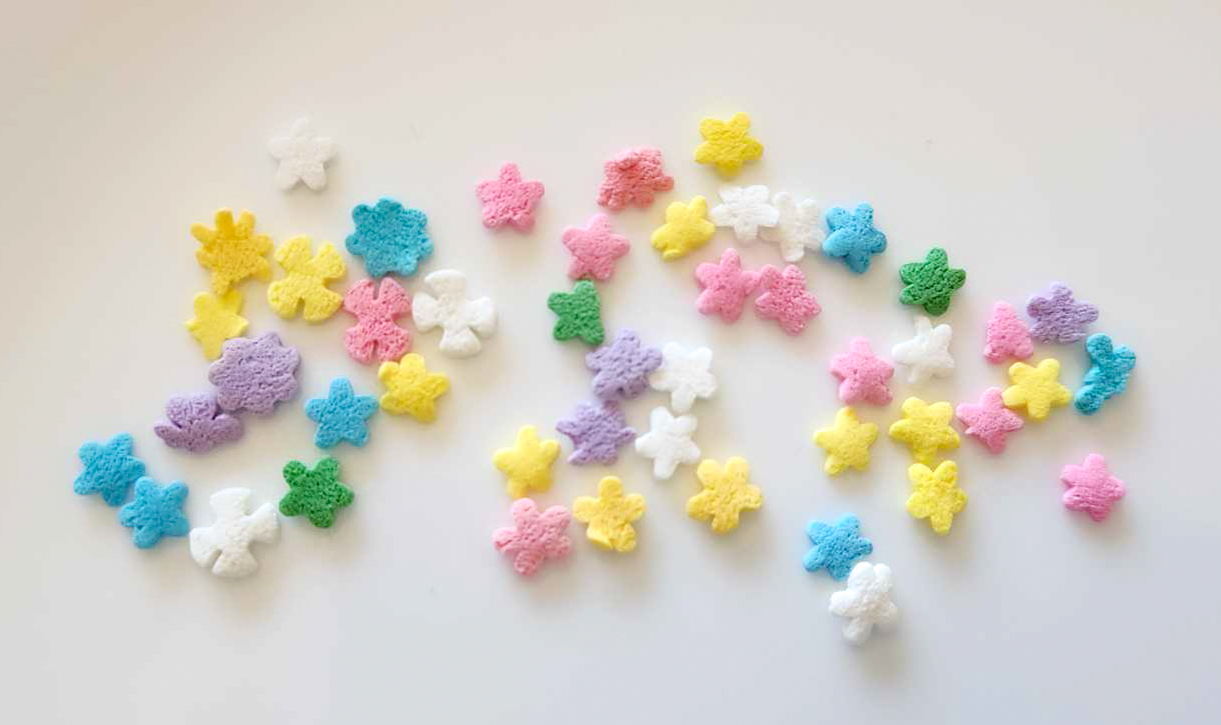
For the flower decors, you CAN add them before baking, I just decided to use sugar glue this time. They’re both great options! To add before baking just place decors onto the pressed shapes, pushing in slightly so they stay put. For gluing after baking, use either icing (honestly any regular icing will do, even from a tube) or I like to use Wilton’s Dab-n-Hold. It’s a pretty good sugar glue!

And that is all there is to this recipe!
No need to cover these for storage. They’ve been sitting out on my table for 3 days while I wrote this post LOL. They’re still fabulous and a bit irresistable. I swear the flavor of these keeps improving with time! I am honestly a bit crazy for cake batter flavor – whether it’s yellow cake itself, flavored ice cream, or these cookies, I love it! Yum!
Wishing you all a lovely Spring and Happy Easter, and as always, Happy Baking!
~Susie
Disk Designer/Co-Owner at Impress! Bakeware, LLC
Our website has all of our 200+ disk shapes, cookie press, embossed rolling pins, baking accessories plus more about our Women/Family Owned company! impressbakeware.com
All products are on our Etsy shop.
Our Amazon shop has our cookie press and disks and embossed rolling pins.
Follow us on facebook!
