I’m continuing my buttercream obsession from my last cookie post! Buttercream “dip” is an epic way to make cookies fun, festive, and unique.

I used my favorite vanilla rolled and embossed cookie recipe, and my “cookie dip” buttercream. I made both the regular vanilla flavor ( it is sooo vanilla!) and also apple cinnamon. My tasters all went nuts for that one. 😉


I adore dipping cookies. Dipping bite-sized cookies is a neat way to add complexity to the flavor and texture. While normally I sandwich cookies to achieve this, when I did the Veggie Cookies with Buttercream “Dip” recipe a few years ago ( https://creativecookiepress.com/2022/11/28/veggie-tray-spritz-cookies/ ), I realized that was a really fun way to add an icing pop to cookies. I mean, we don’t sandwich potato chips with dip, do we? No! We dip them!
Dipping has several benefits:
- It’s easier than sandwiching
- People control their own amount of frosting to their liking
- People can decide if they even want frosting! People love options. 😉
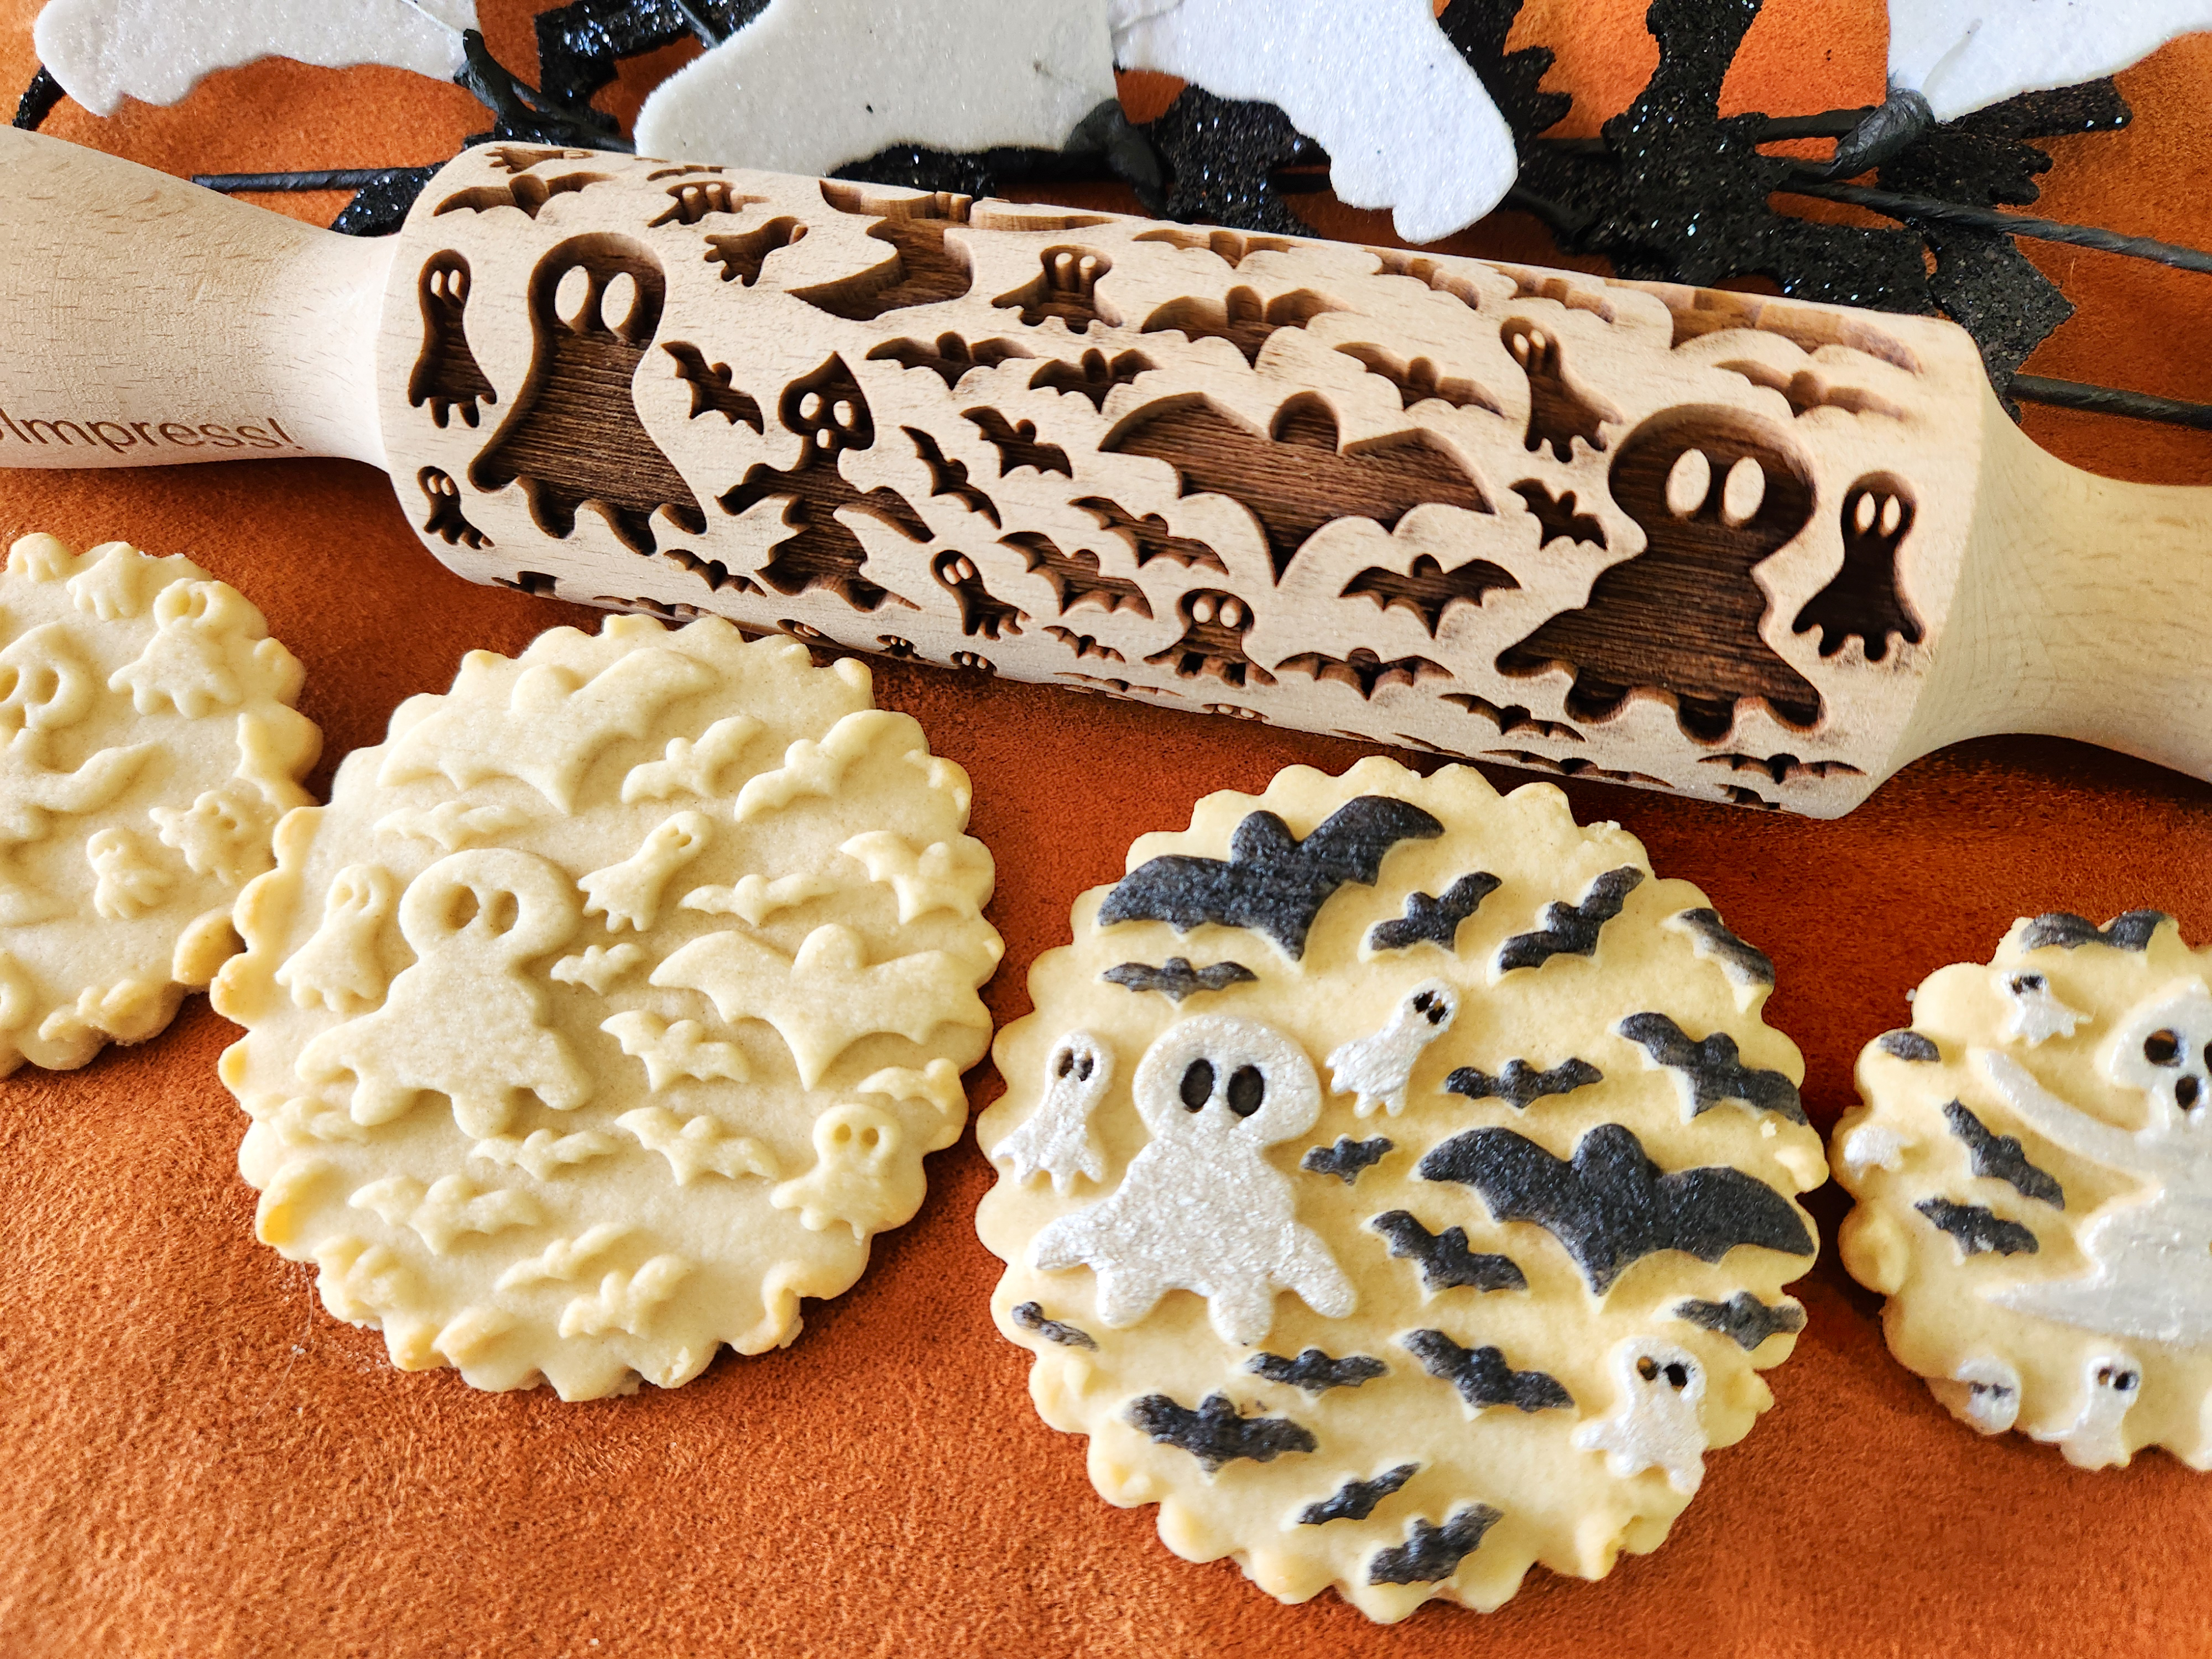
For the cookies in this post I’m using two of our embossed rolling pins: Halloween Large Designs and Spooky Skies. They’re shown painted with edible luster dust below, but I left the cookies plain for this post. If you want to paint them, I have many posts on this blog with tutorials. Check out last year’s Pumpkin Spice Sandwich Cookies that I did will my Fall Leaves Large Designs pin. That post has an easy but thorough painting tutorial! It’s super fun! https://creativecookiepress.com/2024/09/28/pumpkin-spice-sandwich-cookies/
Our website has all of our 200+ disk shapes, cookie press, embossed rolling pins, baking accessories plus more about our Women/Family Owned company! impressbakeware.com
All products are on our Etsy shop.
Our Amazon shop has our cookie press and disks and embossed rolling pins.
🎉EXTENDED❗ Big Fall 15% off SALE
🍁Make edible art this Fall, because baking should be fun!
Discount on our cookie press disks, cookie press, embossed rolling pins, luster dusts, cookie cutters & baking accessories. Sale October 7-28, 2025, on our website and Etsy shops ONLY! (Links above) Sale excludes holiday gift sets and our recipe book.
Let’s Bake!
Impress! Vanilla-Honey Rolled Cookies
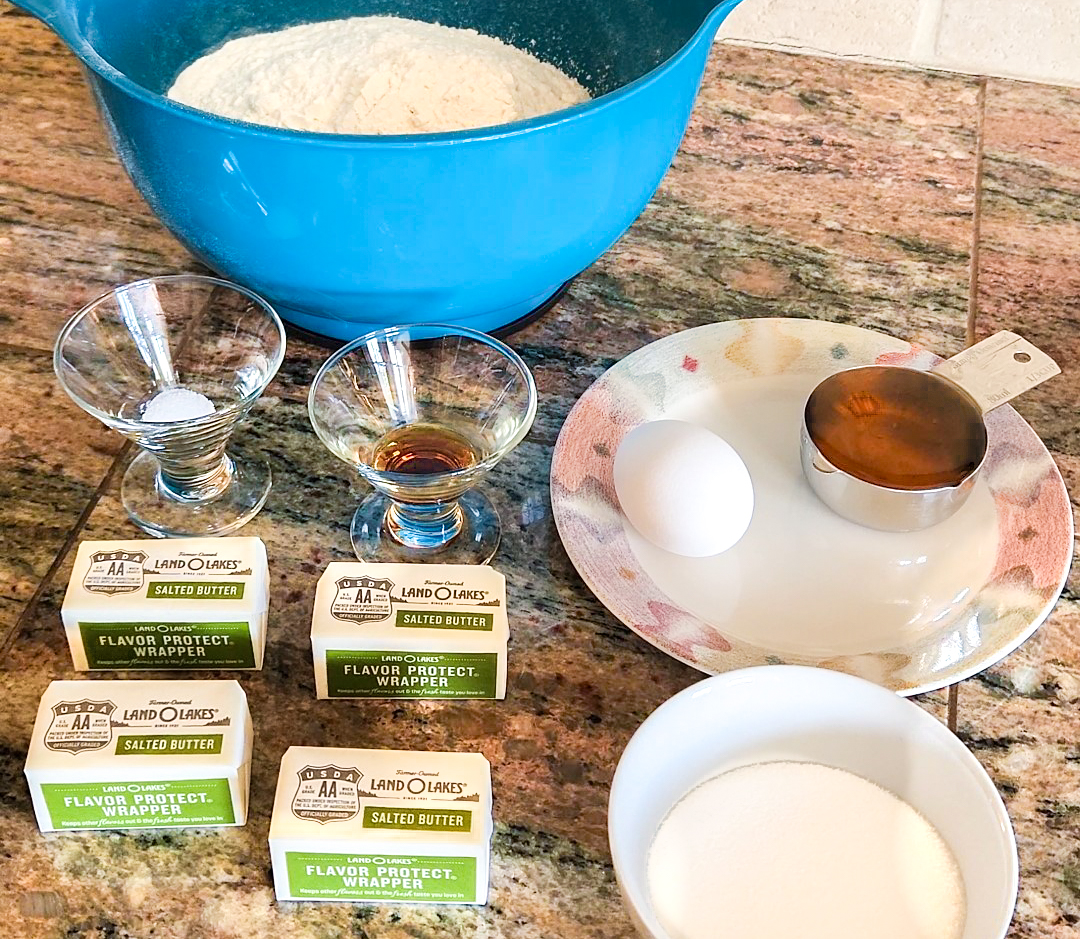
1 cup (2 sticks, or 4 half sticks) butter, softened (not melted)
1/2 cup granulated sugar
1/3 cup honey
1 teaspoon vanilla extract
1 egg
3 3/4 cups all-purpose flour
1/4 teaspoon salt
In a large bowl, combine flour and salt. Set aside.
Using an electric mixer, cream the butter until it is creamier and lighter in color. Add the sugar and cream together very well, until it is light and fluffy. Add the honey, then the vanilla, then the egg, mixing thoroughly after each addition.
Add the flour mixture slowly, mixing on a slow speed until a workable dough forms. Make sure all of the flour is incorporated evenly. If needed, knead it a bit by hand to make sure it is uniformly smooth and mixed. Depending on your mixer, this dough can seem crumbly at first but it kneads together well. Perfect rolling dough has a clay-like, workable texture that is not too sticky or too stiff. If it feels difficult to knead, it is probably too stiff. Add a little water or vanilla extract a teaspoon at a time until you achieve a workable texture. If it is too easy to knead or is sticking to your fingers, it is probably too soft. Add flour a tablespoon at a time until it is workable like clay.

Divide your dough into balls a little bigger than your fist. Work with one portion at a time to keep it manageable. Cover the unused portion to keep it from drying out.
Roll it out!
I usually recommend that you oil your regular pin with canola (or similar) oil before rolling, but I am starting to prefer using waxed paper. Start by creating a log of dough that’s about the width that you want, then flatten it out with your hands a bit. Put the waxed paper on top and roll the dough flat to 1/4″ thick. OR lightly oil your pin and roll as follows:


If using an oiled pin instead of waxed paper, place a bench scraper or similar item at the far end of the dough to prevent it from pulling up as you roll. See pictures below with embossed pin. Use a regular rolling pin (preferably one with thickness spacer rings to make a perfect thickness) to roll your dough on to a silicone baking mat, glass cooktop, or lightly floured surface. Roll to a 1/4” thickness, and wide enough to accommodate the designed pin. Create a long rectangular slab of dough. The patterns on the embossed pins are designed to repeat, so you will be rolling a long rectangle of patterned dough.
Oil your embossed pin with canola (or similar) oil before rolling. Make sure to get it down into ALL of the engraved areas. You can use a pastry brush but it’s best to do it with your fingers, gently squeezing the pin with your hands to get oil into the shapes, and rubbing the surface to coat. Wipe off any excess with a paper towel, making sure nothing is left pooled in the larger cuts. We want a non-stick pin not a swimming pool! **If you’re new or this is confusing PLEASE watch the quick video clip below to see exactly what I mean!**

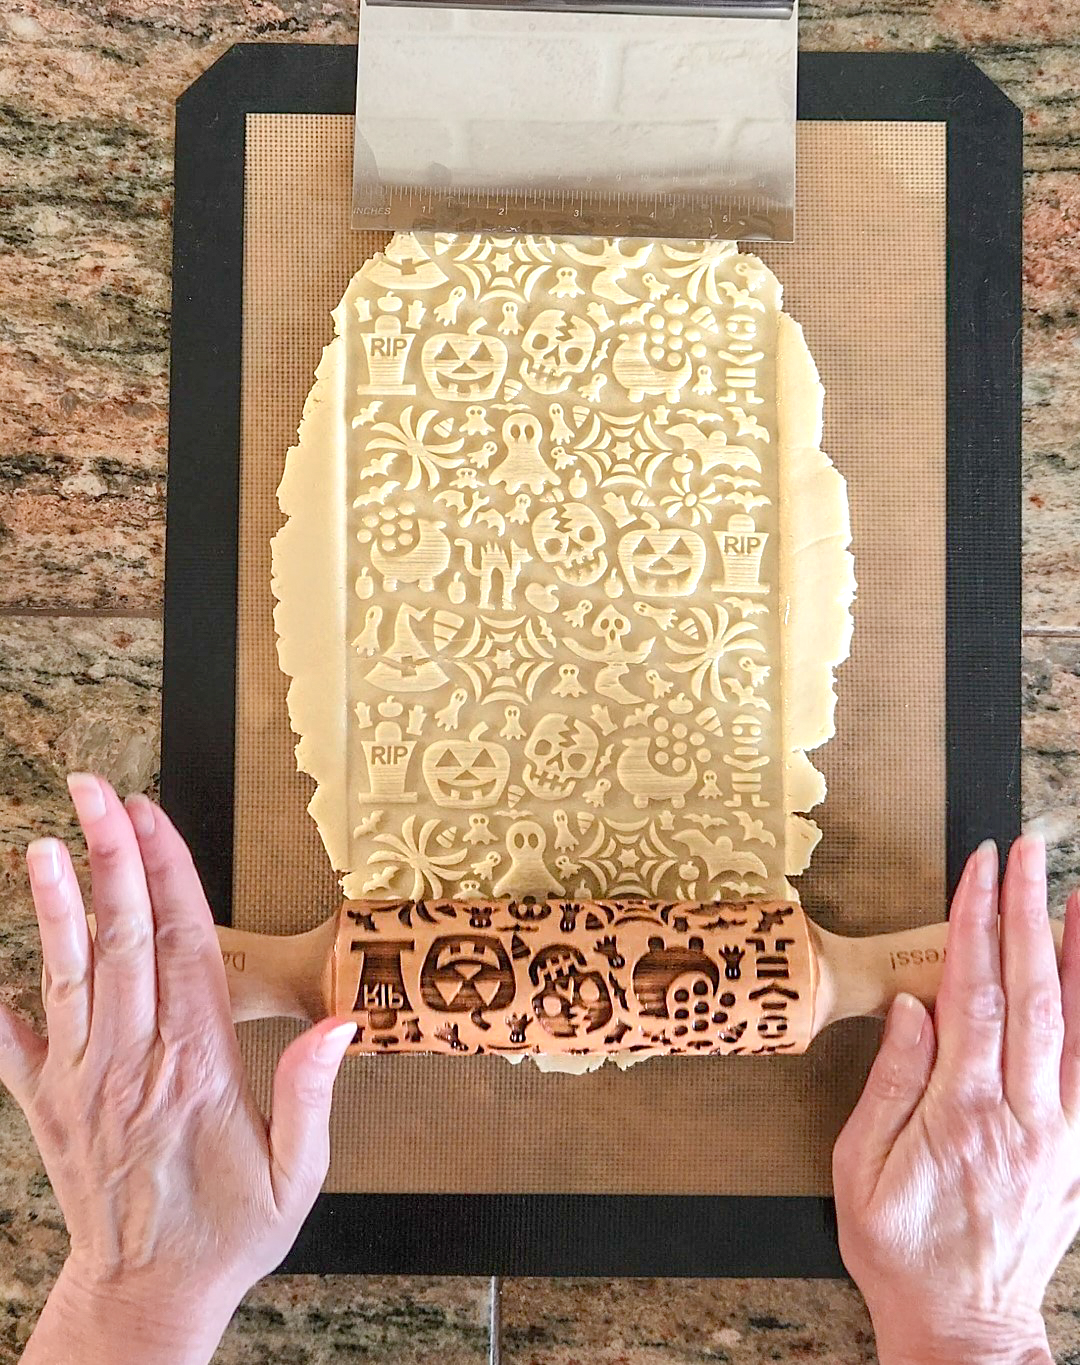
Place a bench scraper or similar item at the far end of the dough to prevent it from pulling up as you roll. Now roll with your embossed pin, pressing down with a steady pressure that leaves a deep impression in the dough. The designs should be as raised up on the dough as deep as they are in the pin. If the pattern is not deep enough it will disappear as the cookies bake and puff. As this dough is not cold or stiff, you do not have to press terribly hard! Just an even pressure.
Here’s a quick video clip of me oiling and rolling dough with my Fall Leaves Large Designs pin. Different pin, but same method!
See how it should look when rolled? Nice deep patterns!
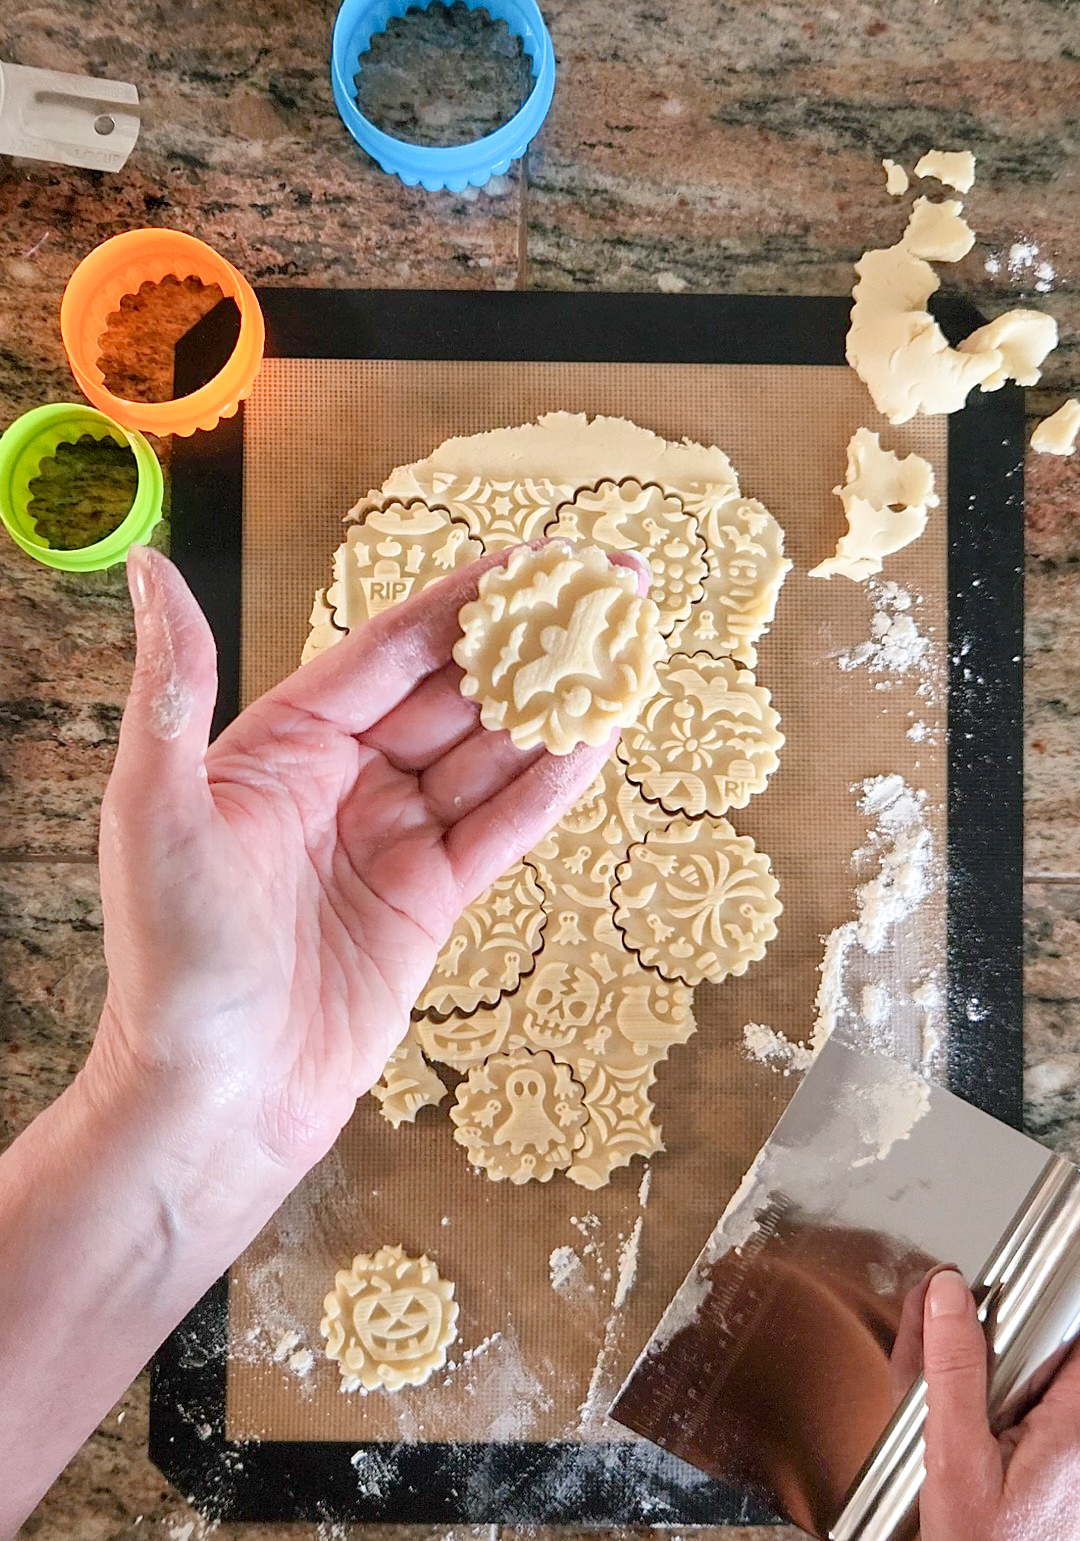

Once rolled, use cookie cutters to cut out shapes. Remove any excess dough around the edges. Keep your spatula/lifter flat, dust the end with a little flour, and lift the shapes, beginning by lifting one edge slightly first, then sliding the spatula/scraper under the whole shape. Transfer them to a cookie sheet lined with parchment paper, leaving a little room between them. The rolling pin with thickness rings, bench/dough scraper and cookie cutters I’m using here are available at our website and Etsy shops.

Bake at 400°F for 6-10 minutes, checking at 6 minutes and every minute after as cookies brown quickly. They are done when the edges are slightly brown. Cookies harden significantly the longer they bake, so bake just a few cookies first to test timing for desired doneness and hardness.
Move to a cooling rack after 5 minutes.
Our last step is to make the buttercream! That’s the super easy part.

Buttercream Dip
½ cup (1 stick or 2 half sticks) butter, softened (not melted)
2 cups powdered sugar
2 teaspoons vanilla extract
2 Tablespoons heavy cream
Flavorings like cinnamon, pumpkin spices, or flavors like LorAnn Oils Apple Flavor
Sprinkles or sanding sugars to dip in
This buttercream dip is my favorite decorating buttercream, made a little thinner than usual. Just combine all of the ingredients with an electric mixer. Whip it and whip it until it is light and fluffy! I love a good fluffy buttercream. This one is very vanilla and very creamy. My kids always hover waiting for me to be done mixing so they can have the spatula.
Add flavorings like cinnamon, pumpkin spices, or flavors like LorAnn Oils Apple Flavor. I made apple cinnamon by using the apple flavor and cinnamon. Add a little at a time until you like the flavor. No need to measure just do it “to taste”. I left the other half plain fabulous vanilla! (I LOVE vanilla!)

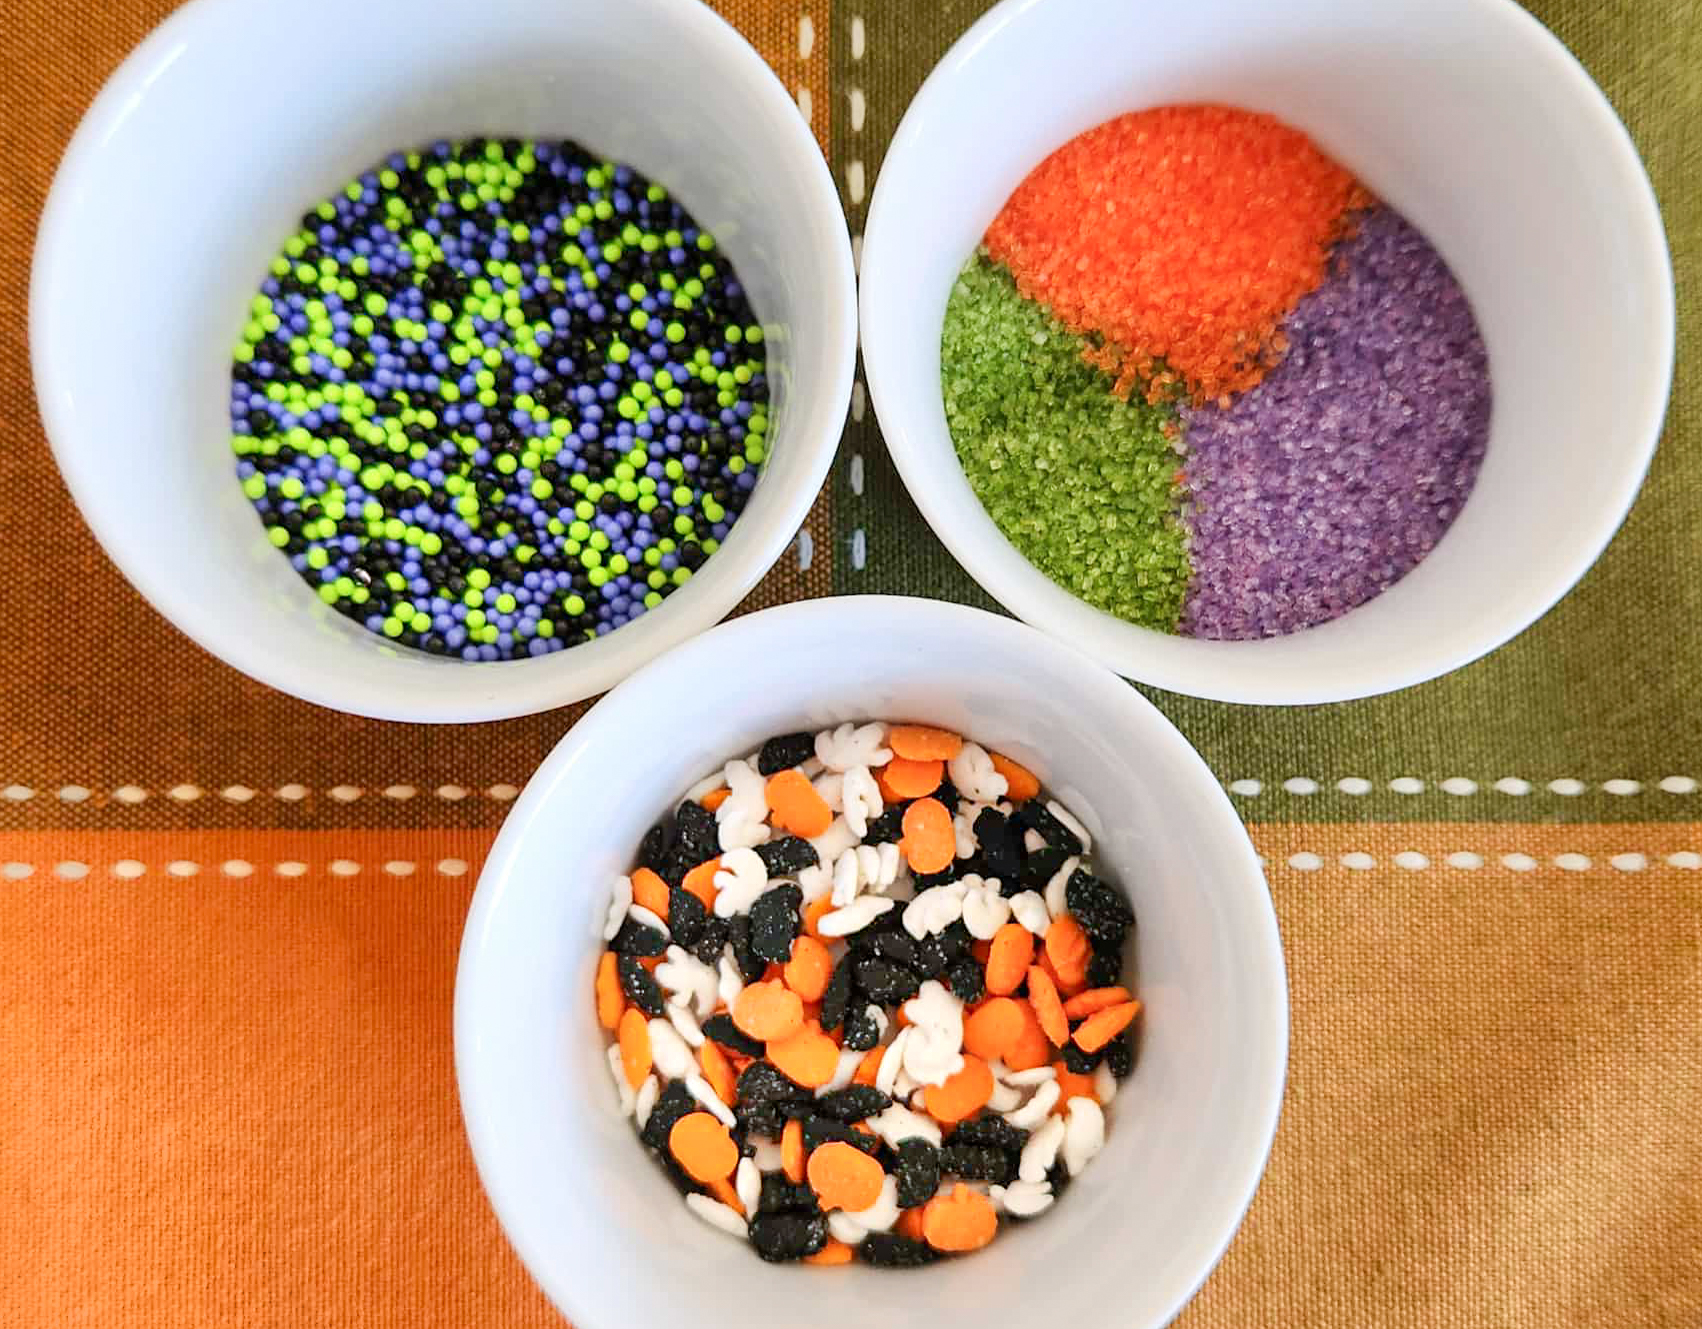
Now dip these yummy, spooky treats in that glorious buttercream! Then dip them in sprinkles!


Happy Halloween! And as always, Happy Baking!
~Susie
Disk & Pin Designer/Co-Owner at Impress! Bakeware, LLC
Our website has all of our 200+ disk shapes, cookie press, embossed rolling pins, luster dusts, baking accessories plus more about our Women/Family Owned company! impressbakeware.com
All products are on our Etsy shop.
Our Amazon shop has our cookie press and disks and embossed rolling pins.
Follow us on facebook!
If you’re not familiar with rolling pins with thickness rings, here’s ours:
