

Valentine’s Day is all about shades of pink, love, and lots of sweetness, like this twist on traditional thumbprint cookies, filling the “wells” of 3D spritz cookies with raspberry pastry filling.
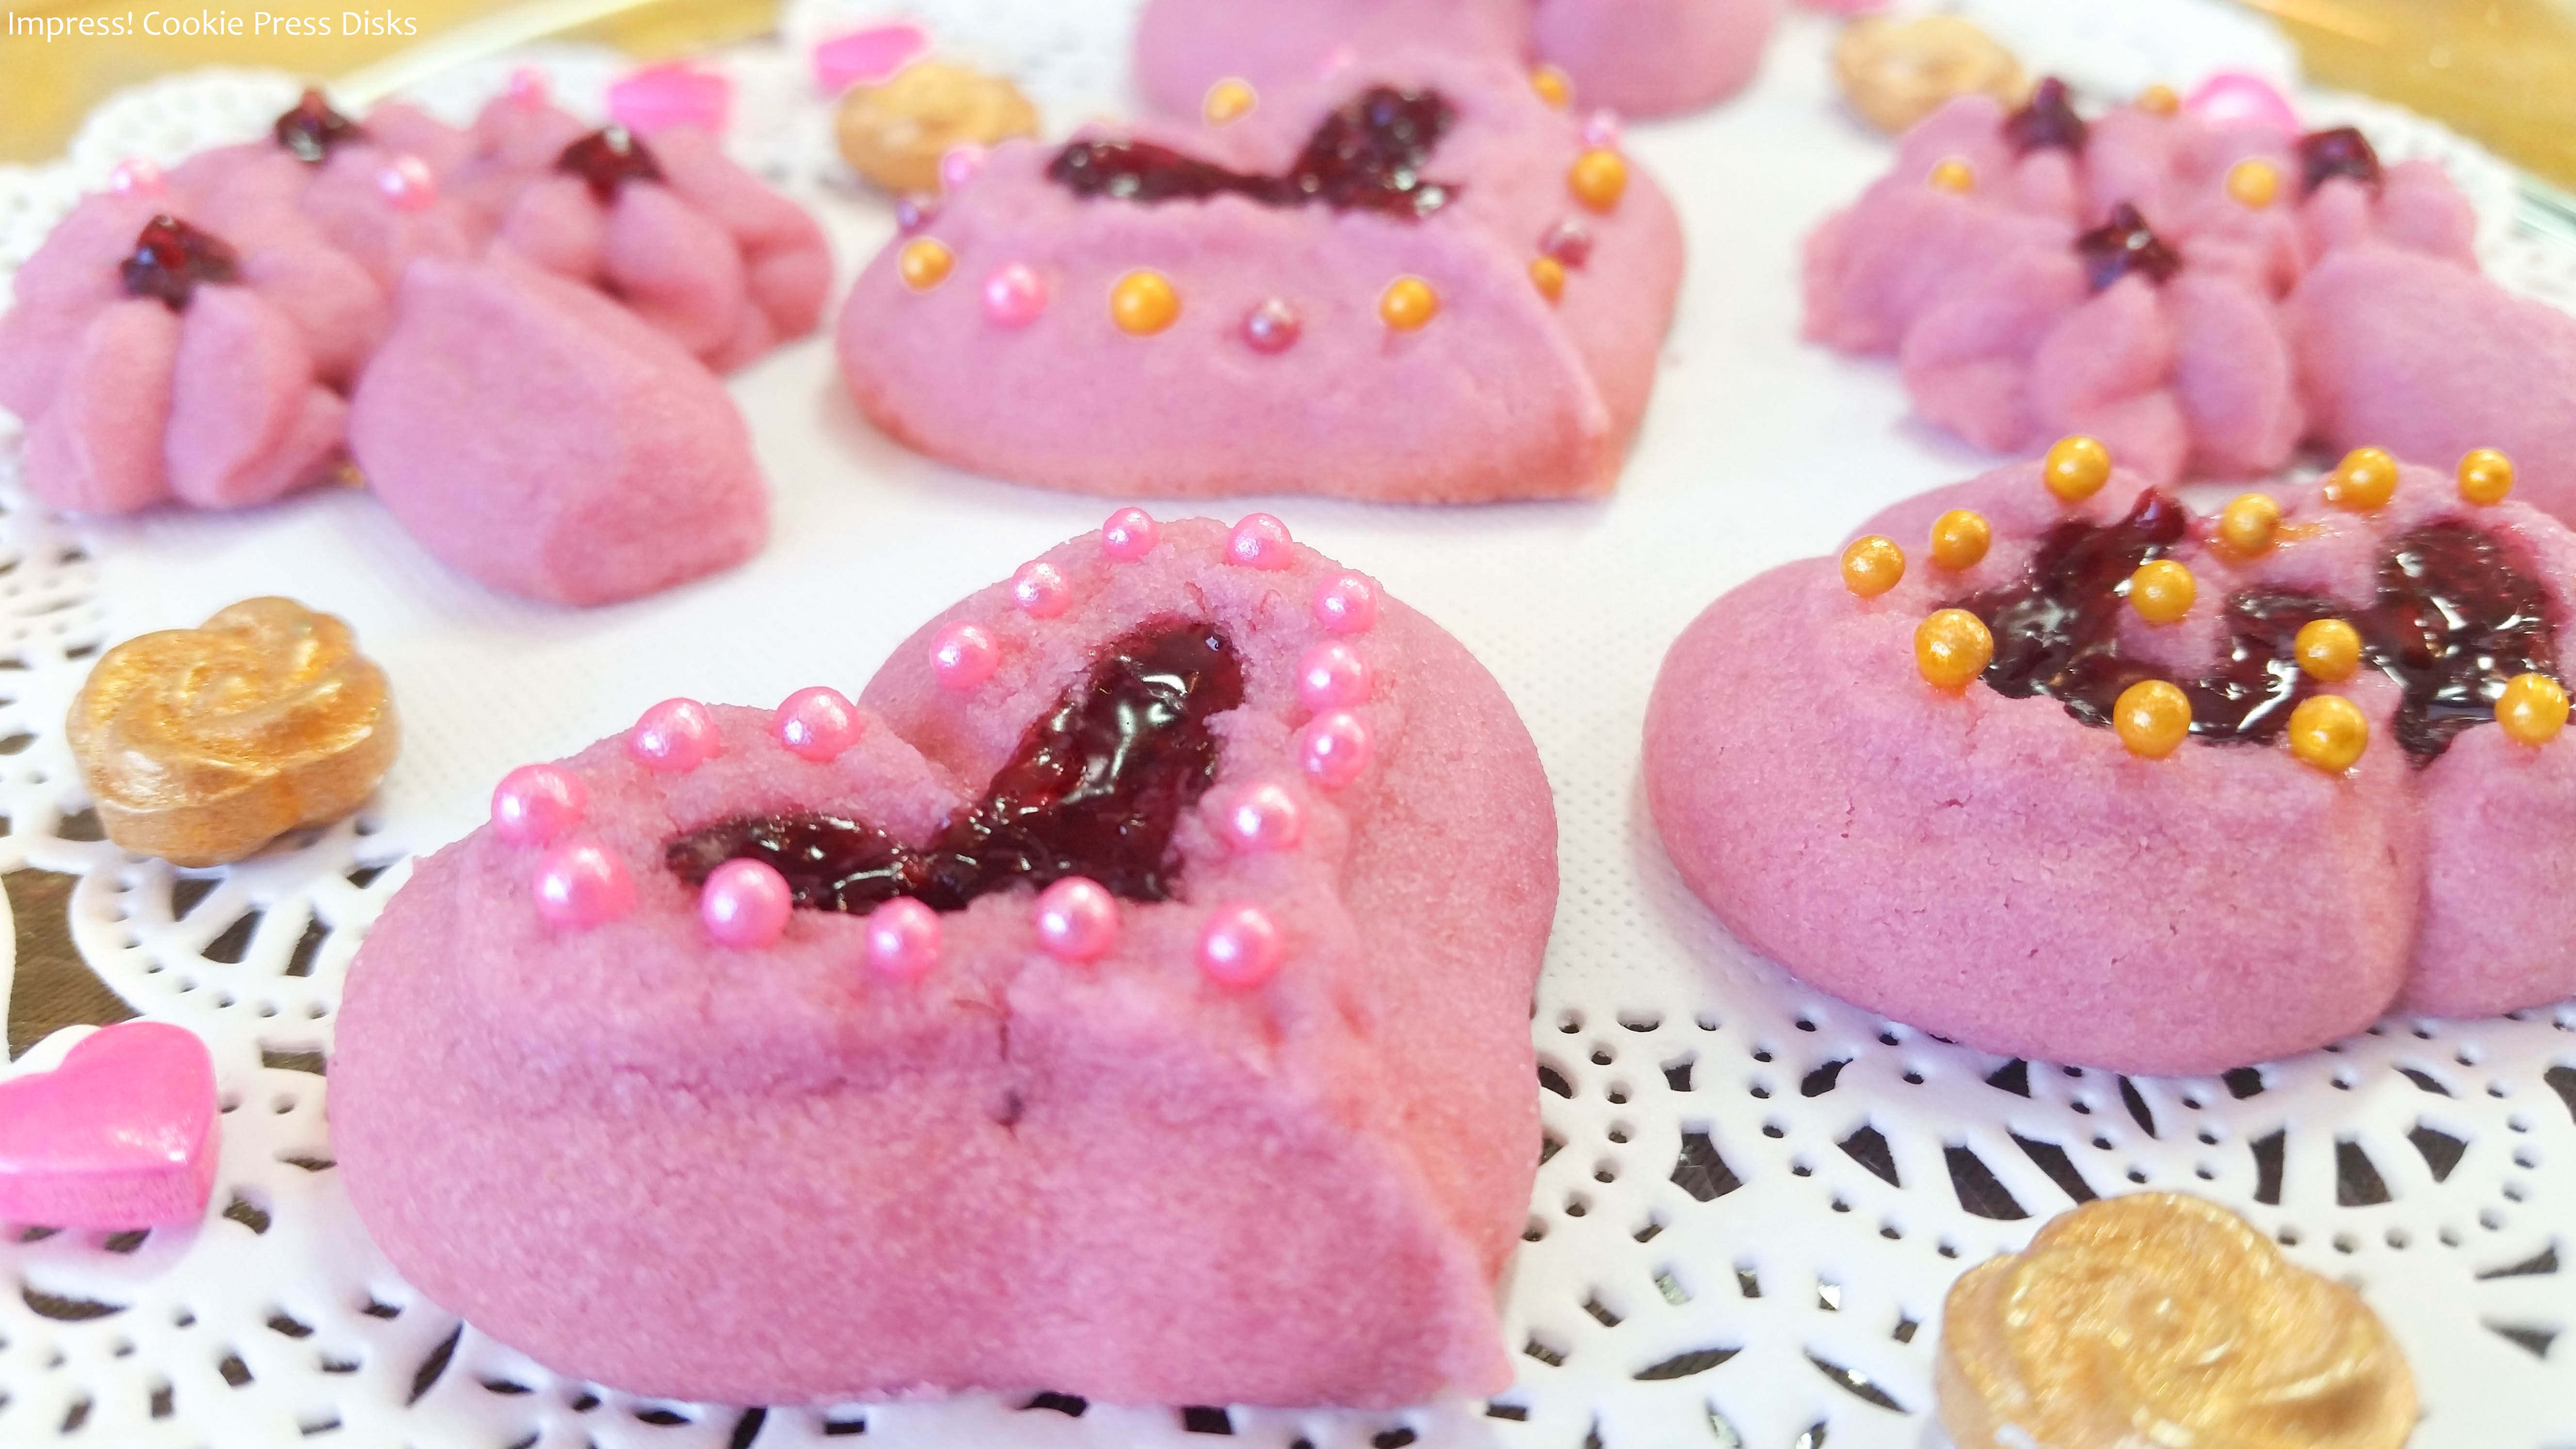
The cookies themselves are decadent with an amazing flavor and scrumptious texture, created by adding raspberry pastry filling into the dough itself. Top them off with piped-in filling and you have a unique, beautiful holiday treat.


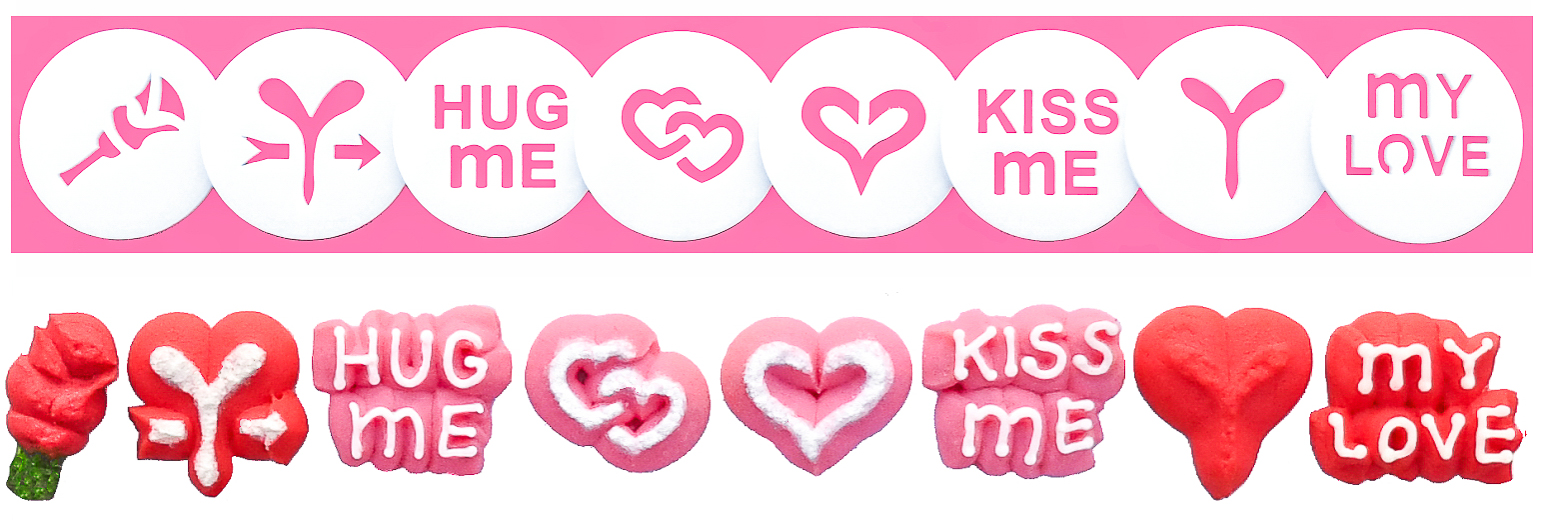
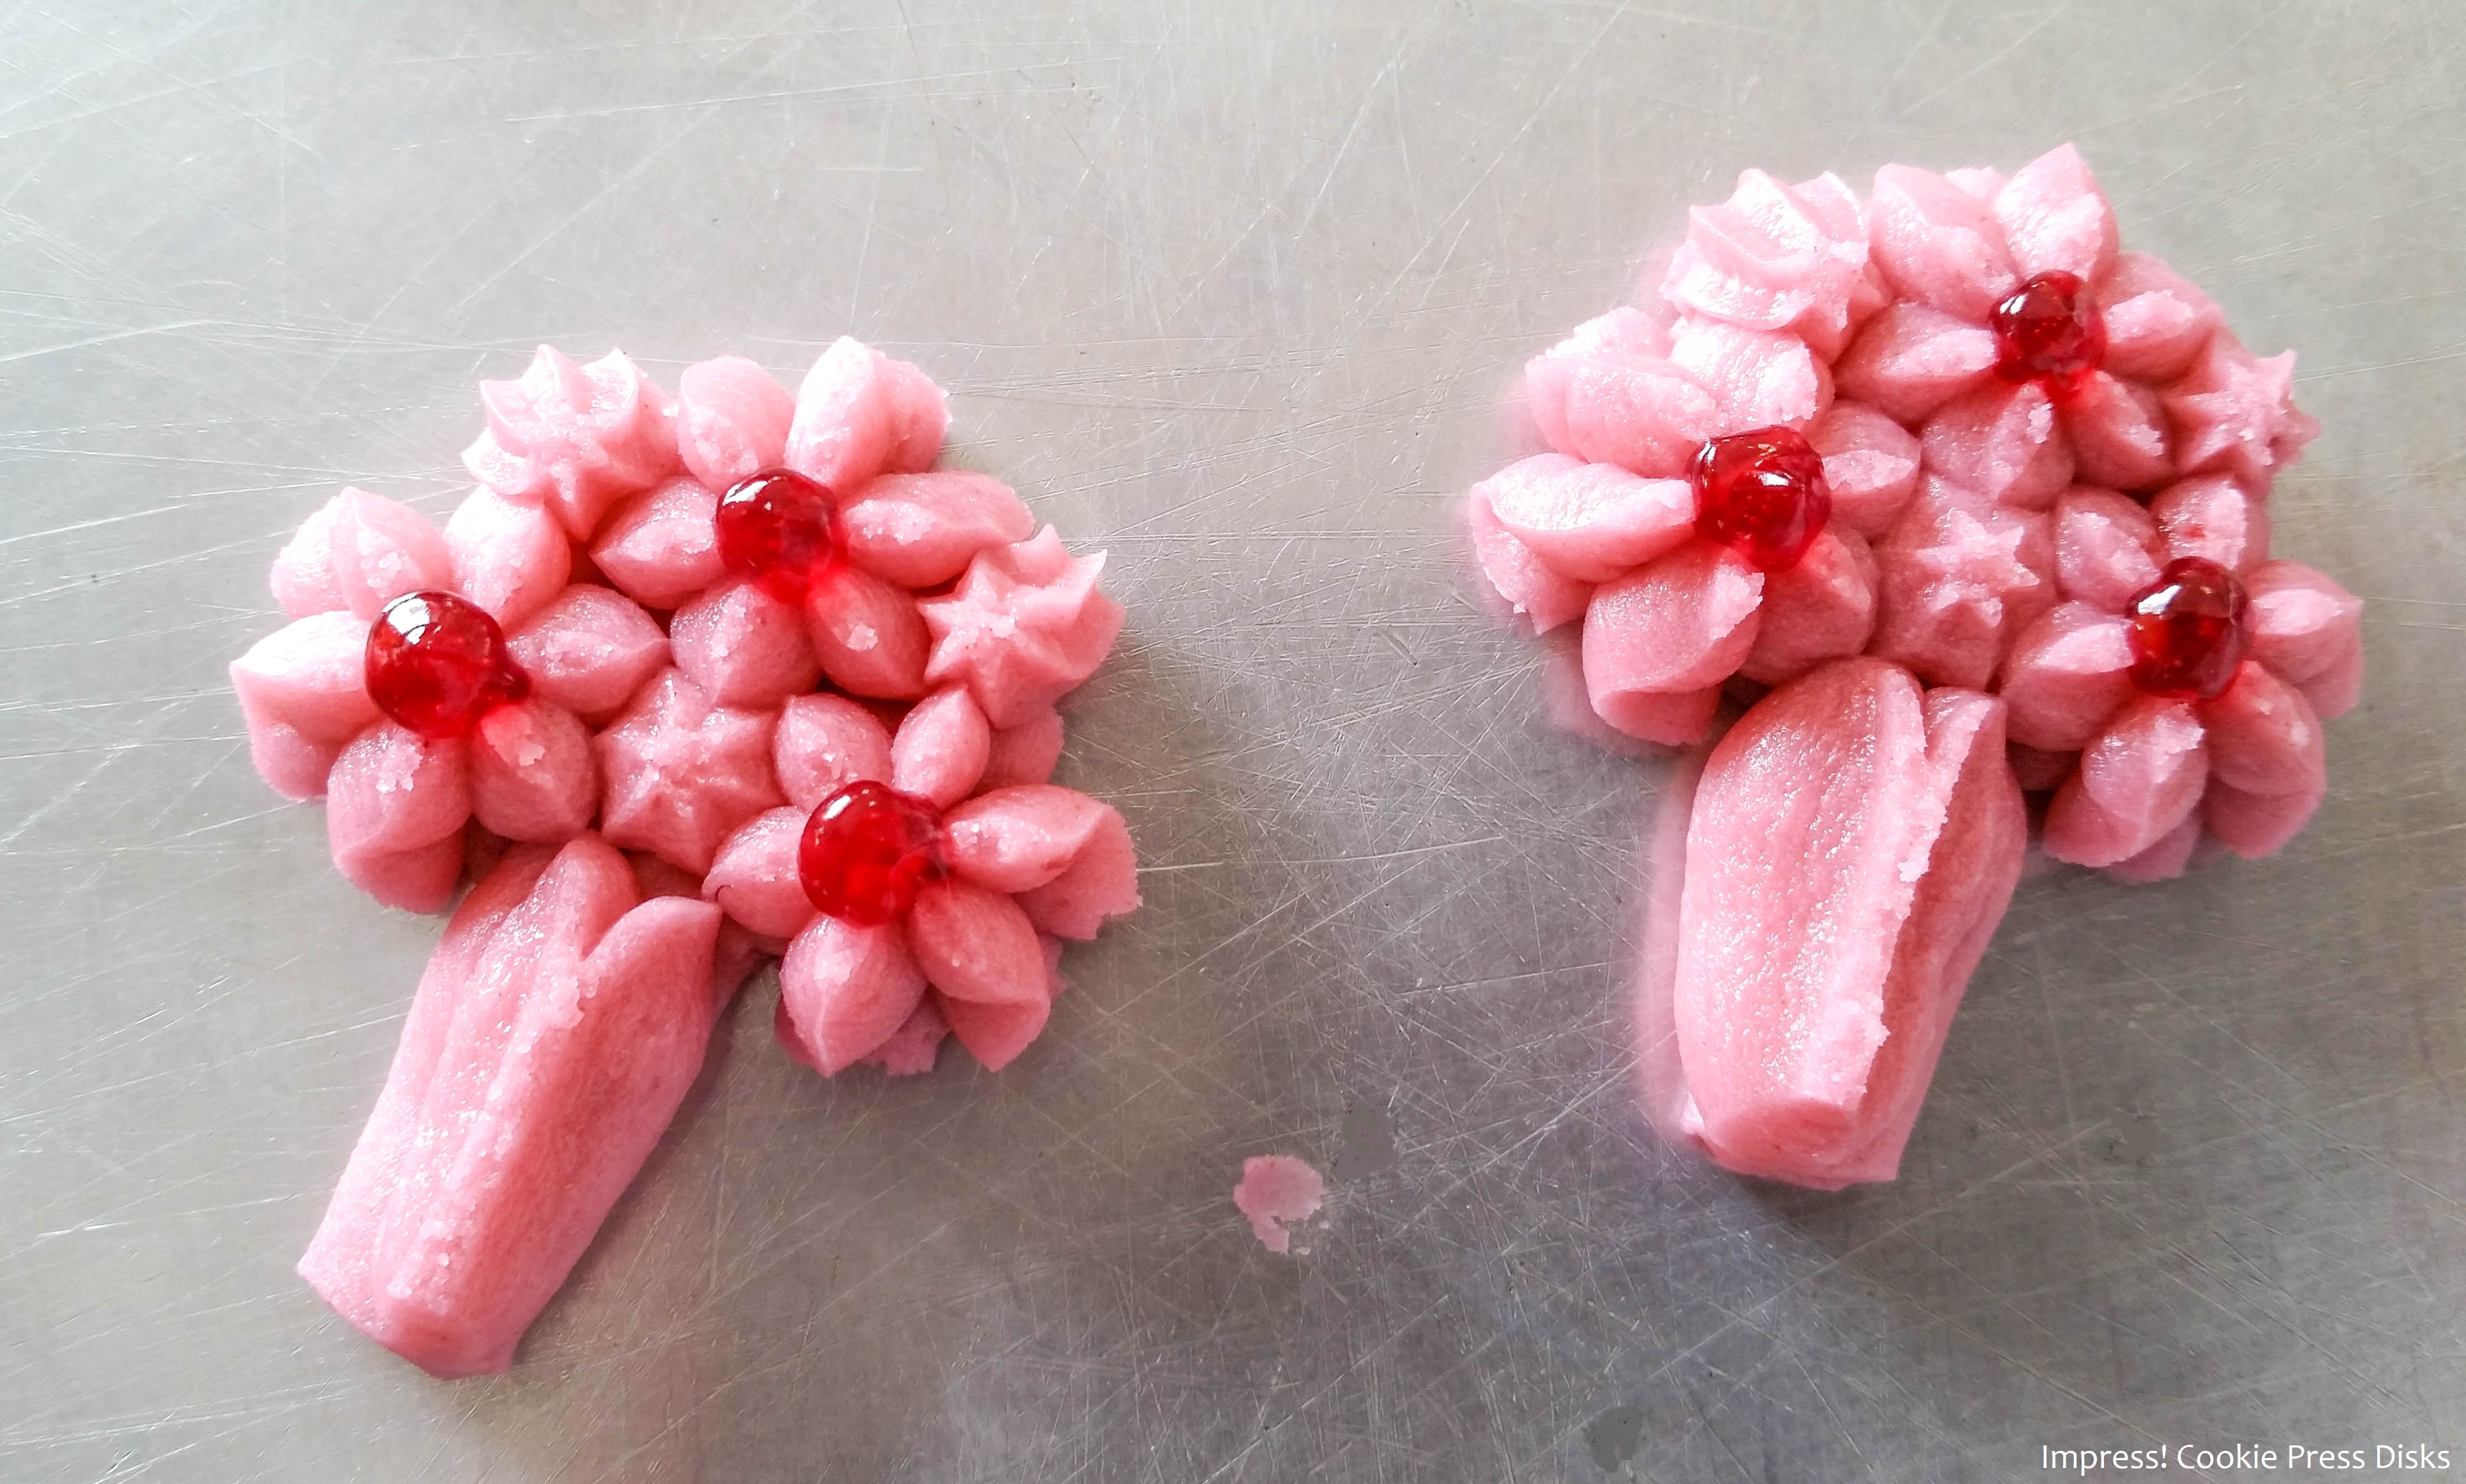
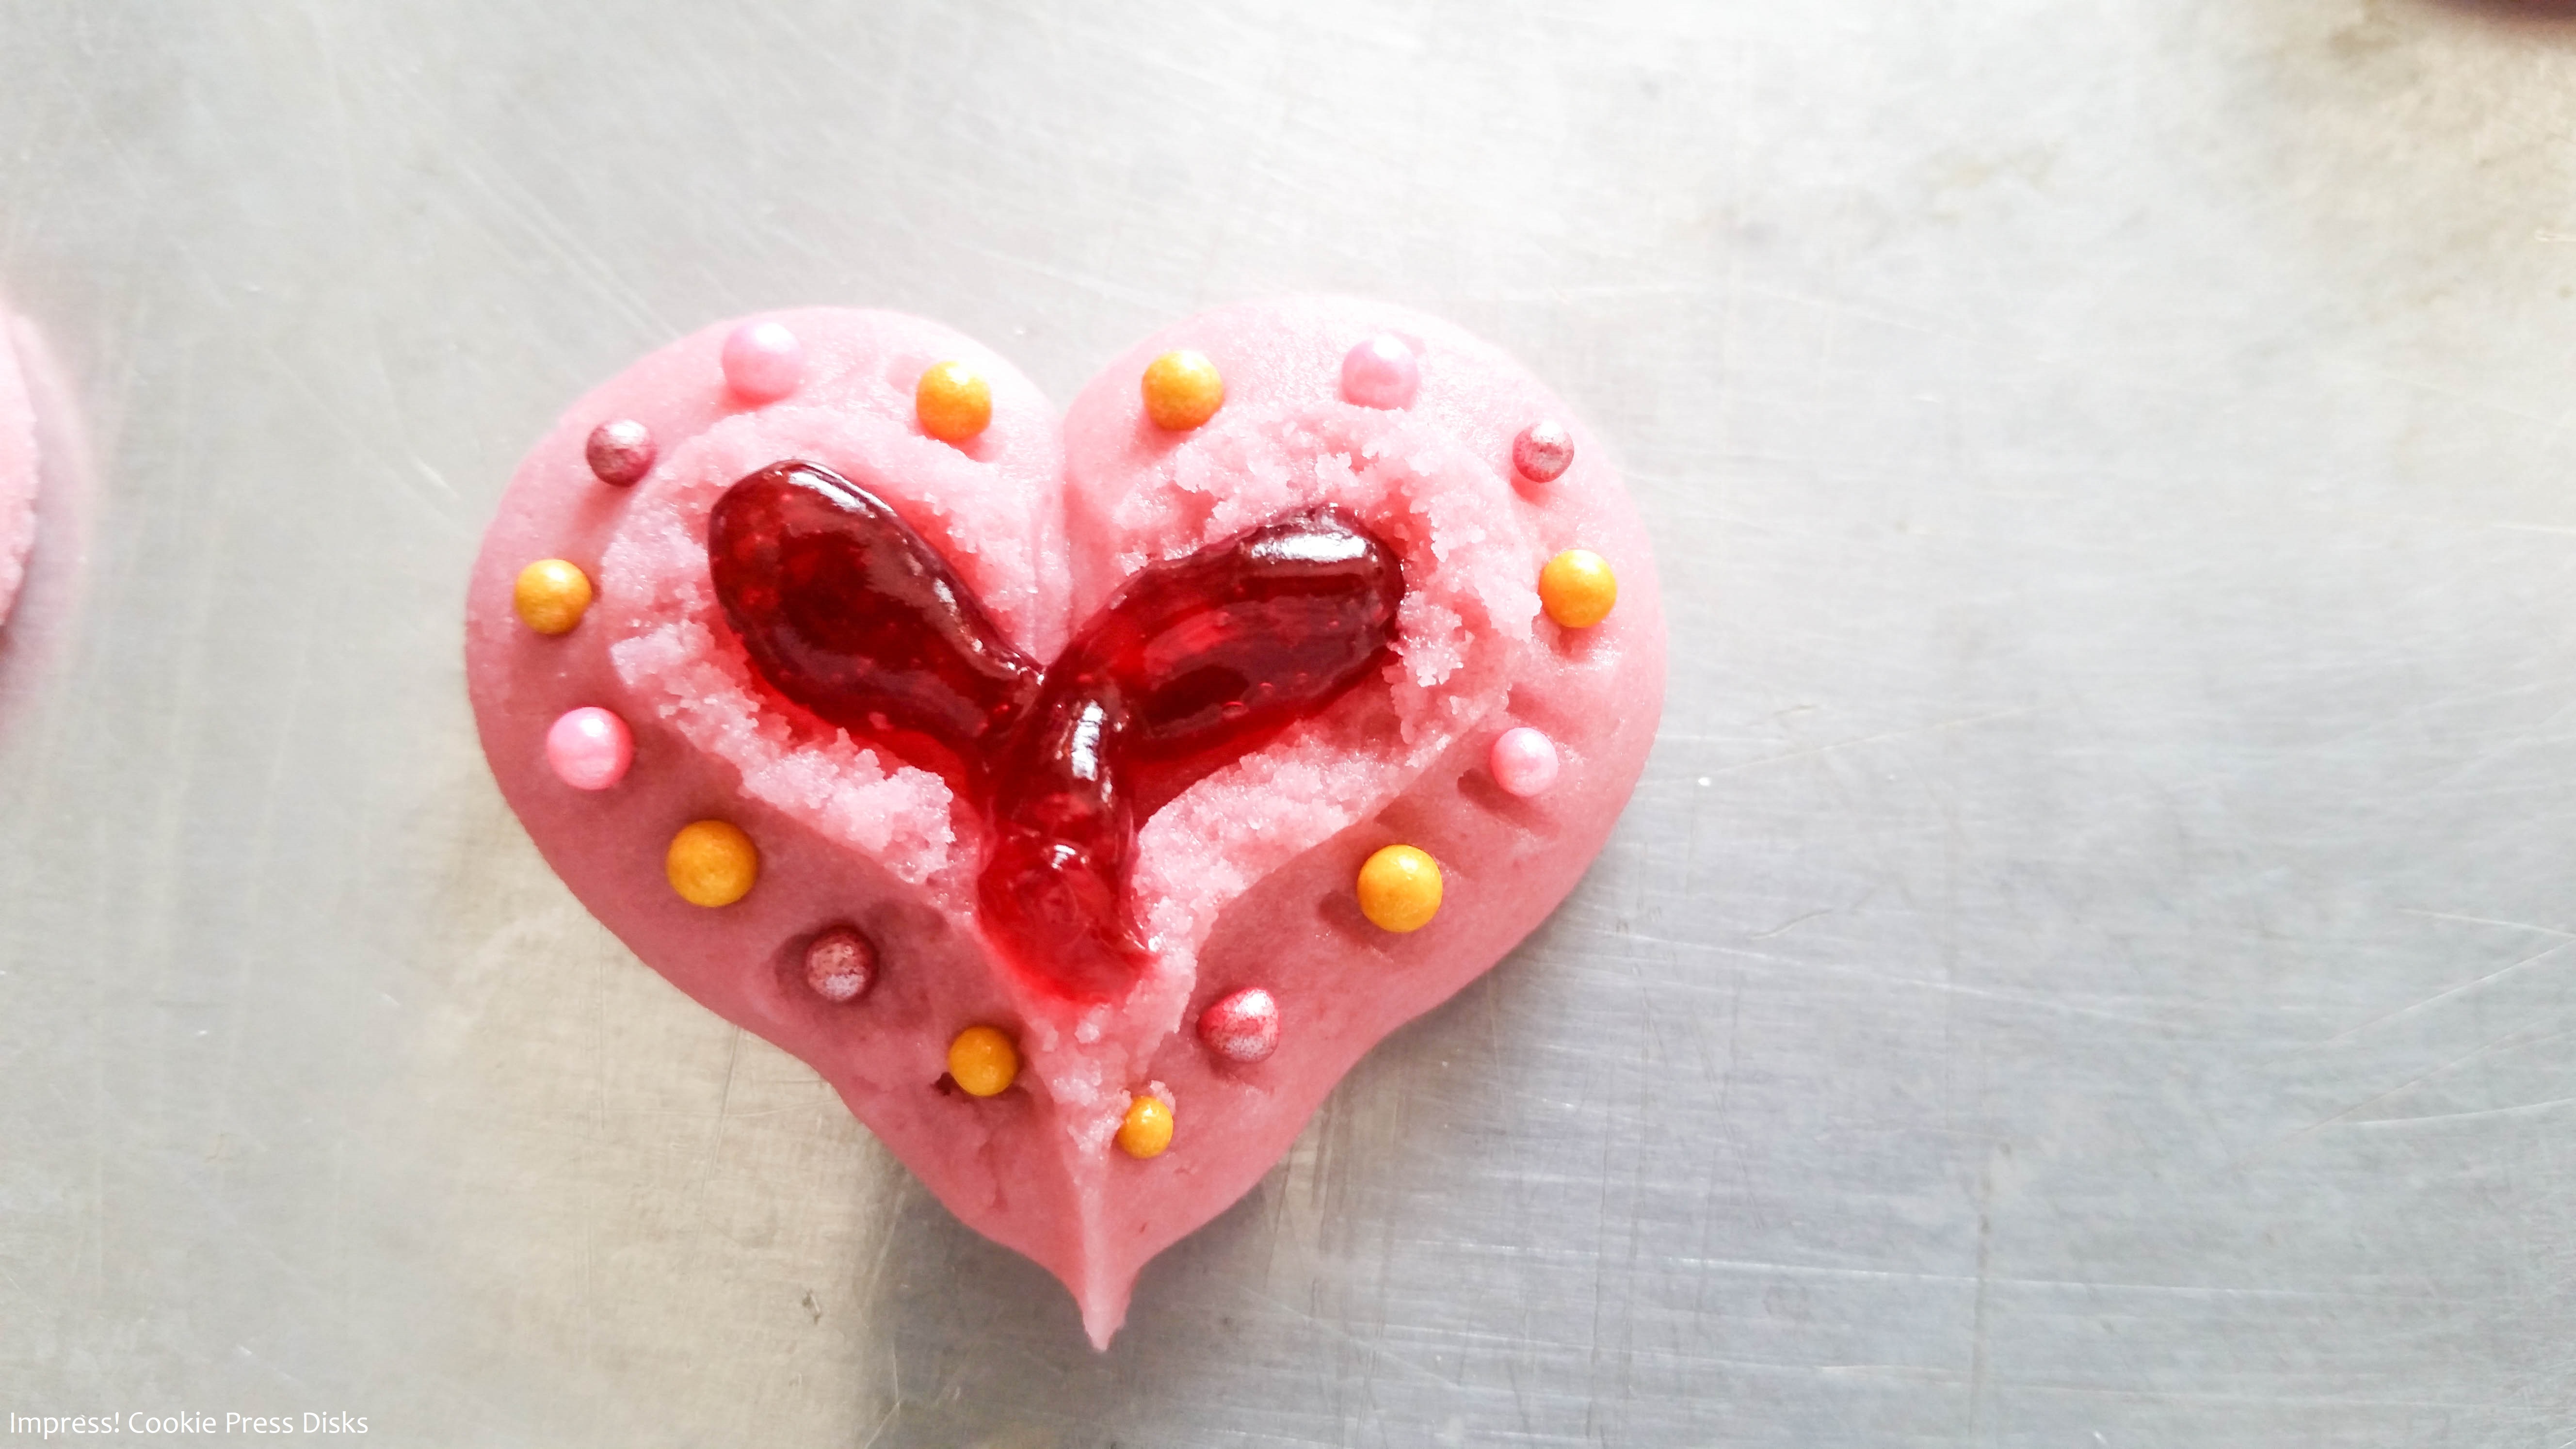
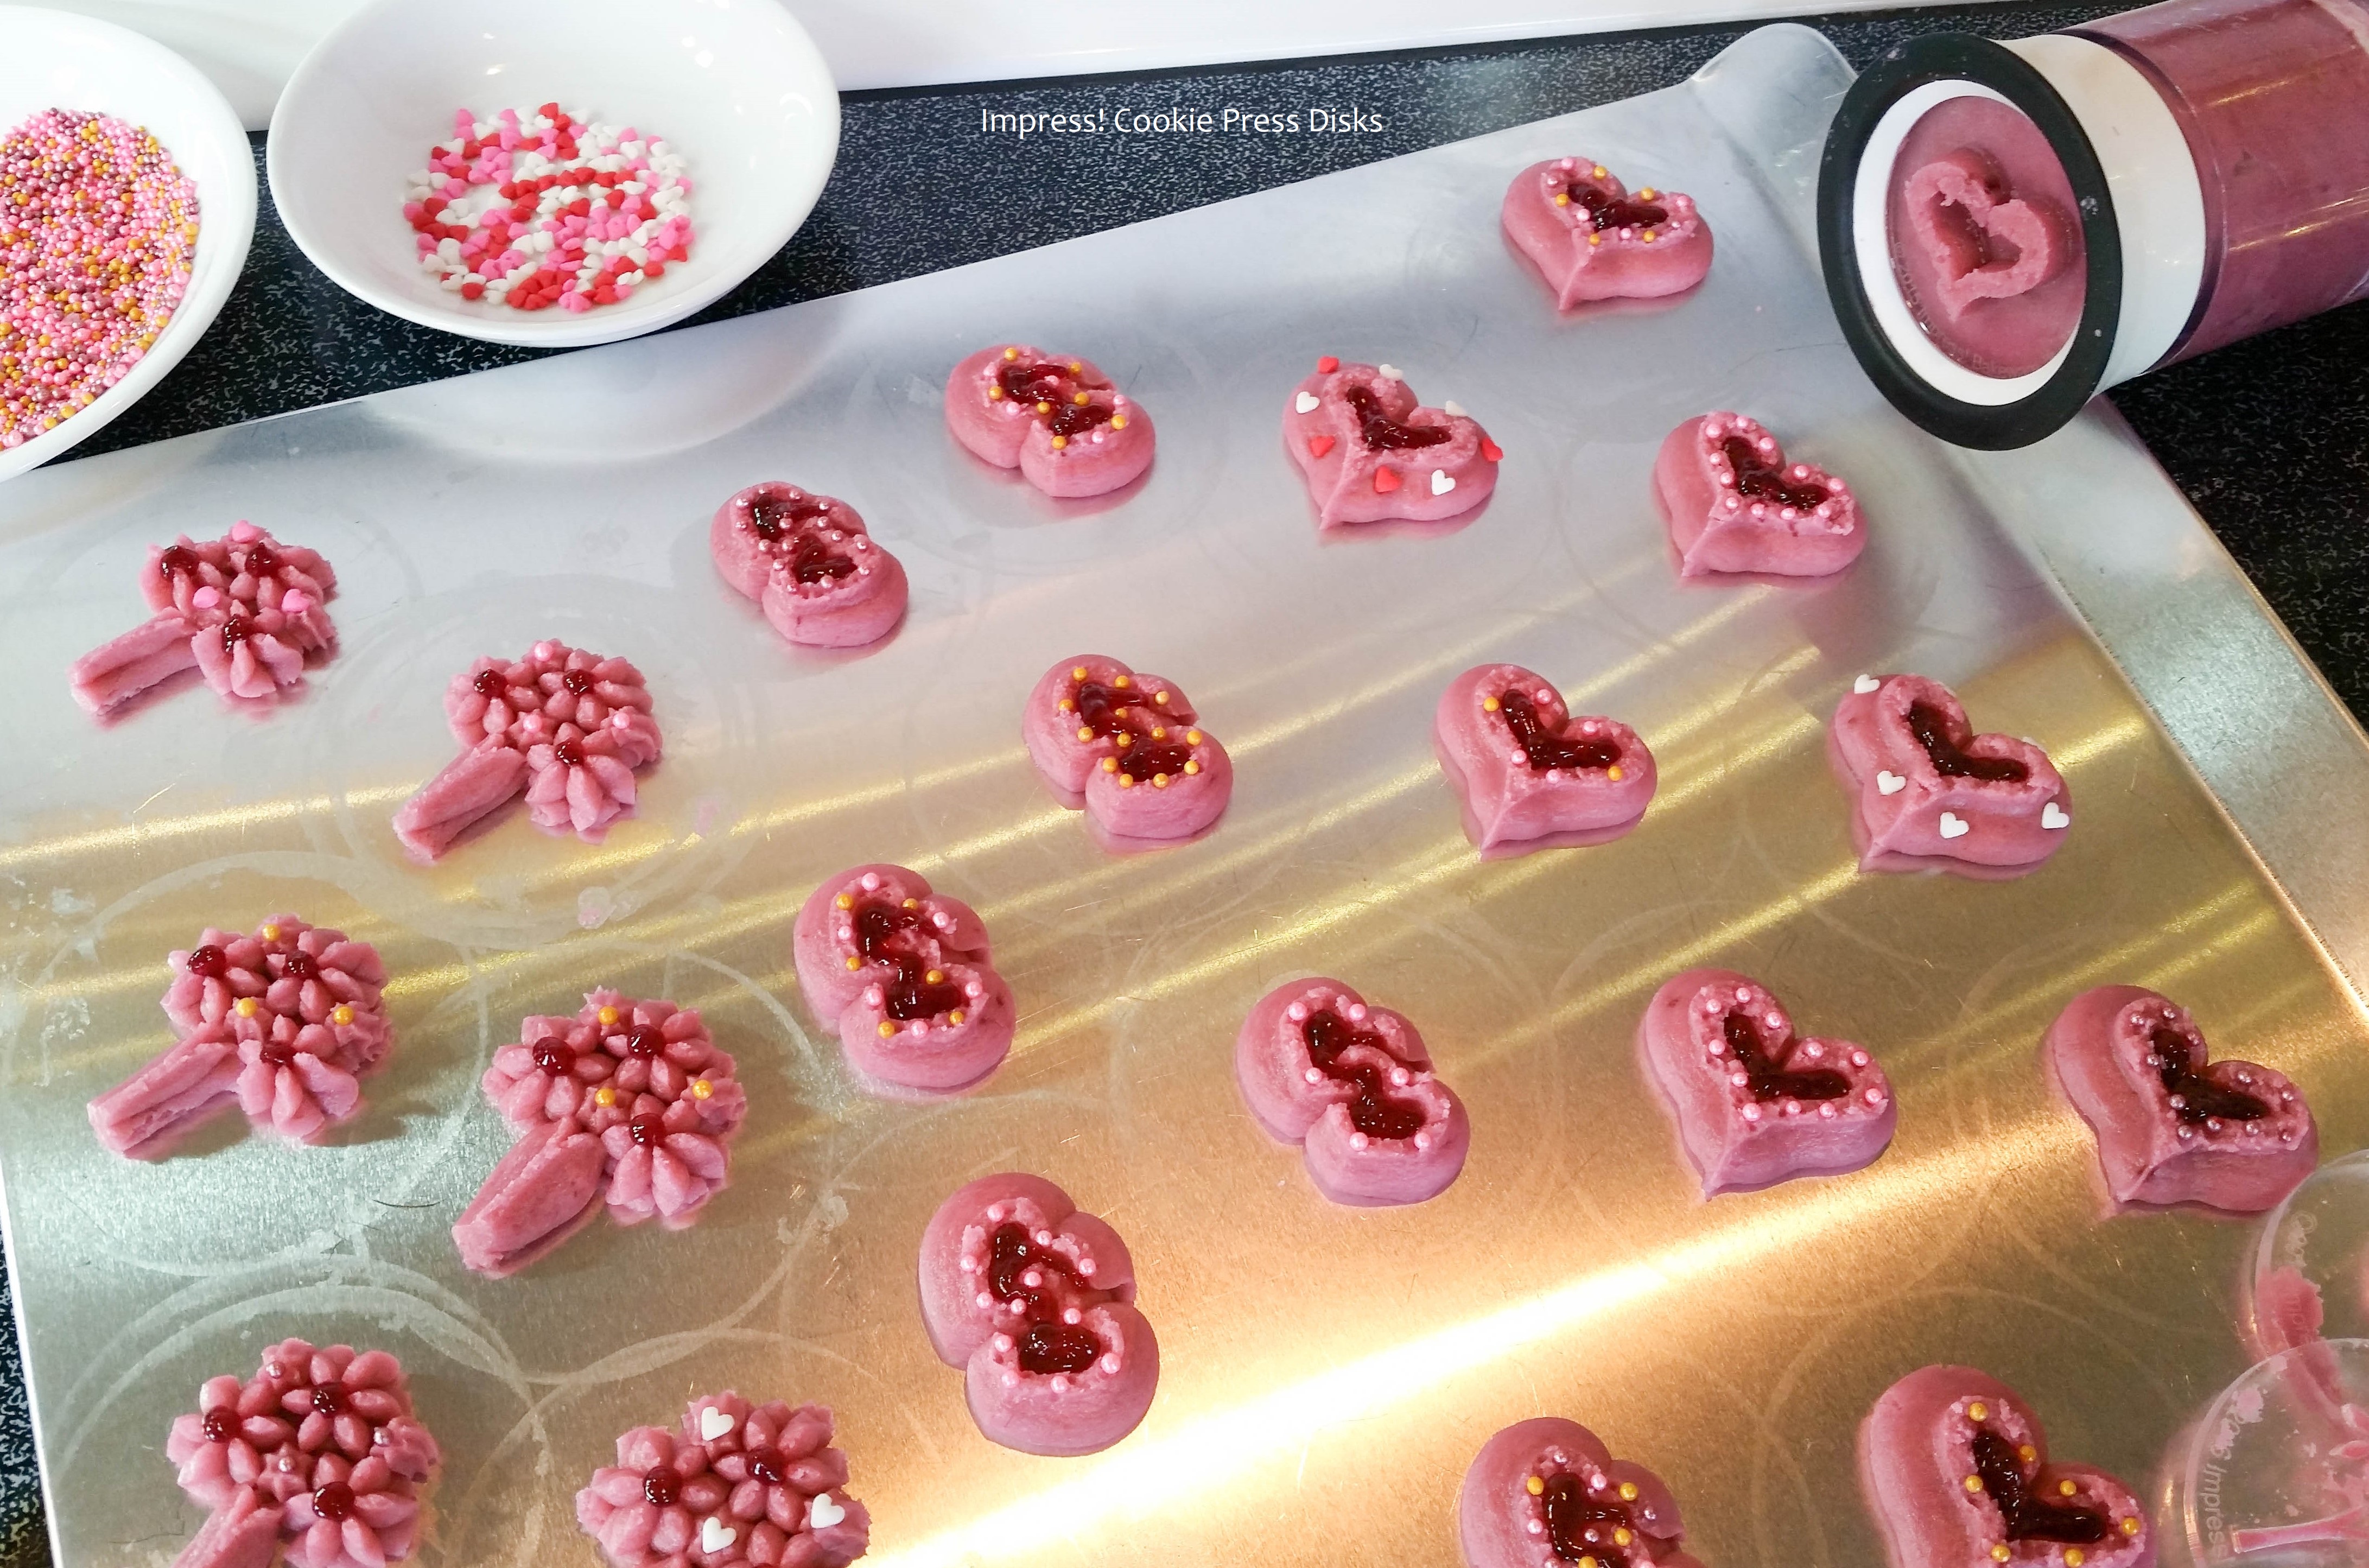
I used the two disks from our Valentine’s Day Disk Set that had nice big spaces for the raspberry filling: the Outline Heart and the Double Heart 1. The Flower Bouquet is from the Wedding Disk Set.

*NOTE: As of our 2019 Re-Opening our new disks are made of a solid white material, but the designs are exactly the same, and press identically.

Where can you find our disks?
Our website has all of our 200+ disk shapes, cookie press, embossed rolling pins, baking accessories plus more about our Women/Family Owned company! impressbakeware.com
All products are on our Etsy shop.
Our Amazon shop has our cookie press and disks and embossed rolling pins.
Raspberry Thumbprint Spritz Cookies
1 1/2 cups (3 sticks) butter, softened (not melted) (I recommend Land O Lakes brand as I know it creams well. I have had trouble with some generic butters not creaming properly and making the dough hard to press)
1/2 cup plus 3 Tablespoons granulated sugar
1/3 cup canned Solo® Raspberry Cake and Pastry Filling
1 Tablespoon vanilla extract
1/2 Tablespoon raspberry extract
1 egg
4 cups all-purpose flour
3/4 teaspoon baking powder
1/4 teaspoon salt
Gel food coloring- I used Wilton® in pink and violet
Preheat oven to 400°F.
In a large bowl, combine the flour, baking powder and salt and set aside.
Cream the butter well. Perfect spritz cookies begin with super-creamed butter. I use an electric mixer and set it on the highest setting. Pretend you’re making buttercream frosting. Add the sugar and cream it again.
Add the raspberry pastry filling and- you guessed it- cream it again. Your dough will have a slightly pink look at this time. Now add the gel food coloring to make a nice pinky-purply-raspberry color. I dipped the tips of knives in the gel- 2 in pink and 2 in the purple, wiping it into the dough until I had a good color. (See the video if that’s confusing!) Use separate knives for each dip as you don’t want to contaminate your gel colors with dough.
Then add the extracts and egg, creaming once more.

Add the flour mixture on a lower speed until it is all well-combined and the flour is fully and evenly incorporated and a soft dough forms. Perfect spritz dough has a soft malleable texture that is not too sticky or too stiff.

Fill your cookie press with dough and pick a disk! I use the back of a spoon to pack in my dough, eliminating air bubbles that can cause mis-shapen cookies.

Press onto clean, un-greased cookie sheets using a consistent rhythm. If your dough isn’t pressing well, troubleshoot by adding flour (a tablespoon at a time) to overly soft or sticky dough, or water (a tablespoon at a time) to overly stiff dough. This should be a very easy-to-press dough. It’s not uncommon for the first few shapes to come out mis-shapen or have trouble sticking. Pressure has to build up in the barrel for the cookies to come out consistently. Once you’ve got a good shape, try to press in a consistent rhythm.


Decorate before baking. It’s a little easier to add the pastry filling first, but you can do this in any order.
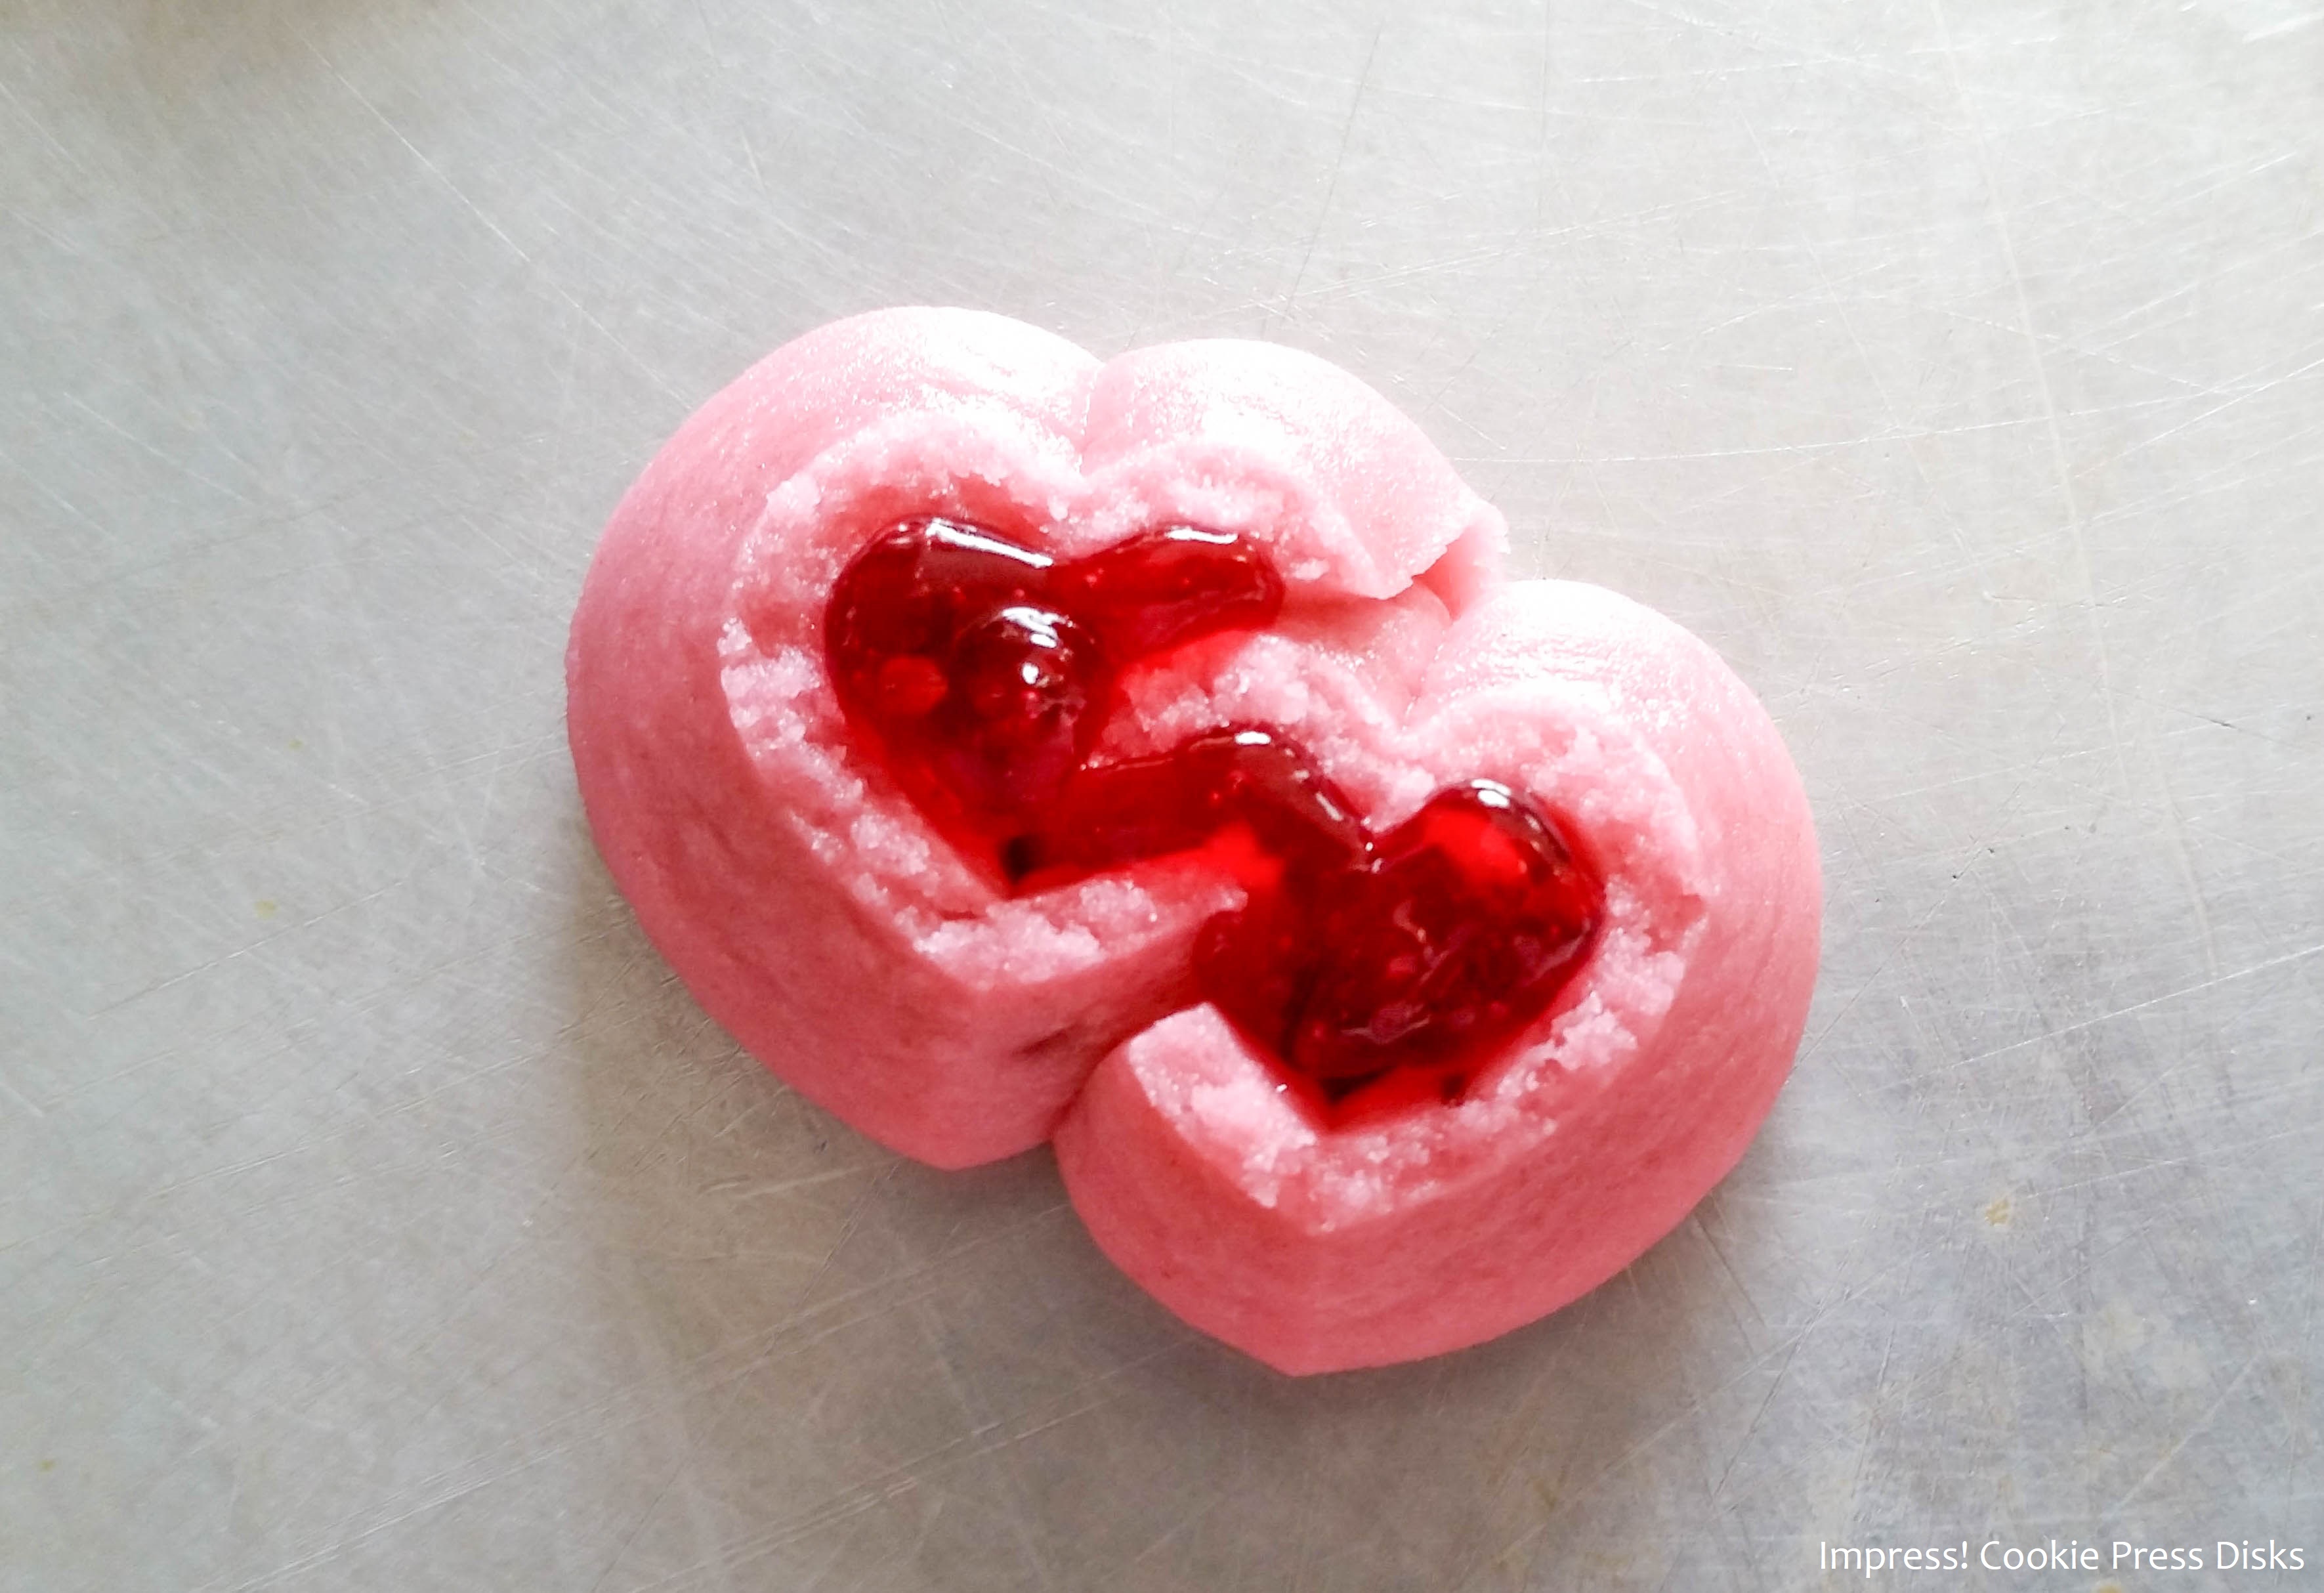
For the filling, use a decorating bag and a number 2 or 3 round tip (I used Wilton tips) to pipe the filling into the wells created by the 3 dimensionality of the heart cookie shapes. For the outline heart start in the upper corners and drag the filling to the bottom tip, one side at a time.
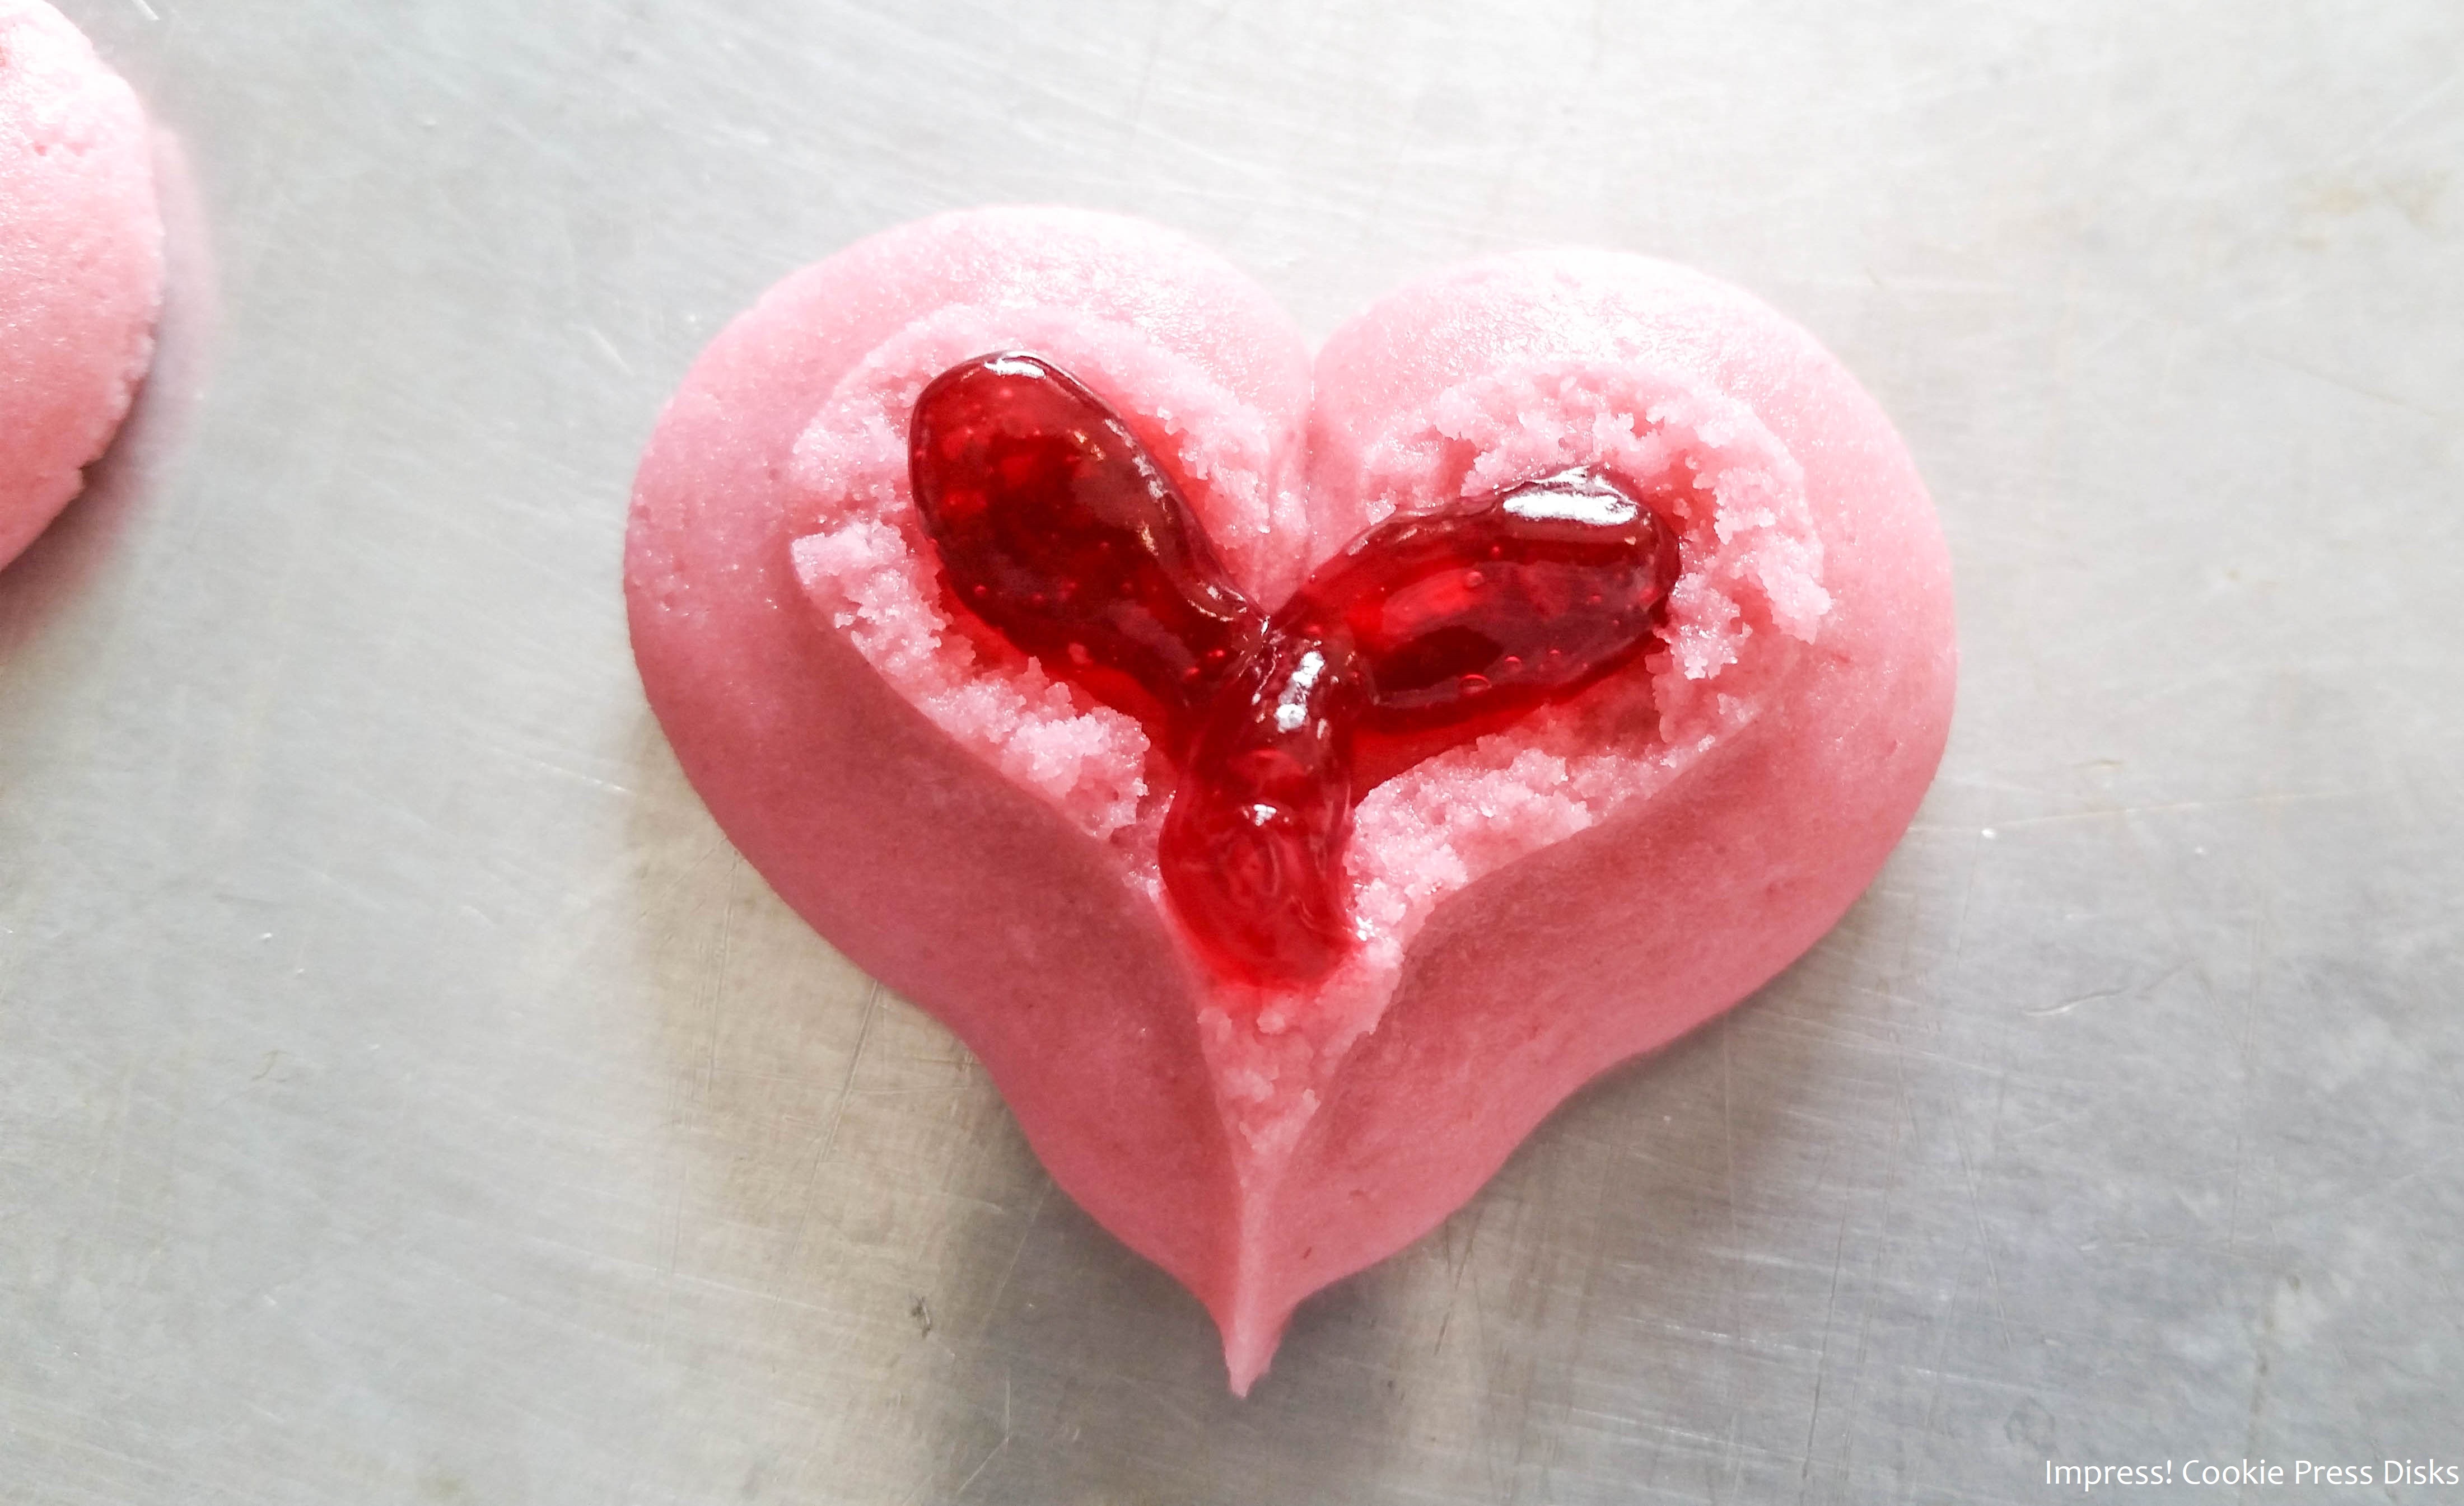
For the outline hearts, carefully fill in the open spaces.
Add dots of filling to the centers of the daisy-shaped flowers in the bouquet.
Add sprinkles, nonpareils, decors, whatever looks good to you, along the ridges of the hearts to outline them, and in the centers of the smaller flowers to accentuate them.


I used some pretty pink, gold, and purple nonpareils in a mixed jar made by Wilton®. They had a great color combination this year.
I used tweezers to pickup the little nonpareils and set them INTO the dough before baking. This allowed them to set nicely and securely.

I saw lots of little sugar heart shaped wafers that would work too. Or you can use whatever ideas you come up with! I bet many of you are more creative than I am. 😉

When the decorations and filling are all on the pressed cookies, bake them for 6 to 9 minutes.
Check the first batch early and often to get a feel for what’s right for you, as all ovens are different. You can let these brown slightly at the edges if you like a drier cookie, but don’t let them get too browned.

Let them sit for about 3 or 4 minutes before removing to a wire cooling rack.

That’s it! Watch the video for more pressing techniques and troubleshooting.
I hope you all have a very Happy Valentine’s Day filled with love and sweetness!
As always, Happy Baking!
~Susie
Disk Designer/Co-Owner at Impress! Bakeware, LLC
Our website has all of our 200+ disk shapes, cookie press, embossed rolling pins, luster dusts, baking accessories plus more about our Women/Family Owned company! impressbakeware.com
All products are on our Etsy shop.
Our Amazon shop has our cookie press and disks and embossed rolling pins.
Follow us on facebook!
The Valentine’s Day and Wedding Sets:


