Our gingerbread house is haunted! I baked up some BOO! with this FUN yummy cream cheese spritz recipe made by painting with edible pearl dust. It’s easy like a coloring book or paint-by-numbers – but on a cookie!
This is definitely my new favorite decorating technique. If you think it looks difficult, please don’t worry- it’s NOT! If you can do a coloring book or a paint-by-number then you can do this. It’s fun, it’s creative and artistic (without requiring any talent LOL). Watch the video and you’ll see just how easy it is.
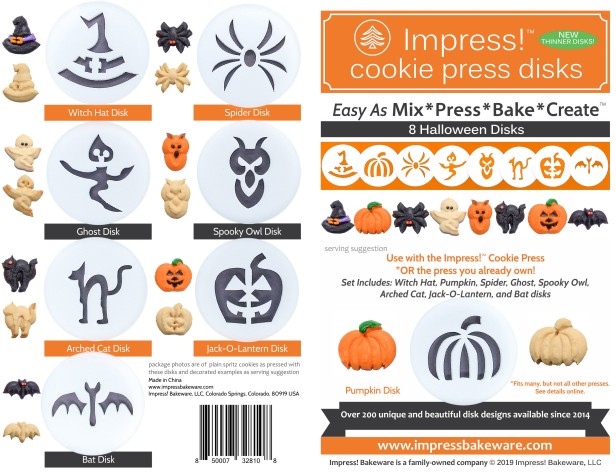
Our website has all of our 200+ disk shapes, cookie press, embossed rolling pins, baking accessories plus more about our Women/Family Owned company! impressbakeware.com
All products are on our Etsy shop.
Our cookie press and disks (only these products) are also available on Amazon .
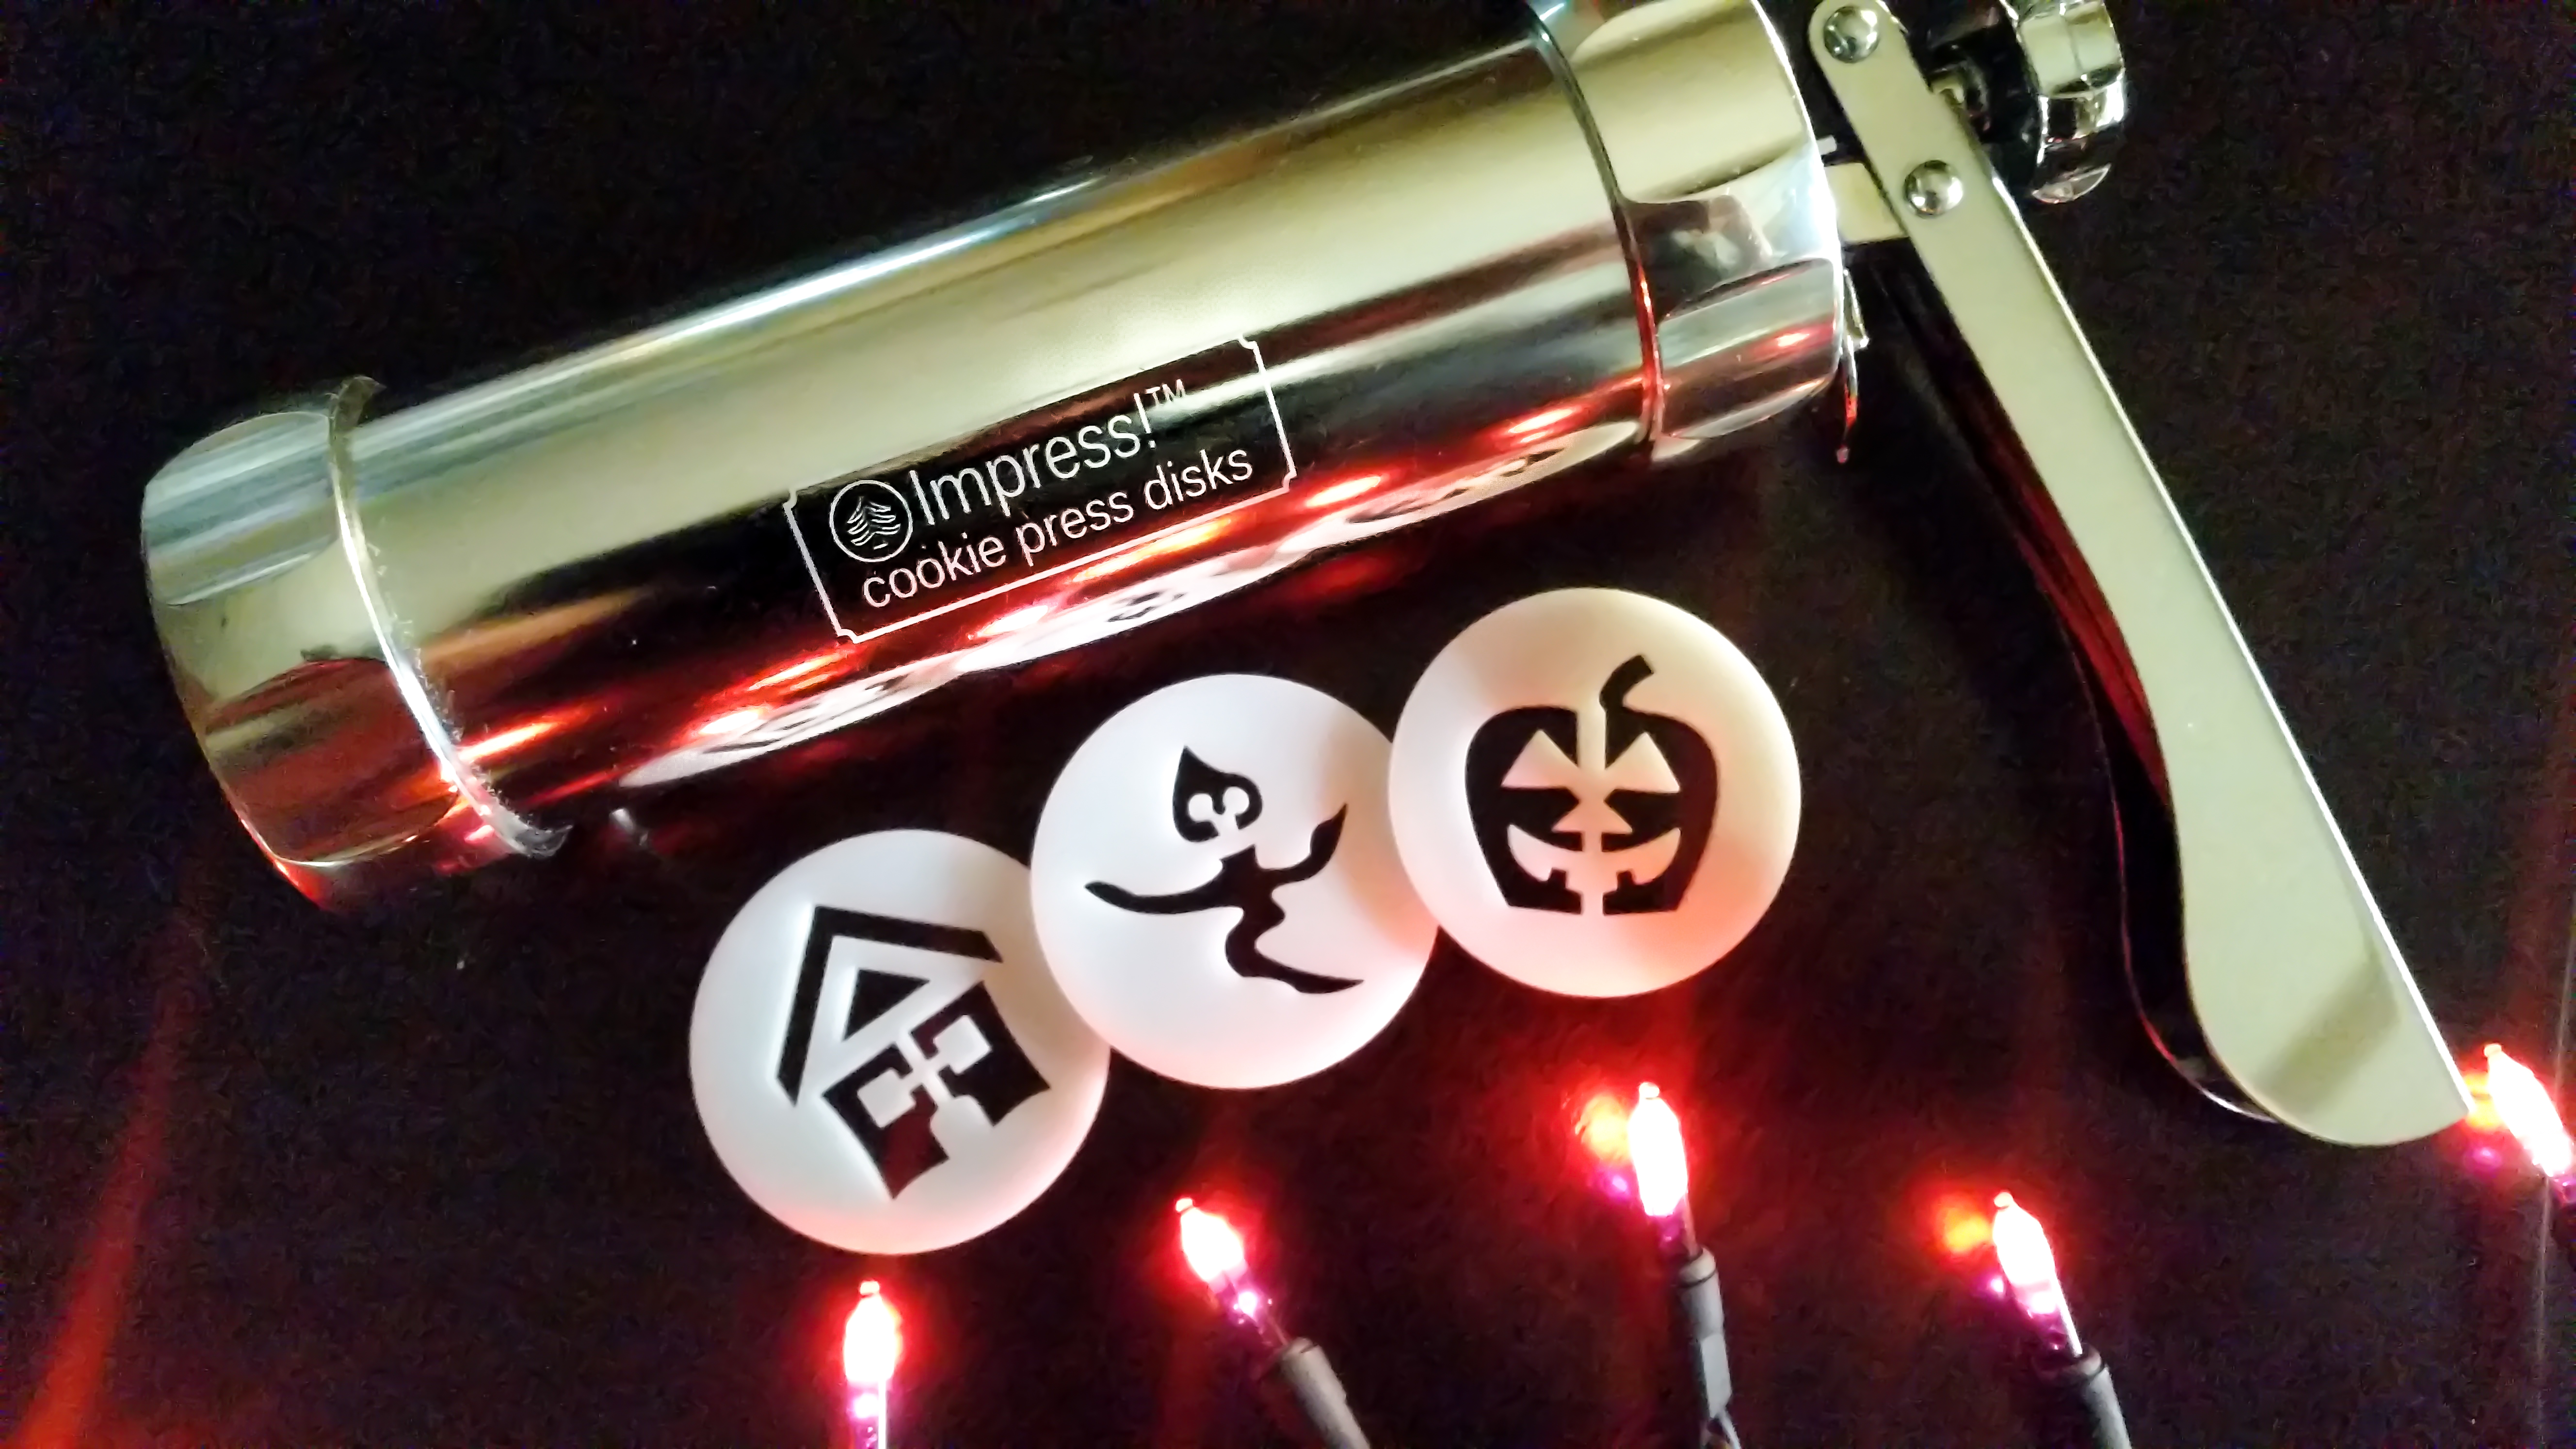
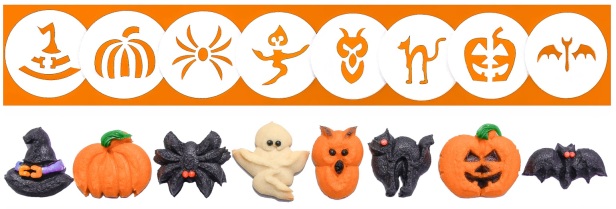
In 2021 we added a second Halloween disk set! Here are both Halloween sets:


I haven’t done a video in a couple of years, so this was a fun way to get back to that format. Video was the perfect way to really show how easy this painting technique is.
I also baked and decorated the rest of the original Halloween set in case you want to do more shapes! I included the re-purposed gingerbread man as a mummy and snowflakes as spider webs (this was before the Halloween 2 set was made 🙂 ). Check out my Chocolate Halloween Spritz for full instructions on those. https://creativecookiepress.com/2016/10/04/chocolate-halloween-spritz-cookies/
Here’s the cookie dough recipe, painting instructions, and some more photos of the pressed cookies and baked results. To follow the whole process along with me, and to watch my pressing techniques, watch the video above!
Cream Cheese Spritz Cookies
1 cup (2 sticks) butter, softened (not melted)
3 ounces softened cream cheese
1 cup granulated sugar
1 egg
1 teaspoon vanilla extract
3 1/4 cups all-purpose flour
1/2 teaspoon baking powder
1/4 teaspoon salt
Gel food coloring (liquid changes dough consistency too much)
For decorating:
EDIBLE pearlescent dust (like pearl dust/lustre dust)
A CLEAR alcohol-based liquid such as clear imitation vanilla extract, lemon extract, or vodka. The taste and the alcohol will disappear! I used clear imitation vanilla.
Preheat oven to 400 degrees
Combine the flour, salt, and baking soda and set aside. Cream the butter and cream cheese very well with an electric mixer on its highest setting. Awesomely creamed butter is the basis of great spritz recipes that melt in your mouth. Next add the sugar and cream again until it’s light and fluffy. Add the vanilla and egg and mix thoroughly. Add the flour mixture a little at a time and mix until all ingredients are evenly combined , but do not over-mix as that can make spritz dough too stiff.
You can always troubleshoot a spritz dough by adding water a teaspoon at a time to stiff, dry dough, or adding flour a tablespoon at a time to overly sticky or soft dough. Perfect spritz dough has a soft malleable texture that is not too sticky or too stiff.
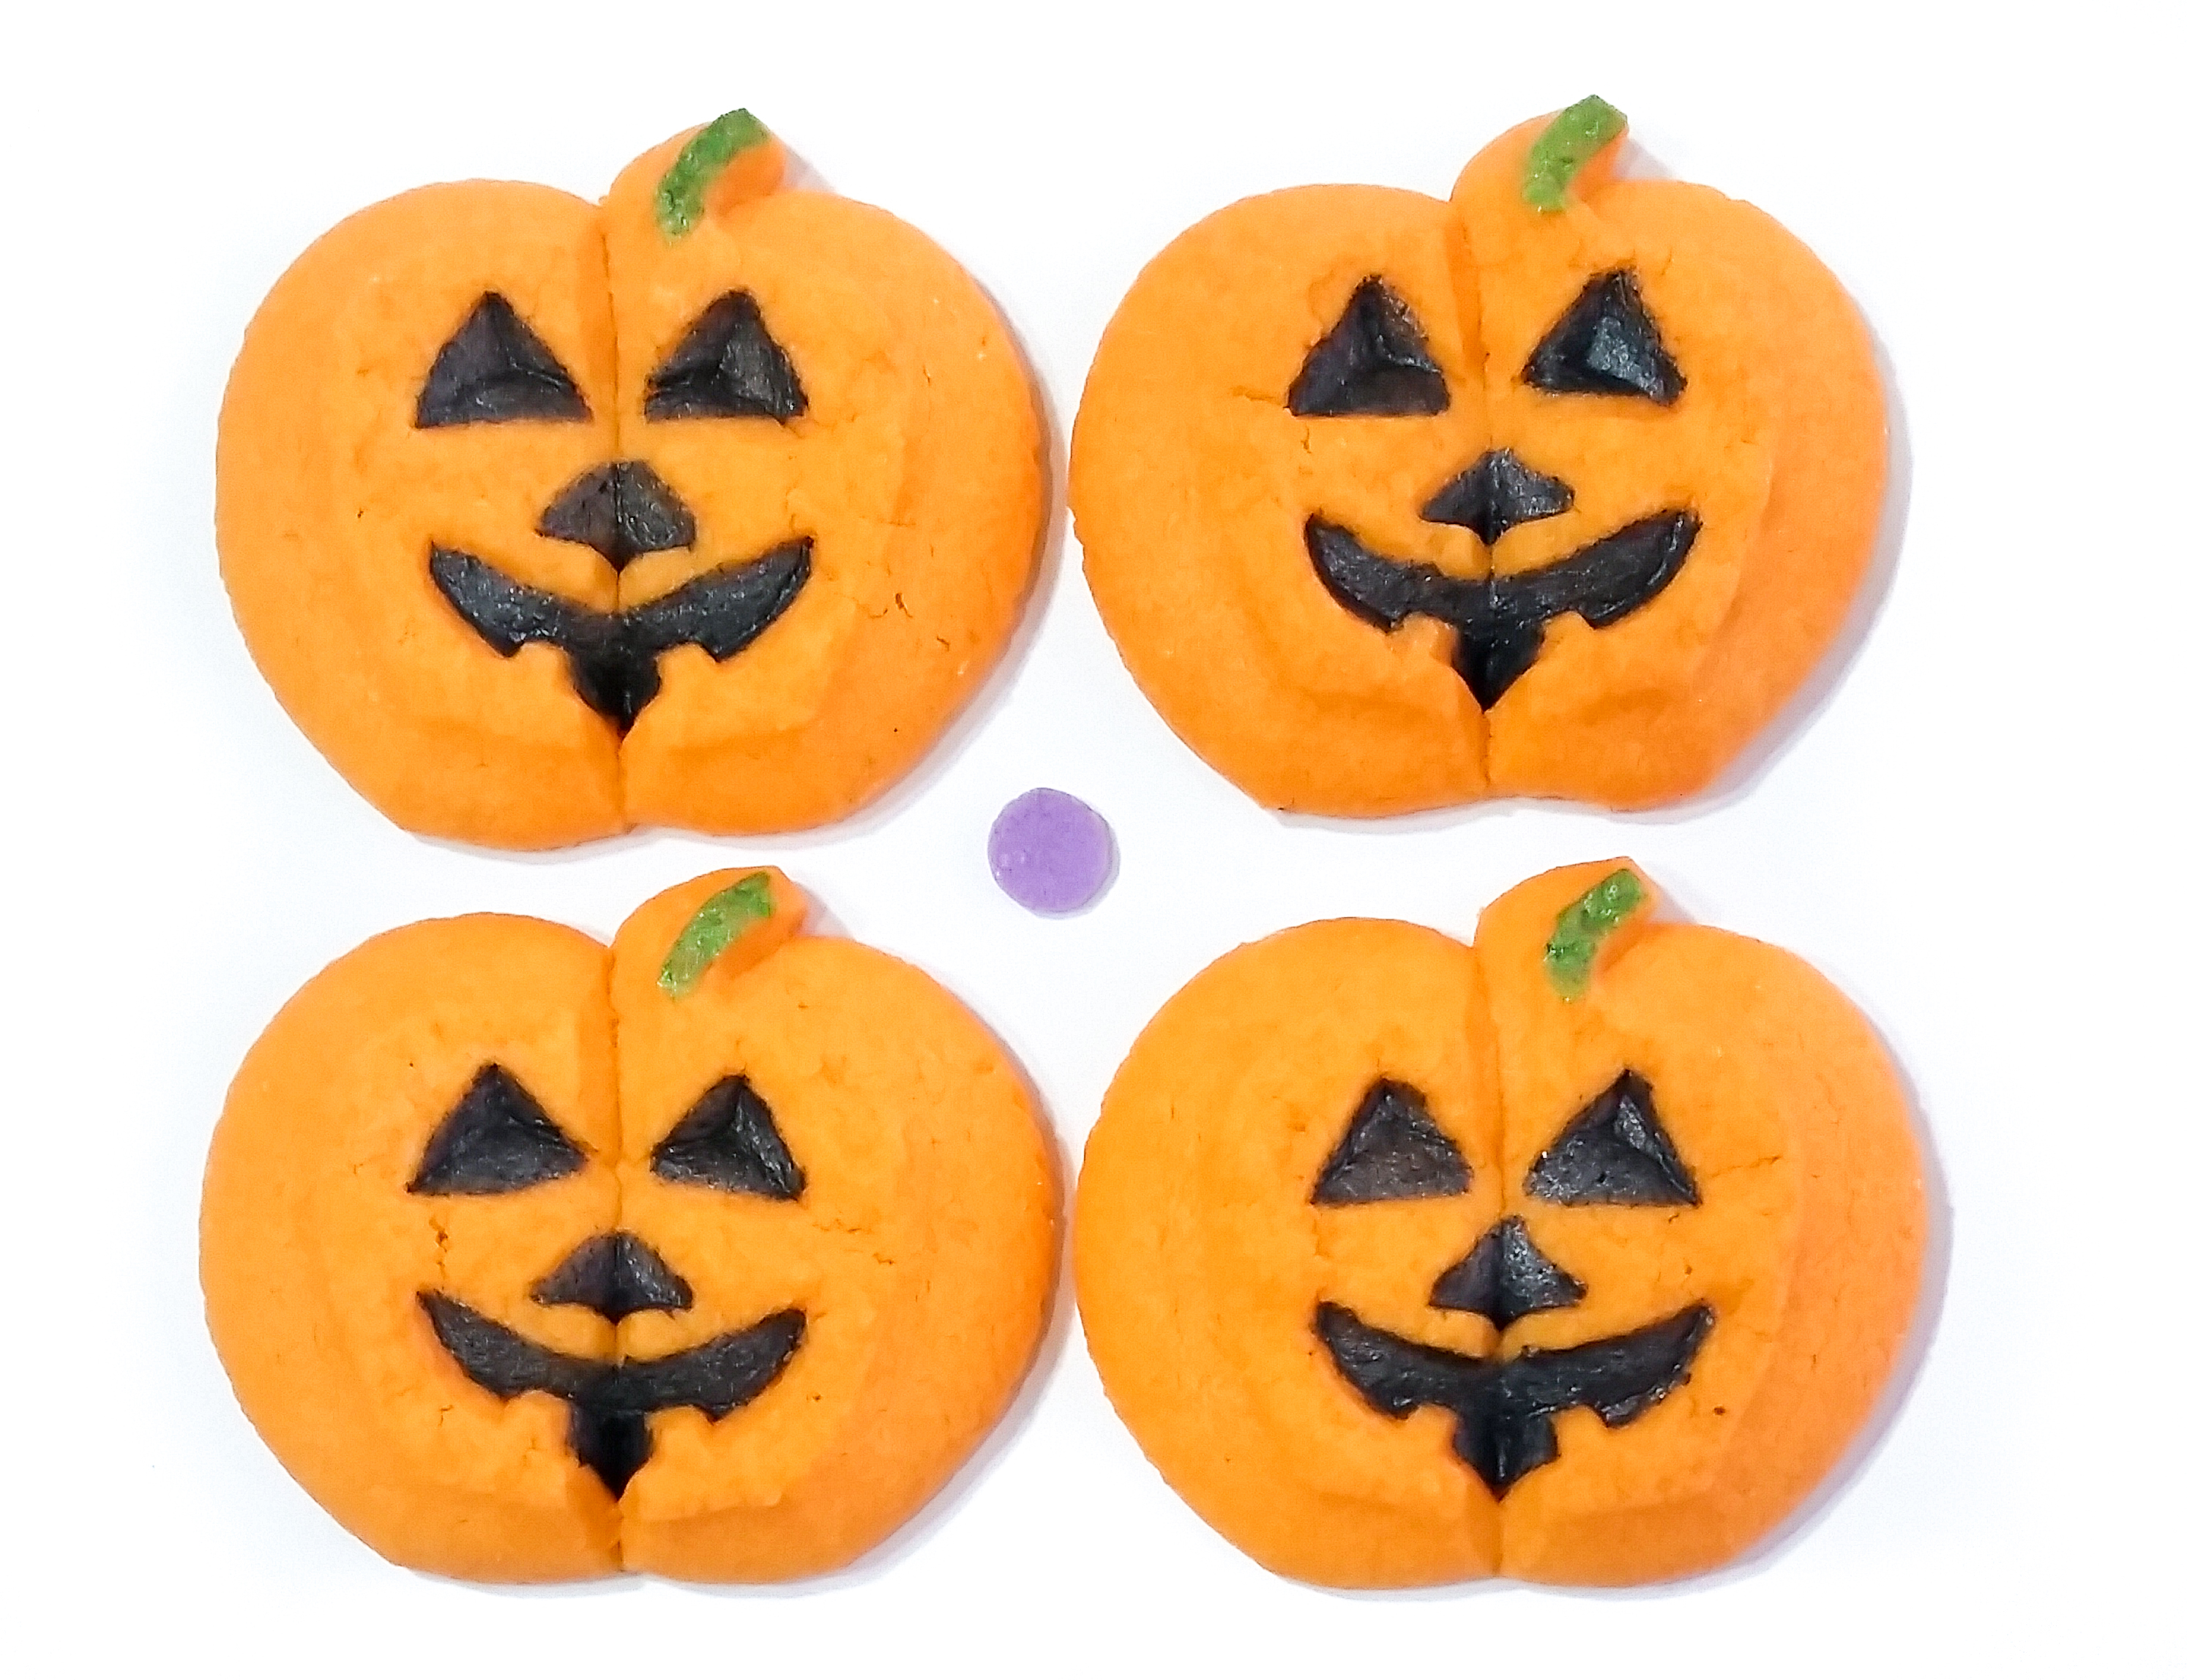
Set aside whatever amount of dough you want to color for the jack-o-lanterns. You CAN paint them, but I found that since the only decorating is a touch of black and green dust, it’s easier and prettier to just tint the dough. Always use gel food coloring to color your dough so you don’t thin it out.
I use toothpicks to add the color to my dough. When making multiple colors, I knead each color by hand. When making just one color, I use the mixer. Remember to start with just a little color. You can always add more but you can’t take it out!
Get your disks and pack your dough into your cookie press barrel, using the back of a spoon to press the air bubbles out. This helps create consistent pressure to press with. Place the disk in the bottom ring and start pressing onto an un-greased cookie sheet. Use a consistent rhythm to keep the shapes a uniform size. I show some good technique and troubleshooting in the video.
If you’re having trouble pressing (mis-shaped cookies, trouble sticking to the pan, etc), press one cookie into the air, wipe it off the bottom, and toss it back into the bowl to reset your pressure in the press. You can also refrigerate your cookie sheets for 5 minutes if sticking is an issue. It’s ok if the first few shapes come out weird. That happens as pressure builds. Have patience! And if any shapes ever come out wrong, just toss them back in the bowl to be re-pressed.
Bake for about 7 to 11 minutes. Check them early and often, as all ovens are different, and spritz brown quickly once the browning begins. You don’t want burned cookies!
Let them sit for 4 or 5 minutes on the cookie sheet before removing to a cooling rack. This lets them set enough to prevent breaking. This recipe makes about 135 cookies.
The decorating on these is SO simple. Using food-safe brushes, mix pearl dust and whatever clear alcohol-based liquid you choose to make a “paint”. Experiment with how thick or thin you want it to create different effects. My technique is to keep a small dish of liquid ready, and place small piles of dust around a plate like a palette. Just drip a little liquid at a time next to the dust- this keeps the liquid clear and clean. Use a different brush for each color or rinse with water between colors.
NOTE: Always make sure you are using EDIBLE dusts! Some lustre/pearl/glitter dusts on the market are “non-toxic” but that does not mean they are edible. Plenty of brands have actual food ingredients and are marked “edible”. ONLY use those for safety’s sake!
Mix the dust and liquid until there are no lumps. If you want a more opaque color that the cookie won’t show through, add white to your color. I found that my Wilton purple pearl dust definitely needed white added to it.
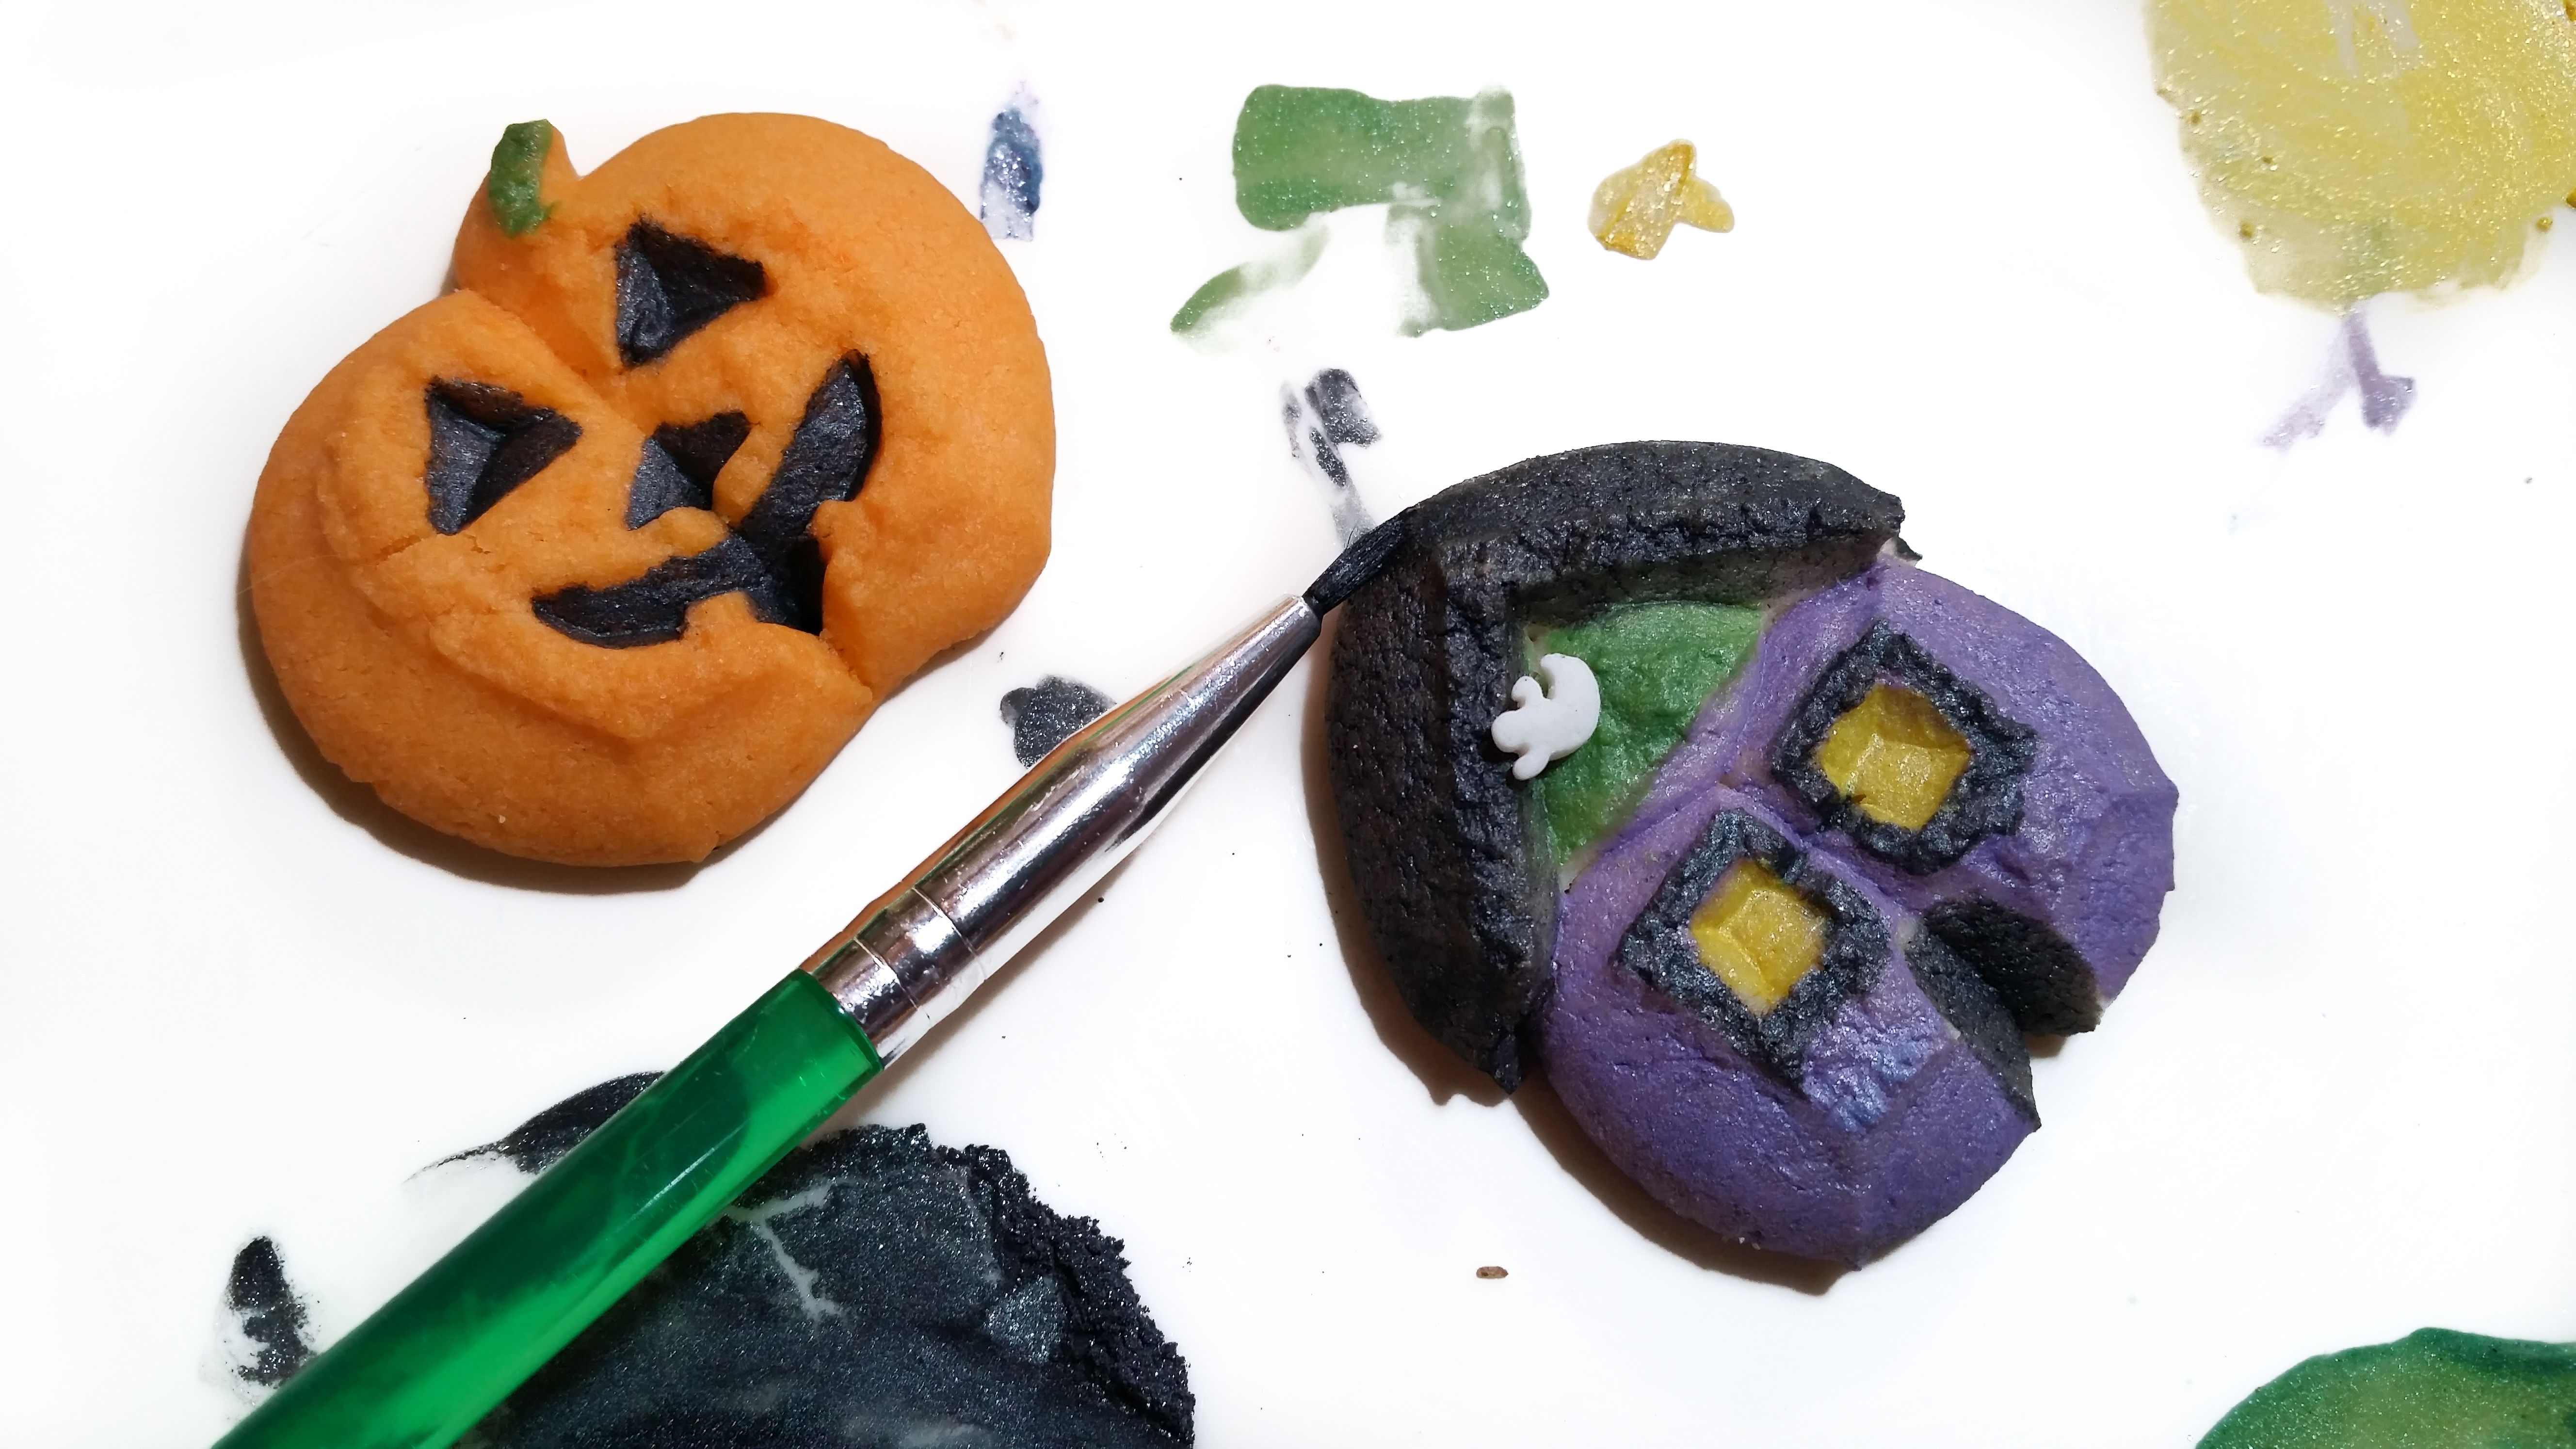
Let the paint dry in between colors so they won’t bleed together. The ridges and sections on the house, coupled with the jack-o-lantern’s eyes already being hollowed out make these cookies SO easy to paint.
Just fill in the areas and lines you want with whatever color you choose. I added some bats and ghosts sprinkles to the houses, gluing them on with a little icing.
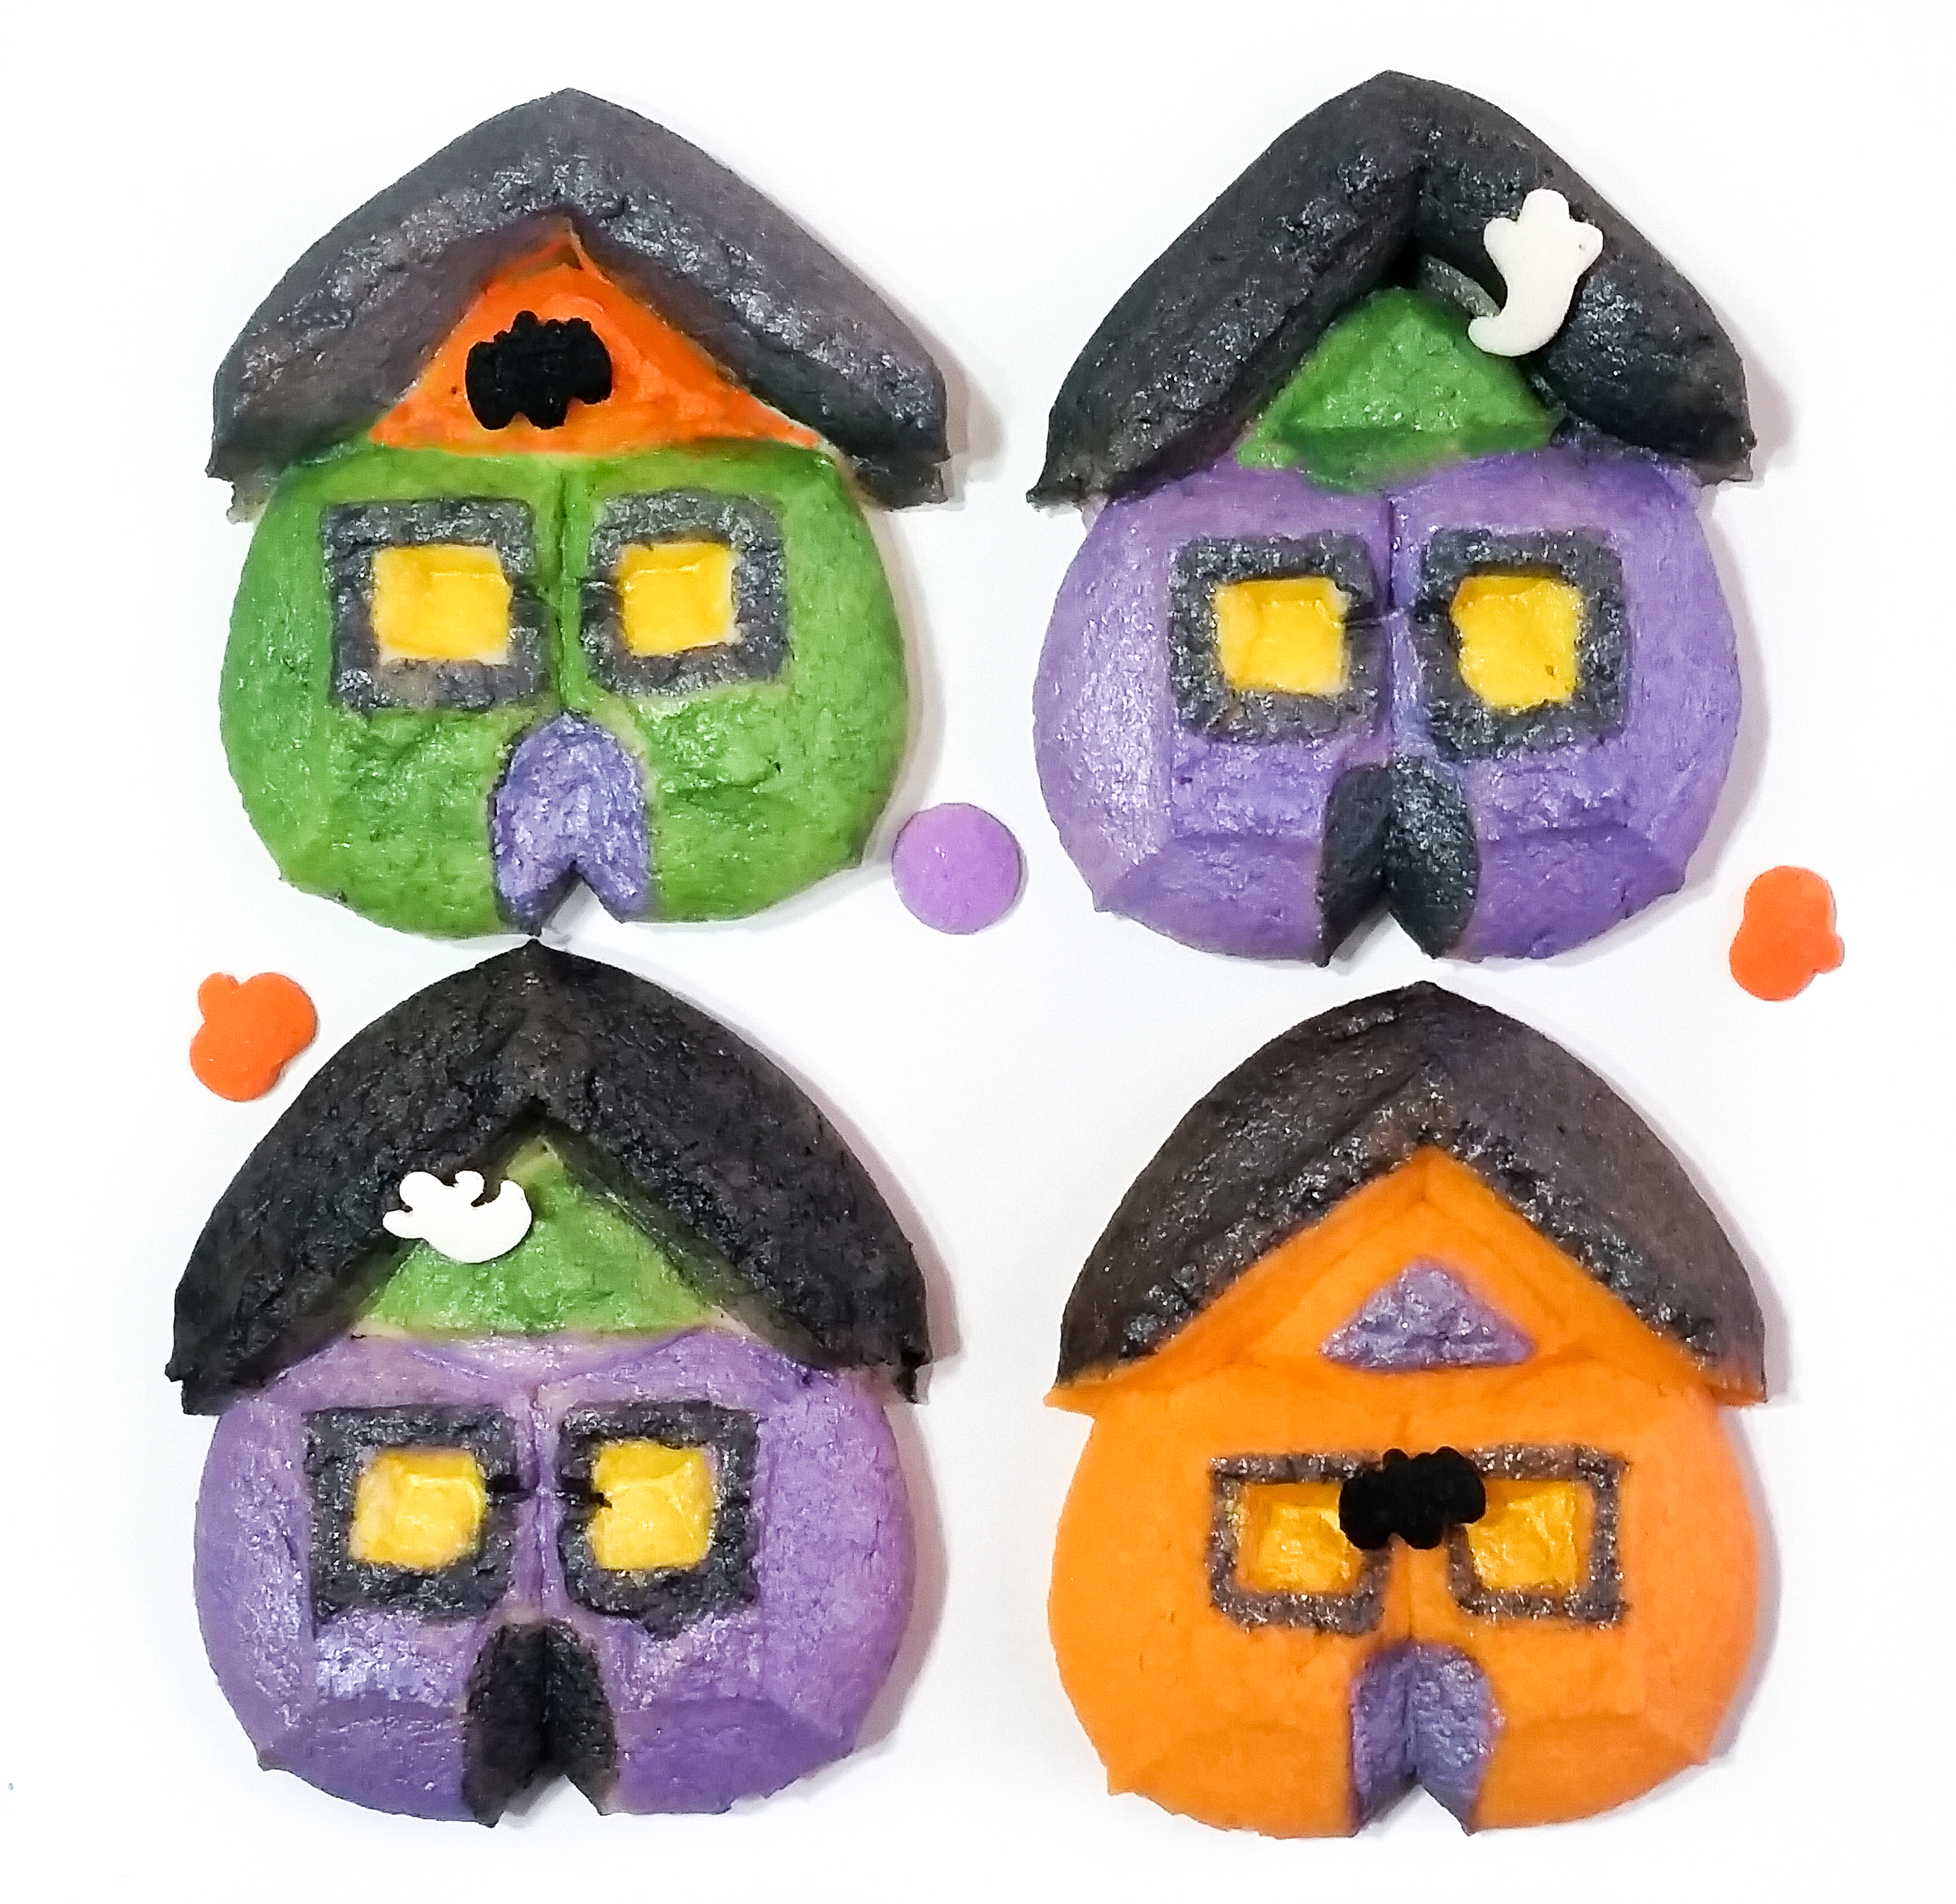
For the ghosts it’s even easier! I found that dry-brushing them worked better than painting. Since they are already white, they really only needed a little shimmer added to them. So, using a big brush, rub white dust onto the dry cookies, kind of smooshing it in.
Then you can either add color to the eyes by putting wet paint into the holes with a fine brush, or do what I did and use icing. I went with store-bought icing and piped the eyes on with a round writing tip.
I love the look of all the different colors! So spooky!
Here they all are! Remember to check out the Chocolate Halloween post if you want to see more about the rest of the Halloween set and how to do the mummies and spider webs.
Links to both disk sets below!
Happy Halloween, and as always, Happy Baking!
“Press the Possibilities”
~Susie
Disk Designer/Co-Owner at Impress! Bakeware, LLC
“Get creative with your cookie press!”
Our website has all of our 200+ disk shapes, cookie press, embossed rolling pins, baking accessories plus more about our Women/Family Owned company! impressbakeware.com
All products are on our Etsy shop.
Our cookie press and disks (only these products) are also available on Amazon
Follow us on facebook!
The Halloween and Gingerbread sets:
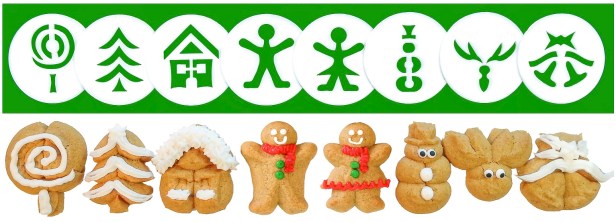
The Gingerbread Set: