

Well, this post is getting out much later than it was supposed to. The day after I finished up photography for this blog, I had an unfortunate run-in with the heavy back hatch of my SUV, and have since been sidelined with a concussion. As a result of this injury, I’m handing the writing of this post over to my son the communications major. After all, he’s edited every single post I’ve published, as well as edited all of my videos! He knows what to do. 😉 There will be some cut and paste from previous posts to make sure he gets the details just right. So here’s Ryan helping out his injured mom by getting our last recipe of the season out. I hope you all enjoy it – it was just too cute not to post!
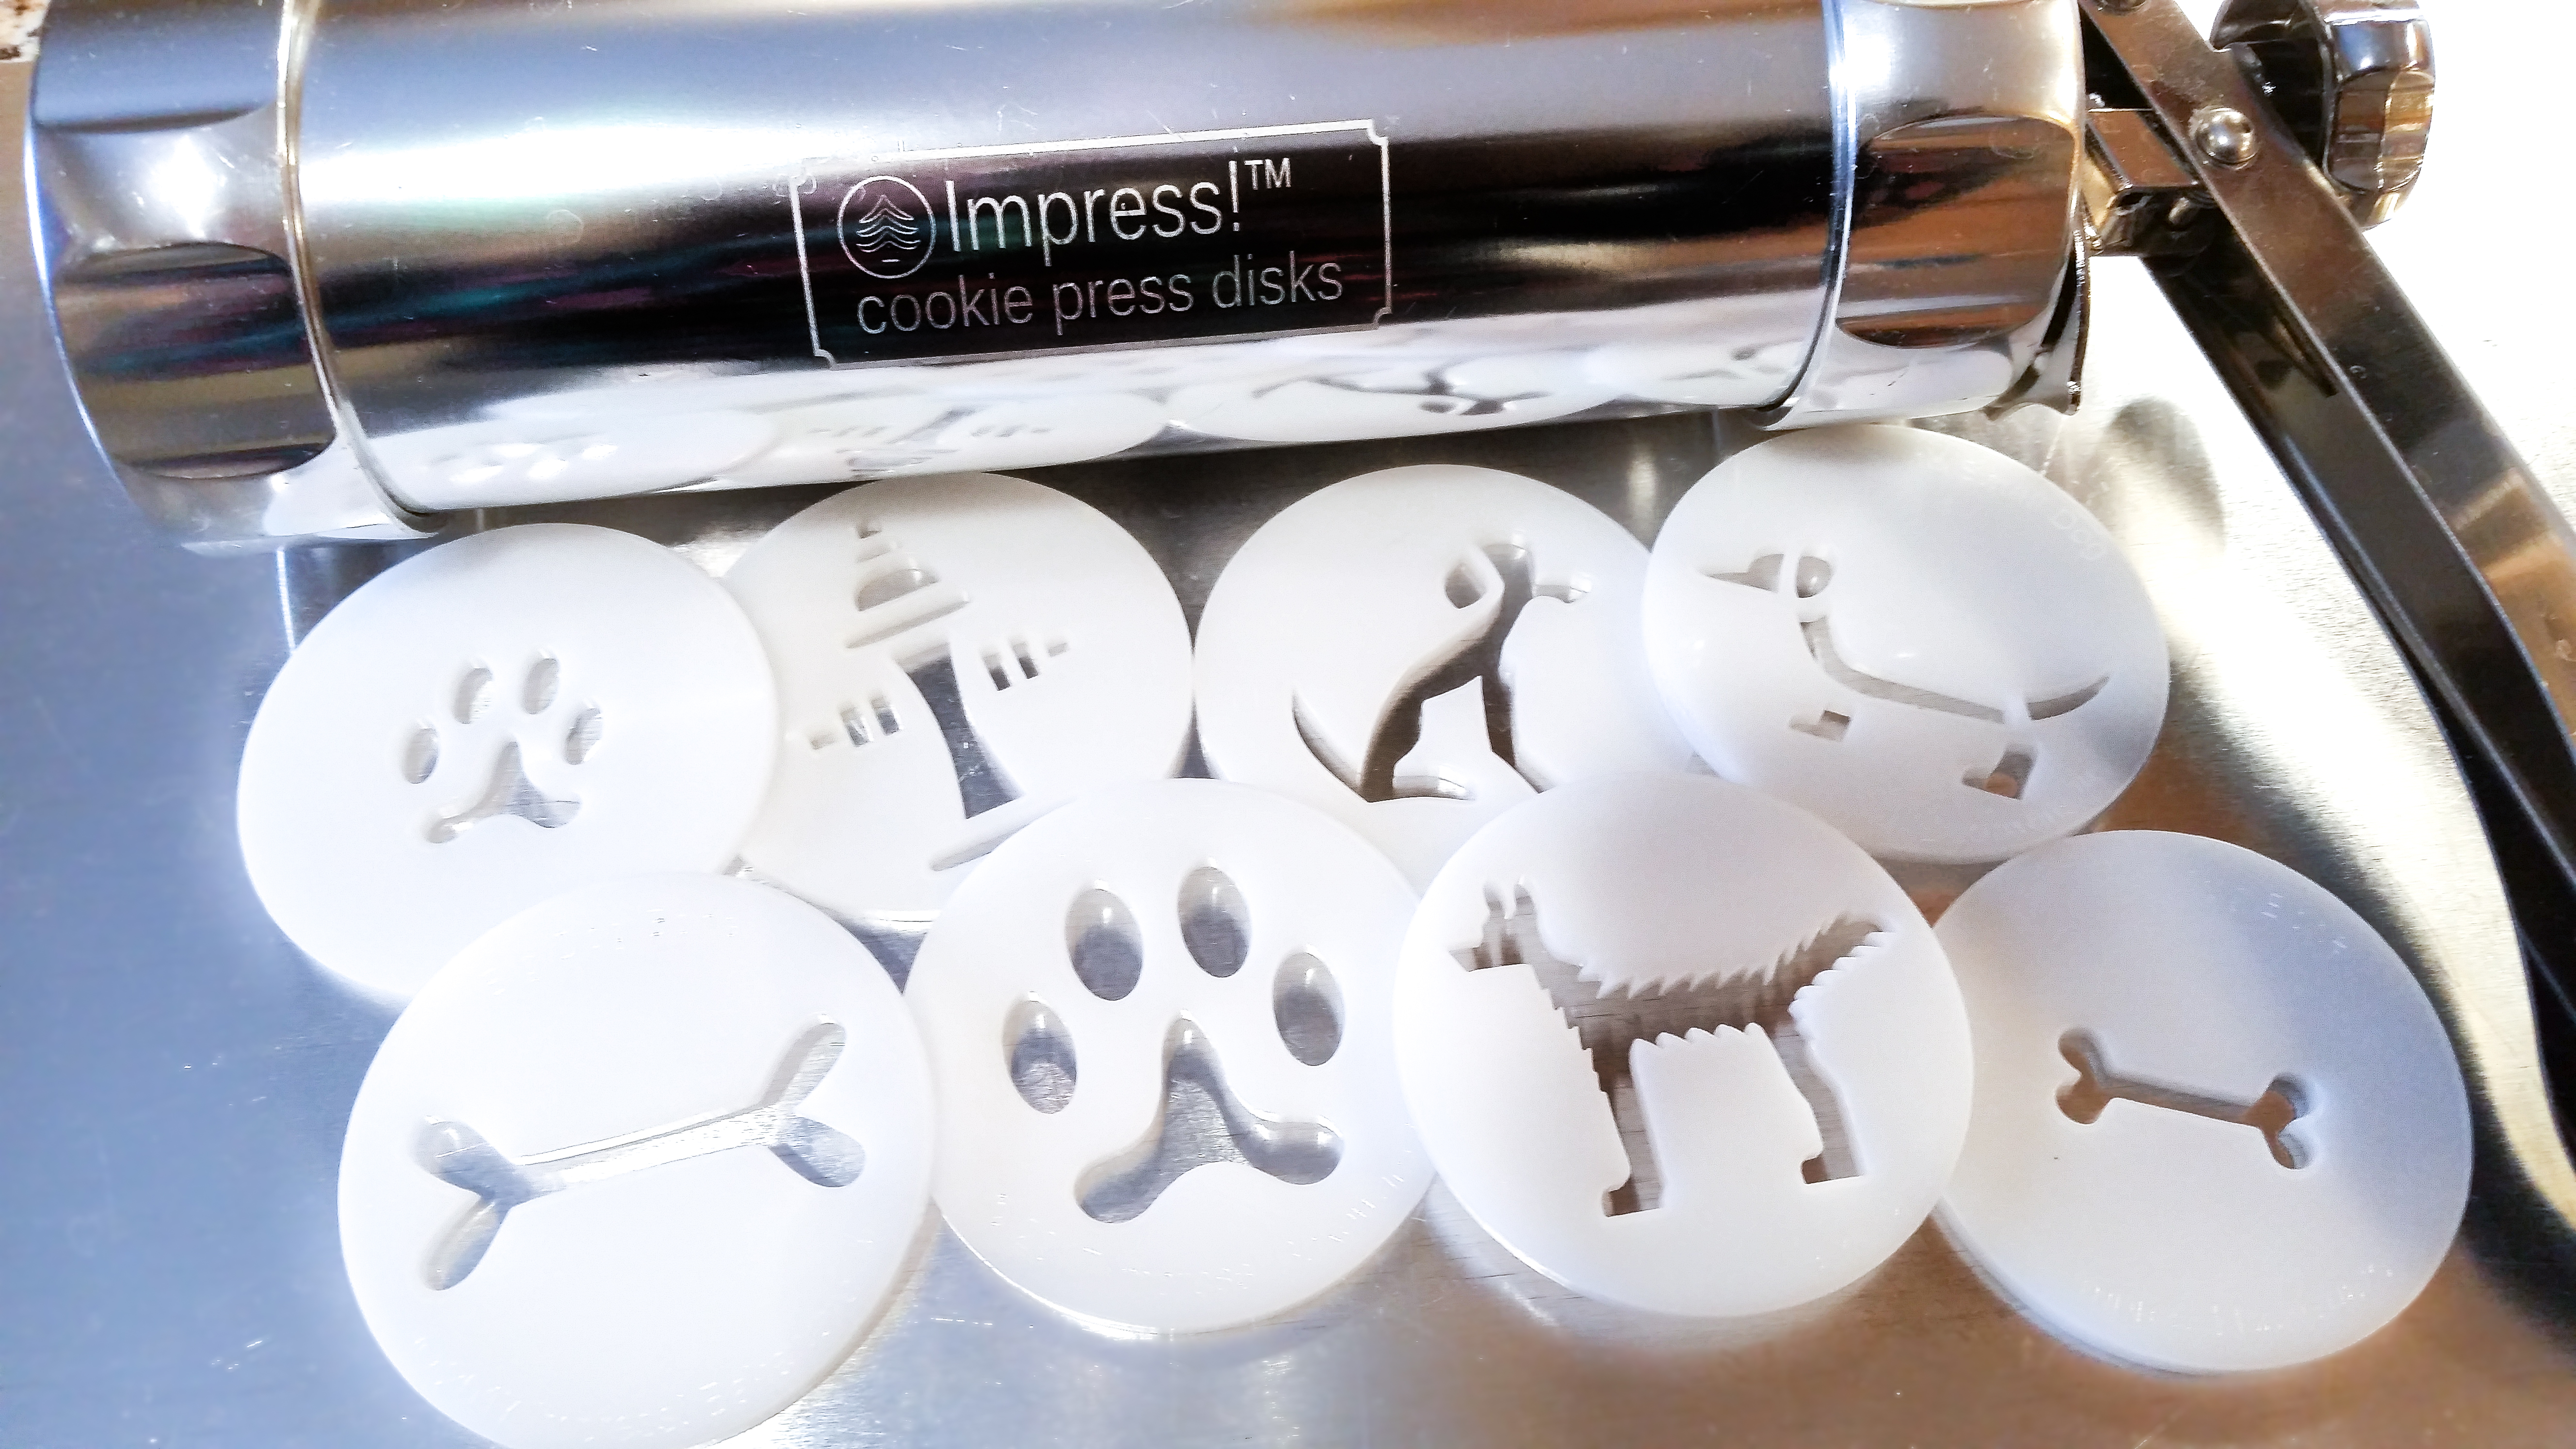
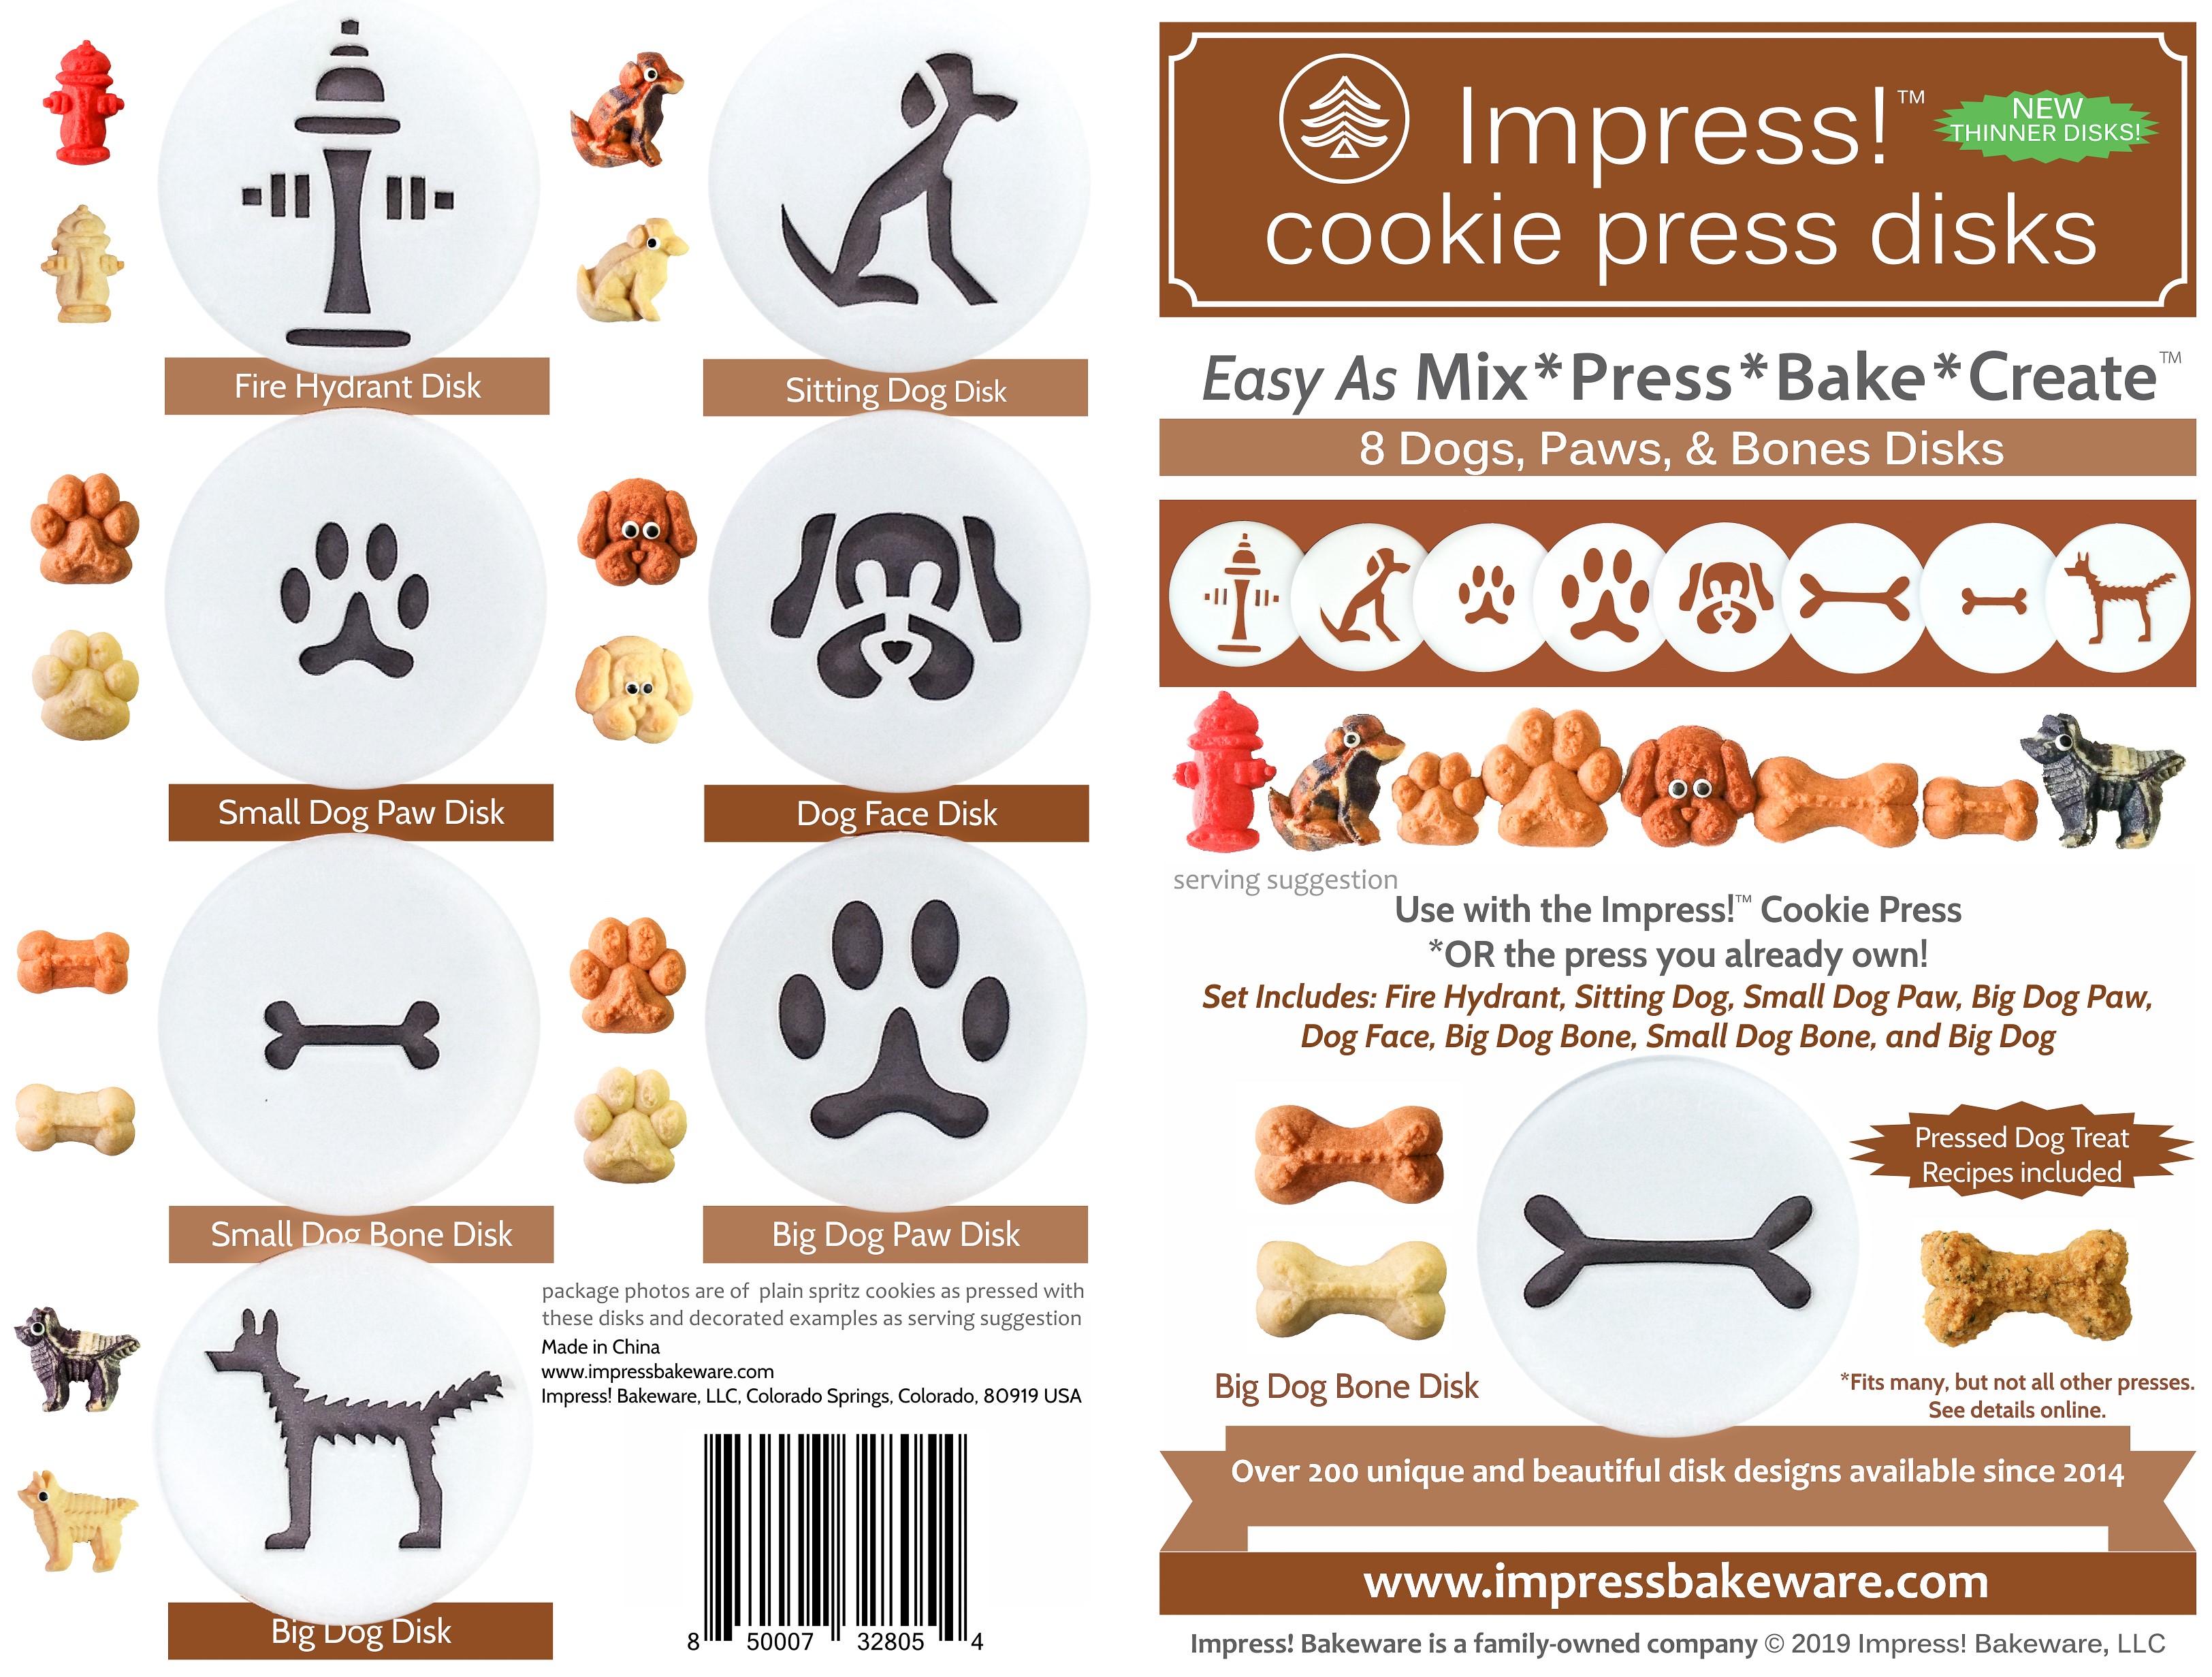
I used all of the disks from the Dogs set and the Dachshund/Small Dog from the disks that come with our Impress! Cookie Press. Looks like I left the Dog Face disk out of this pic. Oops. Ok, well here’s the whole set below.
Our website has all of our 200+ disk shapes, cookie press, embossed rolling pins, baking accessories plus more about our Women/Family Owned company! impressbakeware.com
All products are on our Etsy shop.
Our Amazon shop has our cookie press and disks and embossed rolling pins.

This recipe is the second time I’ve tried a trick to make extra tender cookies by adding a little corn starch to the flour mixture. I hope you all like it as much as I do – I thought the addition was wonderful. The texture of these is really quite exquisite.
Ok, here we go!
Impress! Very Vanilla Butter Spritz
(please note these are people cookies not dog treats!)
1 1/2 cups (3 sticks) butter, softened (not melted) (I recommend Land O Lakes brand as I know it creams well. I have had trouble with some generic butters not creaming properly and making the dough hard to press)
1 cup granulated sugar
1 Tablespoon vanilla extract
1 egg
3 3/4 cups all-purpose flour
2 Tablespoons corn starch
3/4 teaspoon baking powder
1/4 teaspoon salt
GEL food coloring (NOT liquid)
Preheat oven to 400°F.
Gather your ingredients and disks.

In a large bowl, combine flour, baking soda, cornstarch, and salt. Mix together until all the dry ingredients are well incorporated into a nice flour mixture.
The first step to fabulous spritz cookie dough is creaming the butter. I am a broken record on this blog about butter, but it’s necessary! Also, again I recommend Land-O-Lakes butter as it is nationally available and I know it always creams correctly. I have had some generic butters work just fine, but some just don’t cream properly, making the dough too hard to press. We don’t want that.
Using an electric mixer, cream the butter very well. Set your mixer on the highest setting and pretend you’re making frosting. Well-creamed butter is the basis for a fabulous spritz dough. It should have nice little peaks and be slightly lighter in color.

Once your butter becomes creamy and light, add the sugar and whip it well until you have a fluffy mixture. After those, add the egg and vanilla, re-creaming and whipping after each additional ingredient.
Slowly add the flour mixture on a low speed. Mix until the flour is completely incorporated, making a consistent texture and a slightly stiff dough.
You can always troubleshoot a spritz dough by adding water or vanilla extract a teaspoon at a time to an overly stiff, dry dough, or adding flour a tablespoon at a time to overly sticky or soft dough.
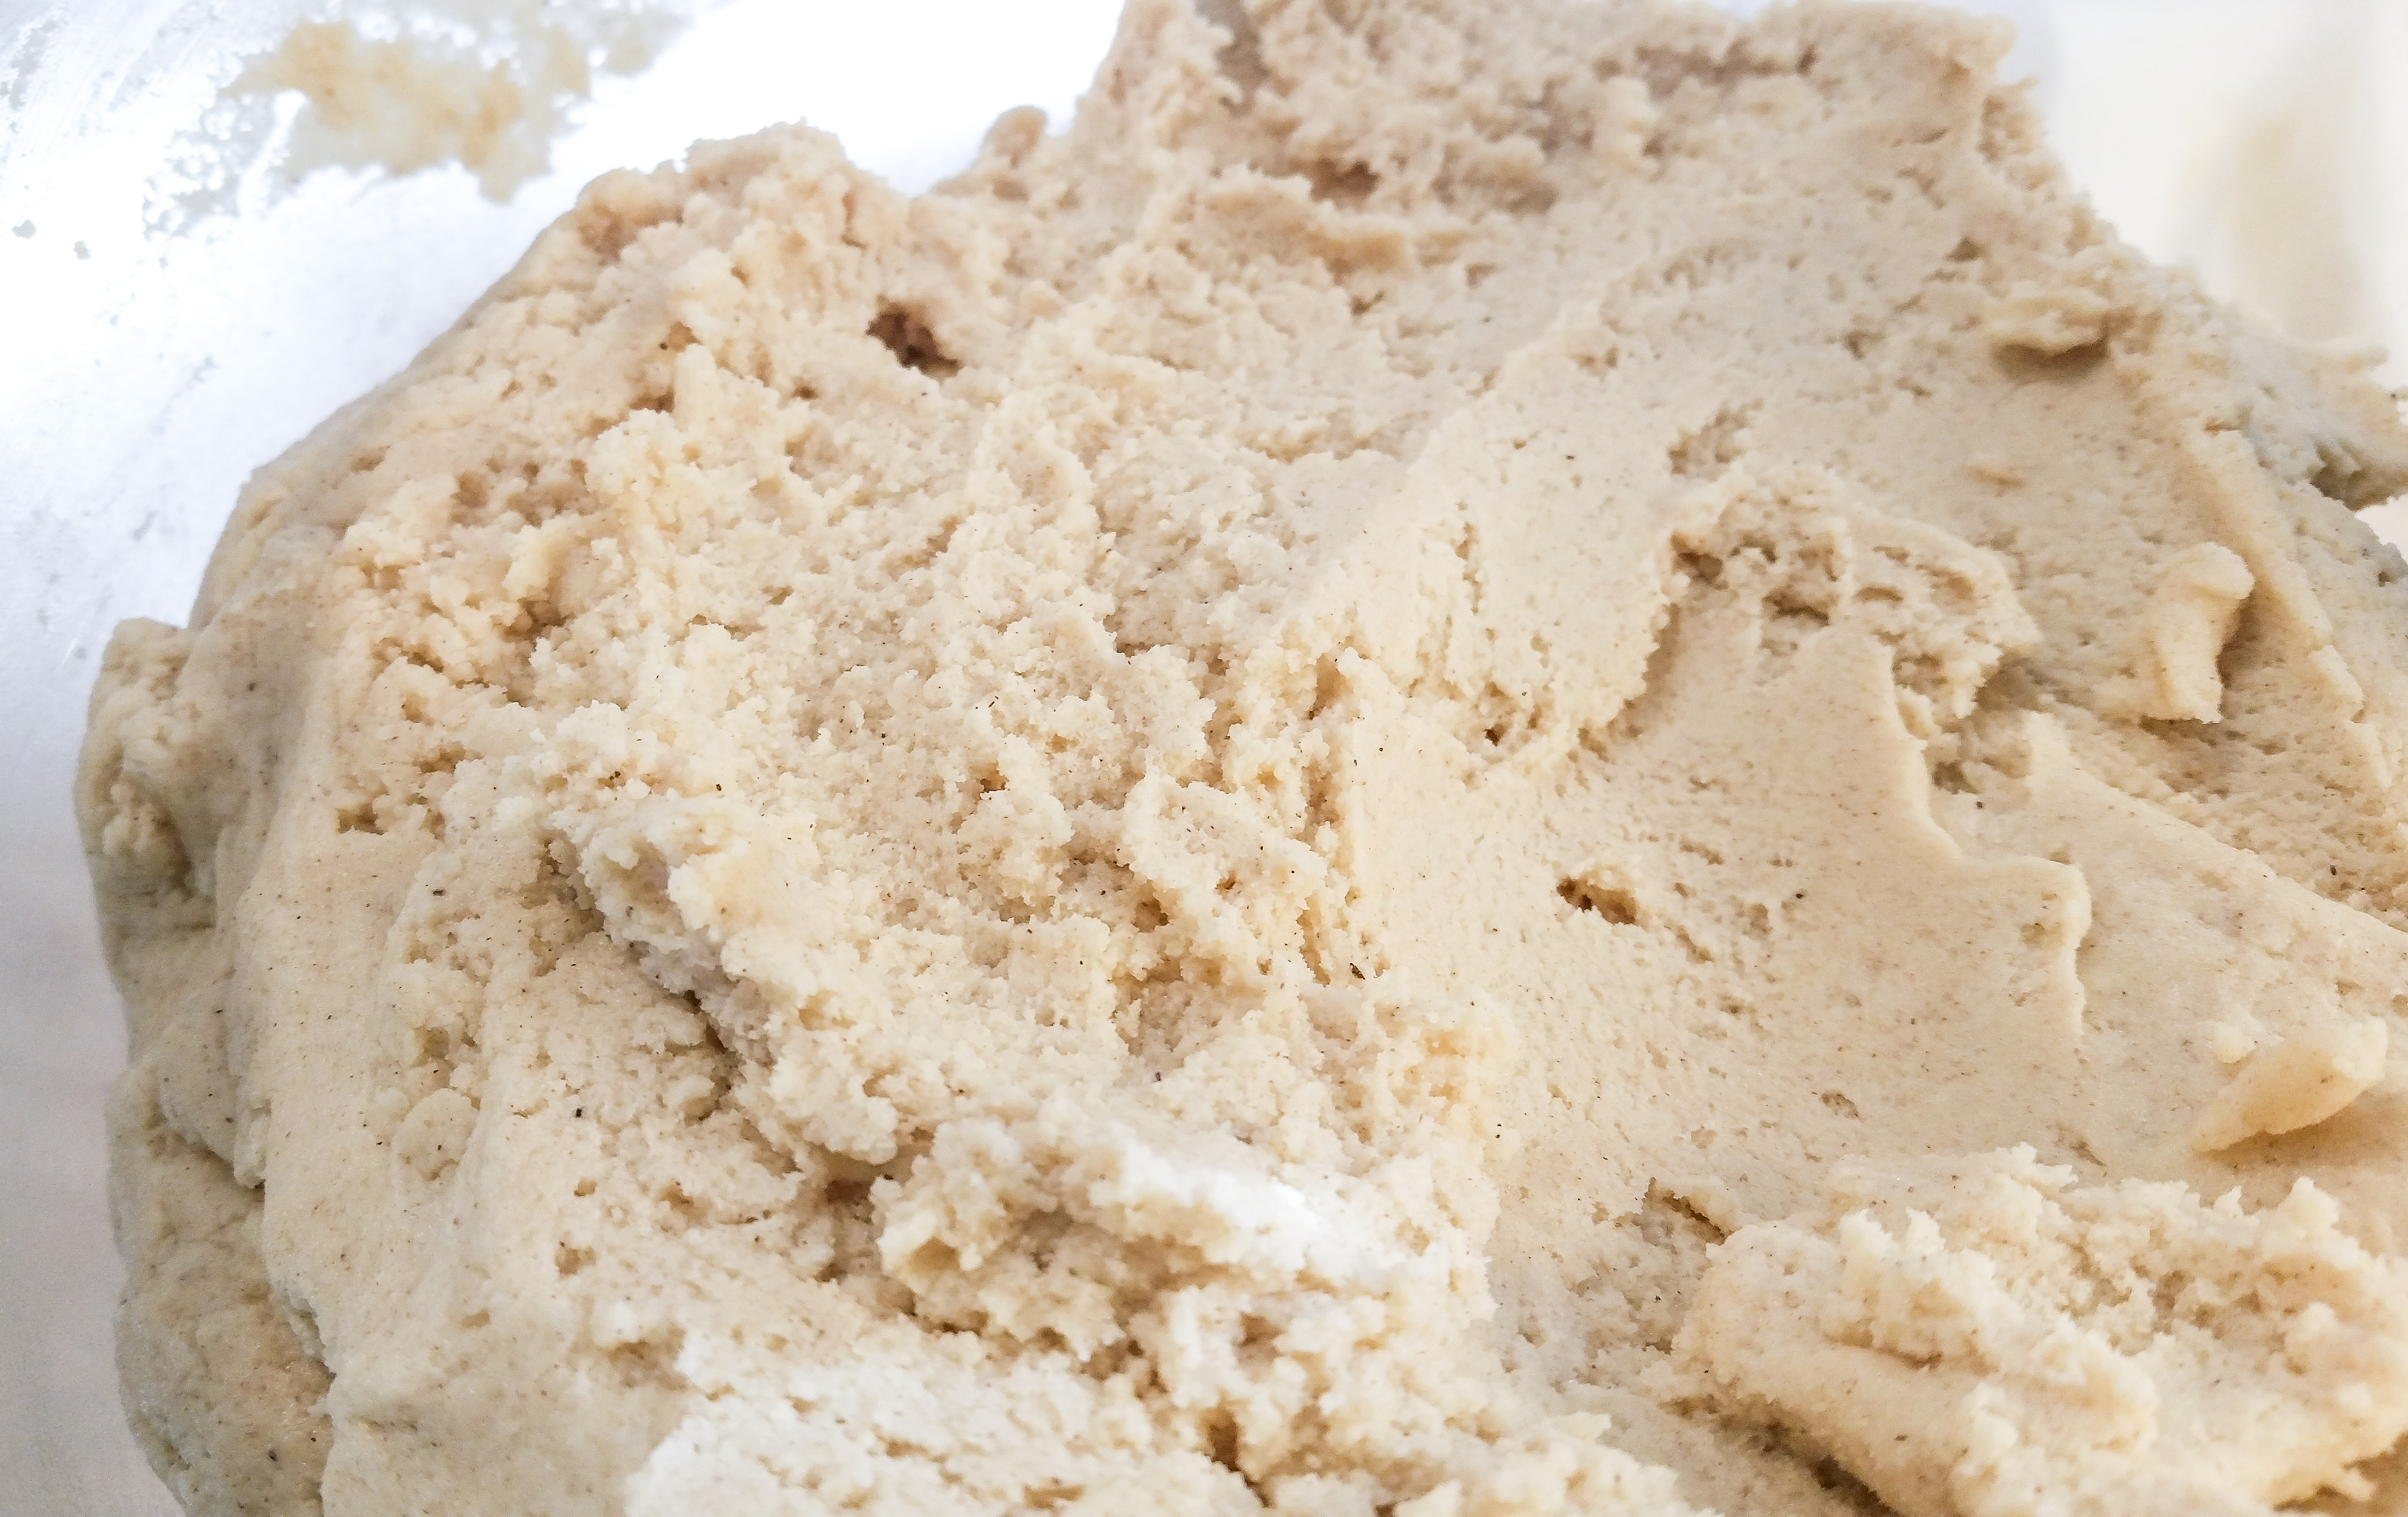
Perfect Spritz dough has a beautiful, breakable texture. It is malleable in your hands but it breaks nicely as you press it. If you’re new to this, watch any of my videos to see how it should look and feel. 🙂
The next step is to color the dough various shades using gel food dye, as liquid dye changes dough consistency too much. I find it easiest to just knead the color in by hand. It’s fun like playing with play dough! As I always say in my videos, start out small with the food coloring! You can always add more if you need to, but you can’t take any away!
I left some dough plain and made four colors to play with.
Tip: You may choose to add a bit more flour, a tablespoon at a time, if your dough softens too much when you add color. Spritz should maintain their shape and these will spread a bit if the dough is too soft. Make sure all your colors feel they have the same stiffness/consistency, that way your multi-colored shapes will press evenly.

Once the dough is colored, roll them into logs matching the length and volume of your cookie press. (I made red dough to make fire hydrants!)
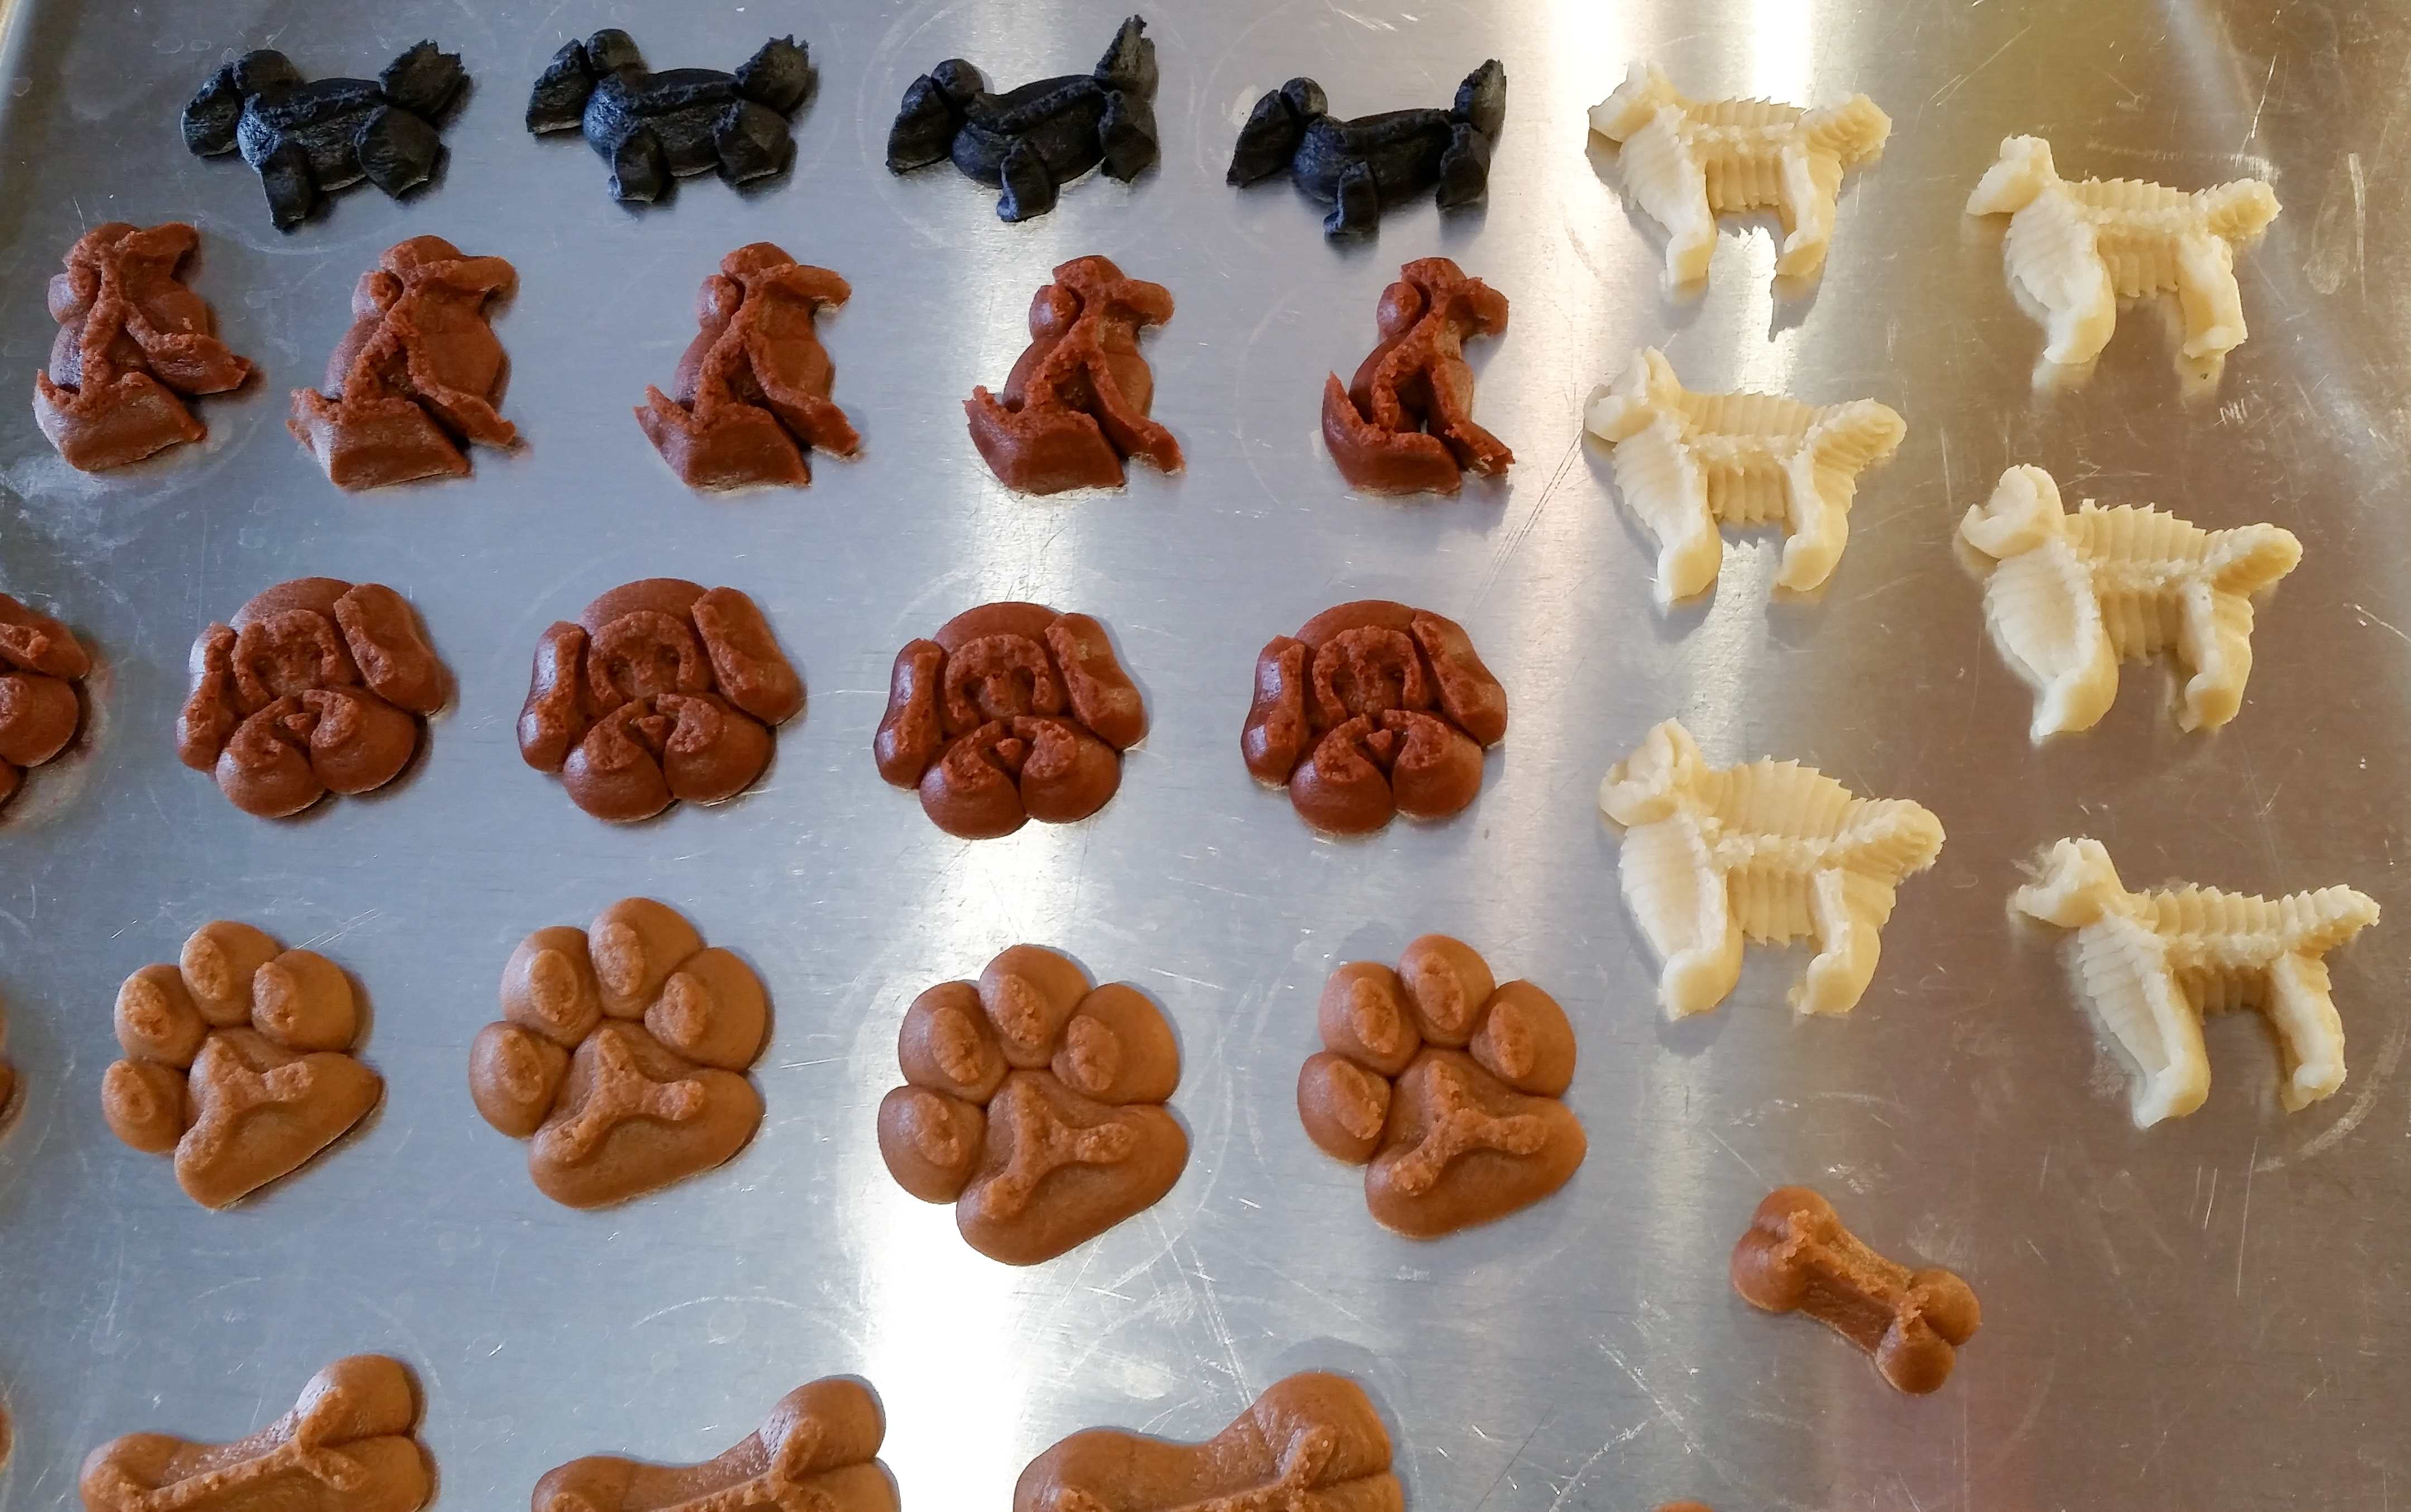
Just for fun, we’re going to combine some of the colors together in different combinations. This is how we’re going to give some of our cookies a multicolored look right out of the press!
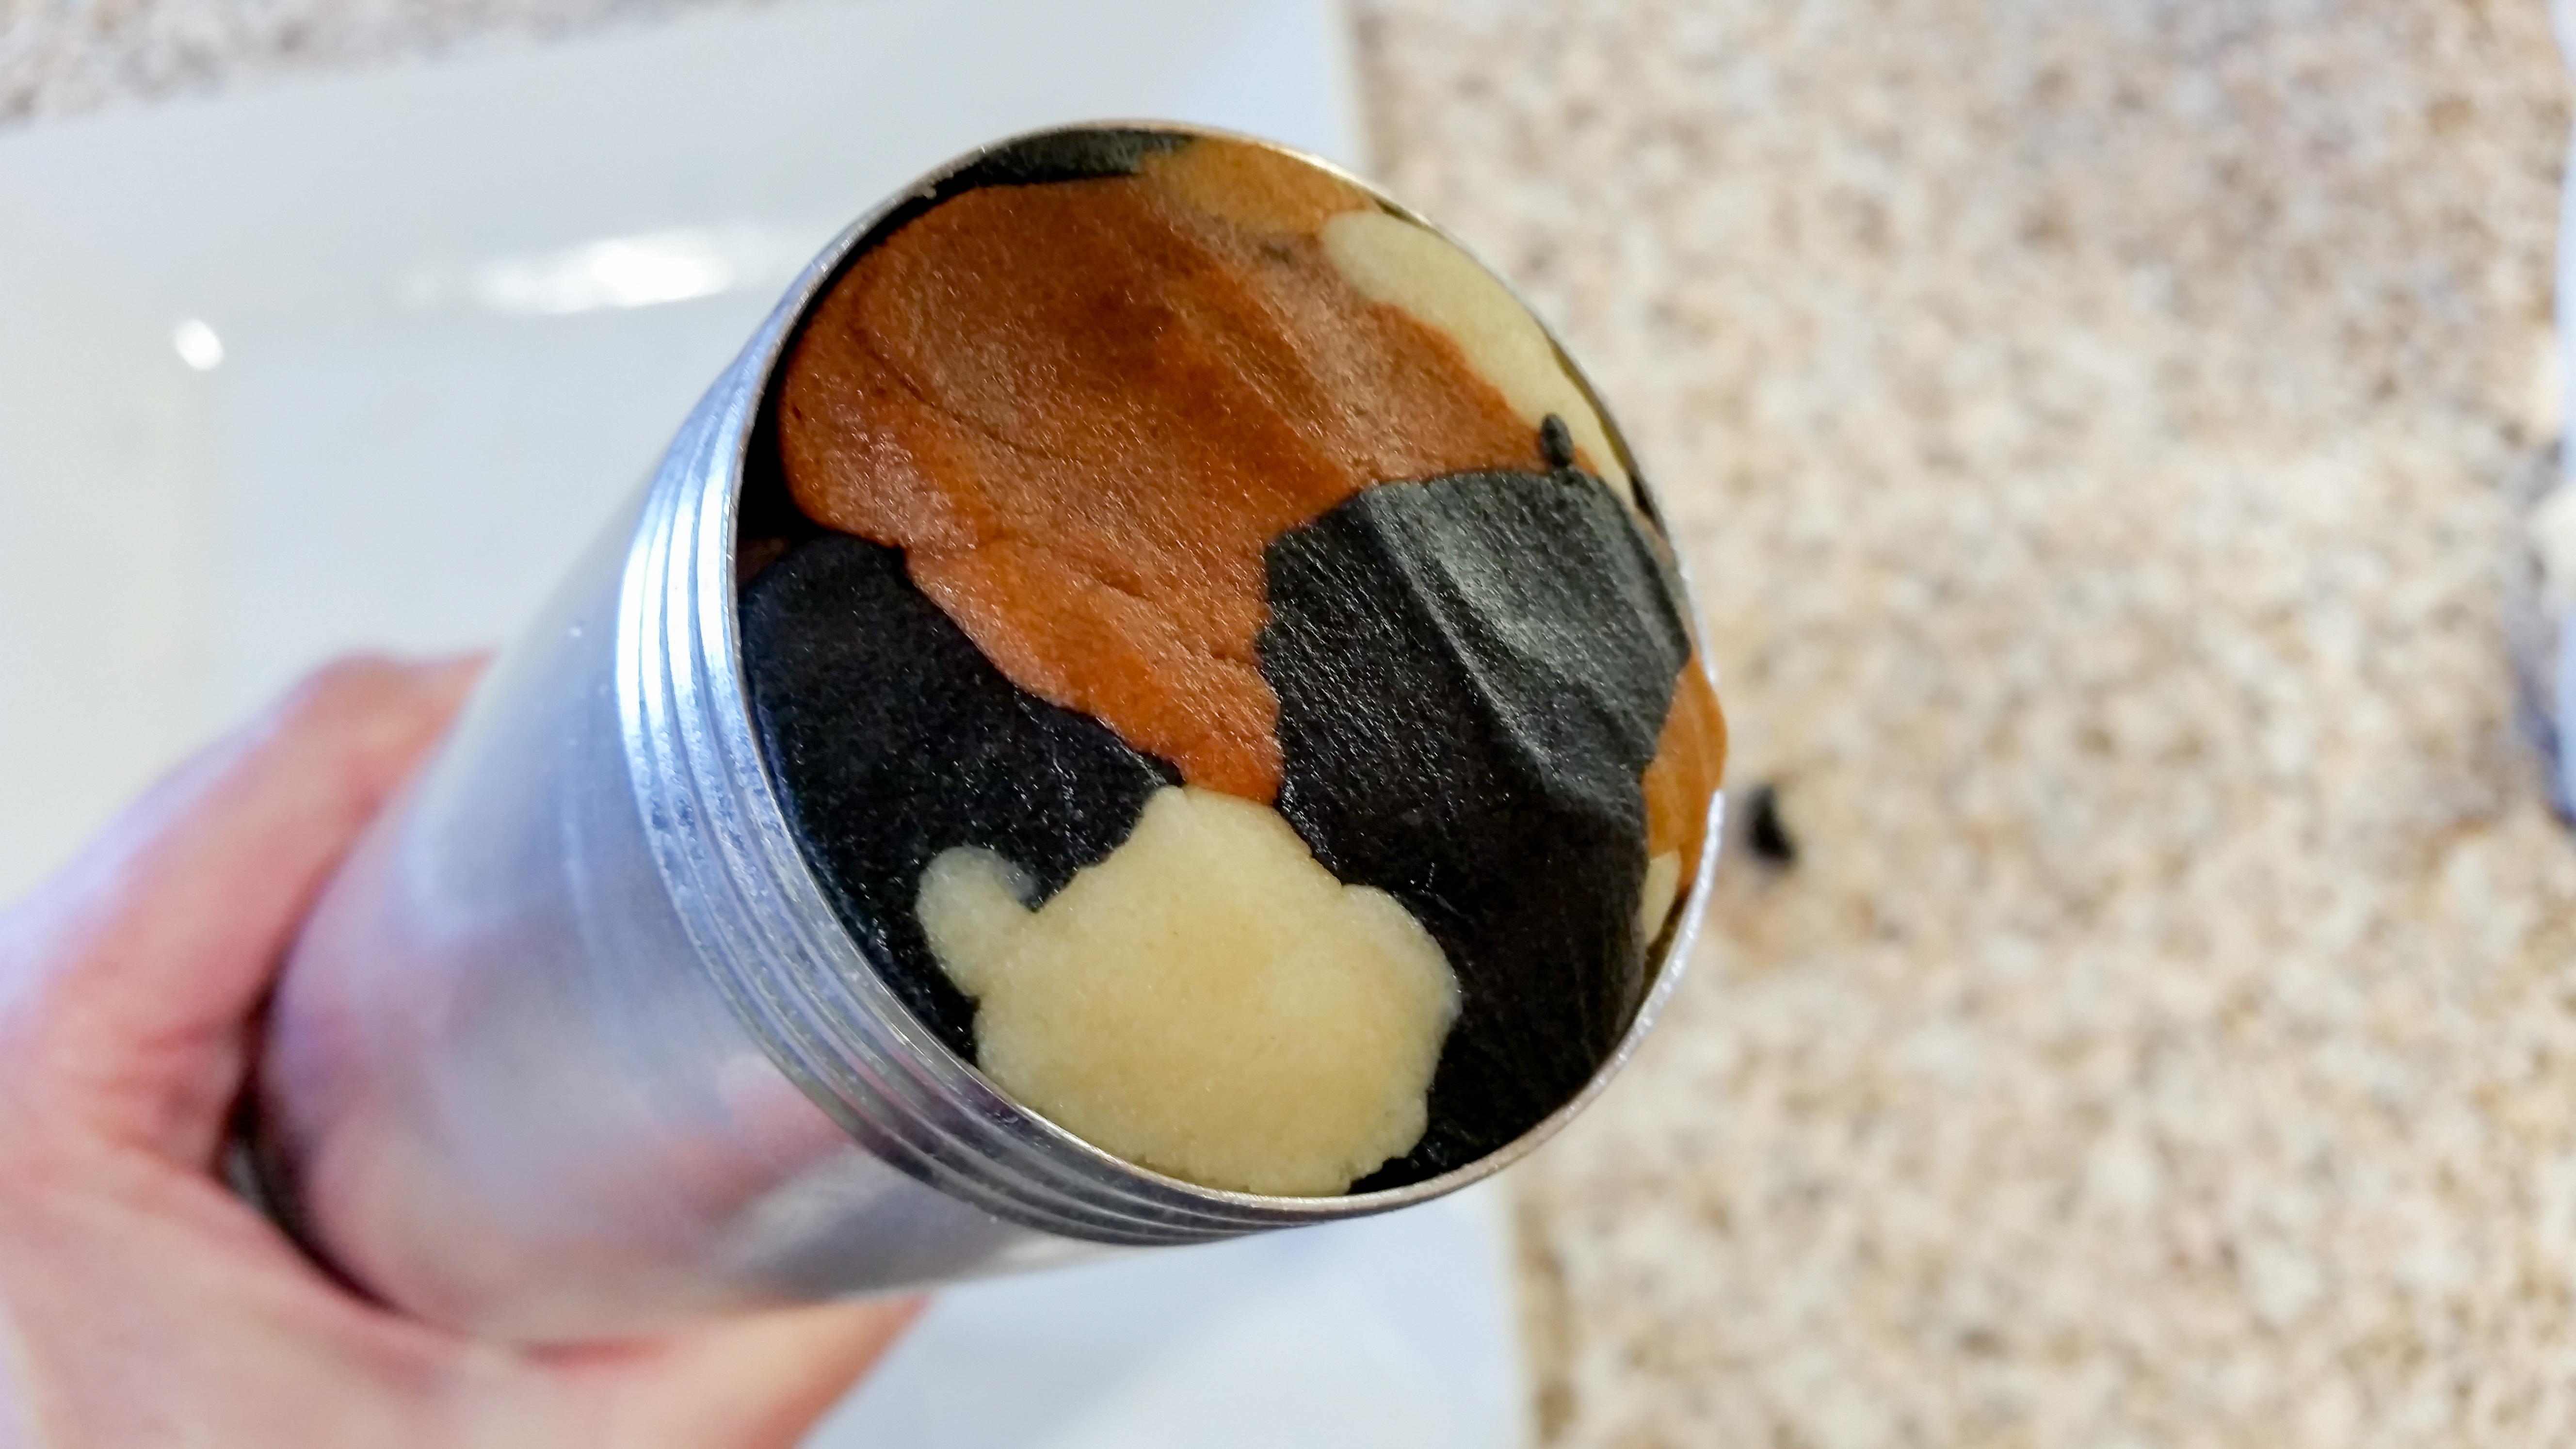
Here I combined three rolls of plain dough with three rolls of black dough to create an Oreo-like pattern.


I also squished each color of dough together to create a multicolored dough roll!

With your dough rolls colored and combined, pack them into your cookie press one at a time, using the back of a spoon to remove all the air pockets as you go.


Choose your first disk and start pressing. Remember that often it takes a few mis-shaped cookies before correct pressure builds in the barrel. Once you have a good shape, try to keep a consistent rhythm.
If you’re having trouble, try clicking into the air a few times and wiping away the dough to start over. It resets the pressure. Remember also with “once click per cookie” presses it’s completely fine to use more or less than a click. Think of the press as just a dough-pumping mechanism. Clicking is how you get the dough to come out. Feel the cookies stick to the sheet and you’ll get the hang of it. Always use un-greased sheets and never use non-stick. Even the most experienced pressers throw goofed up cookies back in the bowl all the time. Don’t be discouraged! Watch my videos if you want to see me troubleshoot on the fly. 😉
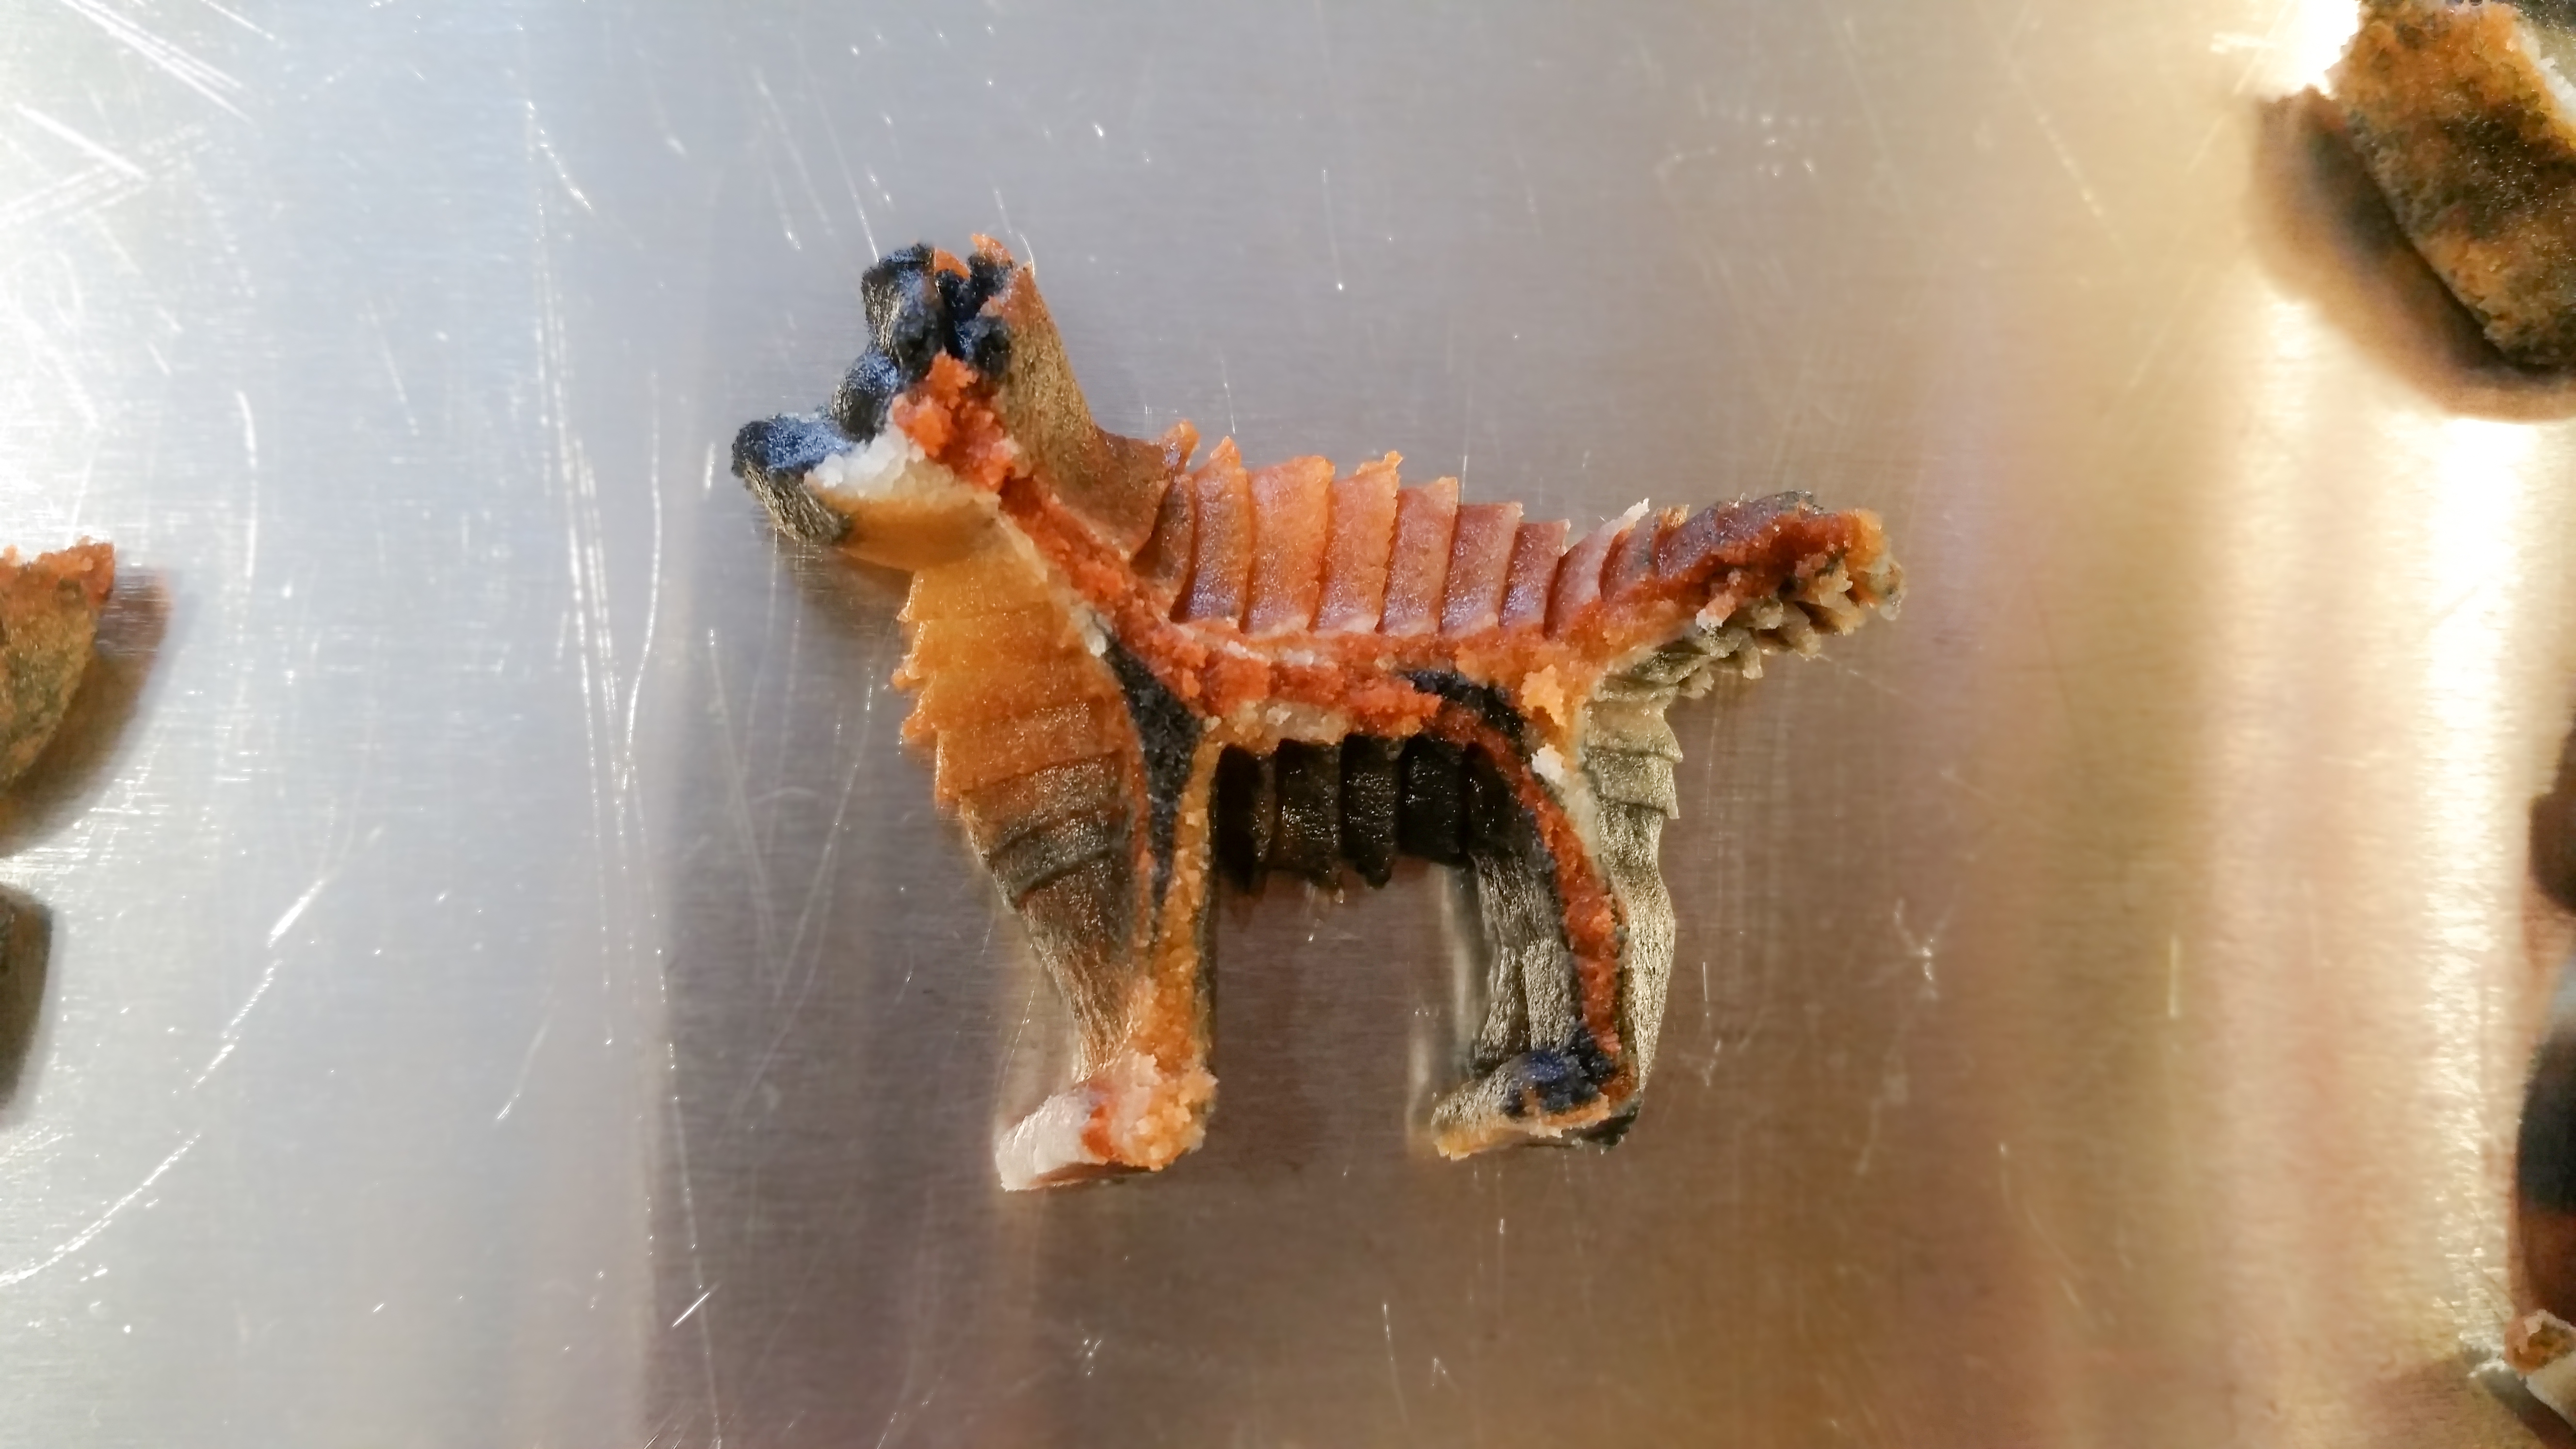
Our Oreo and multicolored mutts look so cute! This dough presses oh so beautifully while being easy and consistent. Here are some of my favorites that I pressed, using lots of different shapes from our Dogs set.


Bake in a 400 degree oven for 6-10 minutes. Remember, small cookies bake faster and large cookies take longer. Keep that in mind when pressing. A good strategy is to group similar sized cookies together on the pan to avoid burned or under-baked cookies. They’re done when they’re slightly browning around the edges.
Let them sit just a few minutes on the cookie sheet so they hold their shape before moving them to a cooling rack.
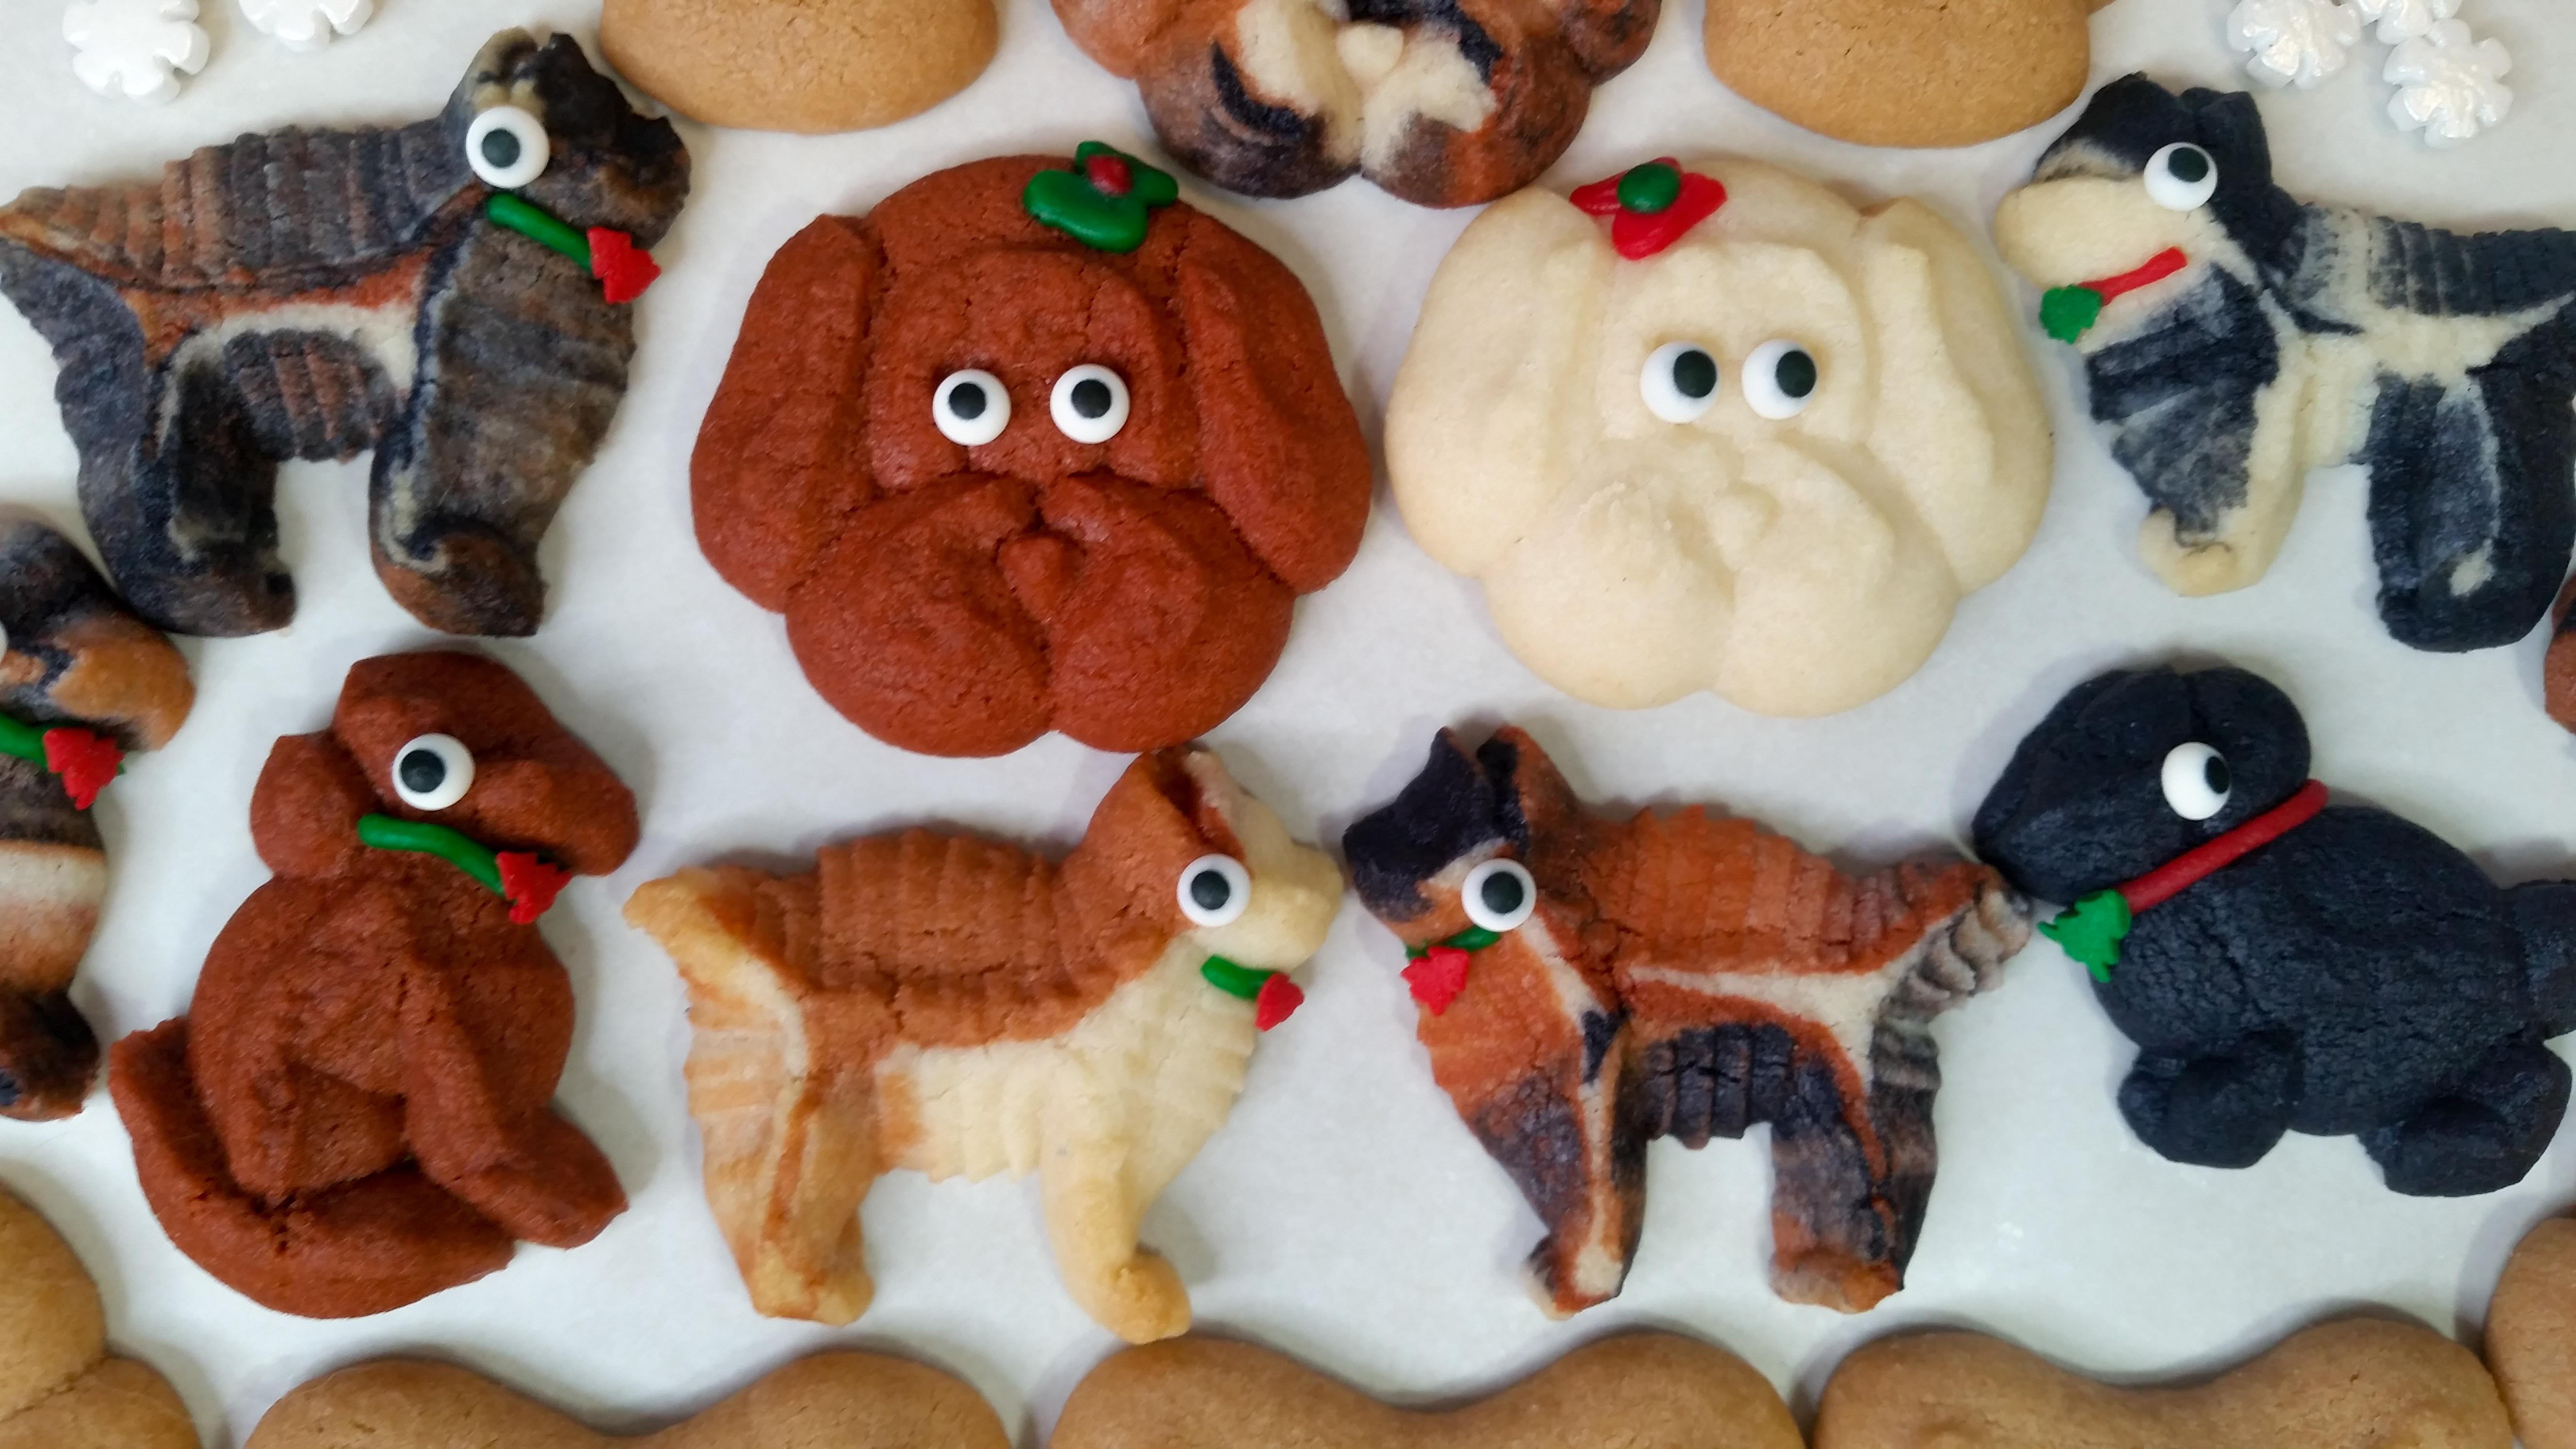
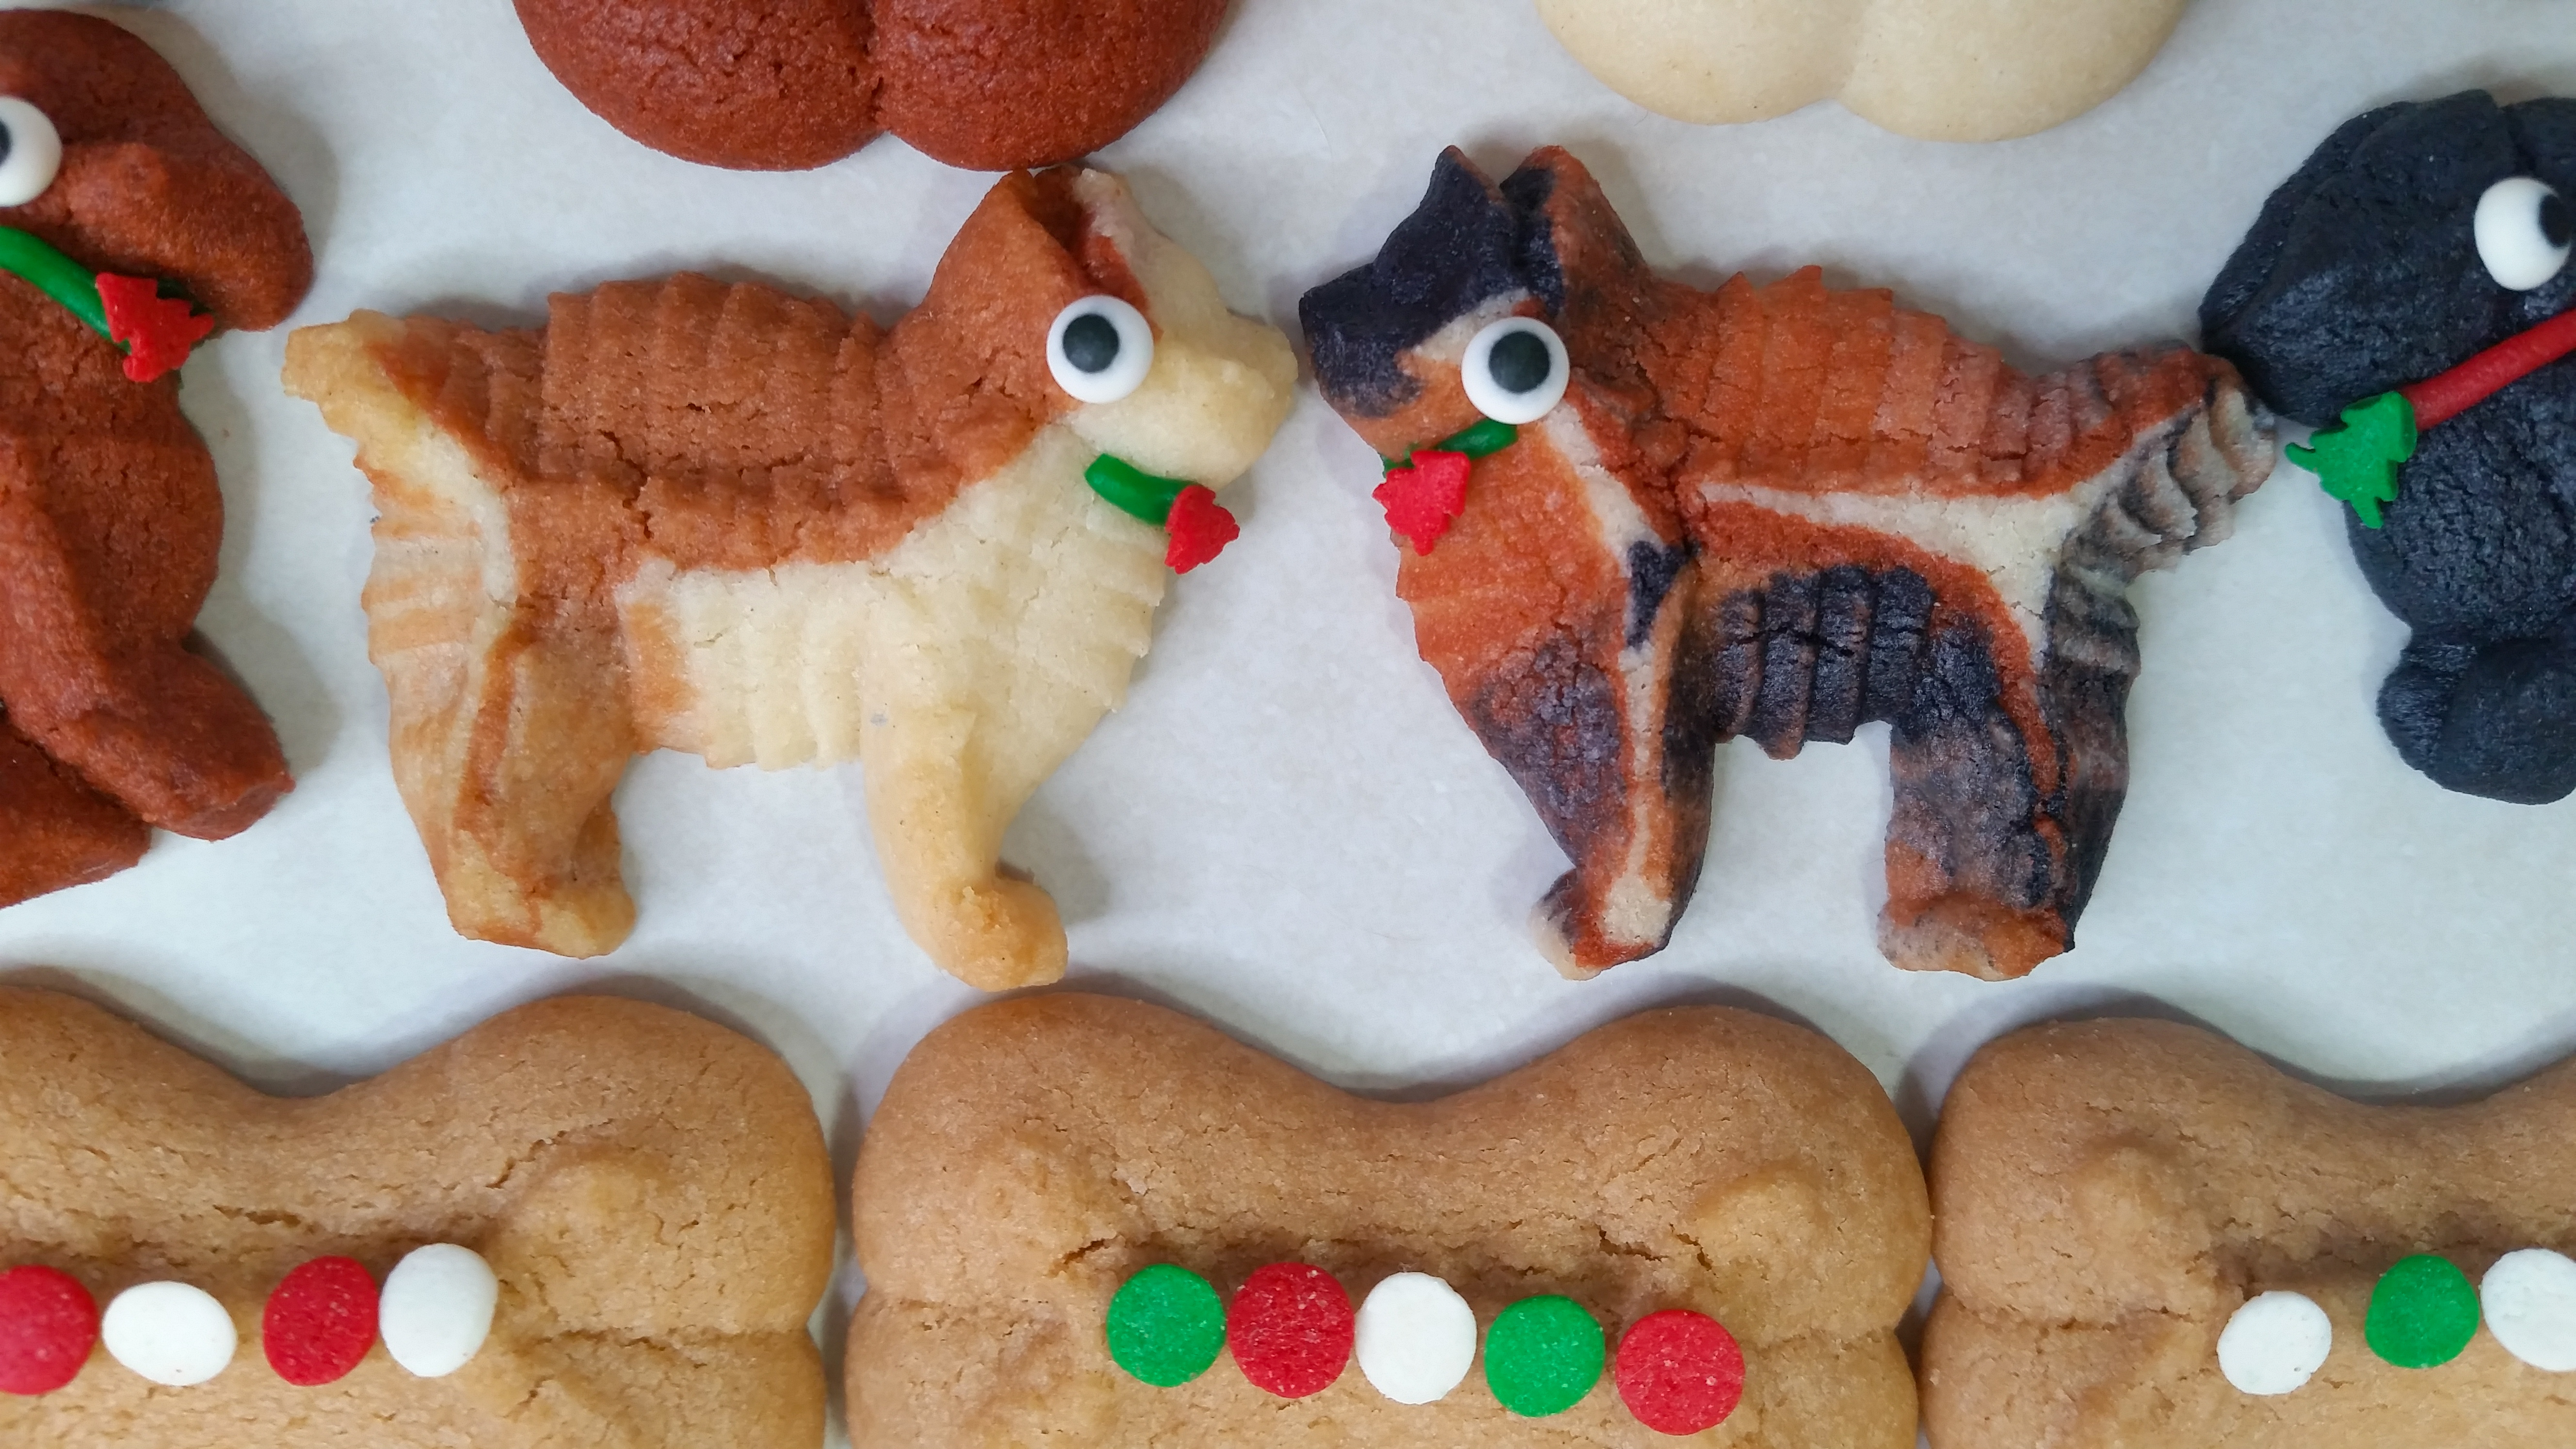
Here’s how mine turned out!
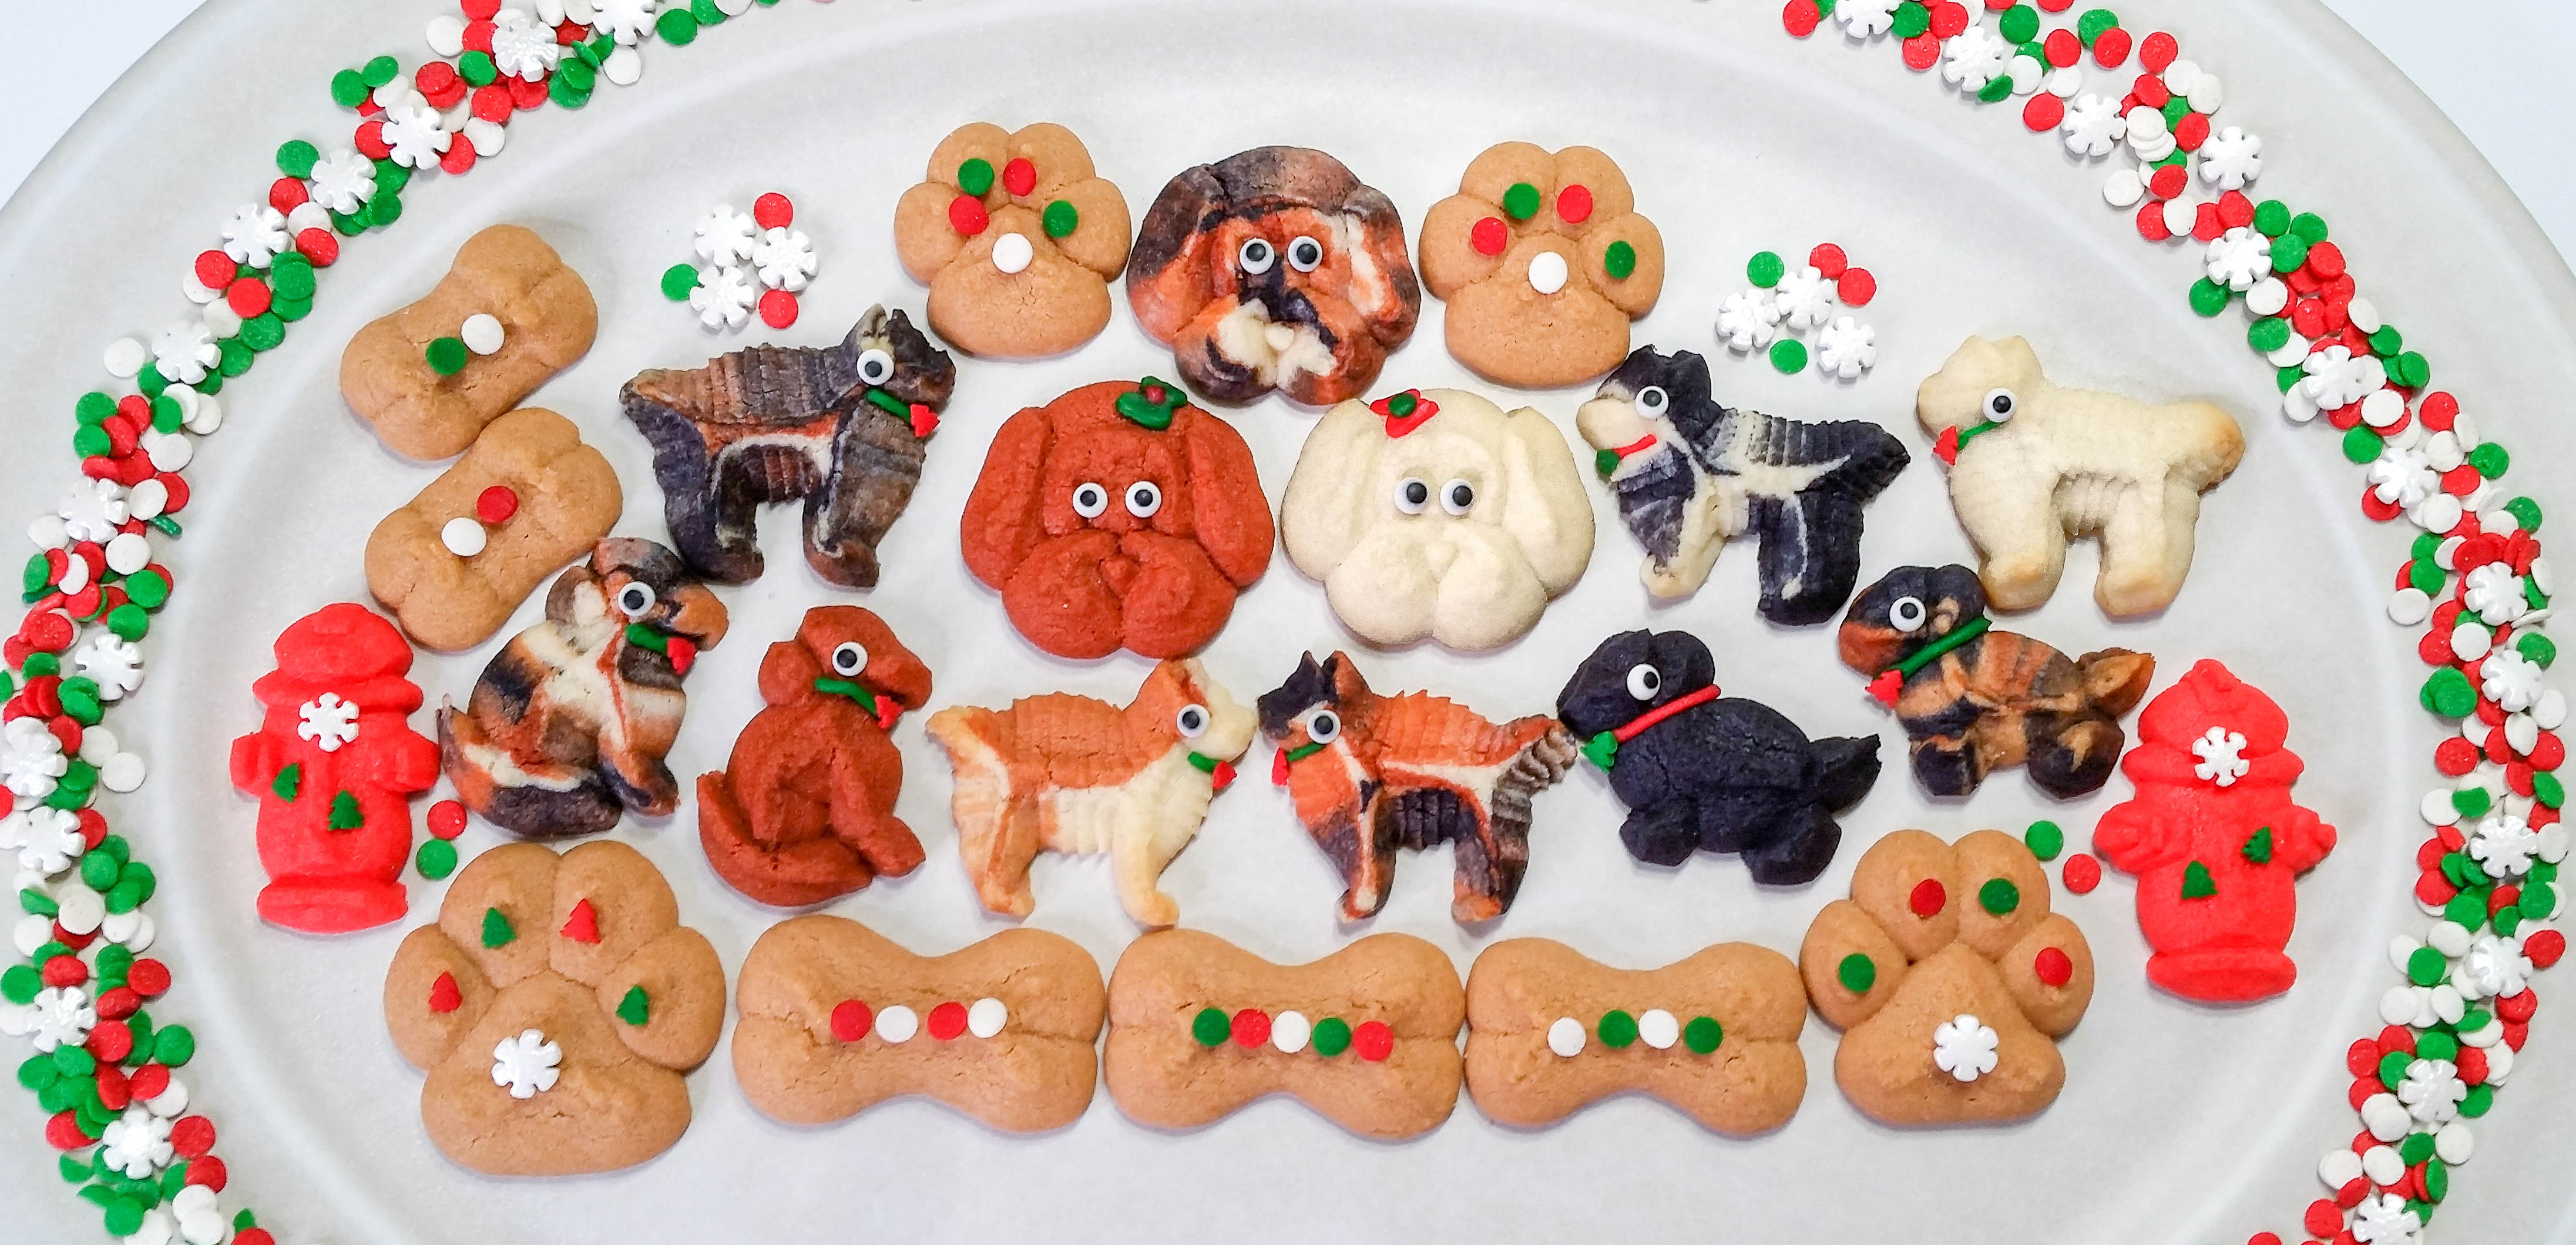
I added decorations after baking, using icing as a “glue”. I used red and green icing to give my puppers bows and collars and used sprinkles for the tags. I also embellished my paws, bones, and fire-hydrants with festive sprinkles. I gave the dogs 3/16″ candy eyes. (try Etsy or The Baker’s Kitchen for eyes.) So cute!


That’s it! I hope all of my fellow dog lovers enjoy the holiday season with their furry friends. I invite you all to “Press the possibilities!”
🙏We have a request💕 If you’re enjoying our recipes, *EVERY DISK & PIN PURCHASED helps us stay in business* & supports our families! Impress is a women/family-owned USA small business in Colorado. We design, make, & sell over 300 shapes of cookie press disks & dozens of embossed rolling pins. The recipes we share are free – we have no ads on this recipe blog – we make our money selling disks & pins. The recipes give our customers creative ideas and attract new customers!💕 THANK YOU! 💕~Susie the Disk & Pin Designer
Happy Baking!
~Susie & Ryan (the Disk Designer’s very helpful son!)
Disk Designer/Co-Owner at Impress! Bakeware, LLC
“Get creative with your cookie press!”
Our website has all of our 200+ disk shapes, cookie press, embossed rolling pins, baking accessories plus more about our Women/Family Owned company! impressbakeware.com
All products are on our Etsy shop.
Our Amazon shop has our cookie press and disks and embossed rolling pins.
Follow us on facebook!
The Dogs Set:

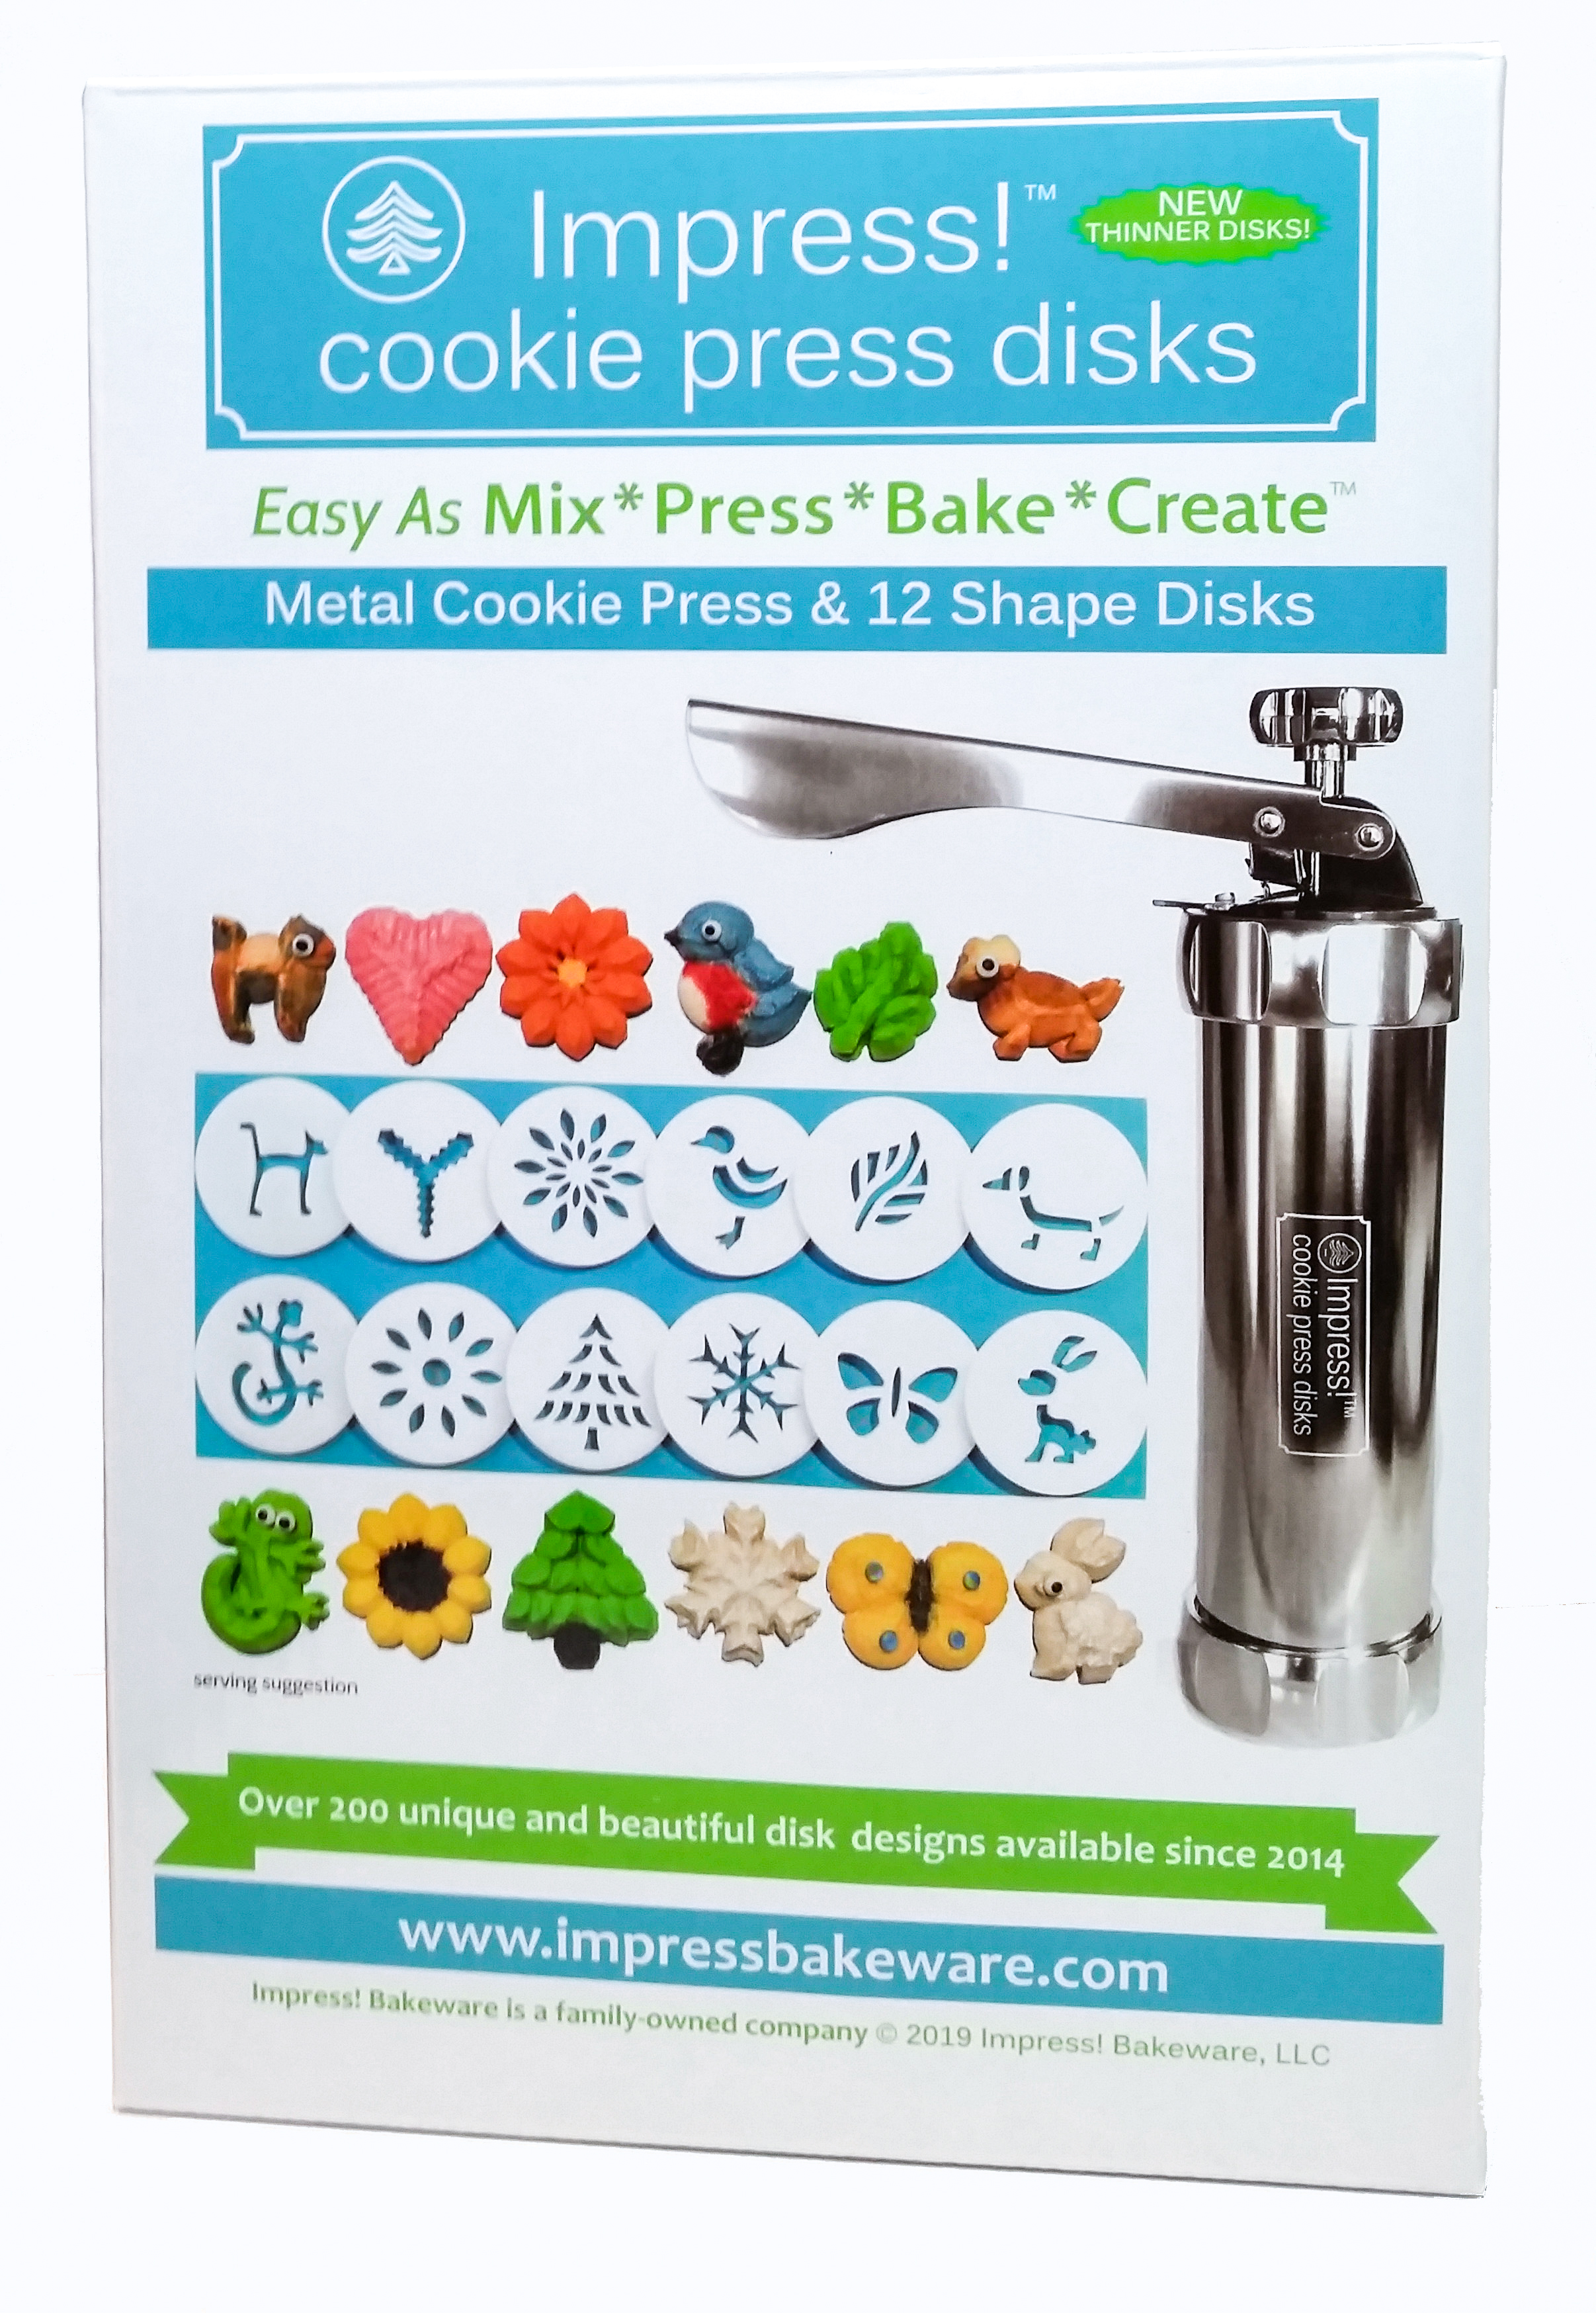
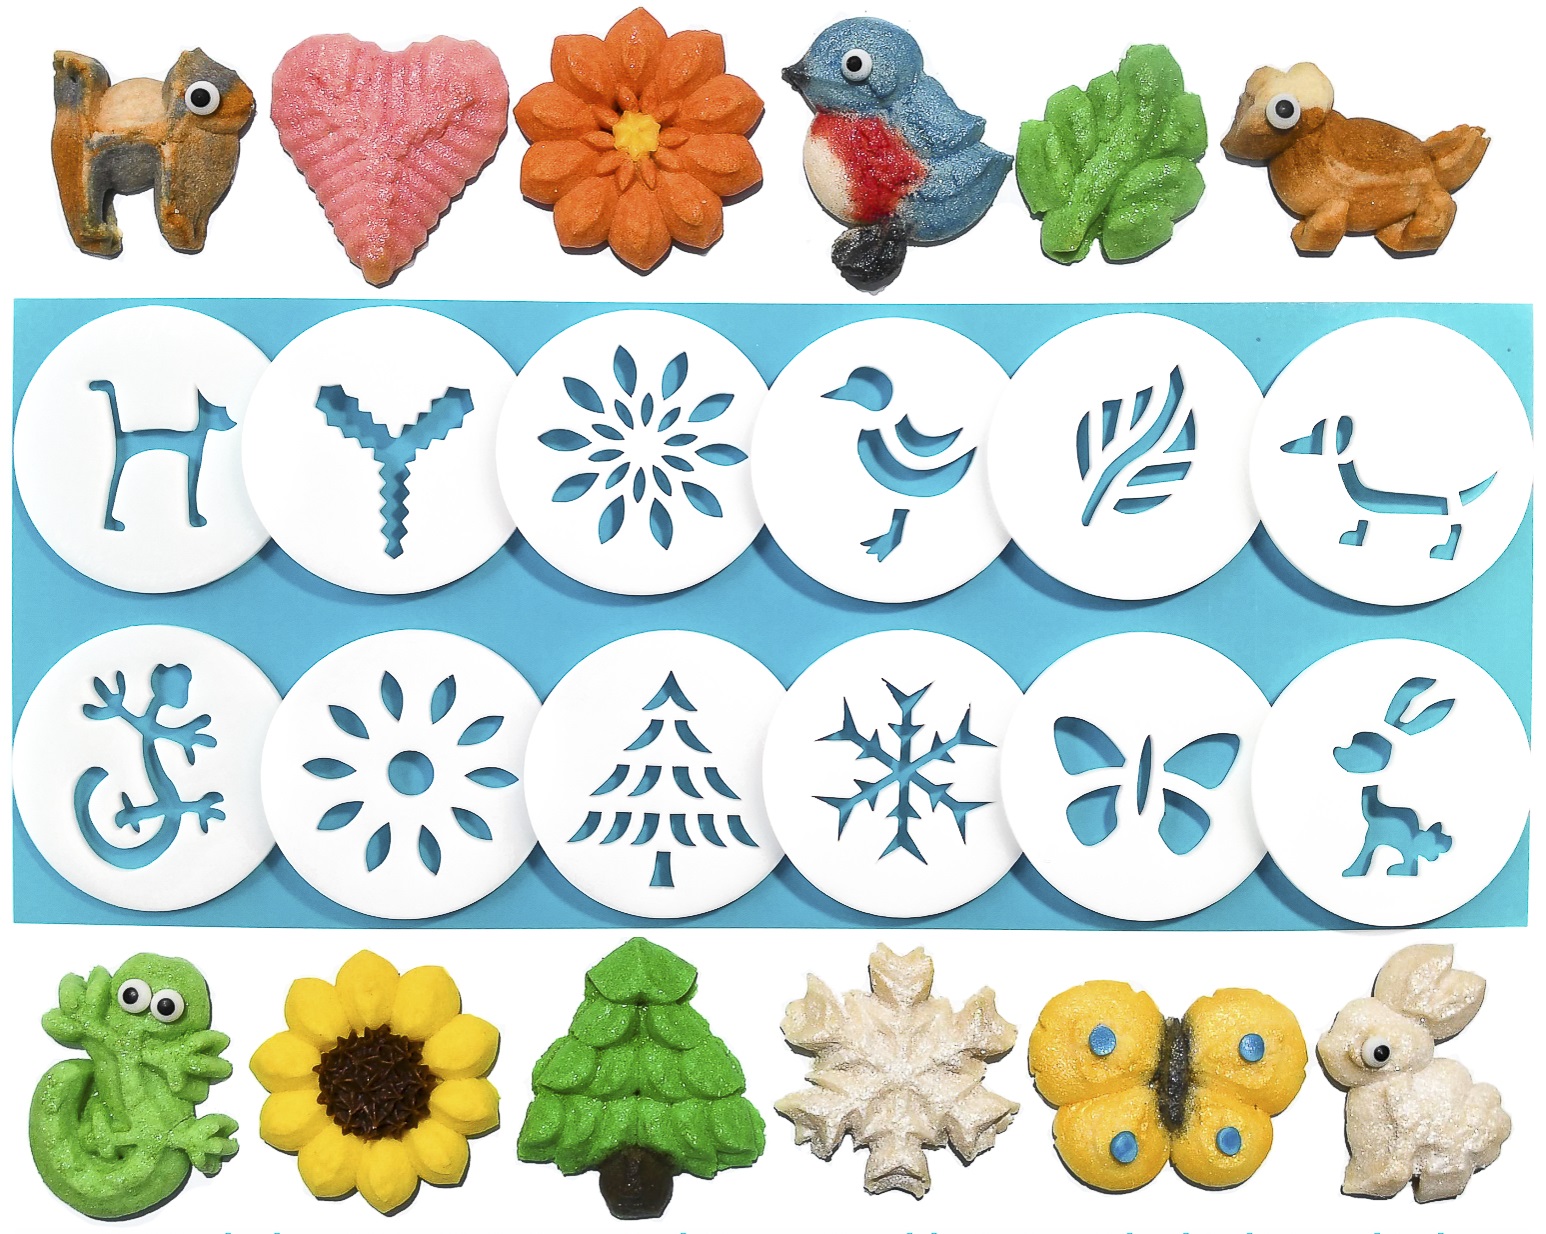
The Impress! Cookie Press with 12 Disks

I want to get a fluer dis les disc for my mirro cookie press, can you help me?
LikeLike
Hi Steve I’m sorry we don’t have a fleur de lis disk and we also don’t make disks that fit a Mirro press anymore. I’m not sure if Mirro ever made that shape. I would suggest trying Etsy or Ebay. Good luck. ~Susie the Disk Designer
LikeLike