
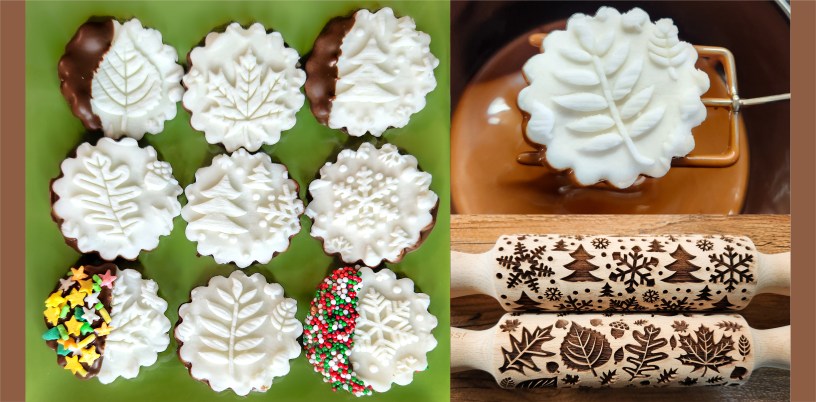
Wow every guest at Thanksgiving, Christmas, or the company party with homemade mints! These lovely little mint patties are easy to make. To get the perfect consistency to hold the patterns I combined butter and cream cheese into a creamy, melt-in-your-mouth wonder with gorgeous tops!
Patterned butter/cream cheese mints!
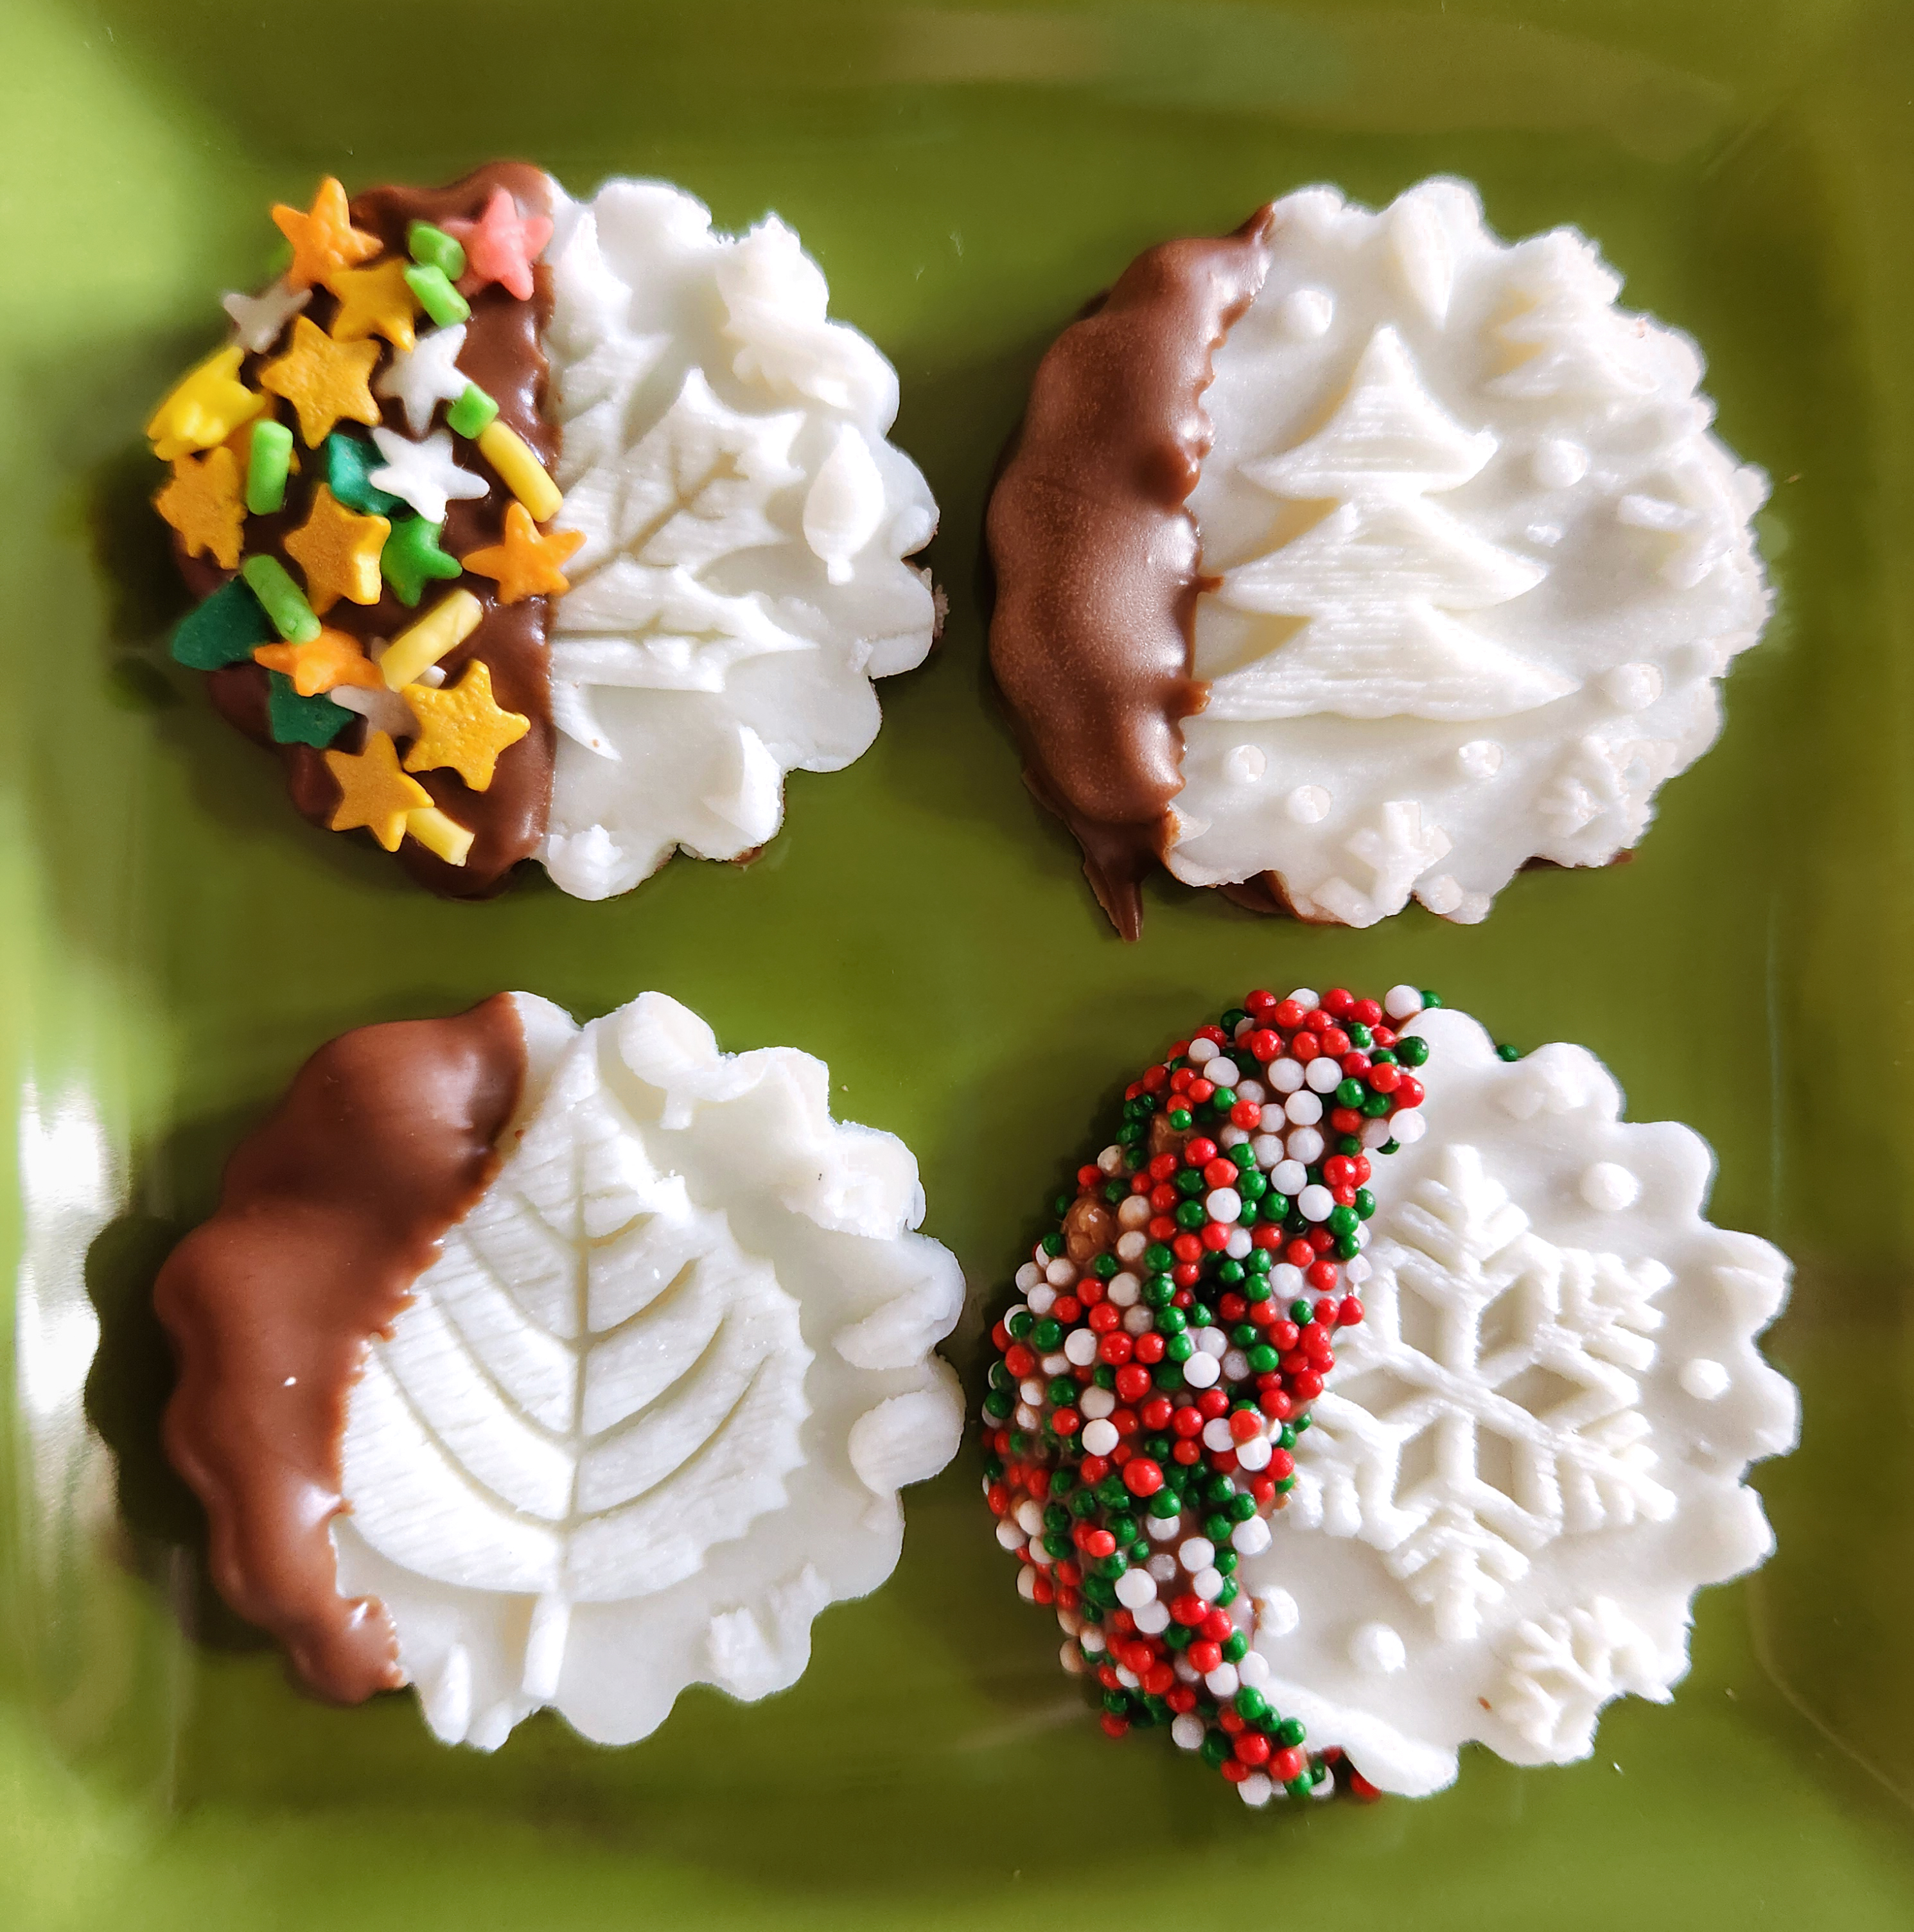
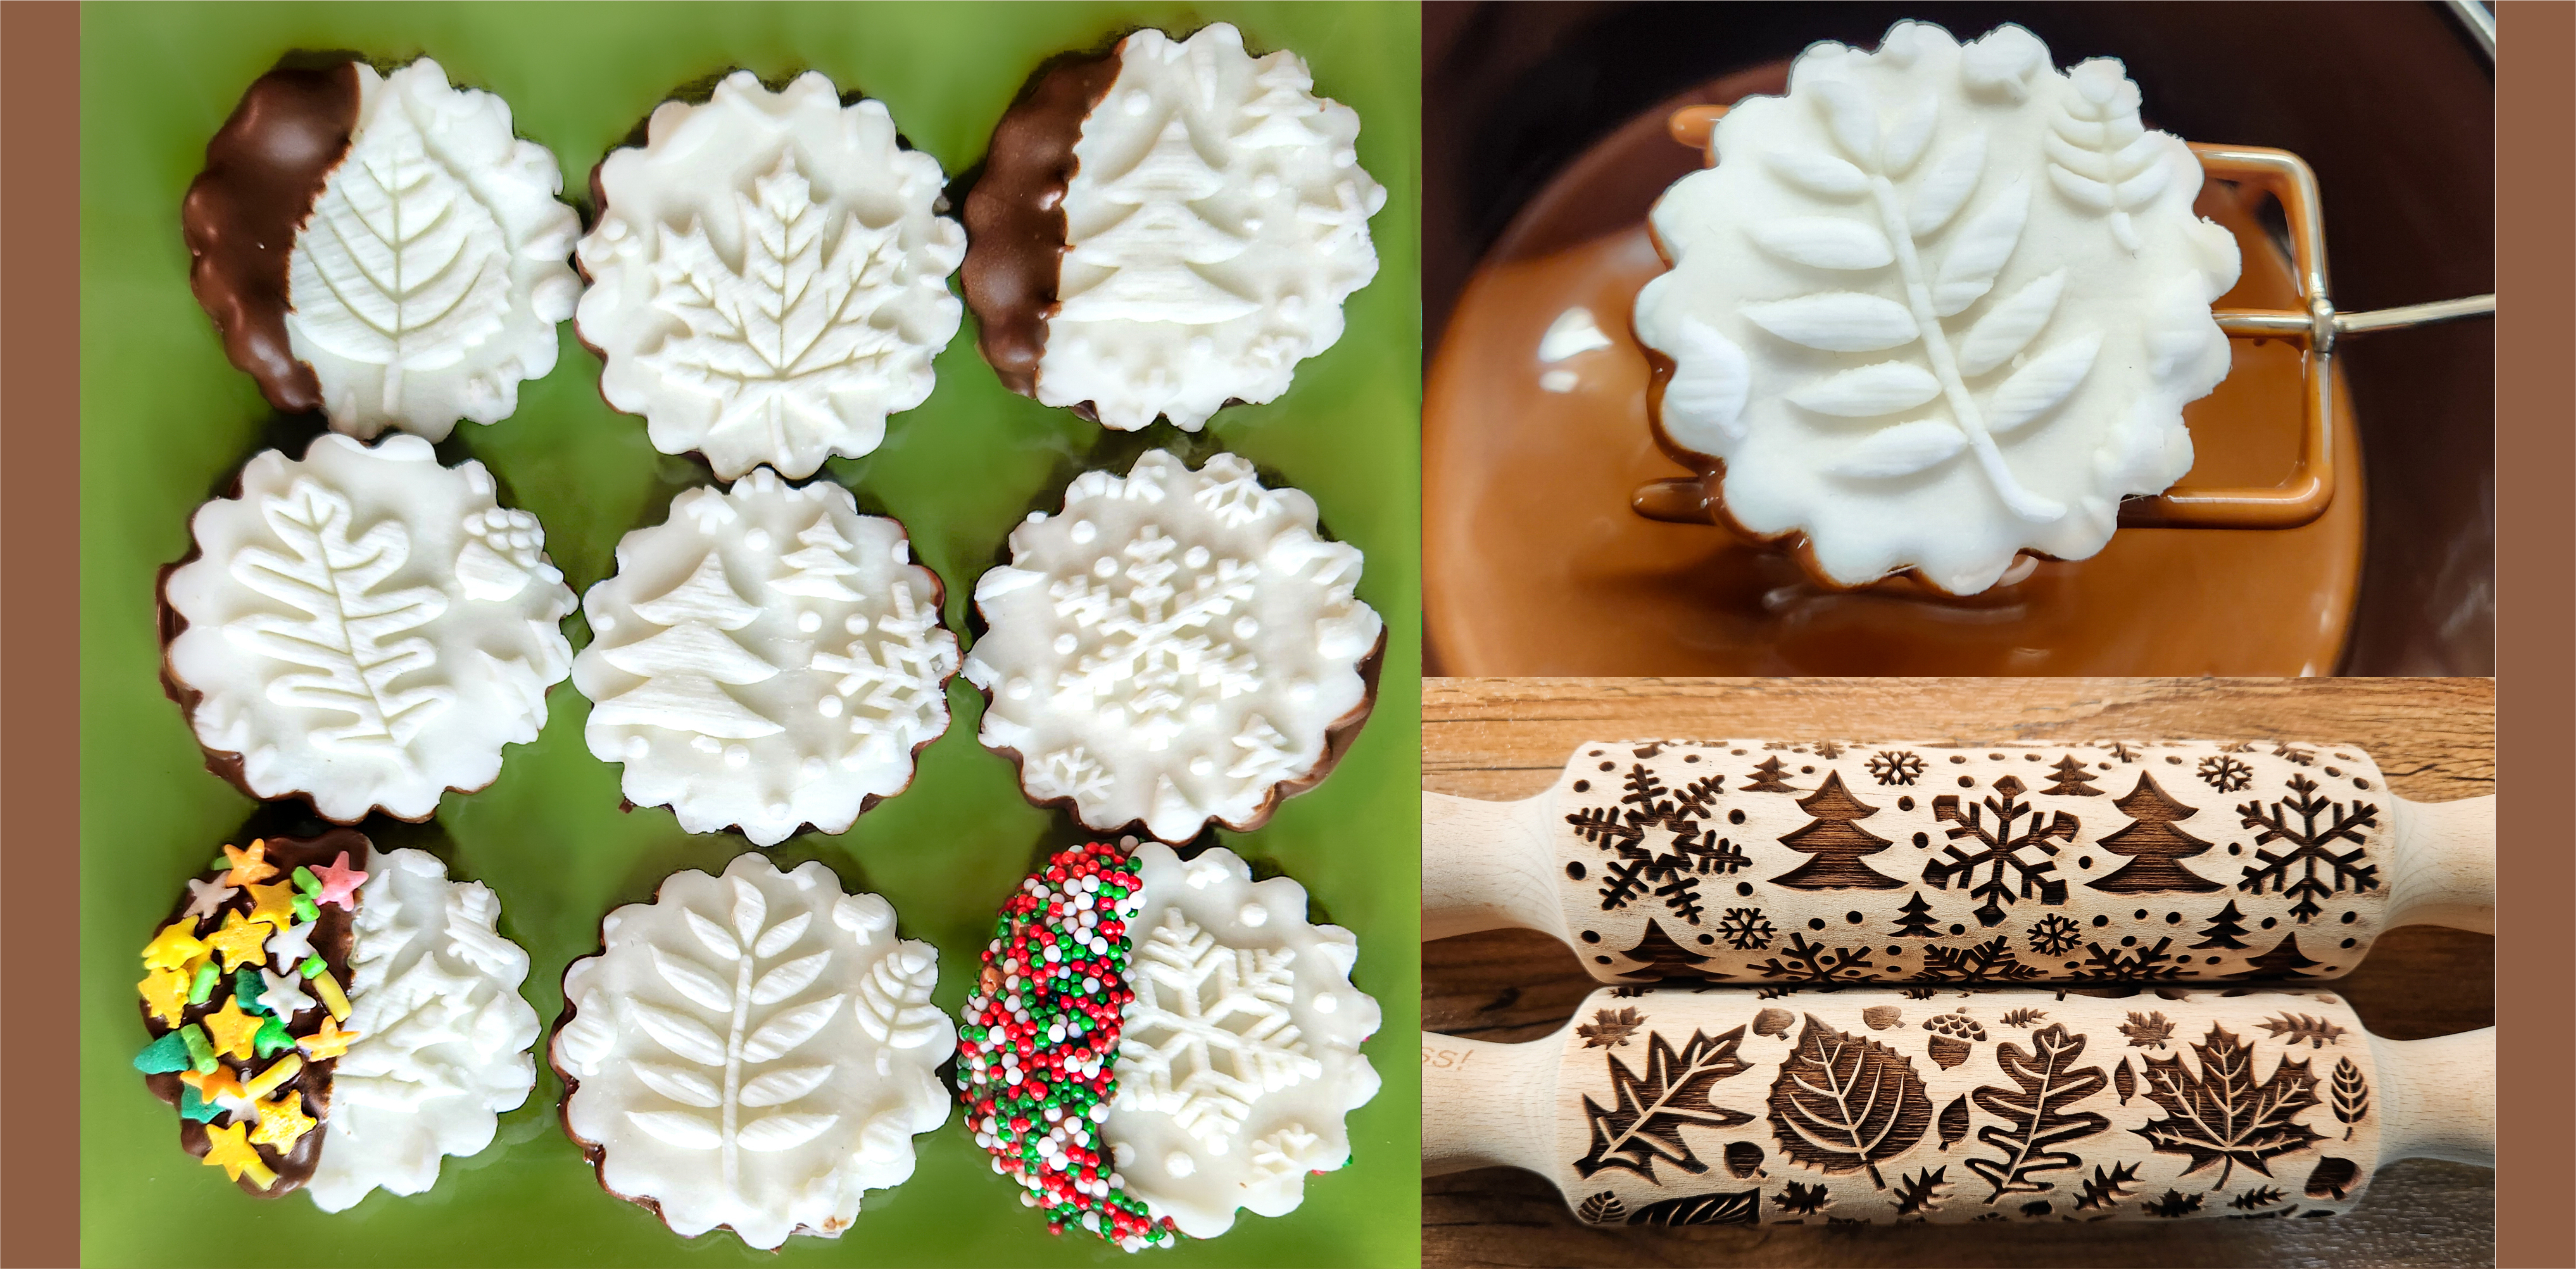
The pretty patterns are made with embossed rolling pins! To make the designs, you need a stiff enough recipe to hold the shapes. Here’s how I came up with just the right texture!
Why did I not just use a cream cheese mint recipe? Because cream cheese mints are a little softer and stretchier than butter mints. When I roll out, emboss, and cut them out with cookie cutters, they’re a little difficult to pick up with a spatula. They tend to go from circles to ovals as they smoosh and deform as I slide the lifter under them. Similarly, I’ve blogged about stiff embossed buttercream to top cupcakes and such, but I didn’t point out that you can use them as buttercream candies. They hold up fine when placed on cupcakes, but picking them up as a standalone candy can be tricky. That whole crumbly edges thing kicks in.
The solution is twofold.
1. Combine cream cheese and butter! Keep the creaminess of cream cheese and the sturdiness of butter candies.
2. Then dip the bottoms (or bottoms and one side if you like) in melted chocolate wafers (candy melts).
Now you have a sturdy base that allows you to pick the patties up with no crumbling PLUS the chocolate adds an amazing flavor pop! Like “peppermint patties” but with open tops. 😉
Don’t hesitate to make other flavors like orange or raspberry! Try colored candy melts, or add sprinkles to the bottoms.
Our website has all of our 300+ disk shapes, cookie press, embossed rolling pins, baking accessories plus more about our Women/Family Owned small business! impressbakeware.com
All products are on our Etsy shop.
Our Amazon shop has our cookie press and disks and embossed rolling pins.
🎉 15% OFF Thanksgiving SALE❗
🎄Make edible art for the Holidays, because baking should be fun!
Discount on our cookie press disks, cookie press, embossed rolling pins, luster dusts, cookie cutters & baking accessories. Sale November 6-15, 2026, on our website and Etsy shops ONLY! (Links above) Sale excludes holiday gift sets and our recipe book.
(💕There are no annoying ads on this recipe blog! We make our money selling disks and pins! )
Let’s make some pretty homemade mints!
NOTE: If you don’t want the cream cheese and want plain BUTTER mints, you can use the recipe in my cupcakes post from 2025. Use the recipe and directions for: Susie’s Buttercream for Patterning with an Embossed Rolling Pin. https://creativecookiepress.com/2025/12/11/buttercream-shapes-patterns-on-christmas-cupcakes-brownie-bites/
Susie’s Butter & Cream Cheese Mints for Patterning with an Embossed Rolling Pin
¼ cup butter (4 Tablespoons), softened to room temperature but not melty or overly mushy
2 ounces of softened BRICK cream cheese (not tub!)
4 cups powdered sugar
½ teaspoon peppermint extract
¼ teaspoon vanilla extract
*A note about ingredients. I have made these with both generic and name brand ingredients and in the case of this recipe, I definitely have favorites. I always recommend Land-O-Lakes butter, as it is consistent nationwide and of solid quality I can count on. I am also particular about my powdered sugar. C&H is superb and absolutely makes any kind of frosting or candy like this better than generic will. Philadelphia cream cheese is also the winner for me. PLEASE NOTE! These are NOT “affiliate” recommendations! I have never partnered with any brand. I am completely independent and my opinions are genuine!
Candy melts/melting wafers of your choice. I used Ghirardelli milk chocolate but you could use dark chocolate, white, or a variety of colors.
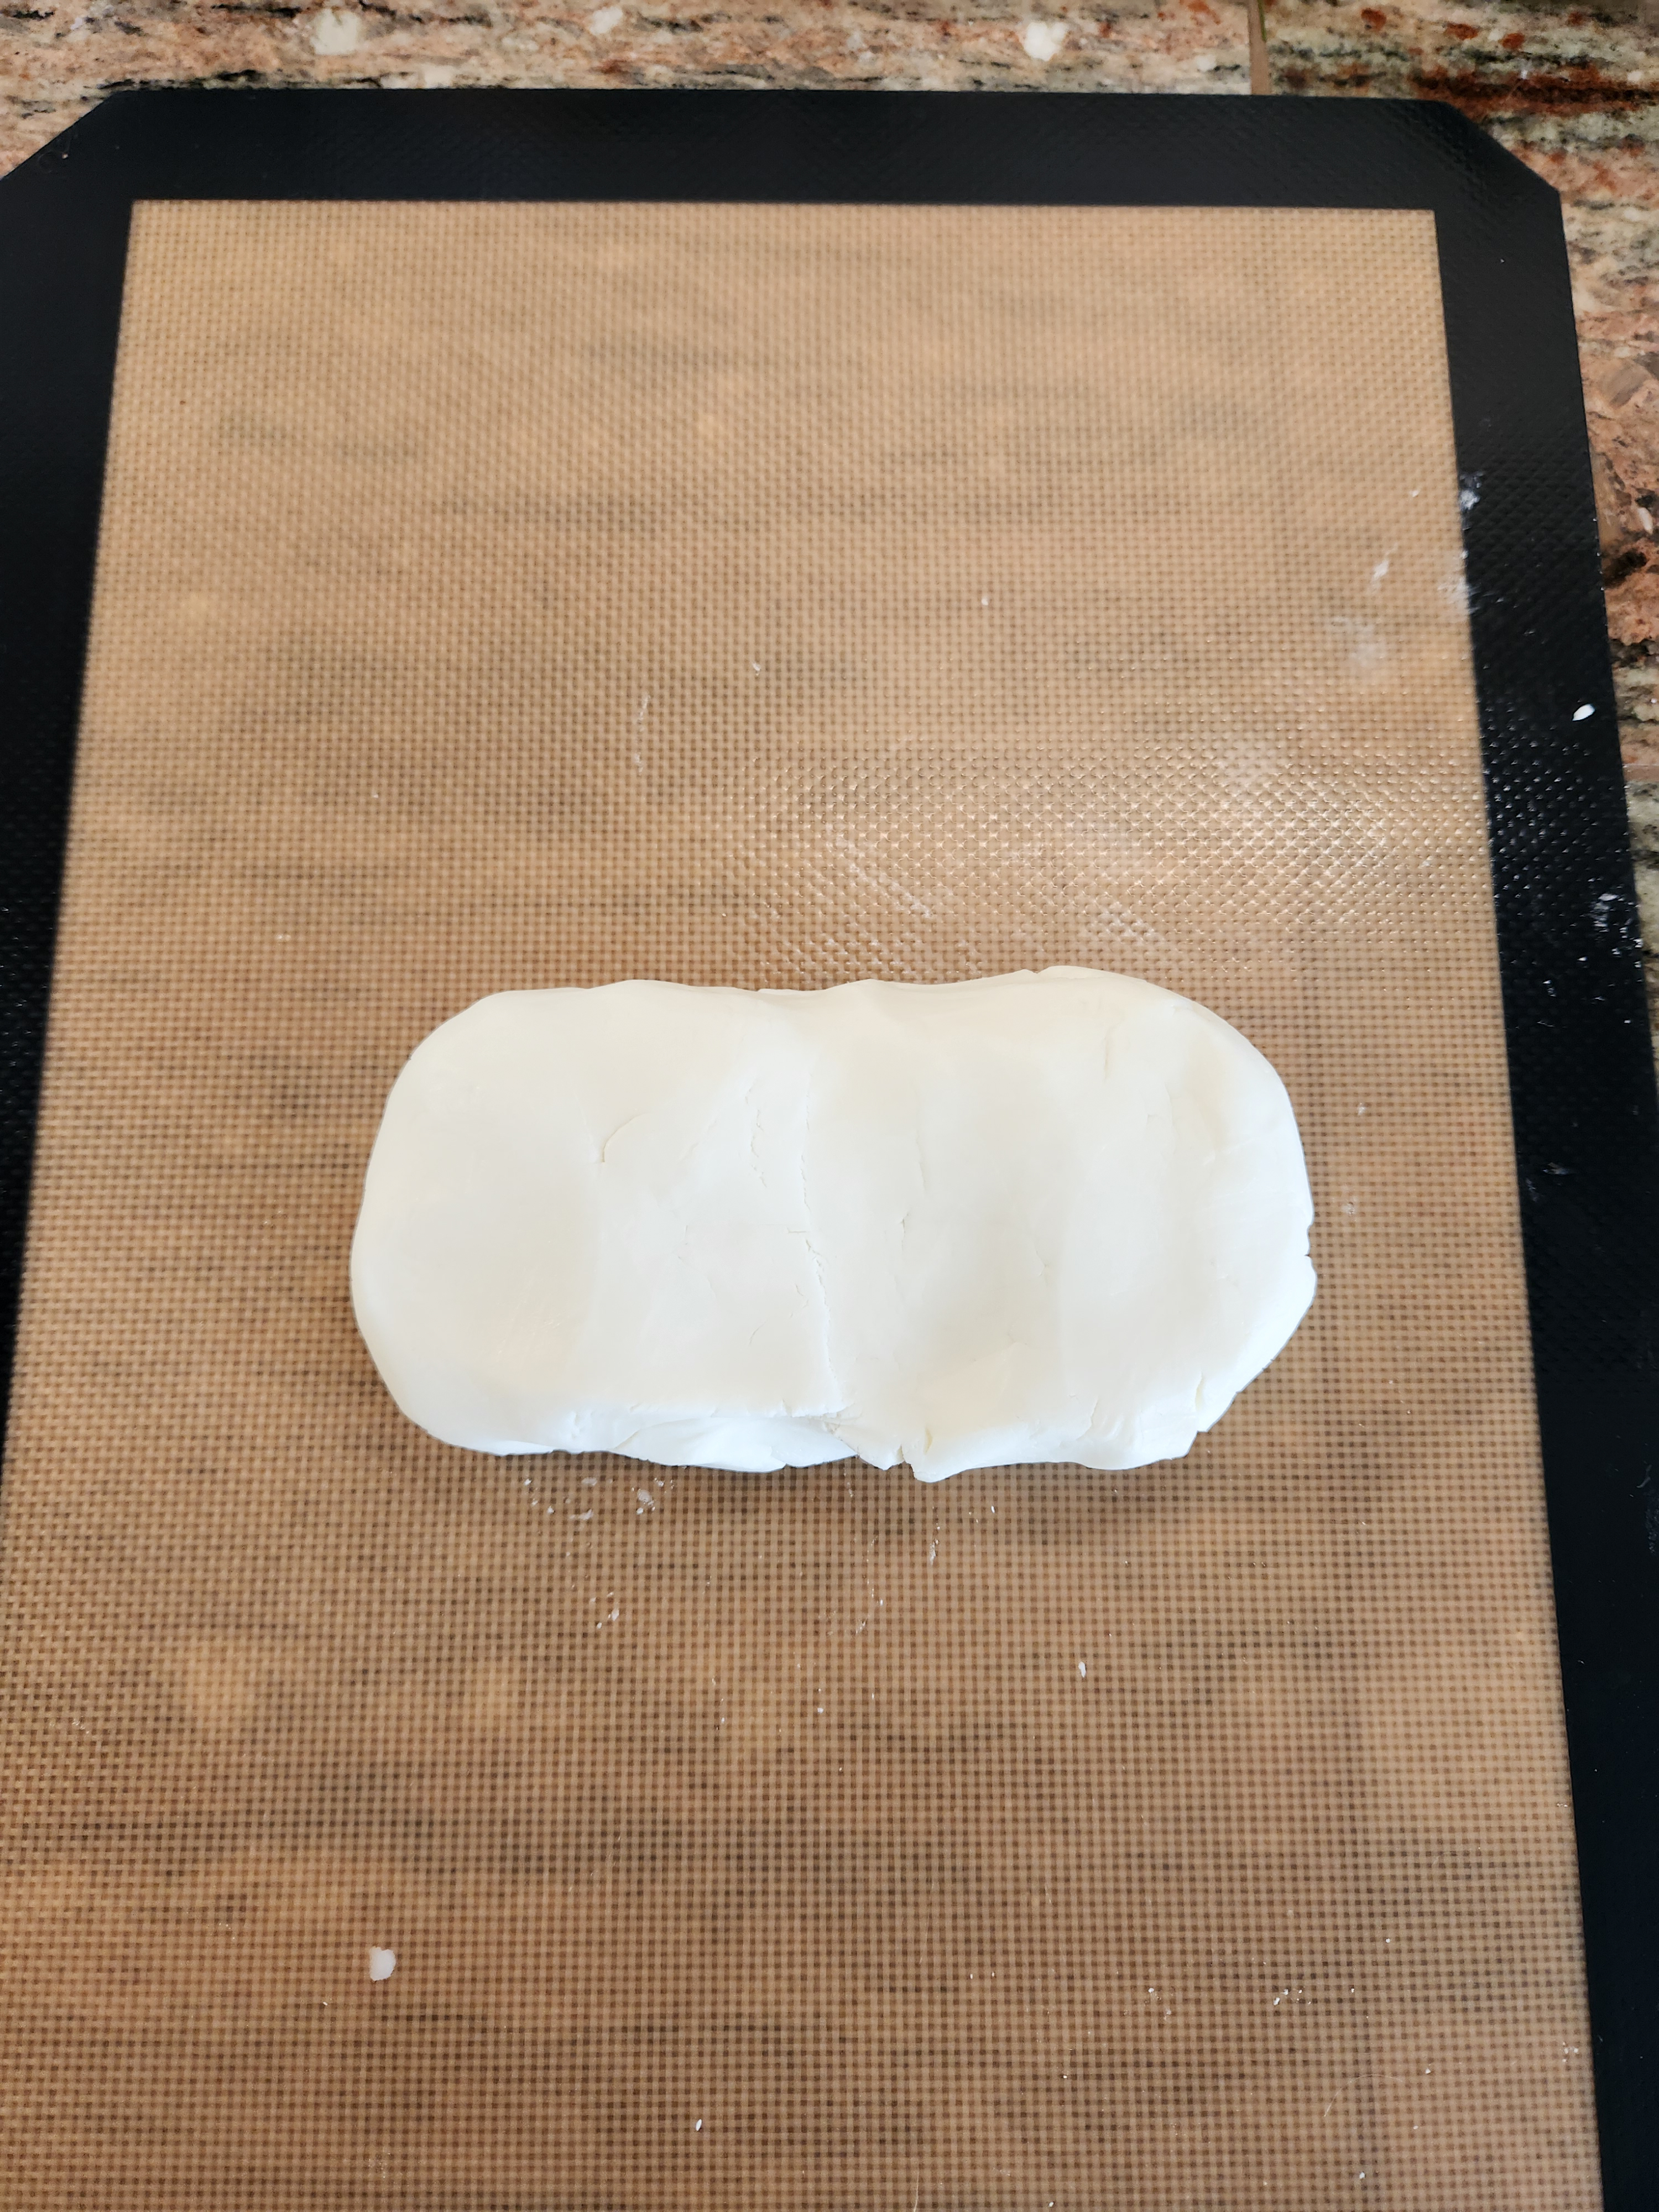
This butter/cream cheese candy dough is very thick but also super smooth. Start by creaming the butter and cream cheese with an electric mixer. Add the peppermint extract, vanilla, and one cup of the powdered sugar. Slowly start mixing, and add the rest of the sugar a cup at a time. After each addition of sugar is combined enough to not fly out of the bowl, mix it at higher speed. As you add sugar, it is going to get very very stiff. Stop to scrape your bowl often, then let the mixer get everything combined well. Remove the dough from the mixer and, knead it by hand on your counter or a silicone mat. As you work it it should become smoother and easier to handle. It turns into a stiff “clay” that you can mold in your hands. It’s quite fun!
If it is so stiff you can’t even knead it, add vanilla a little bit at a time until it feels truly smooth and workable. If it is sticky or overly soft, add powdered sugar a little at a time until it is workable and play-dough like.
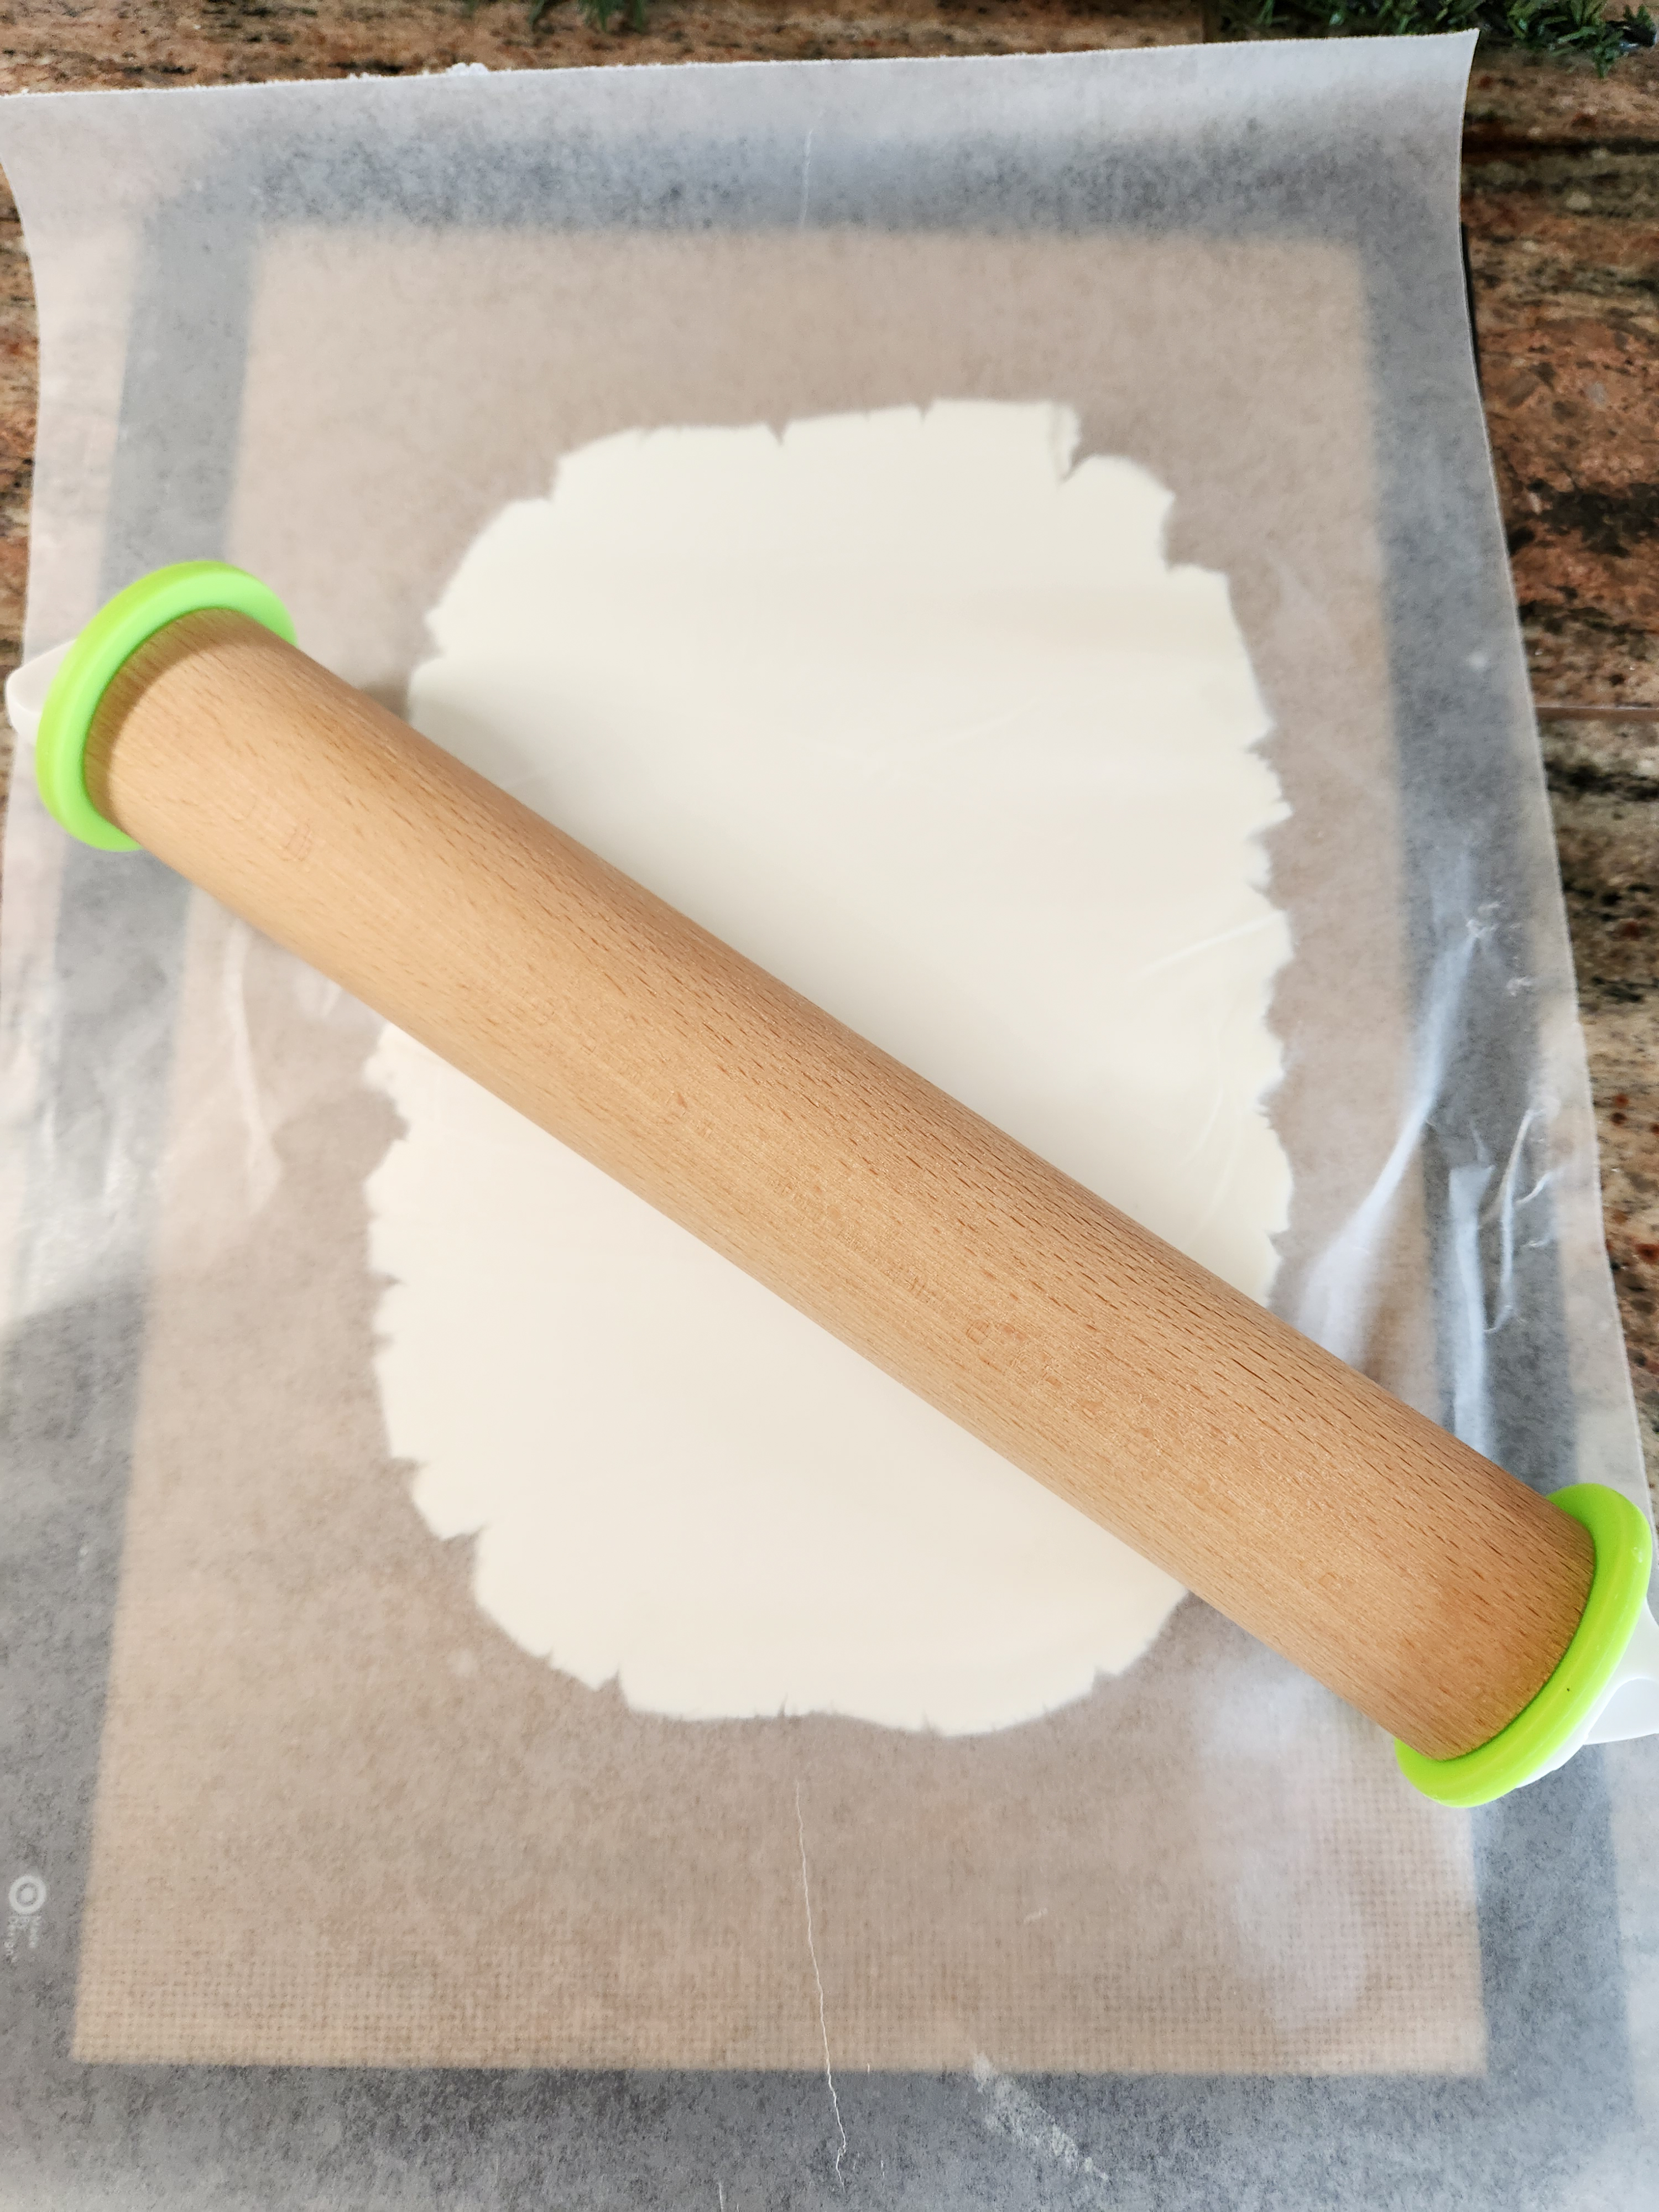
You can roll this out on a countertop, flat cooktop, or silicone mat. Roll a portion a little bigger than your fist into a log the same width as the pattern on the rolling pin. Cover it with waxed paper (plastic wrap will do in a pinch). Roll it out with a regular rolling pin, preferably one with thickness spacing rings. Roll it out 1/4″ thick.
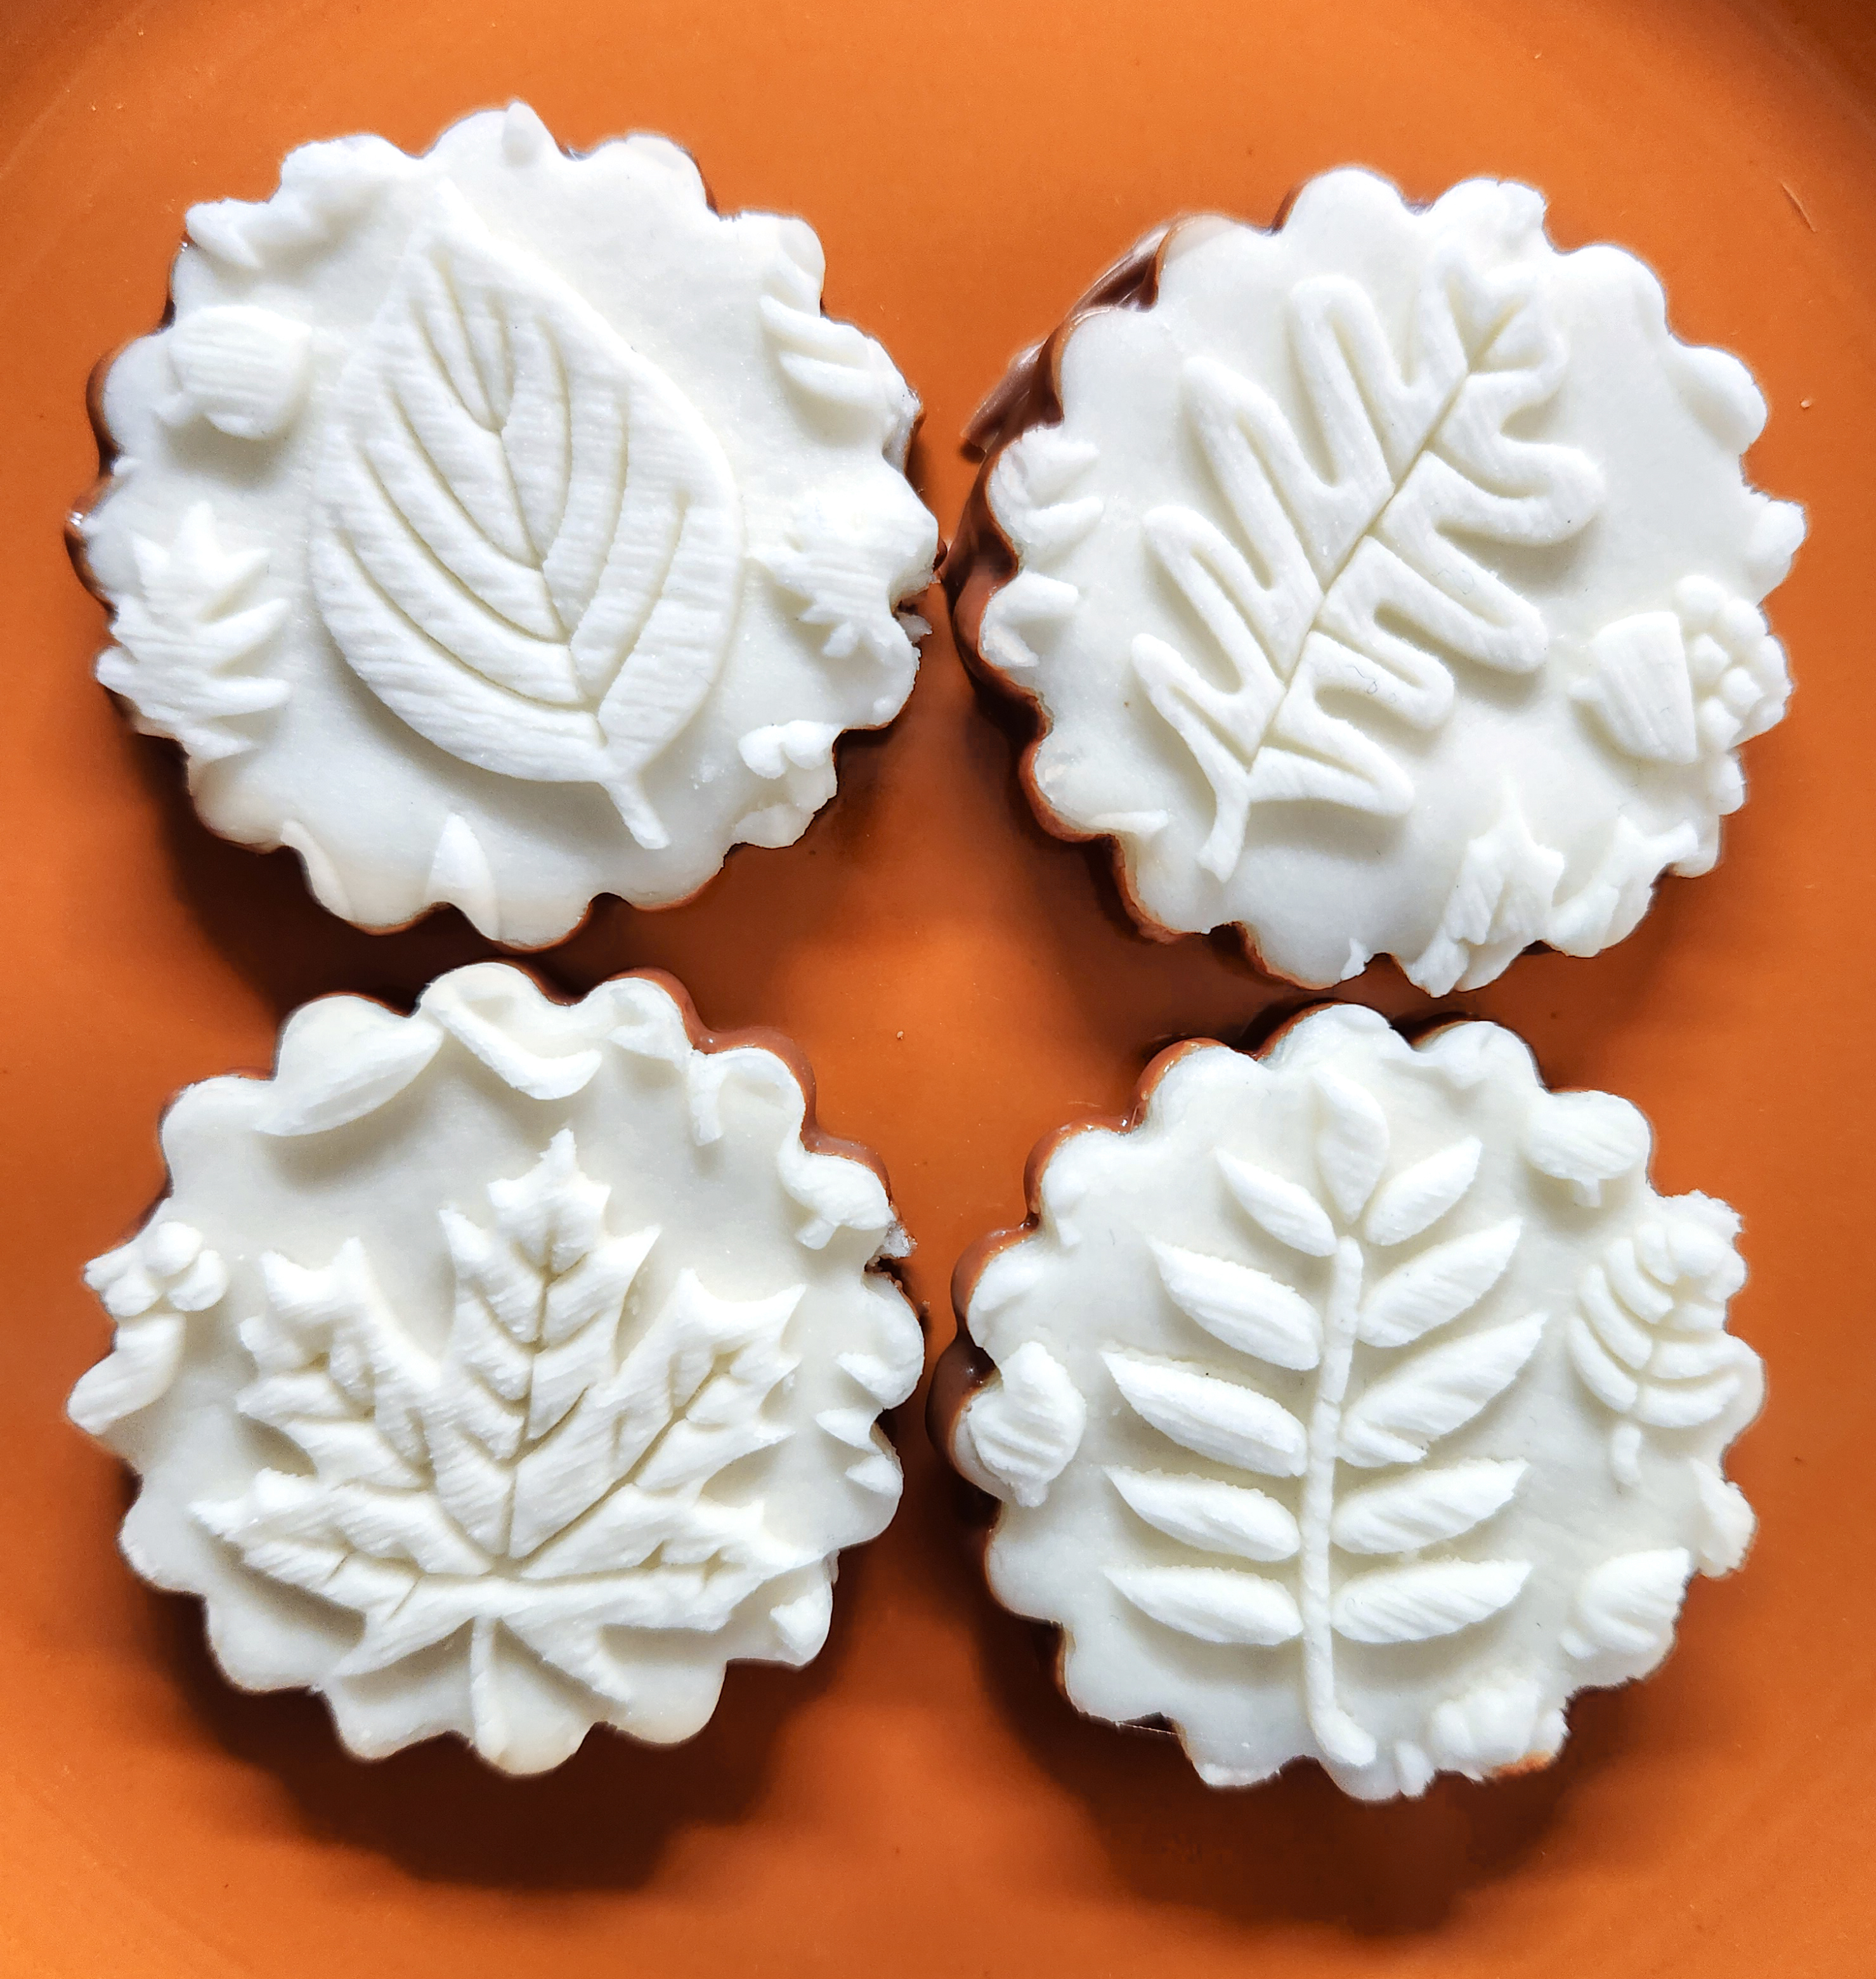
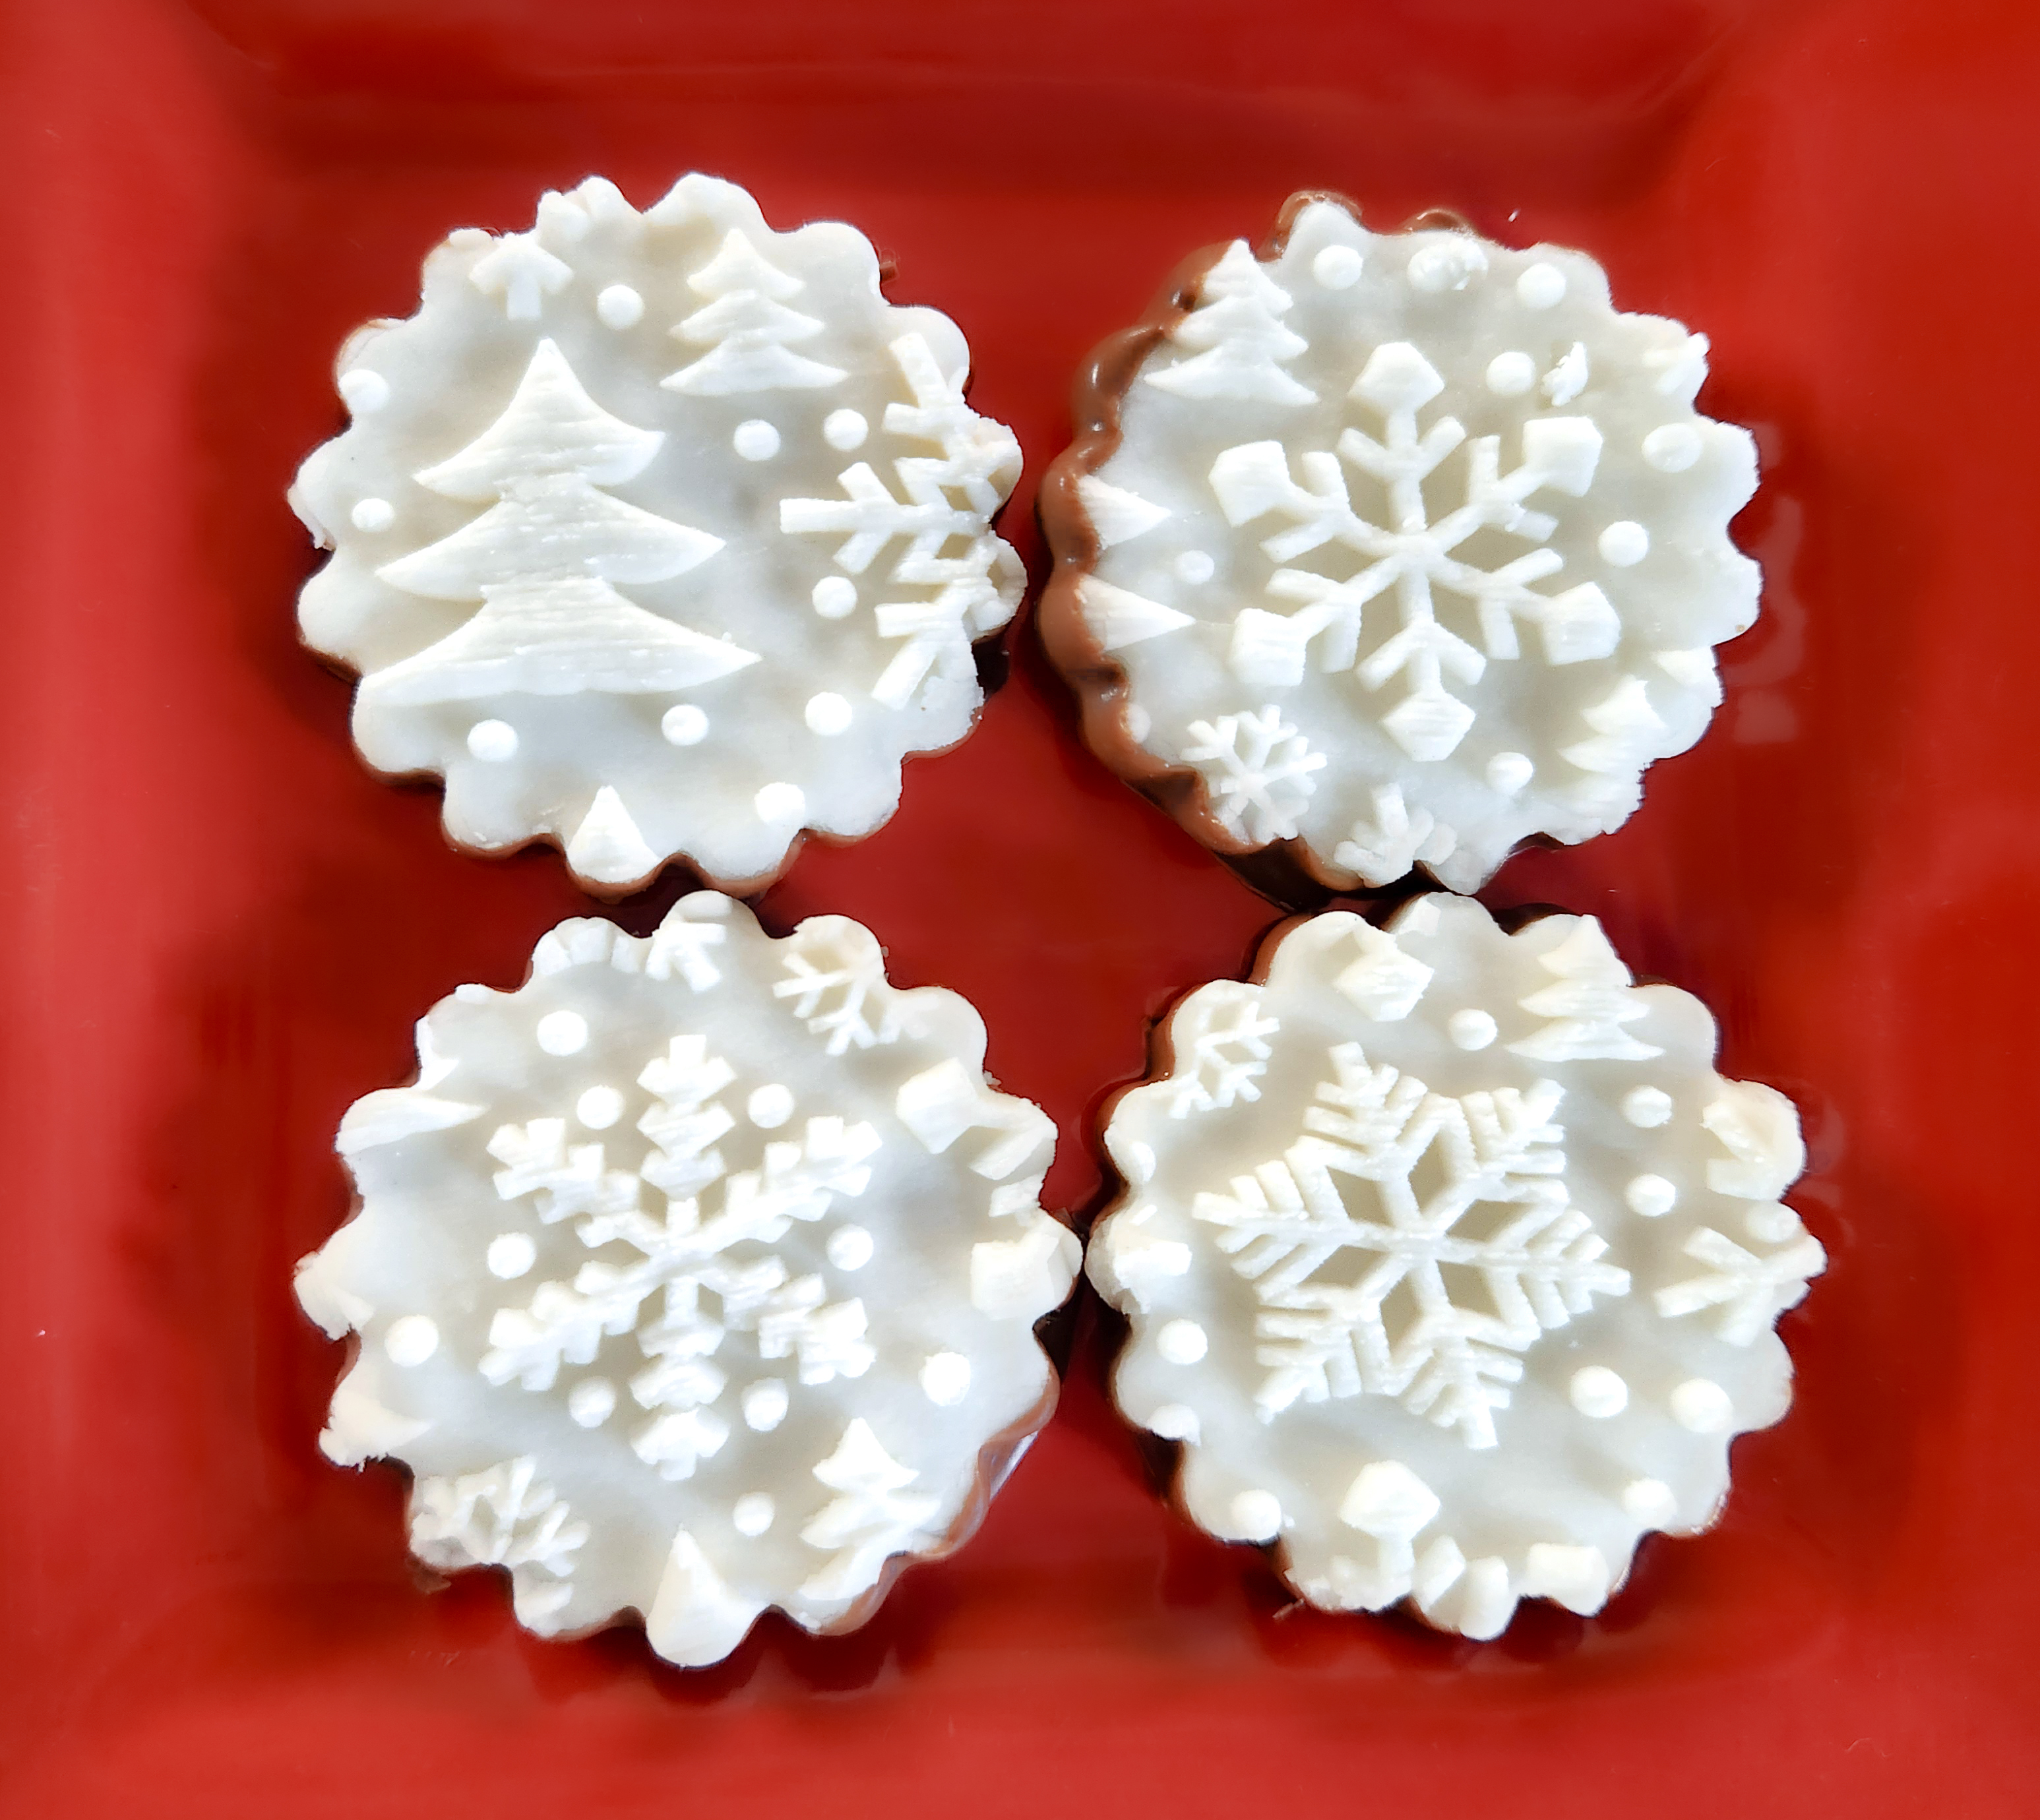
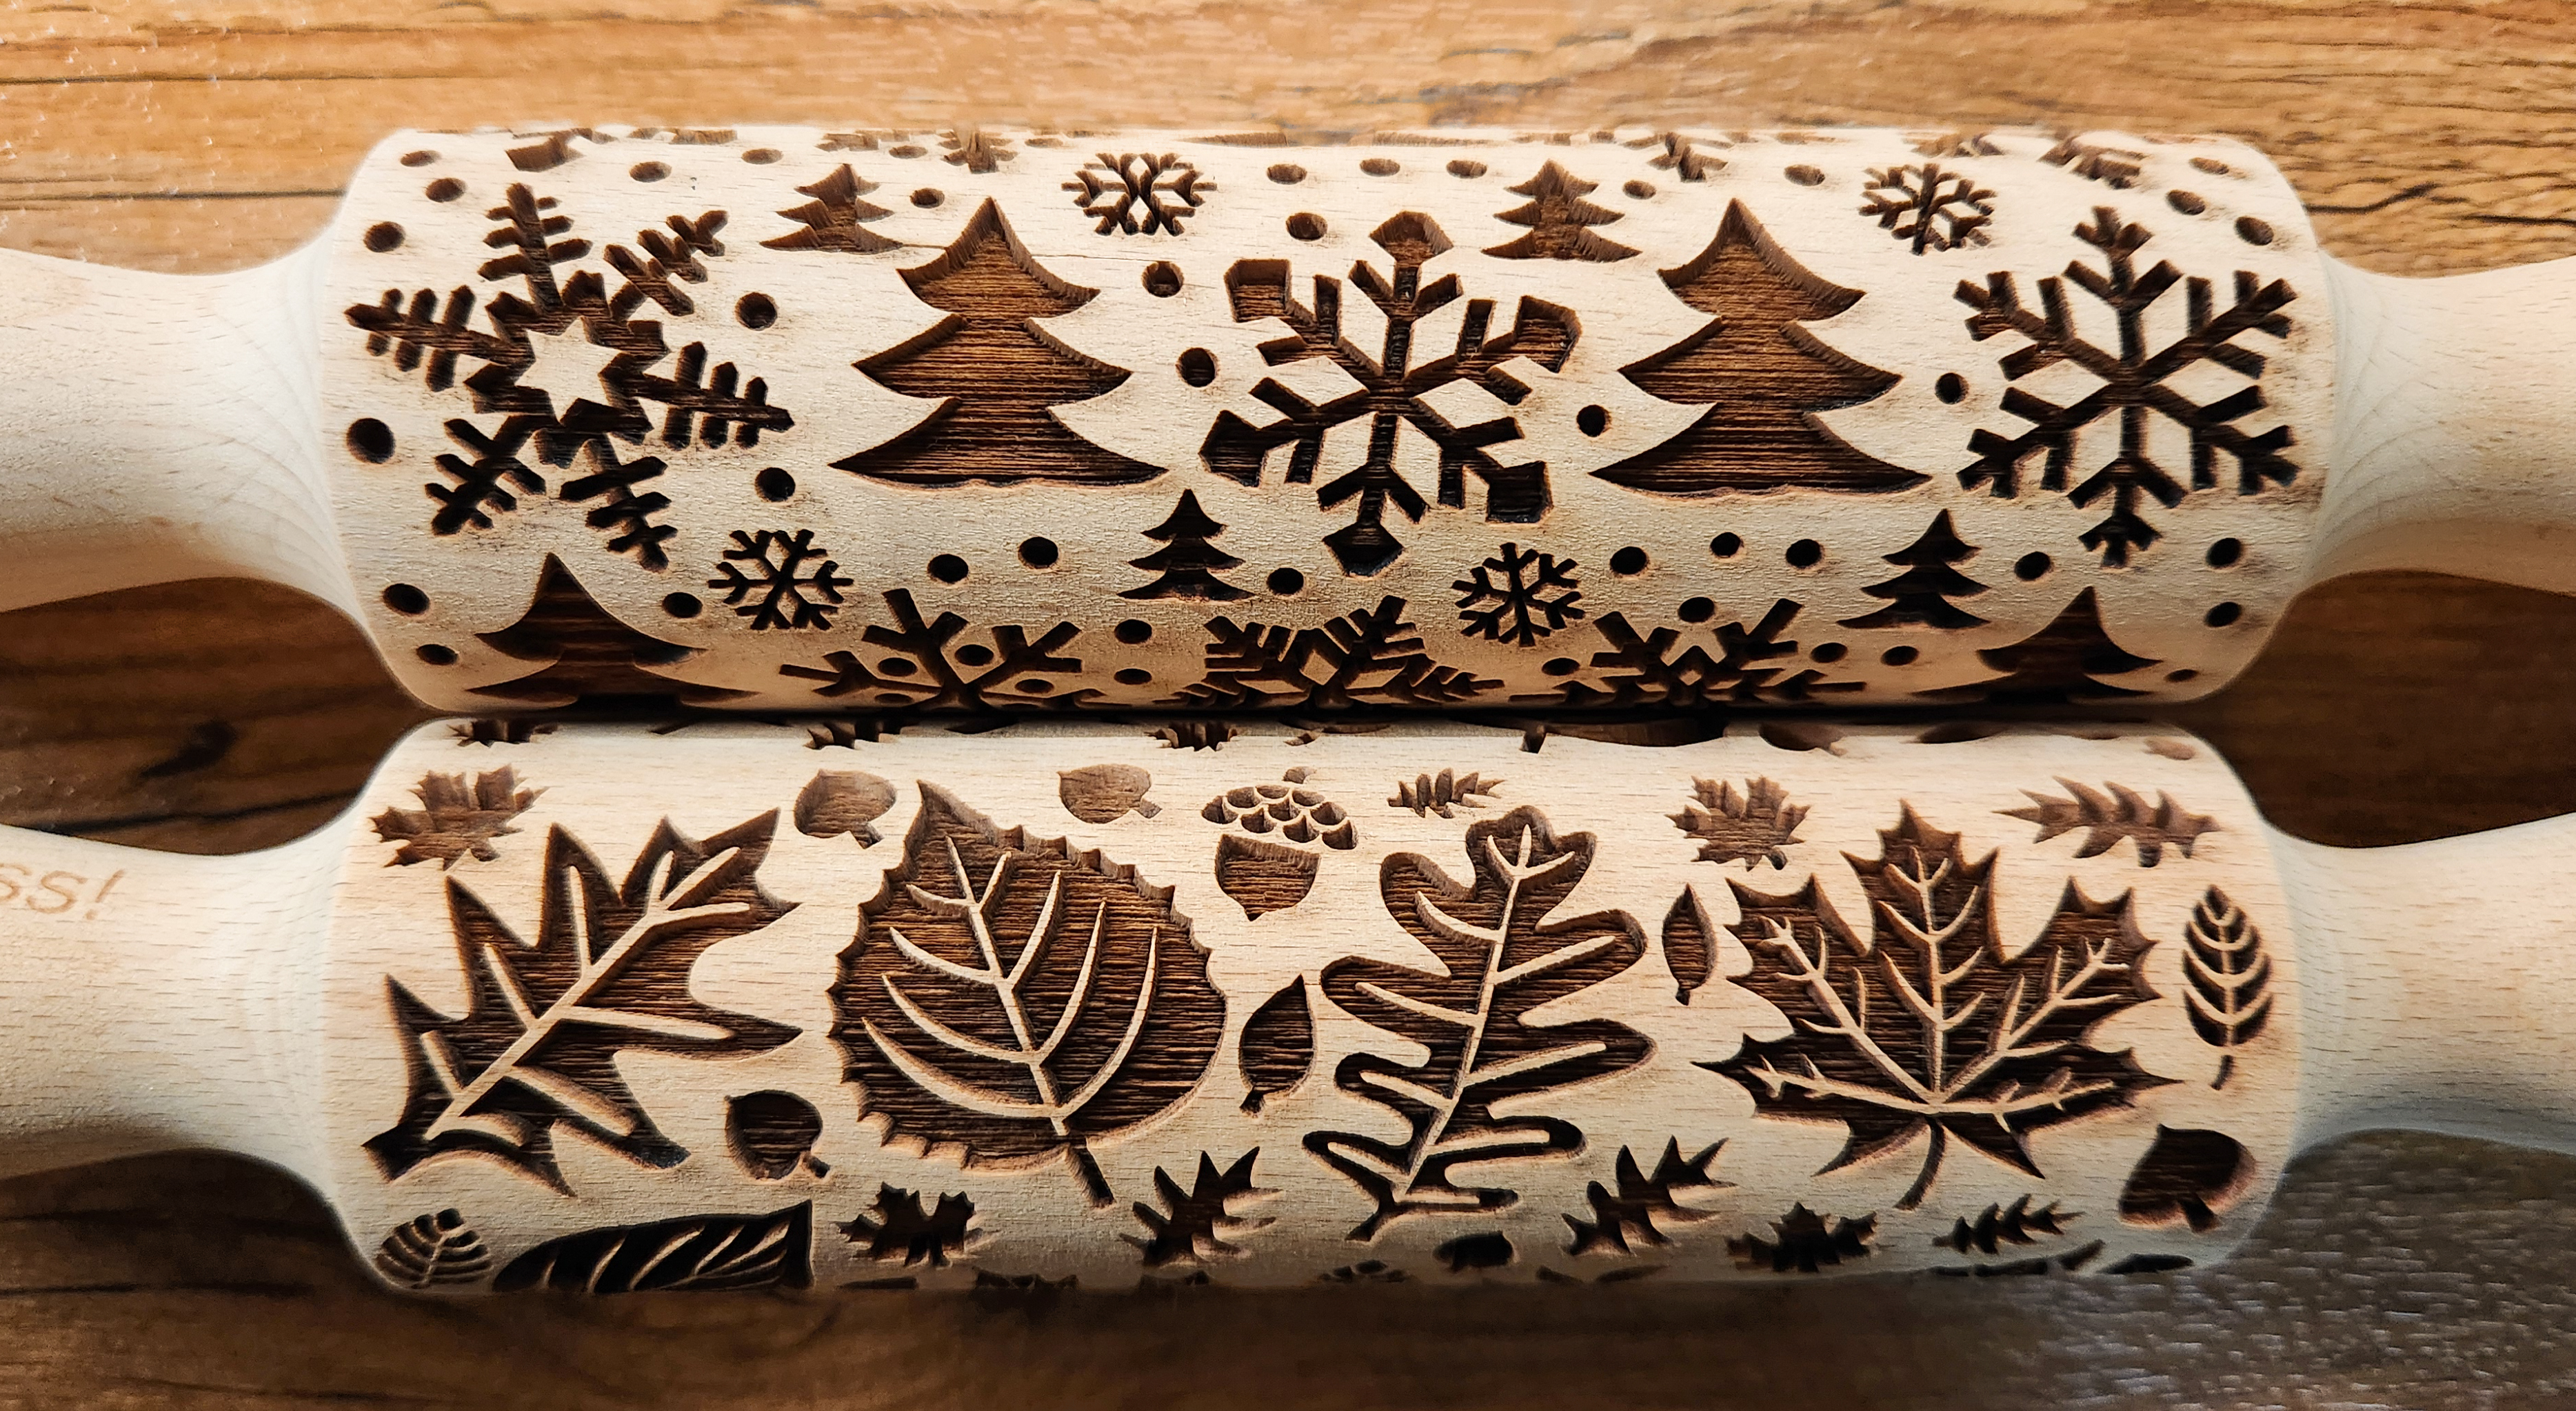
I used our best-selling Fall and Winter pins for this recipe. Fall Leaves Large Designs and Snowflakes & Woodland Pine Trees. They’re two of my favorites that I’ve designed.🥰
Dust both the surface of the candy dough and the embossed rolling pin with powdered sugar. Sprinkle it onto the dough surface, then spread it around with your fingers to very lightly coat the top. Same with the pin. Sprinkle it on, then rub it around, then gently tap the pin on your other hand to shake any big excess off.
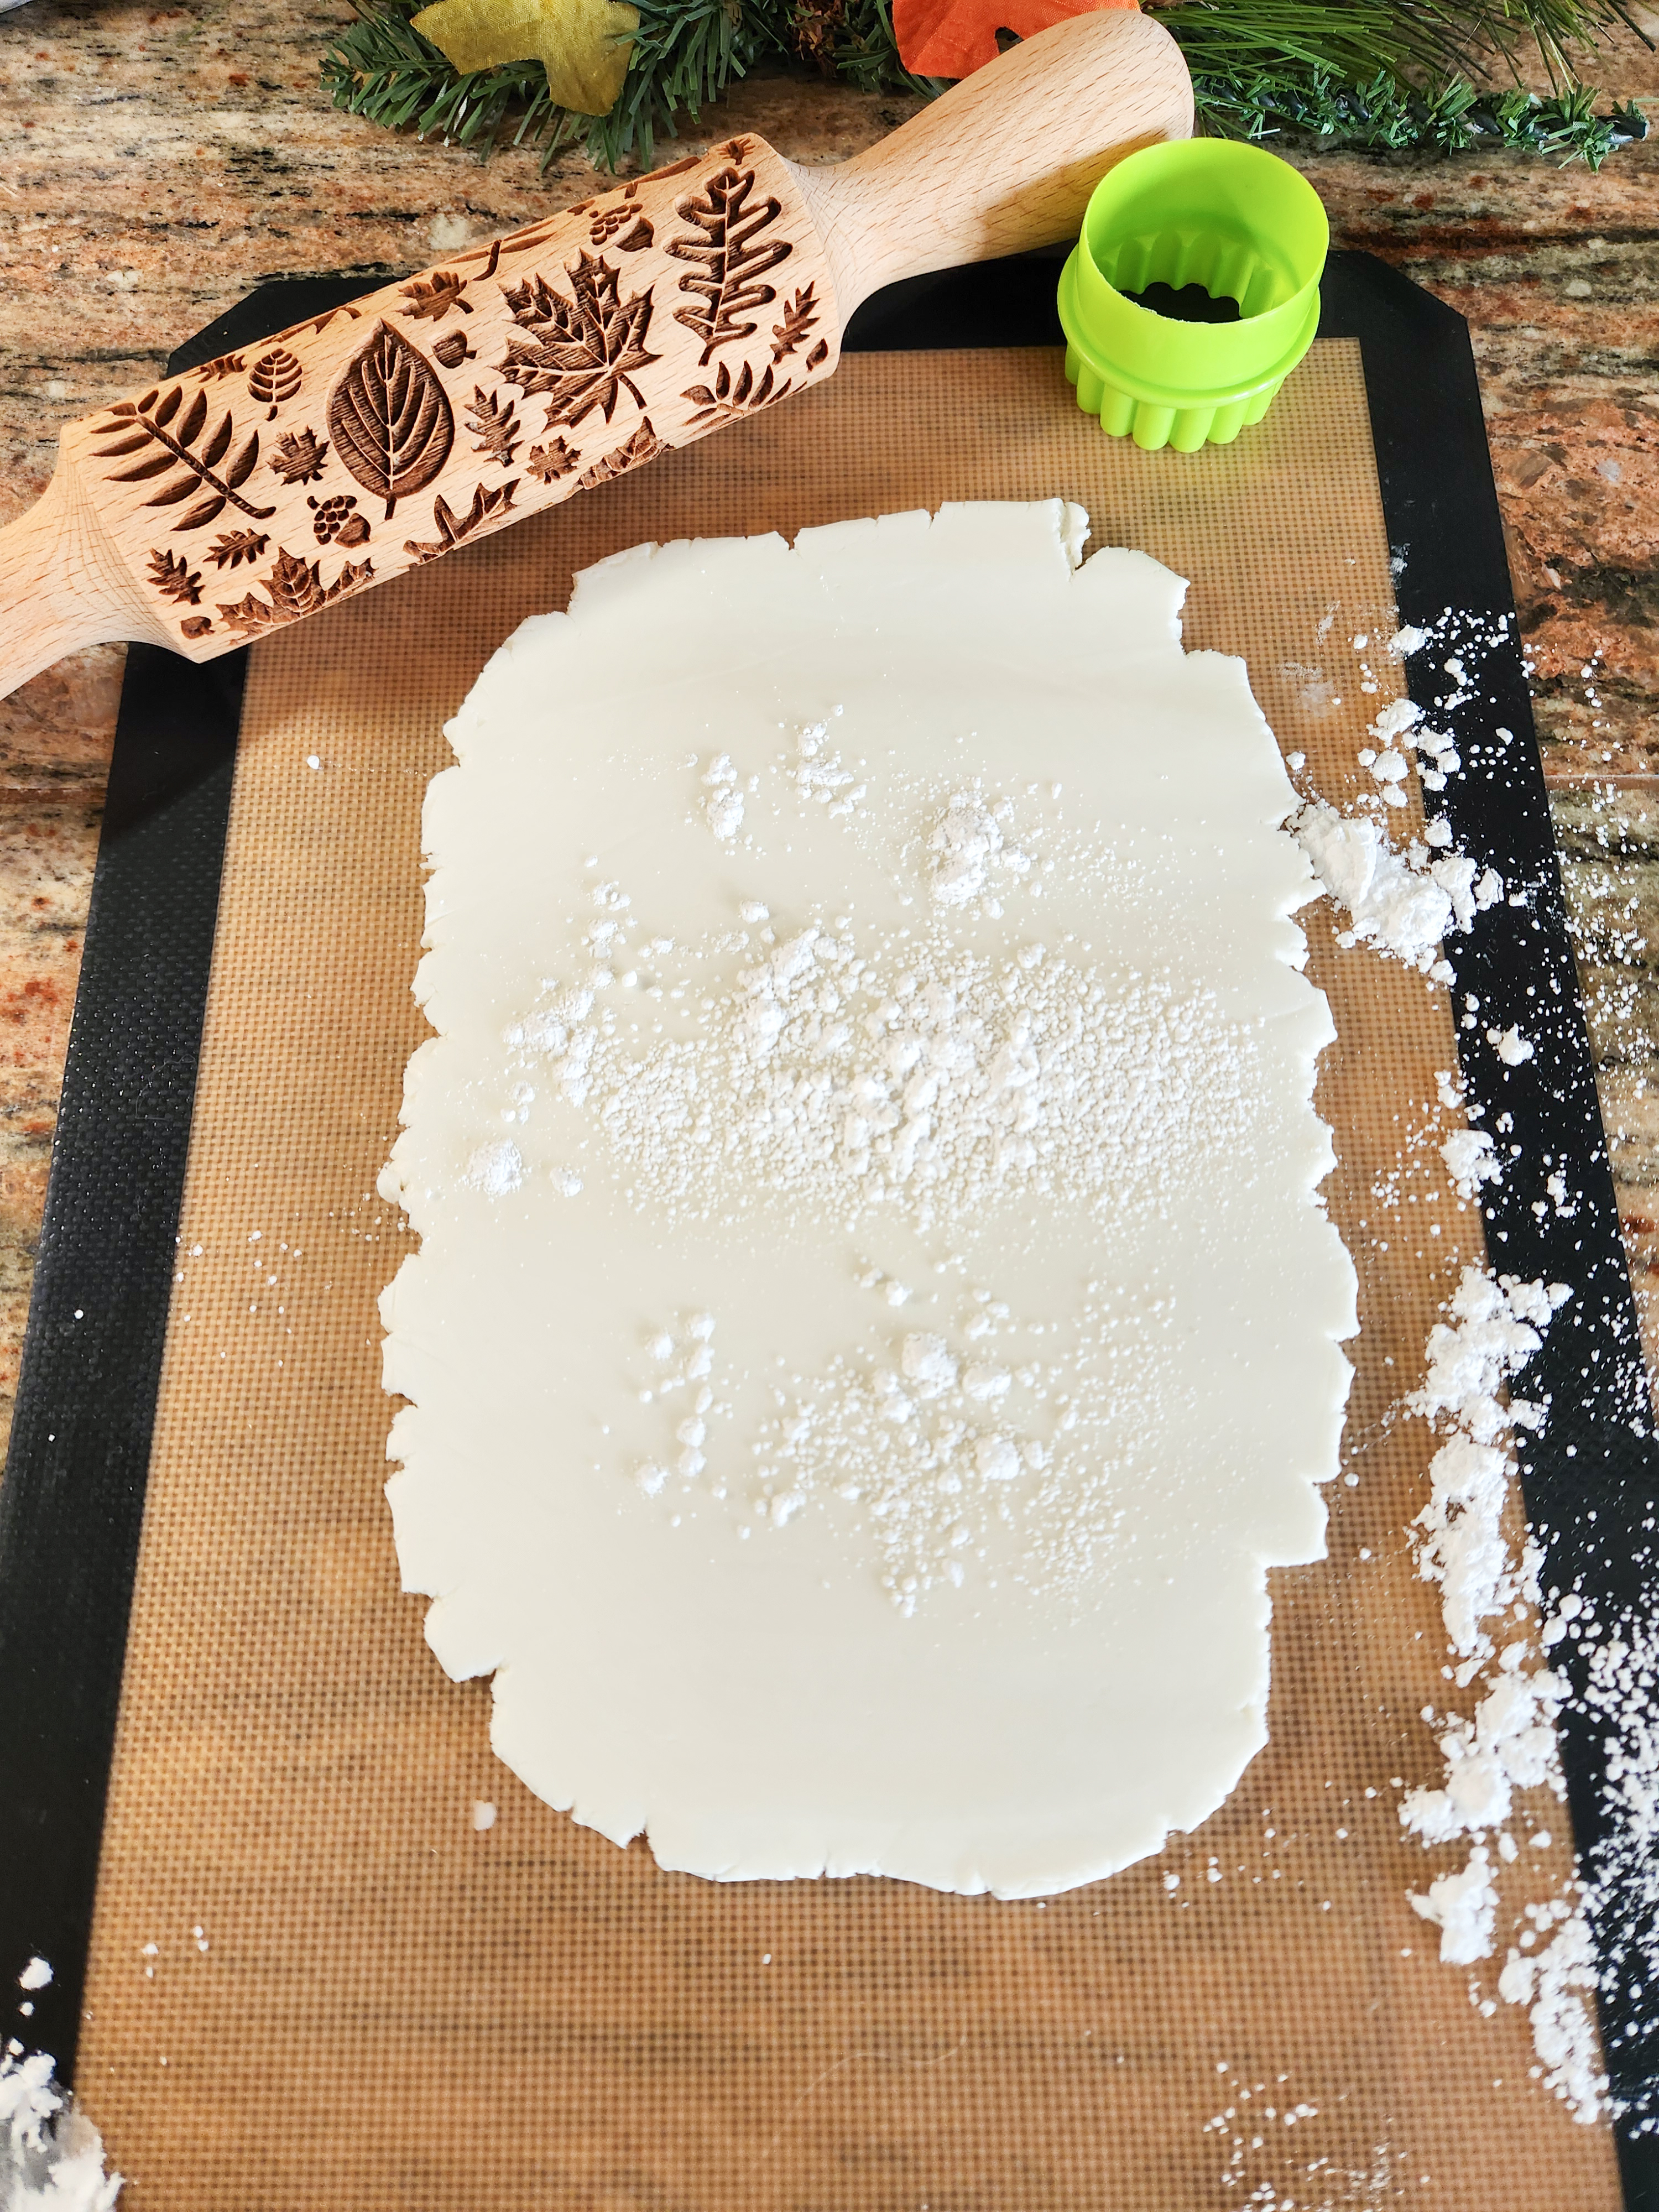
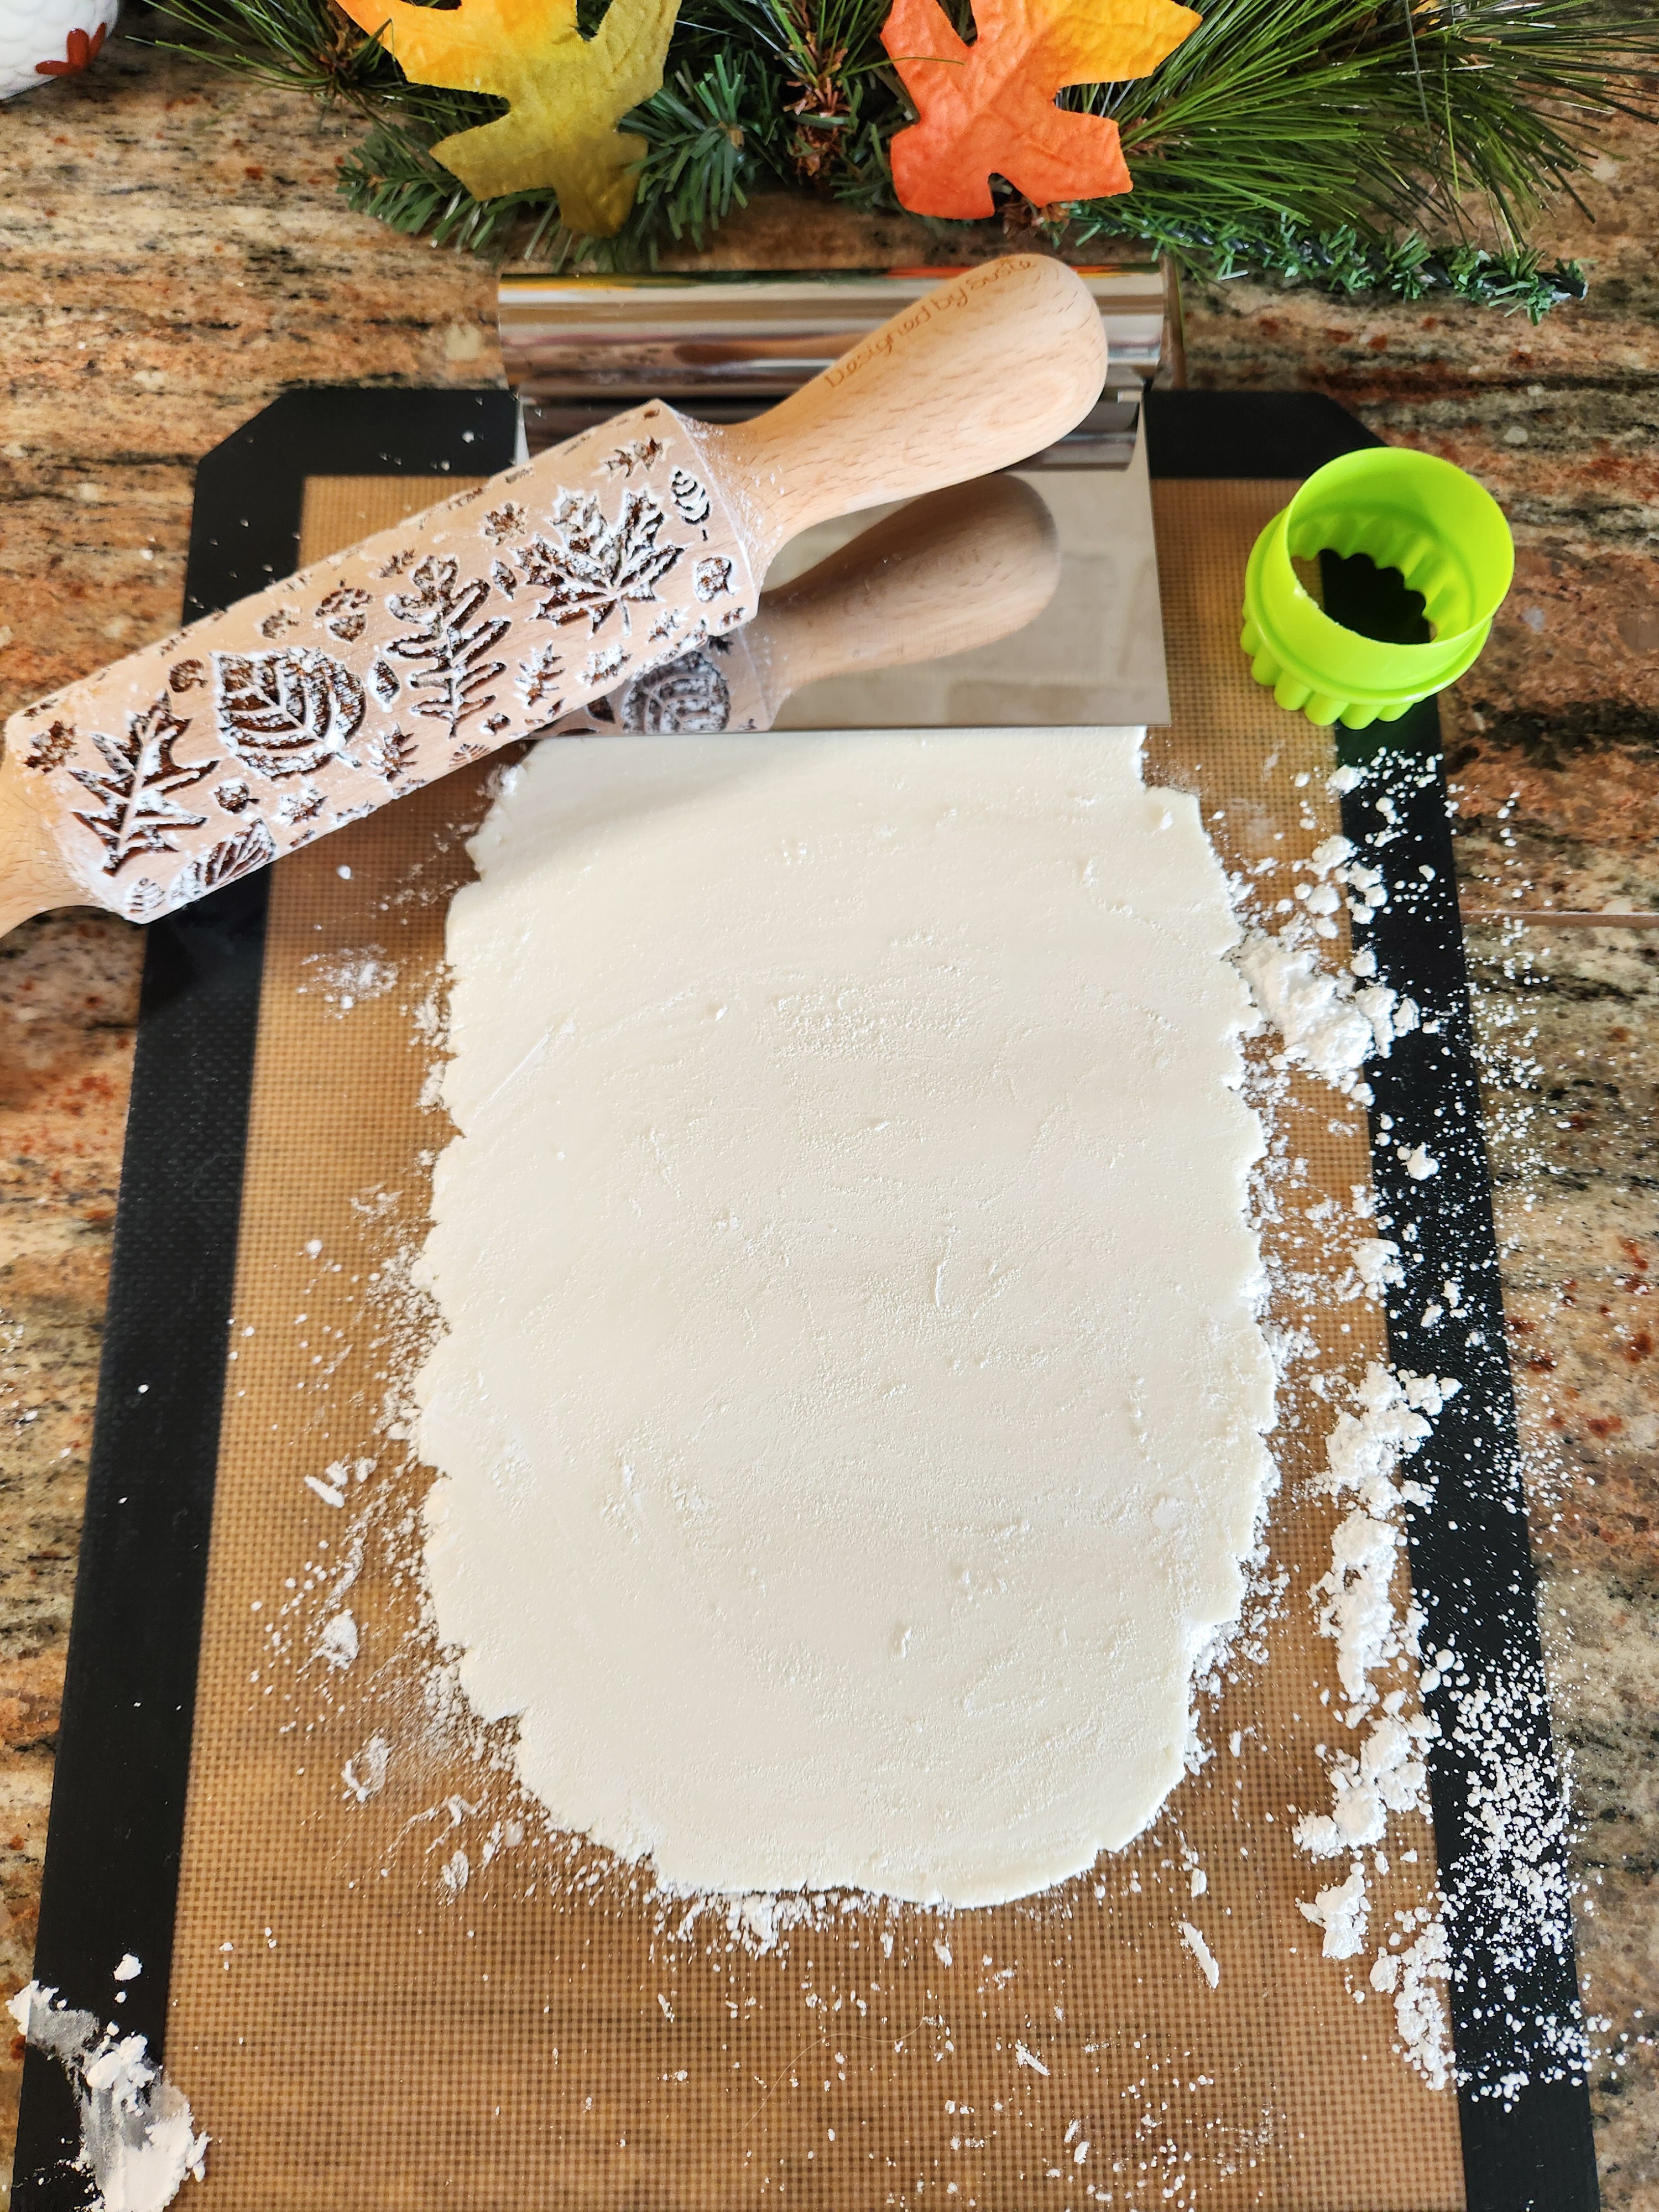
Place a bench scraper or similar object at the far end of your dough to hold it down as you roll with the embossed pin. Roll towards you with the embossed pin, pressing down fairly hard. This is much stiffer than my cookie doughs so for this you do need to apply some pressure. Roll slow, steady, and even. The imprints should be raised on the candy dough as thick as the impressions on the pin. If you don’t press hard enough they may come out shallow. No problem! Scoop it all up and roll it out again! It happens to me sometimes, too.
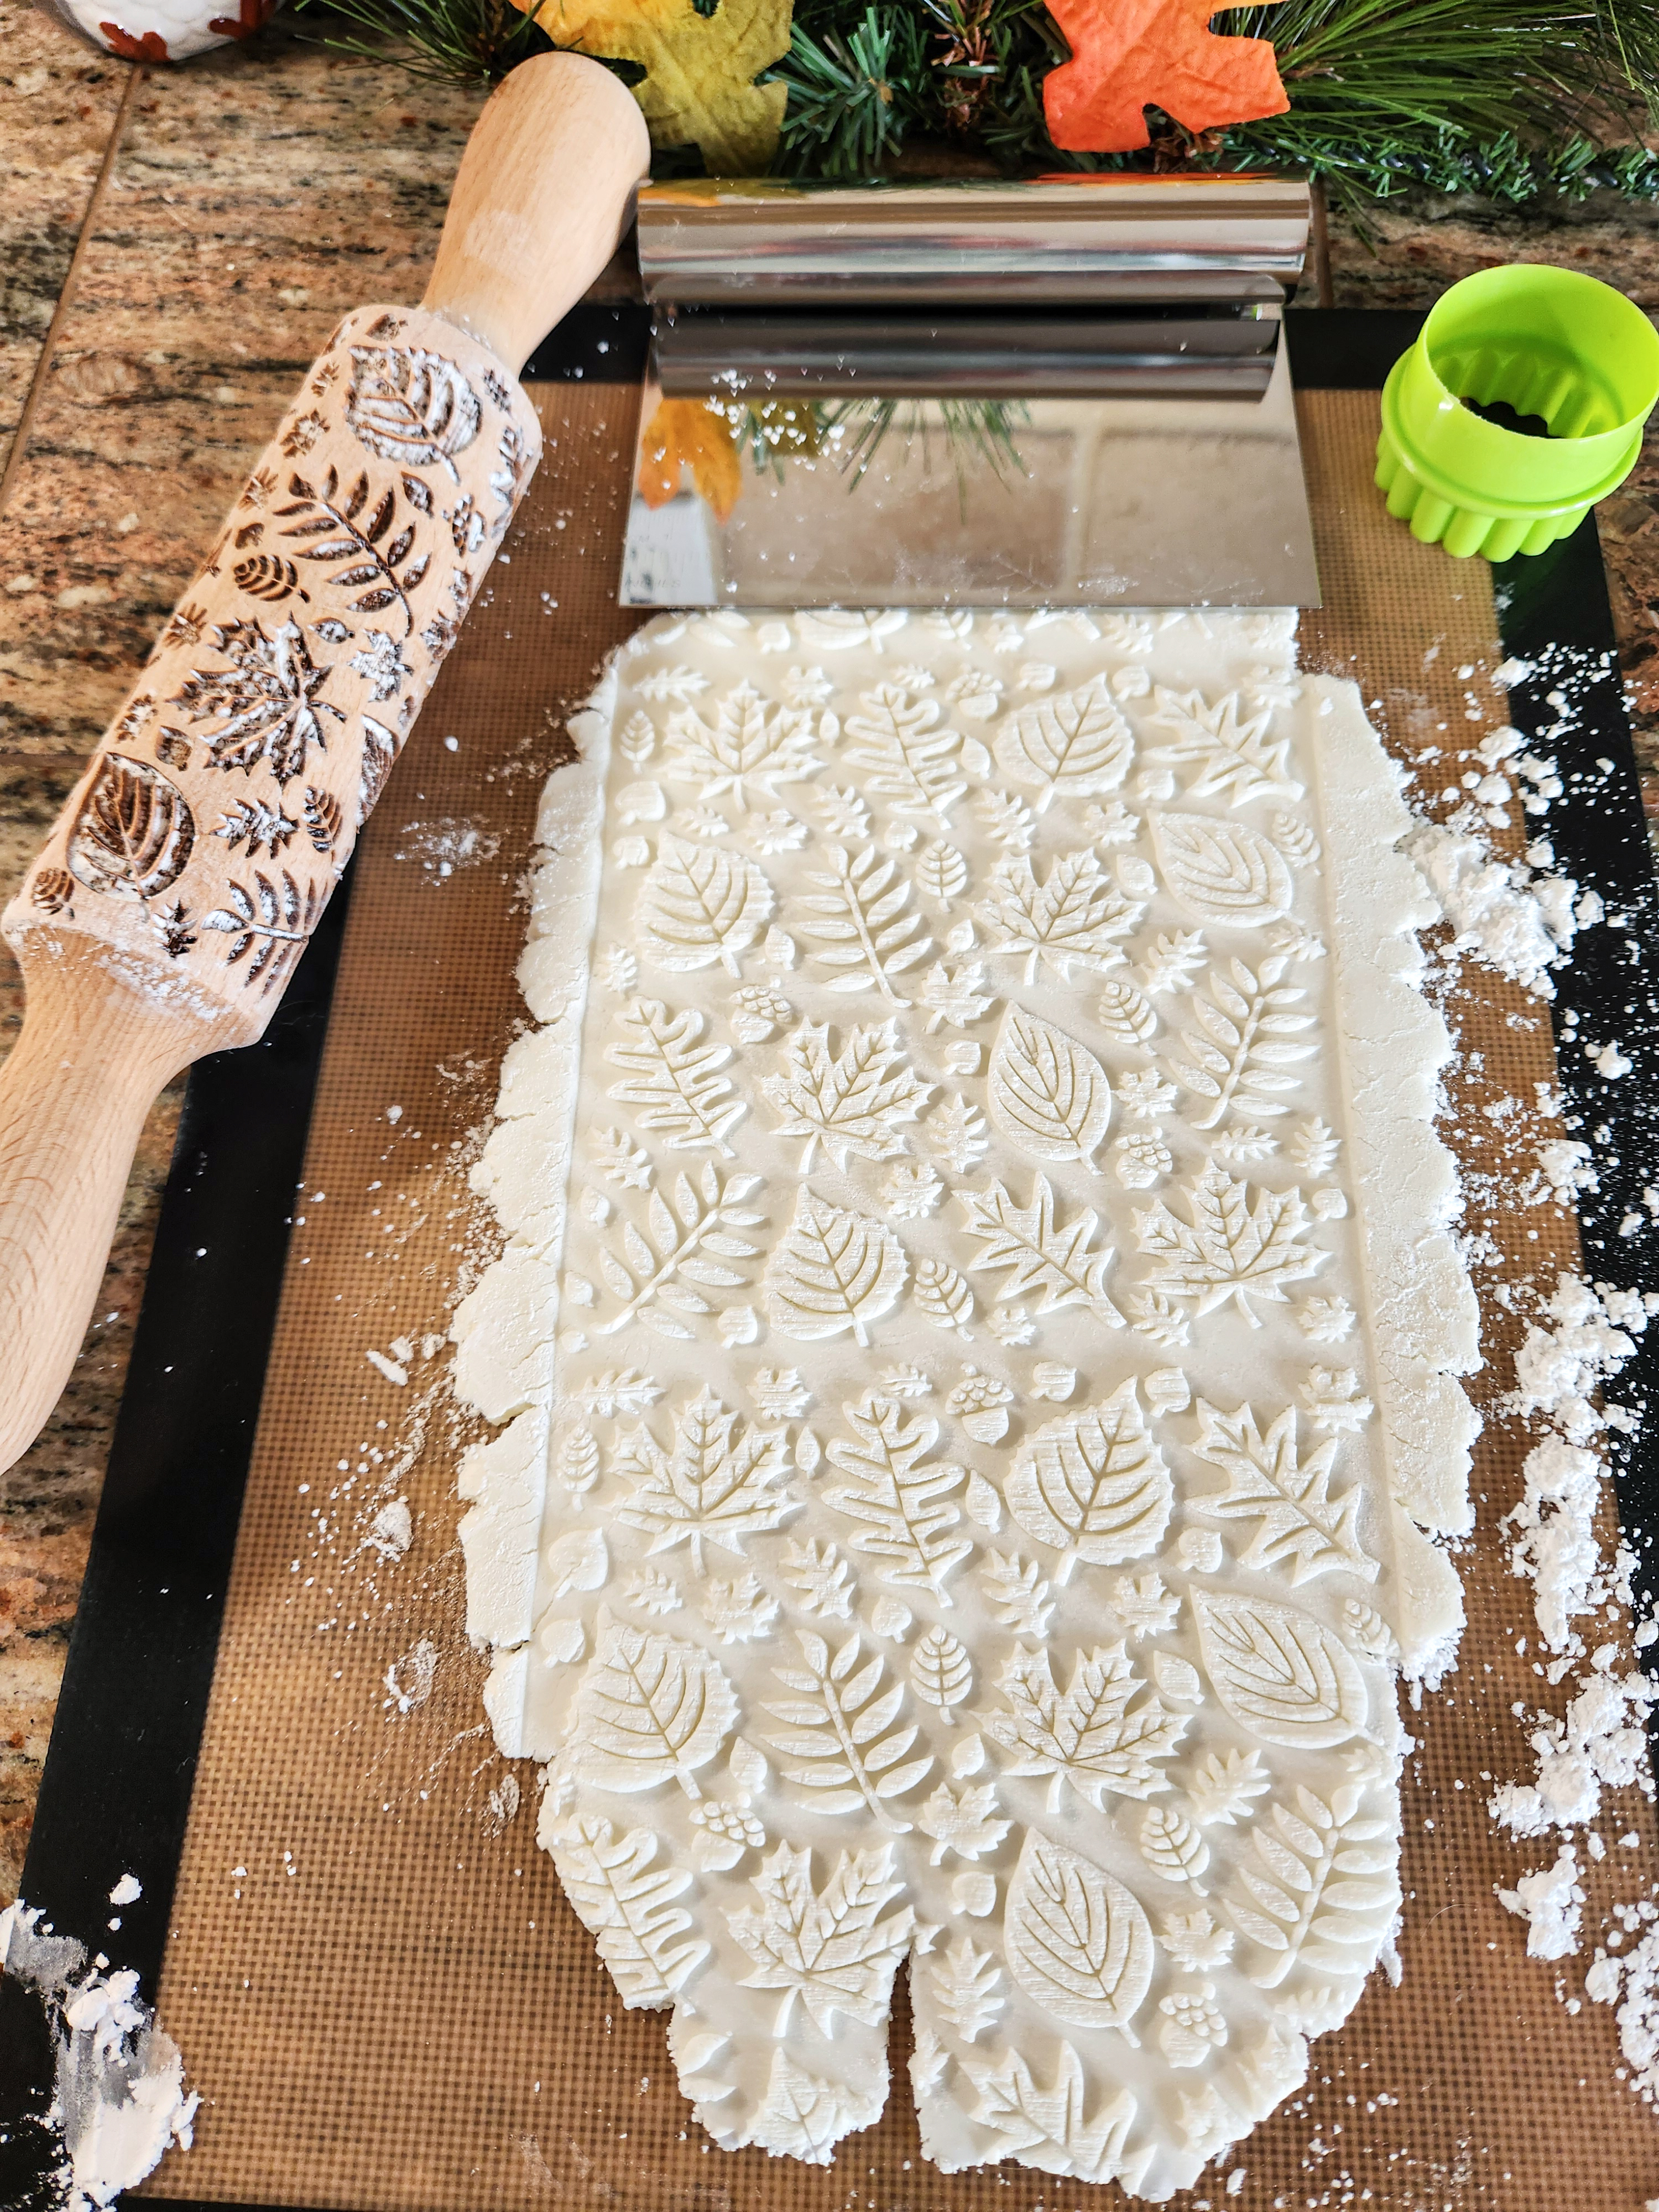
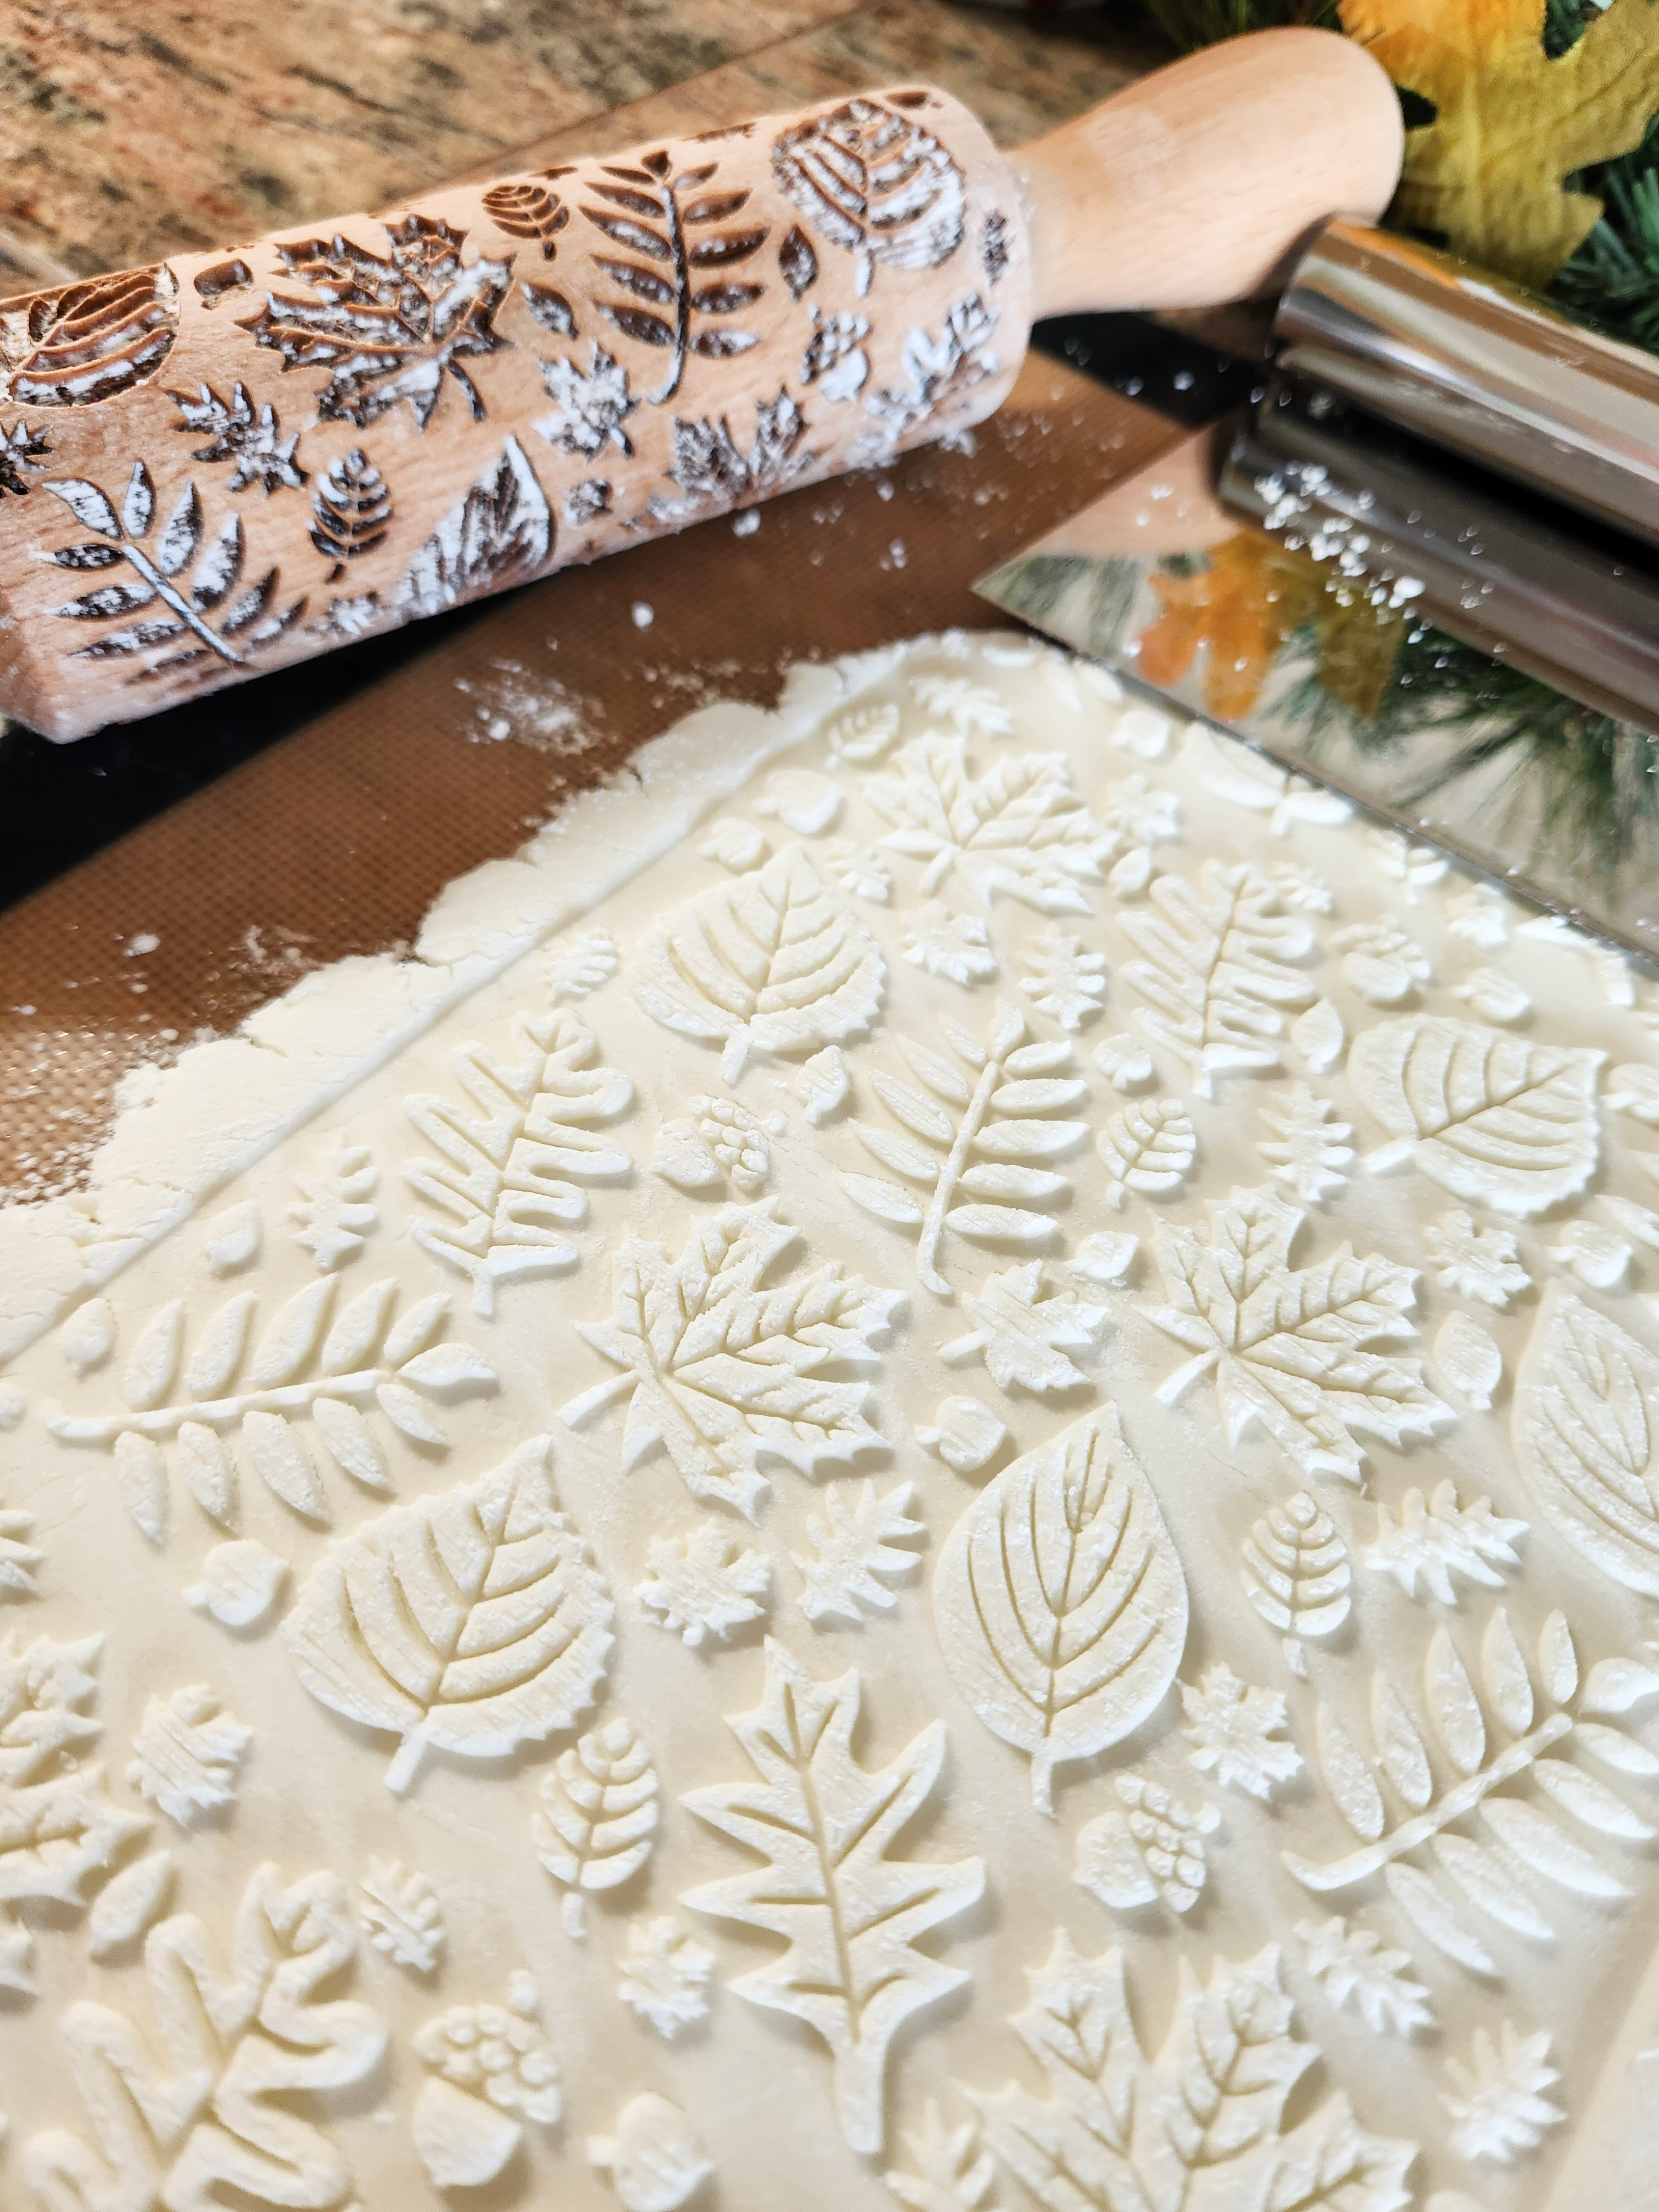
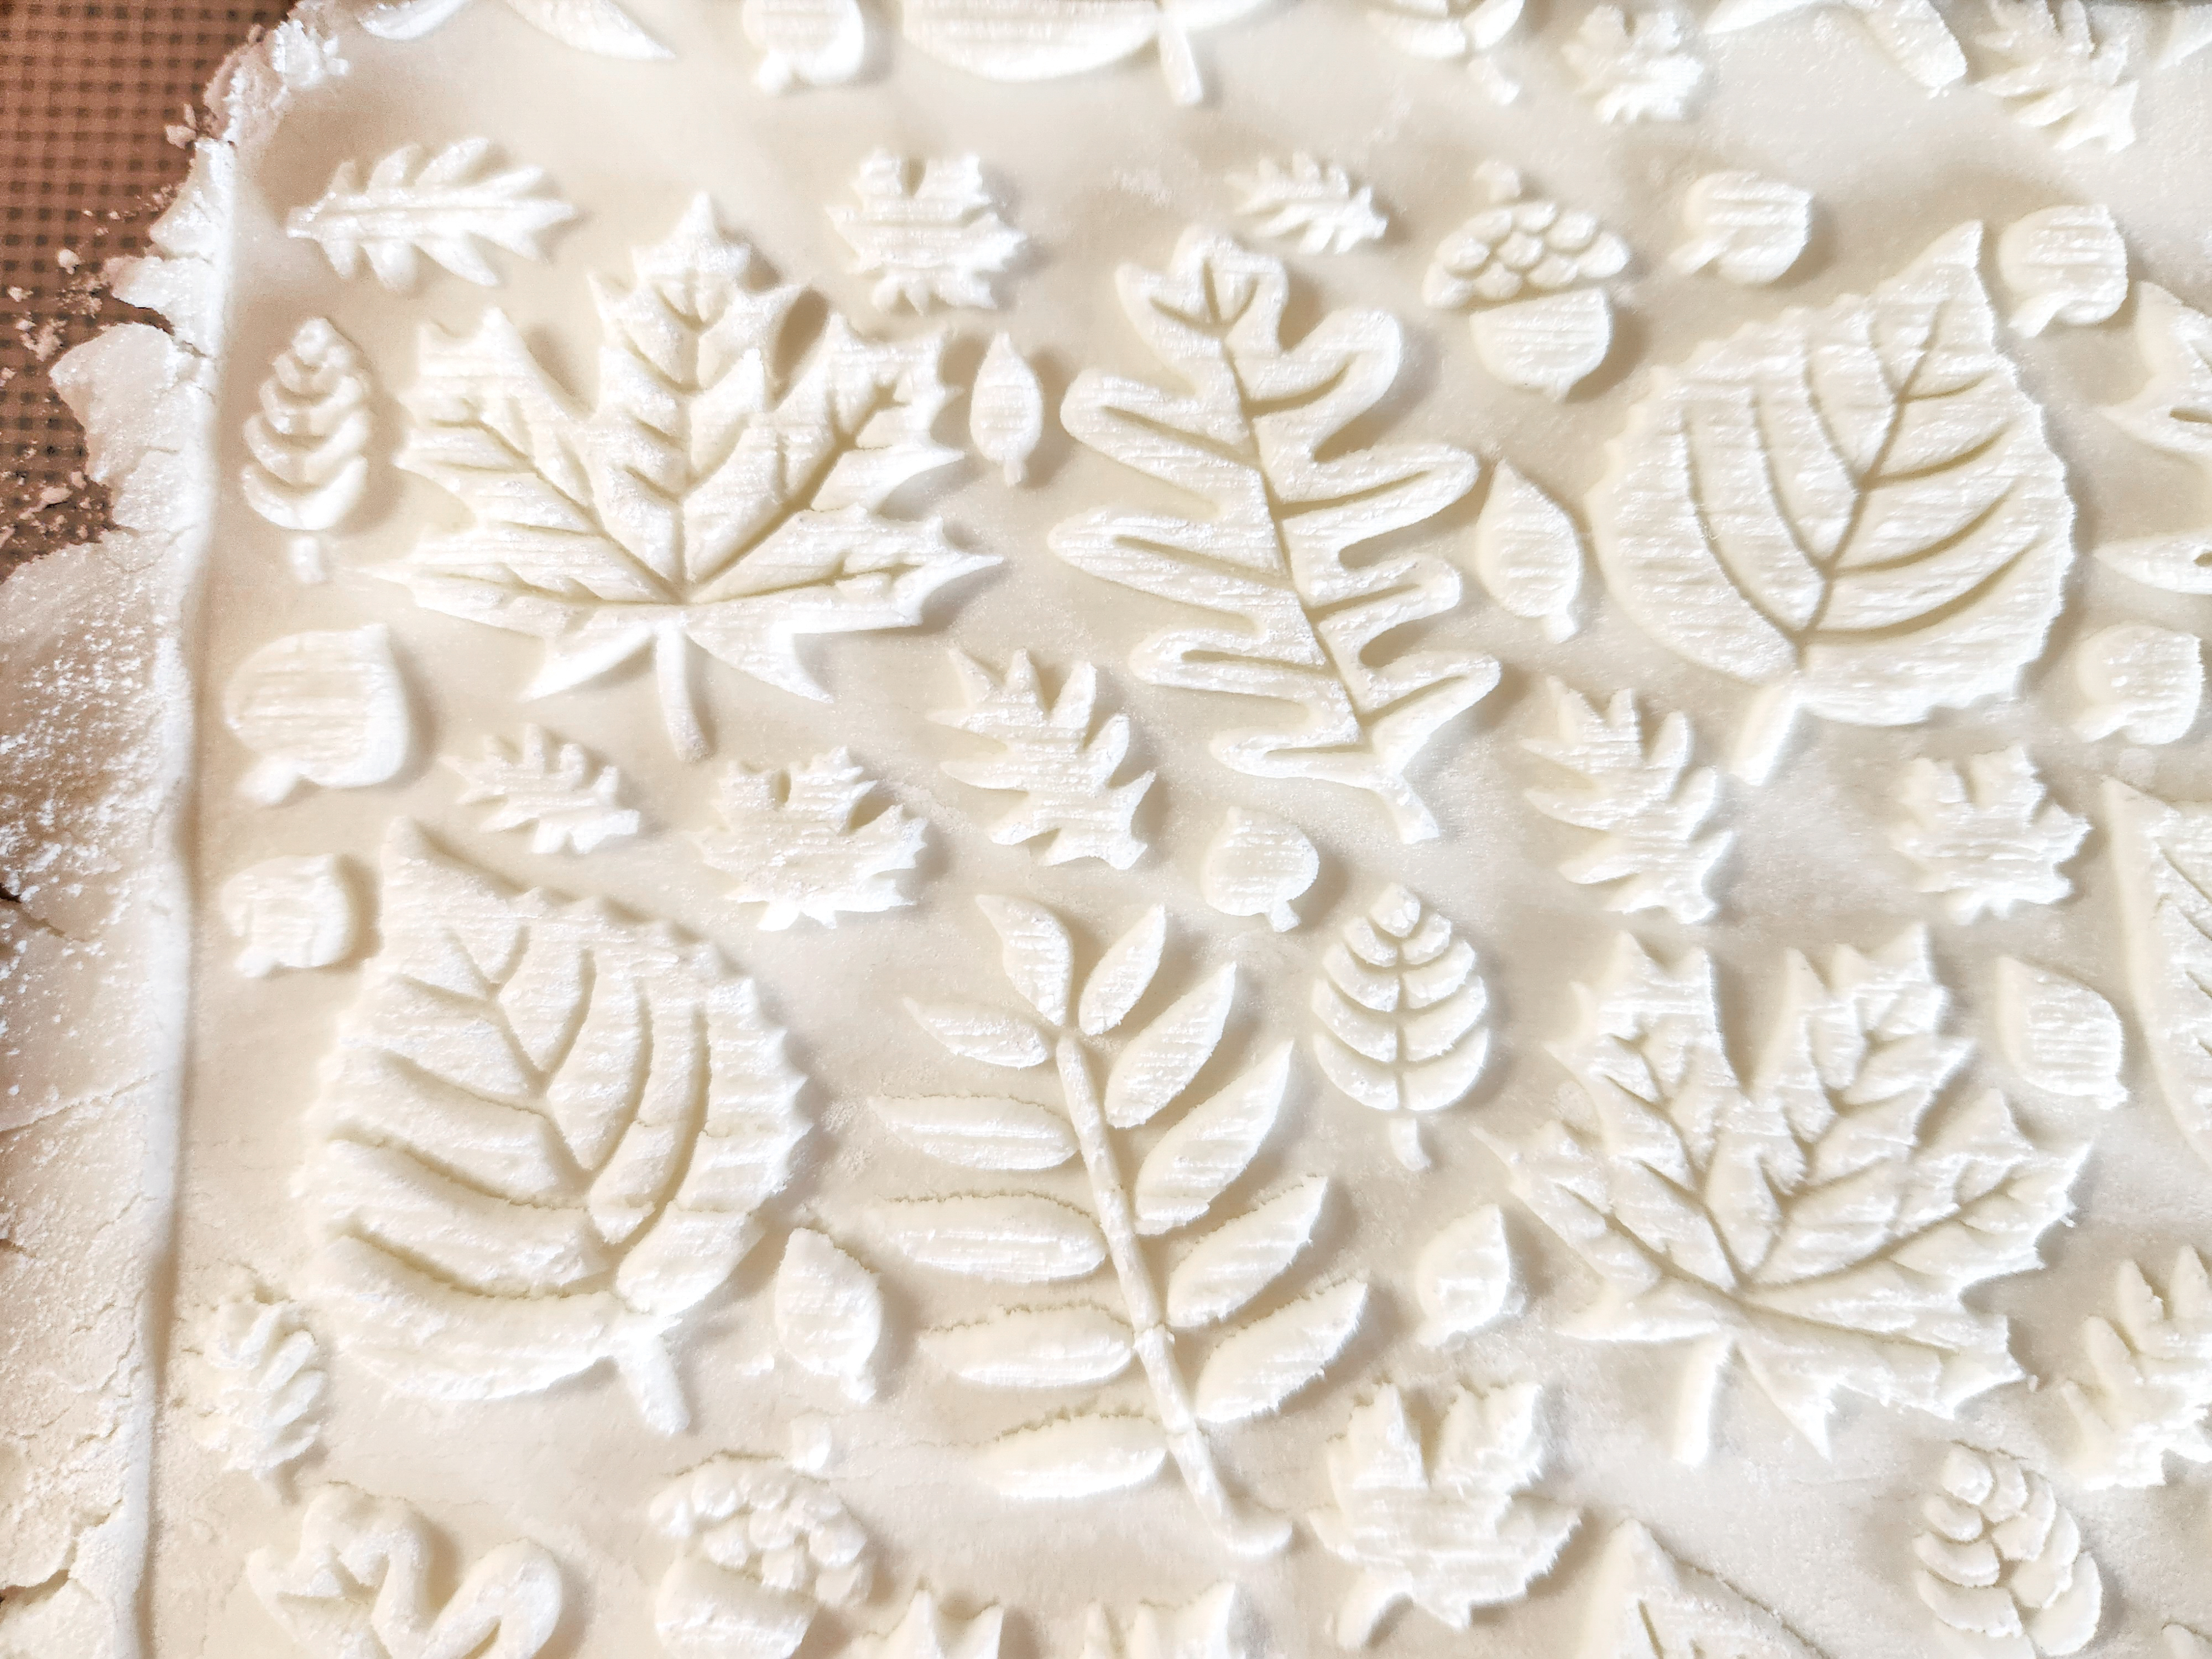
Use a round cookie cutter to make circles. The smallest of our round cookie cutters is just the right size (1 1/4 inch) and has cute fluted edges. Use powdered sugar on the spatula and silicone mat to make it slide under the circles more easily.
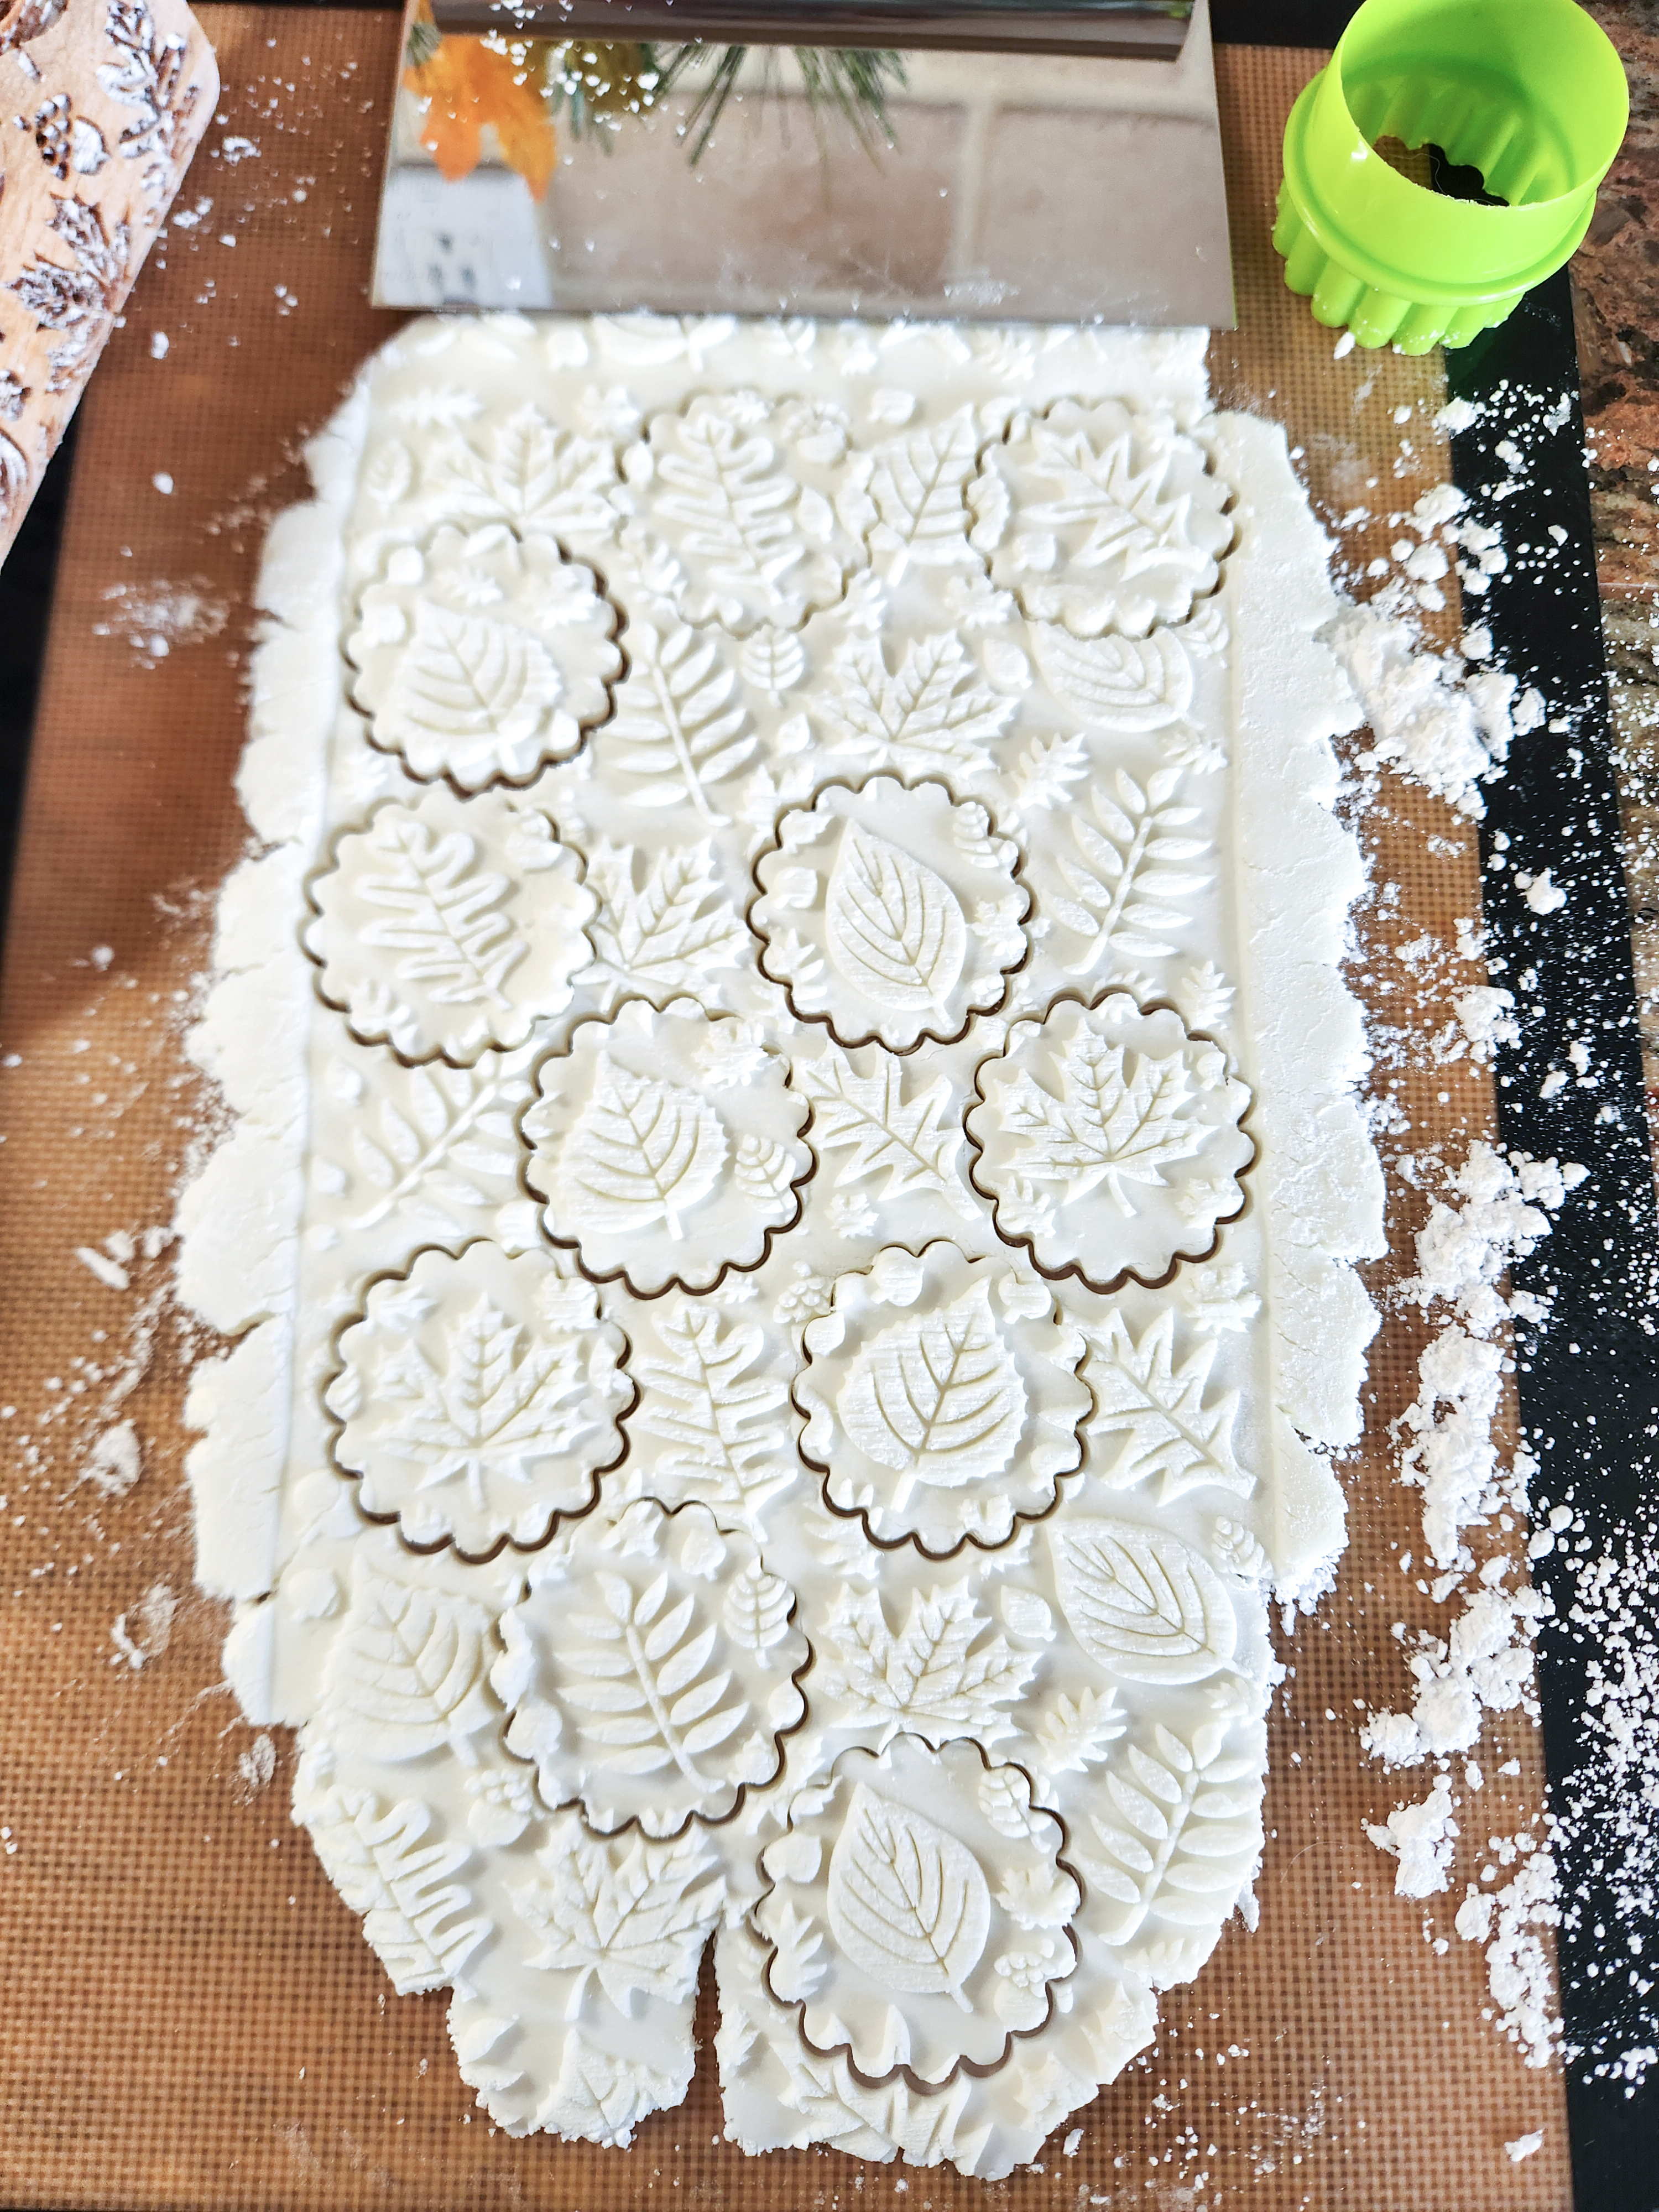
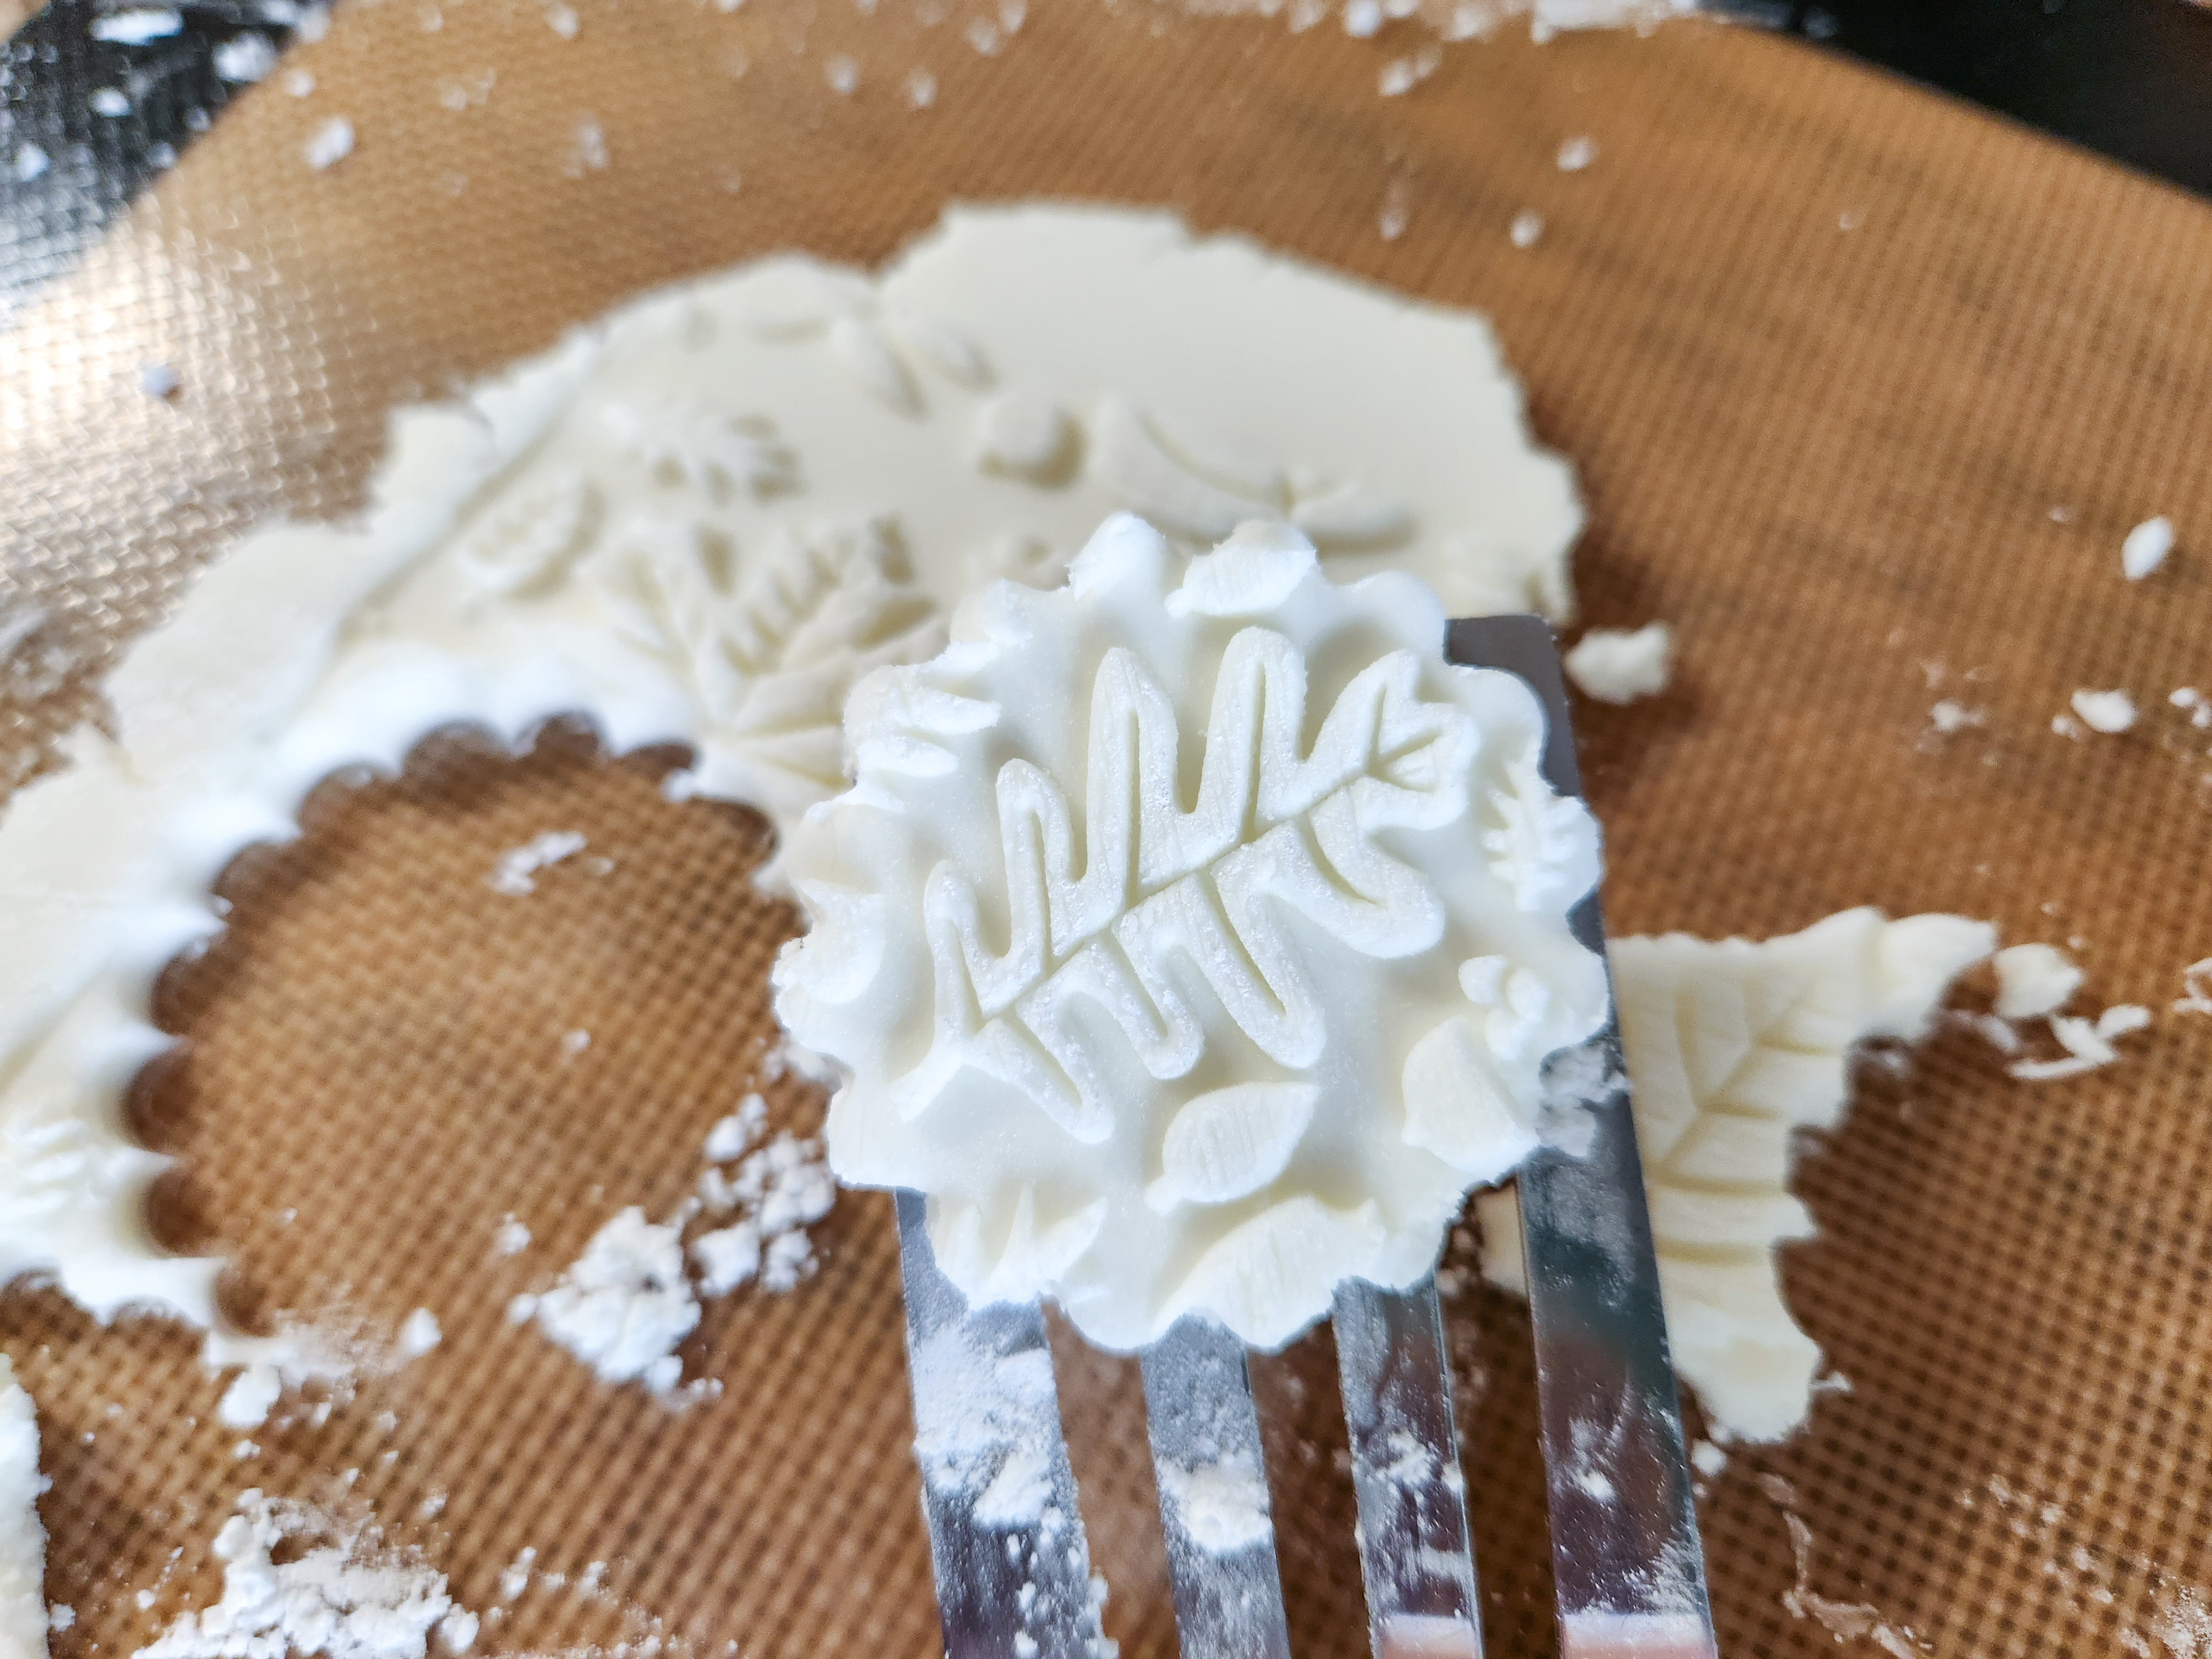
Set these mint pattie circles on a cooling/drying rack for a couple of hours until they feel quite dry and you can pick them up without them bending.
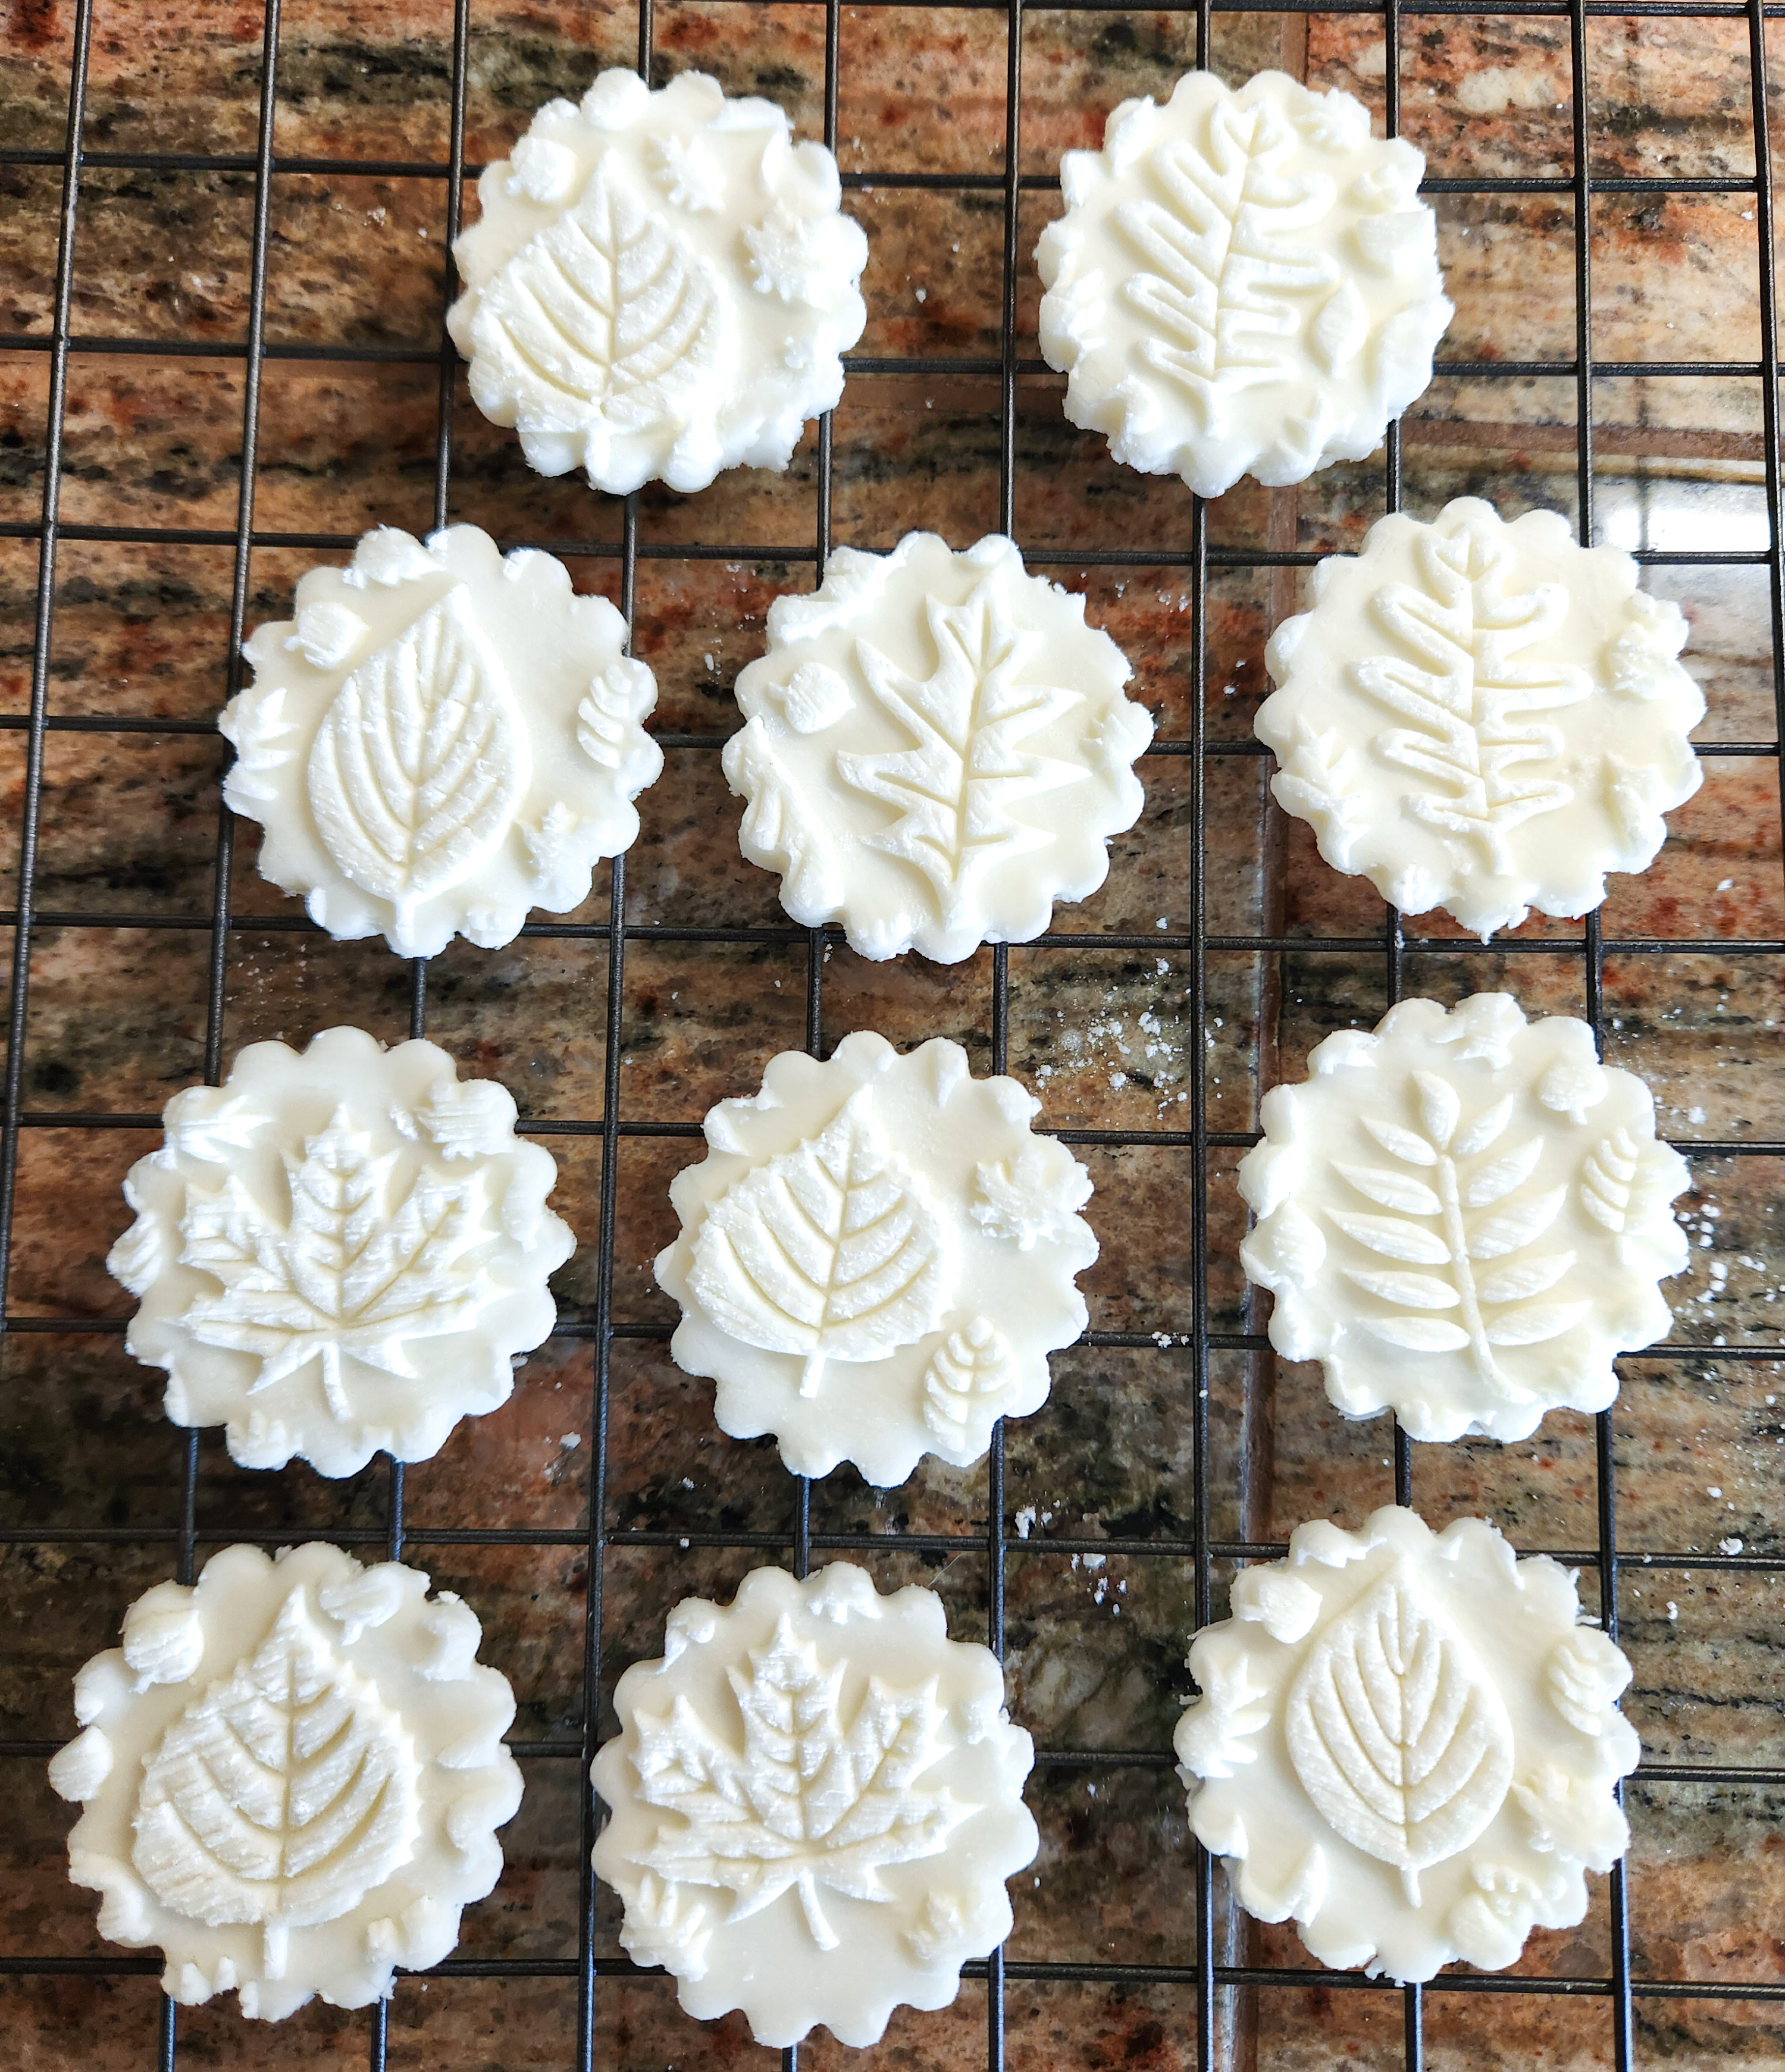
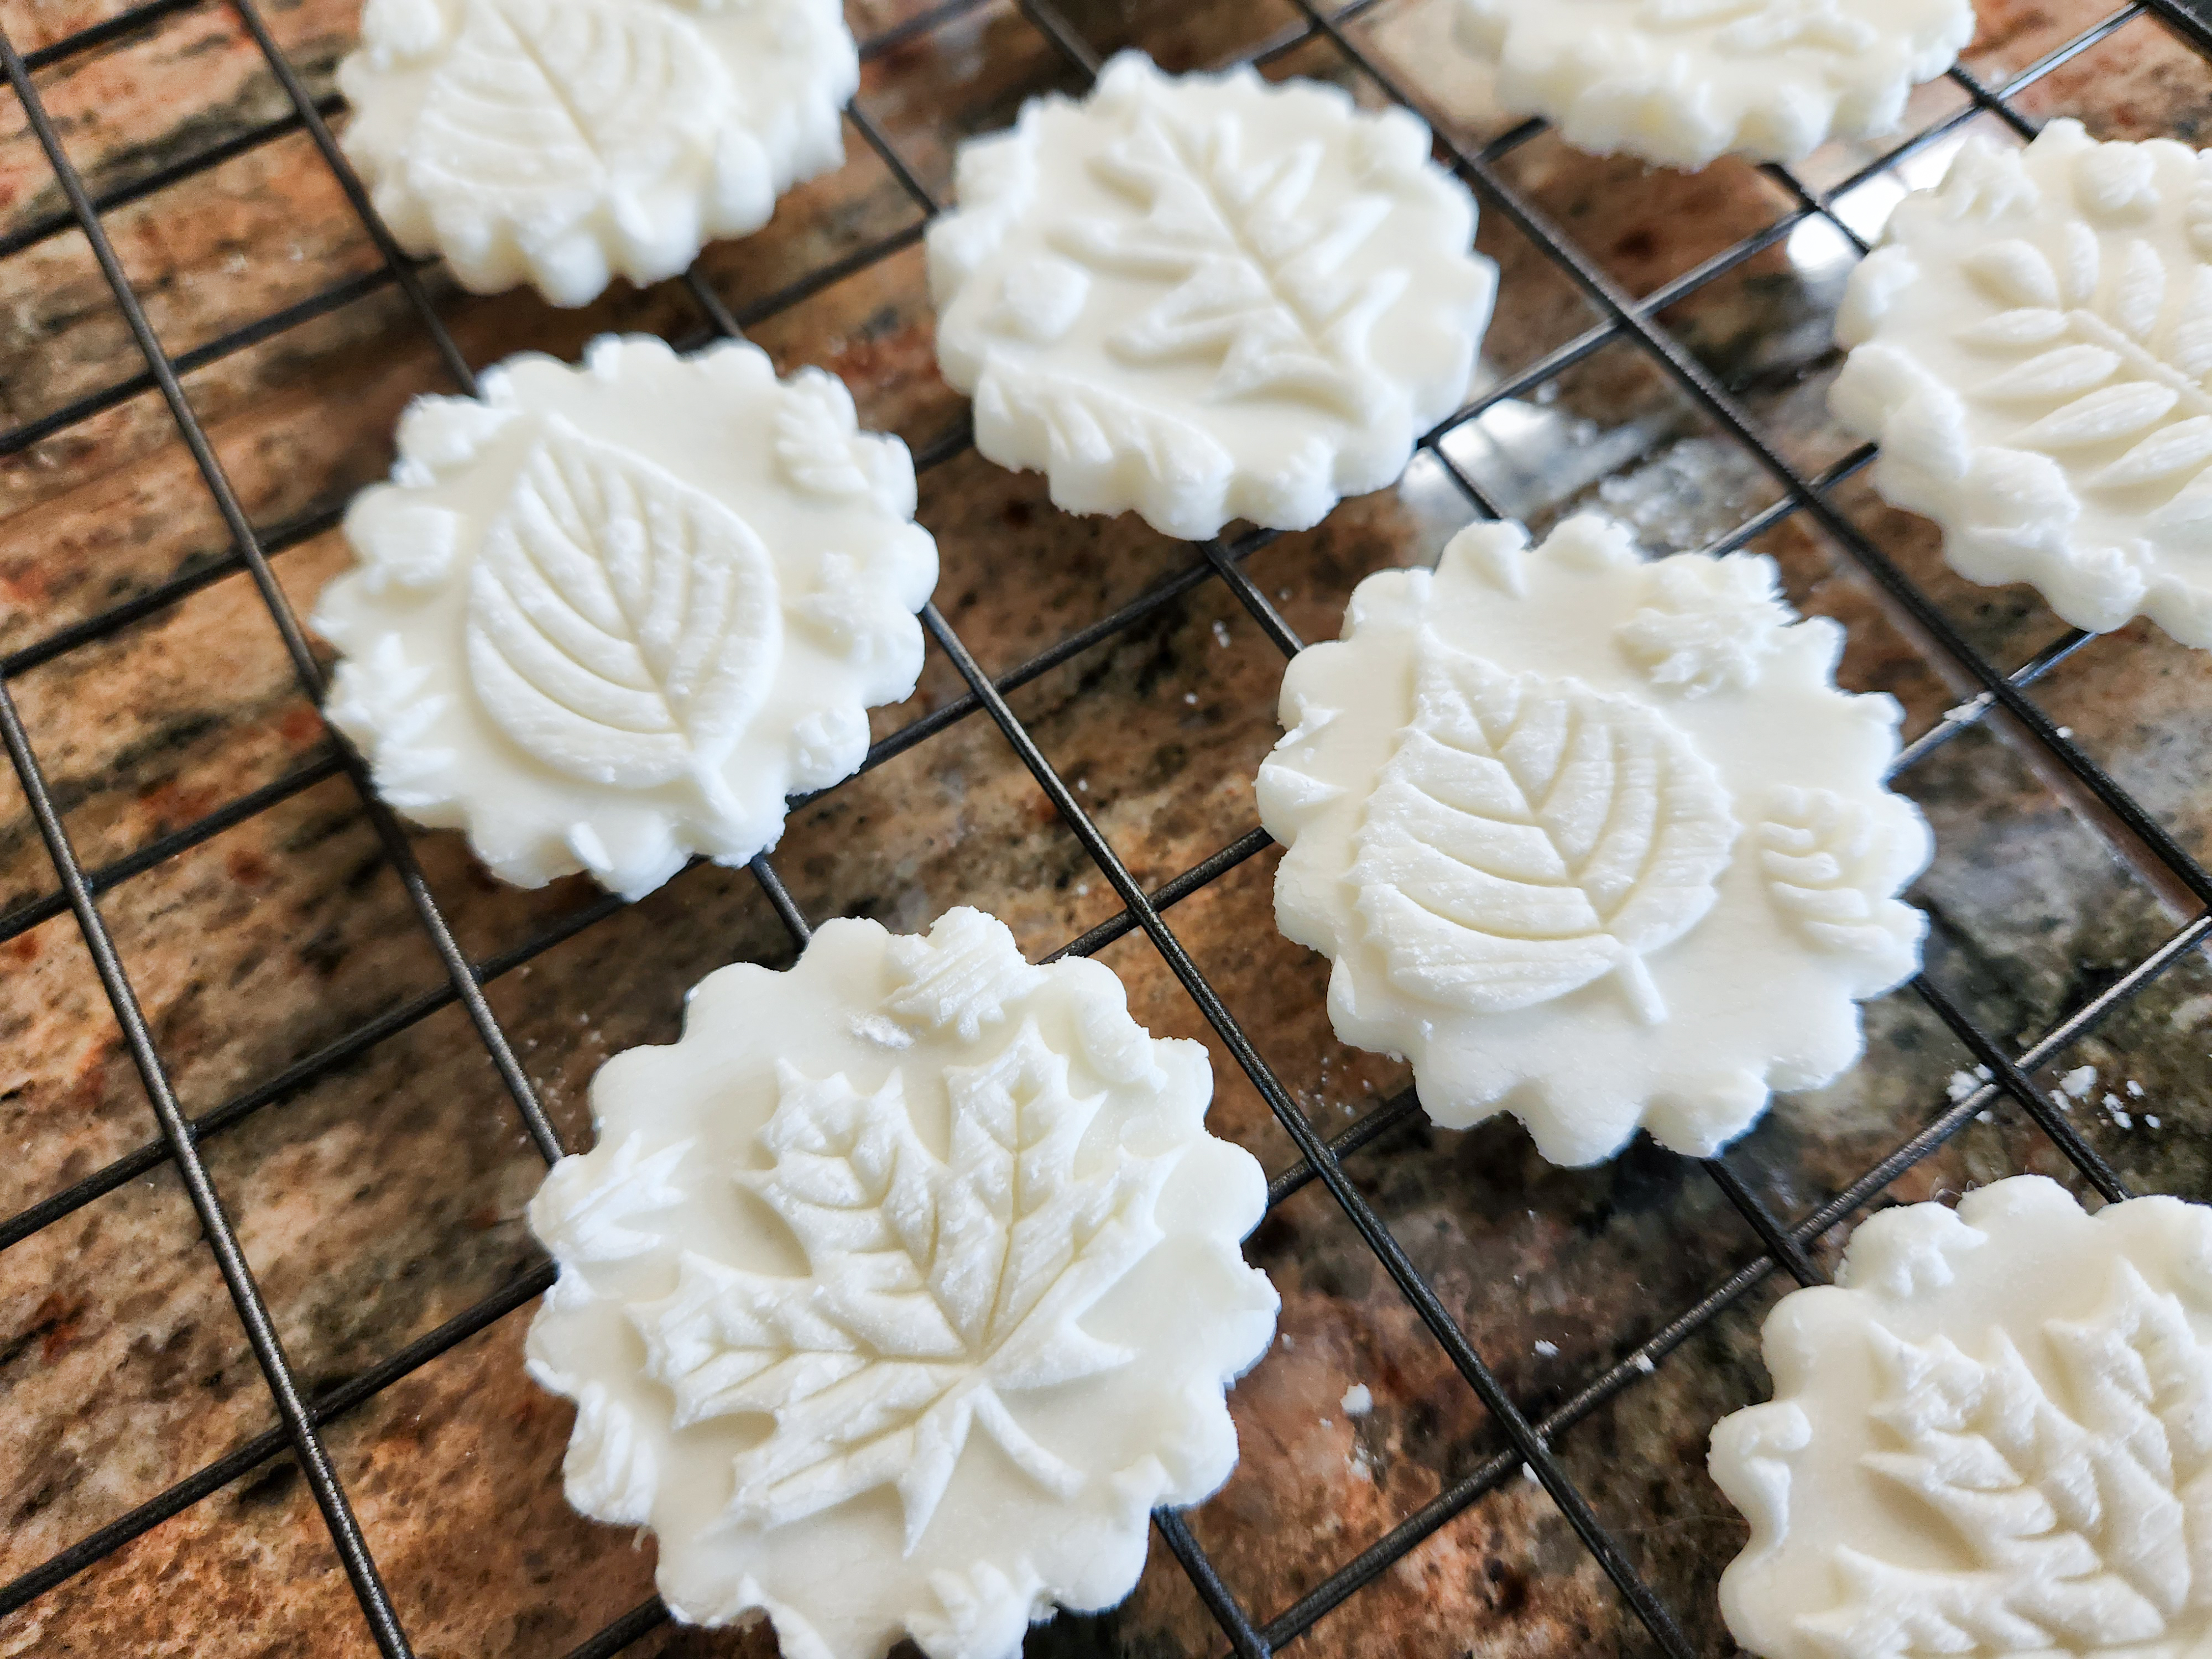
When they are fully dry and sturdy enough to handle, dip them in melted chocolate! Use candy melts/melting wafers, they go by various names. They make a hard-setting coating that is excellent for coating candies like these. Follow the directions on the bag. You can use a microwave, double-boiler, or an electric melter/warmer (that’s what I used, as I’m obsessed with chocolate fondue!) I tried both generic and name-brand wafers for this project and I have to admit, the Ghirardelli candy melts were outstanding. I used milk chocolate, but most of you would probably prefer the more traditional dark chocolate for these peppermint patties. I’m such a rebel. 😉
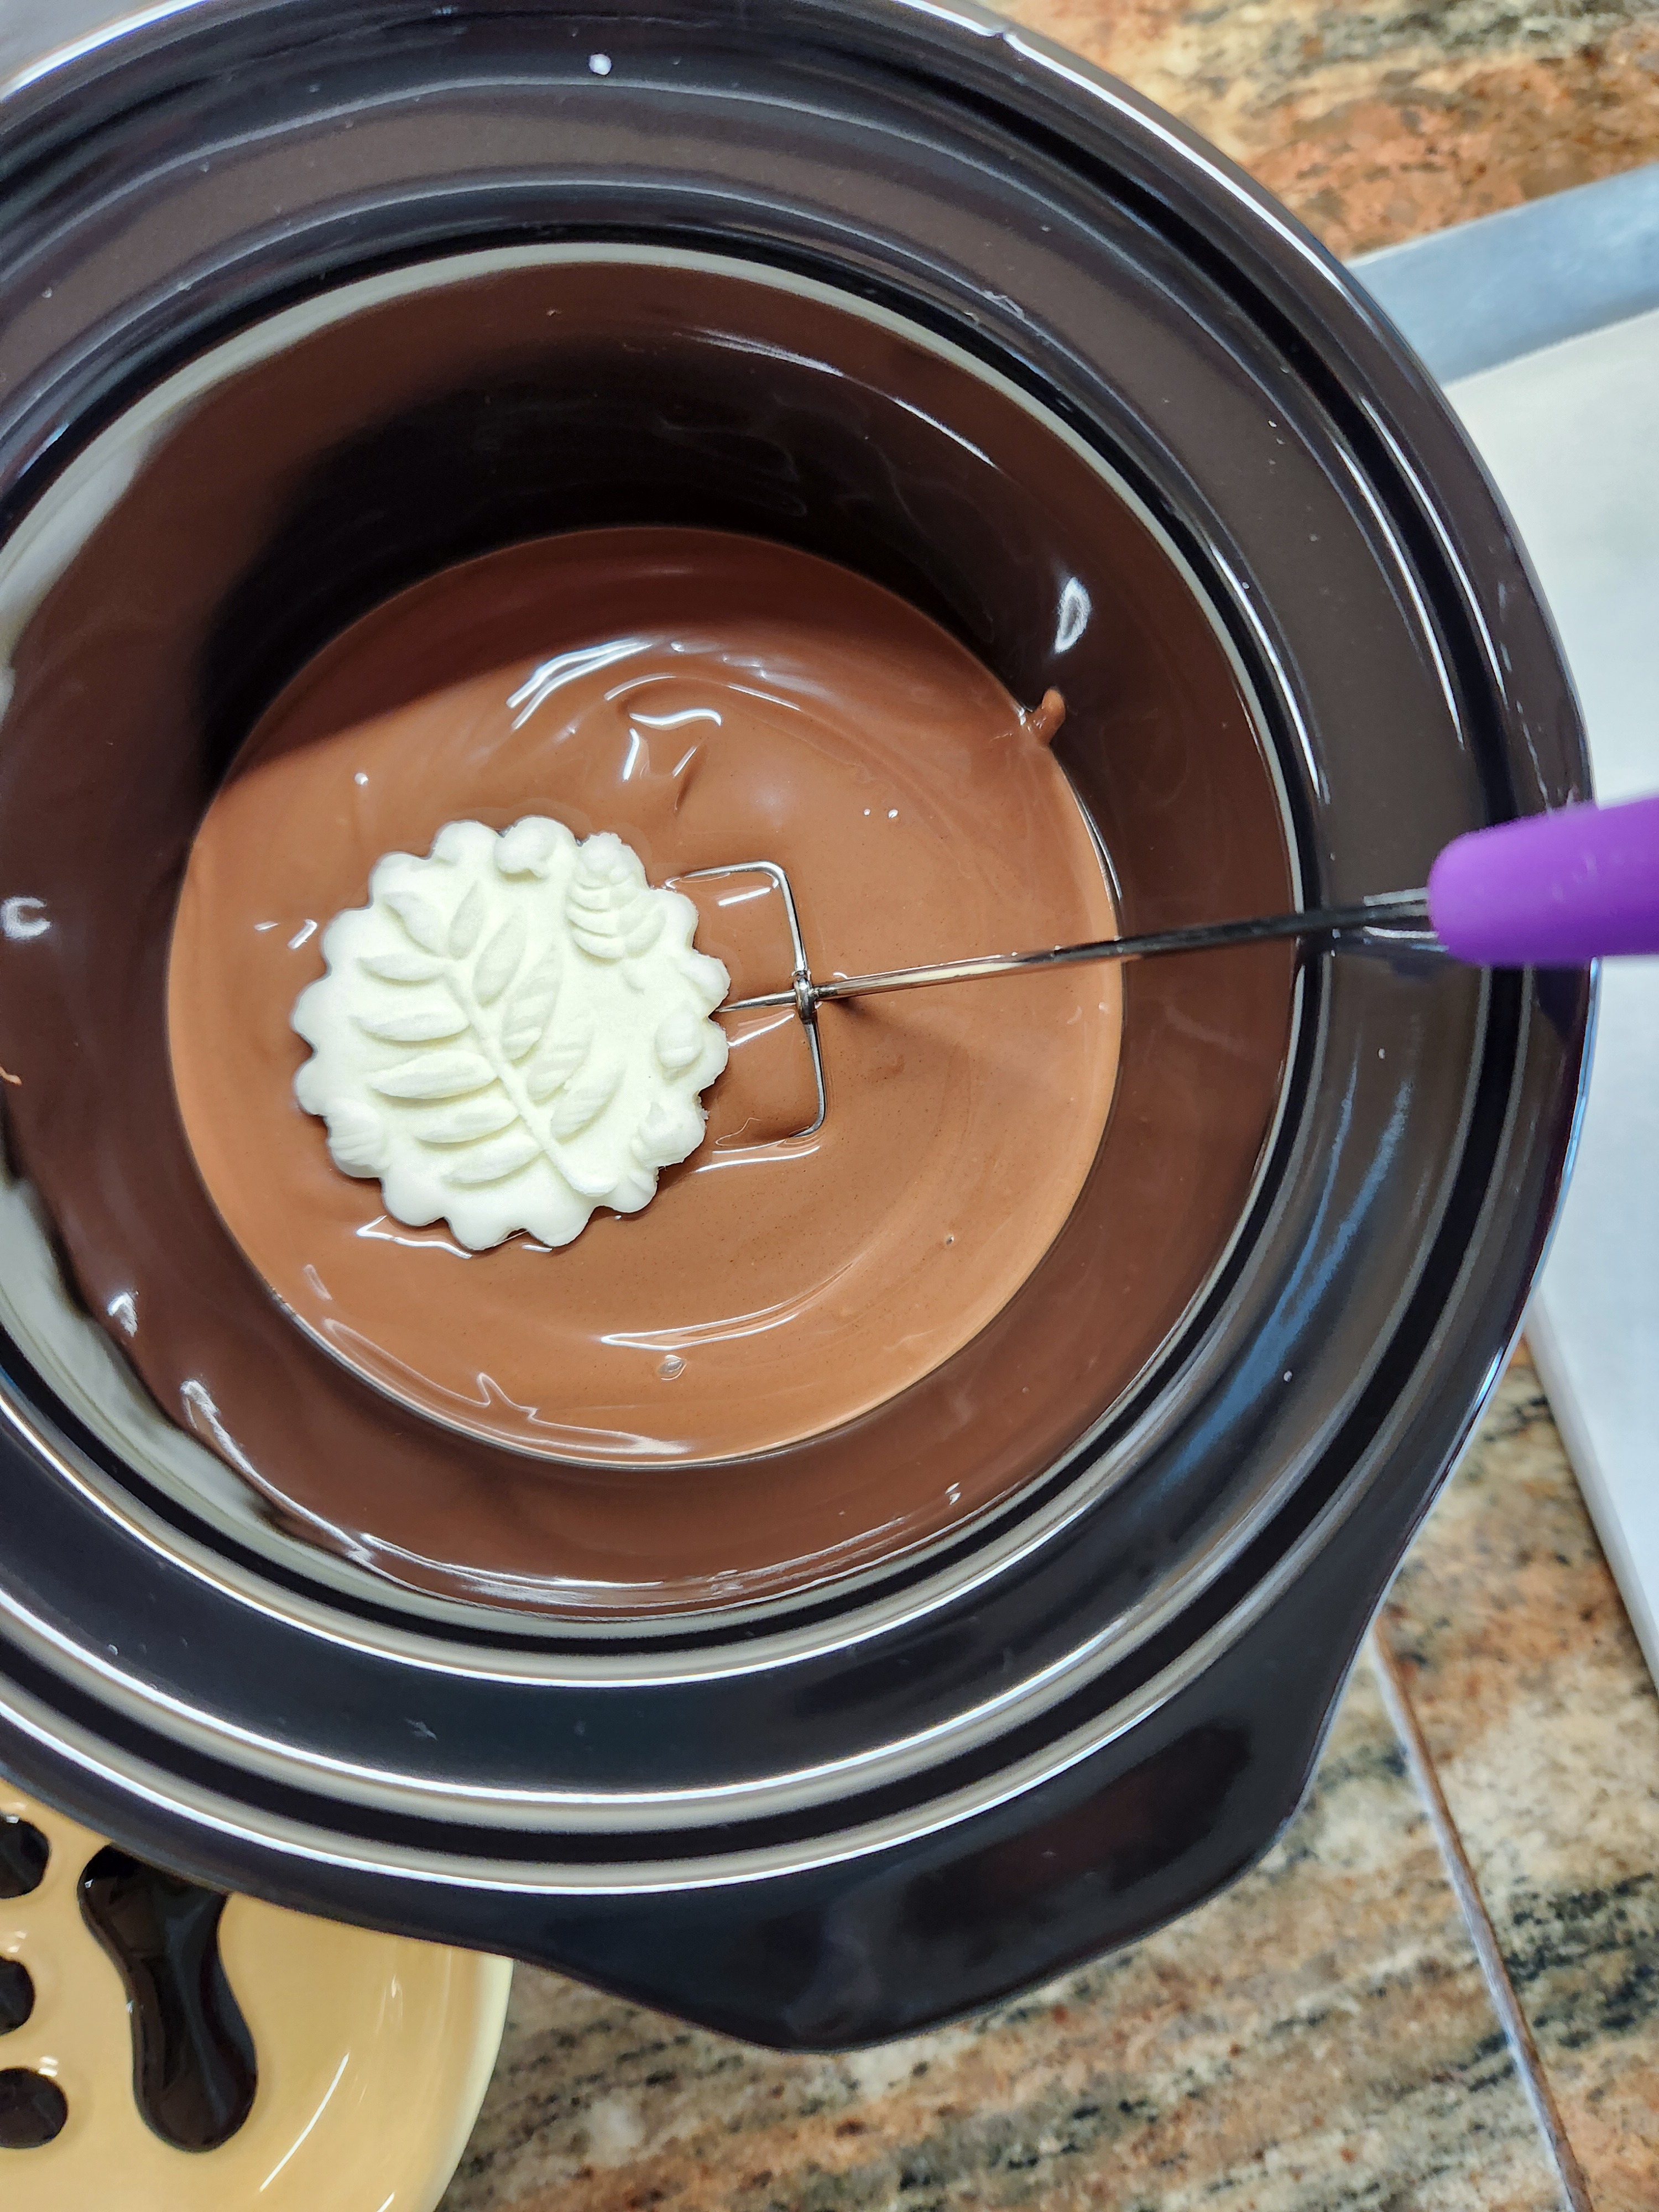
Use a dipping fork or any wide fork to lower the patties into the melted chocolate.
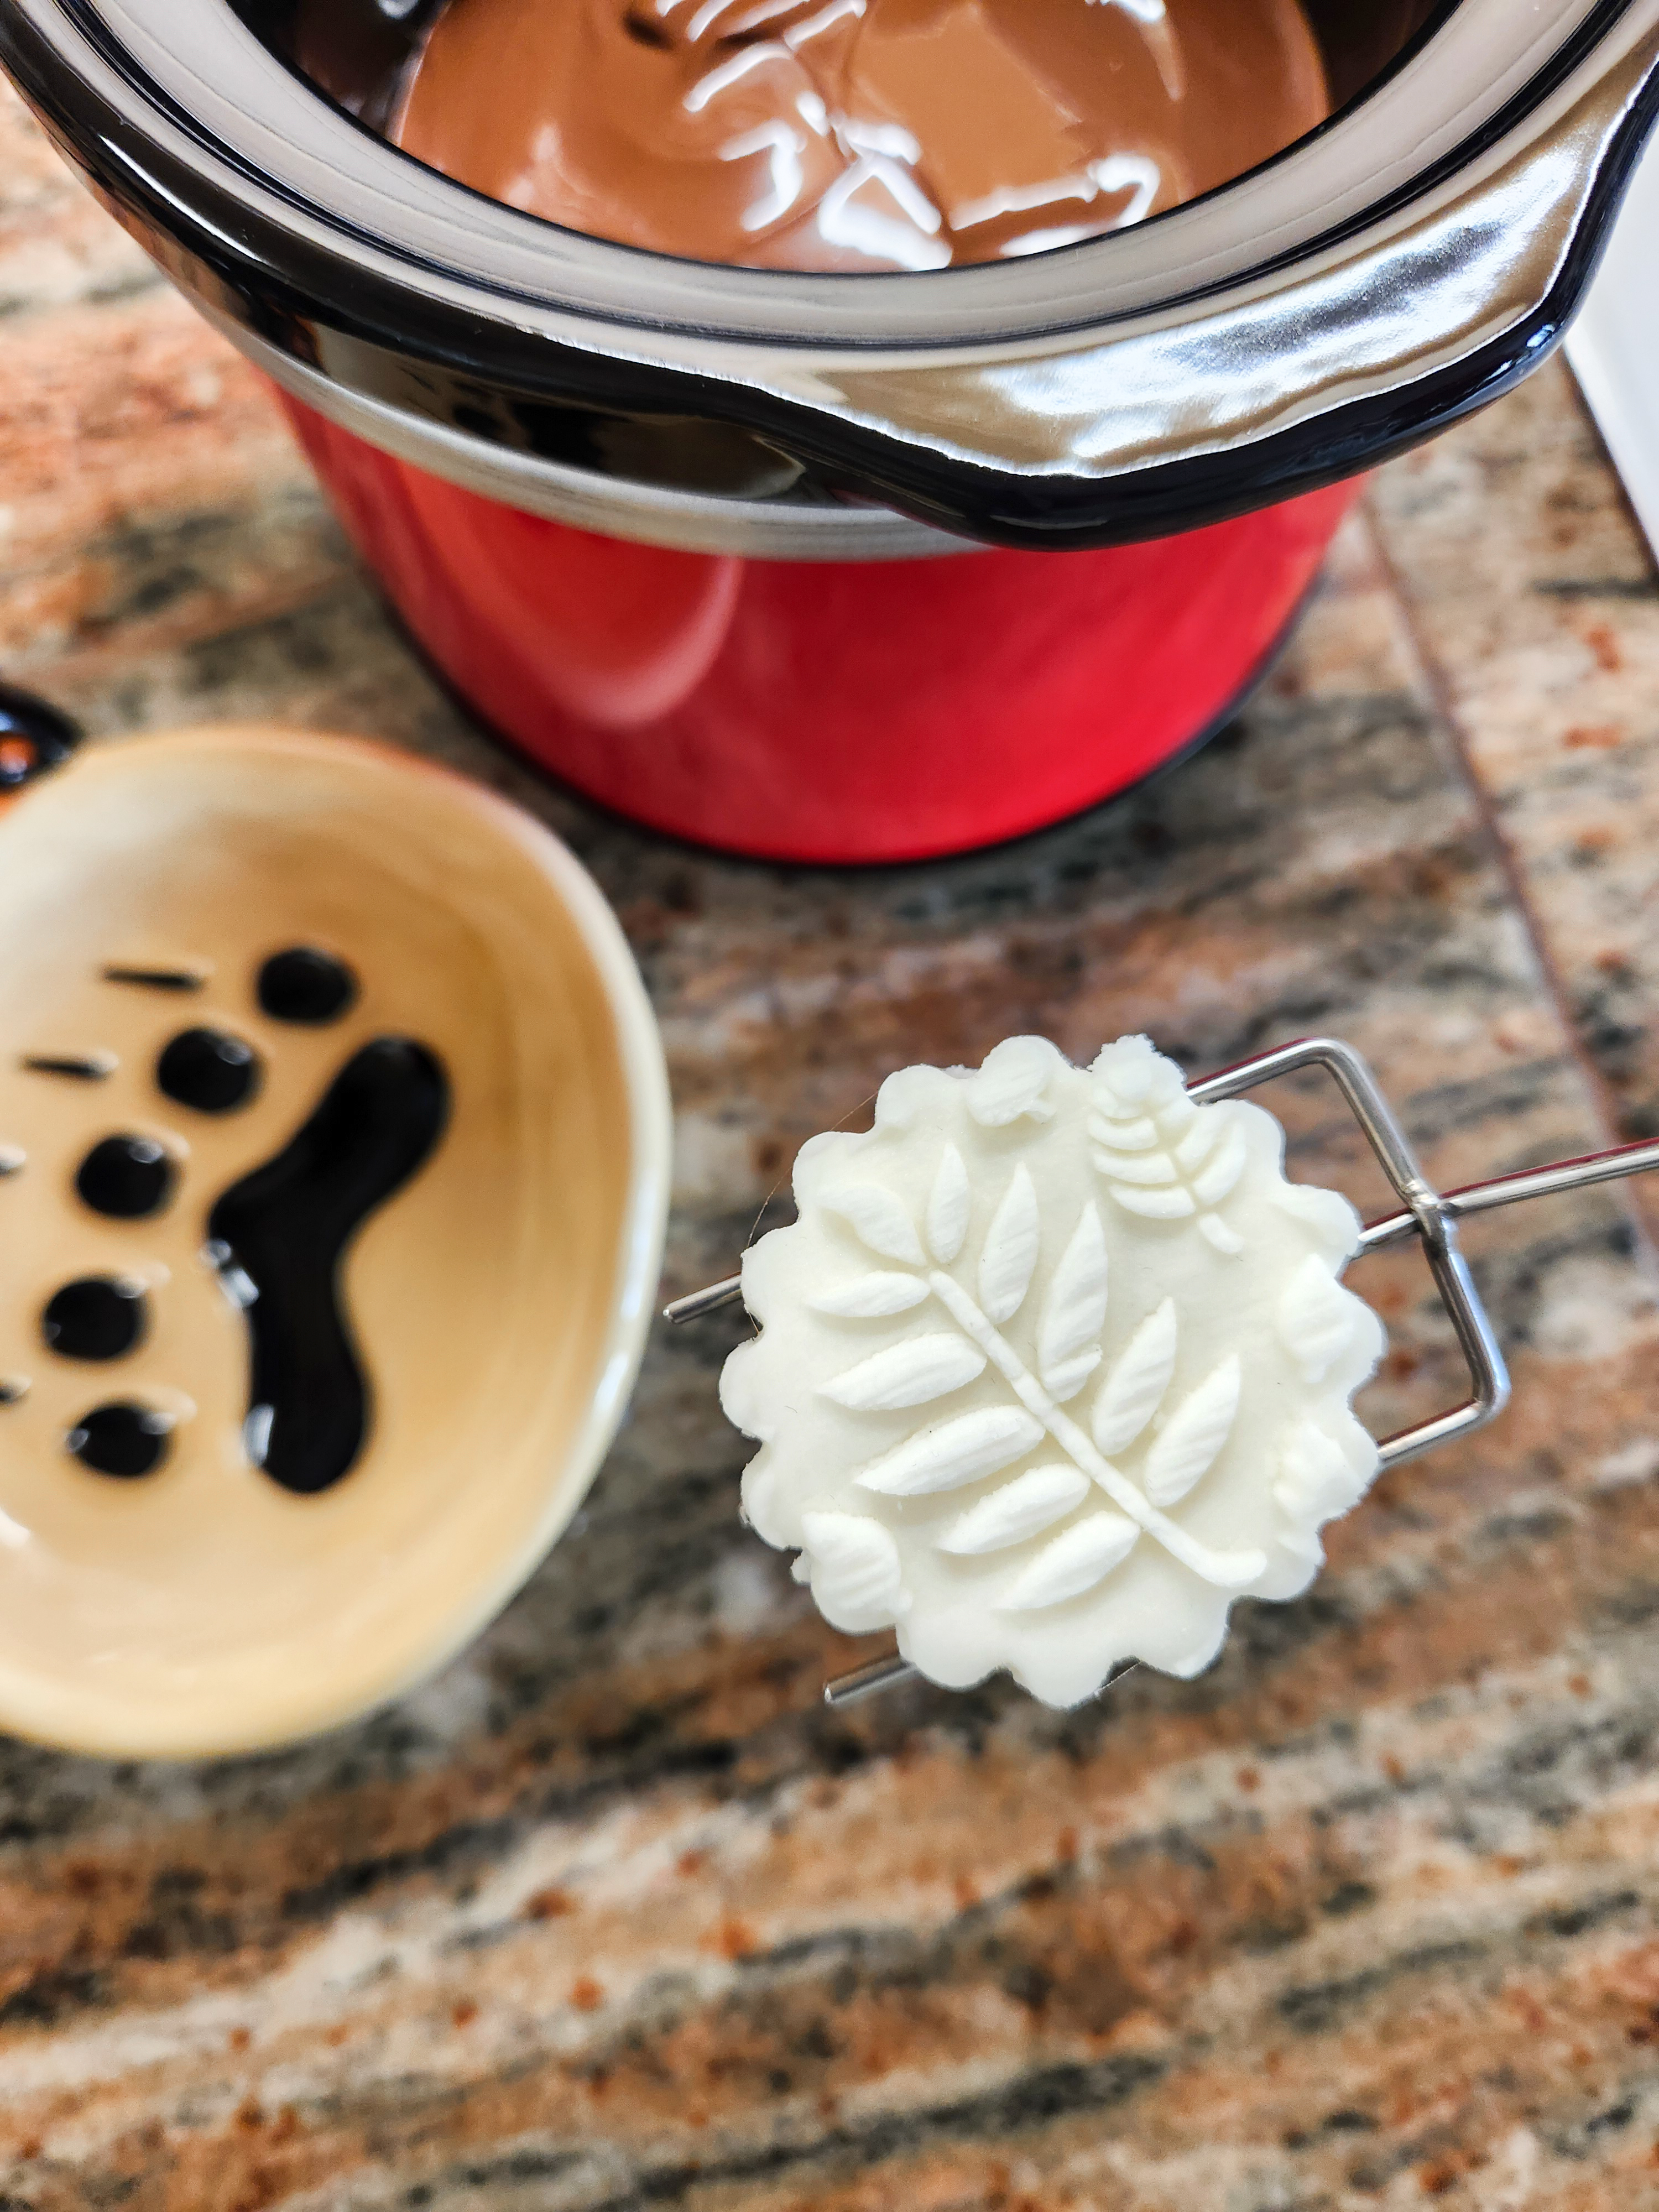
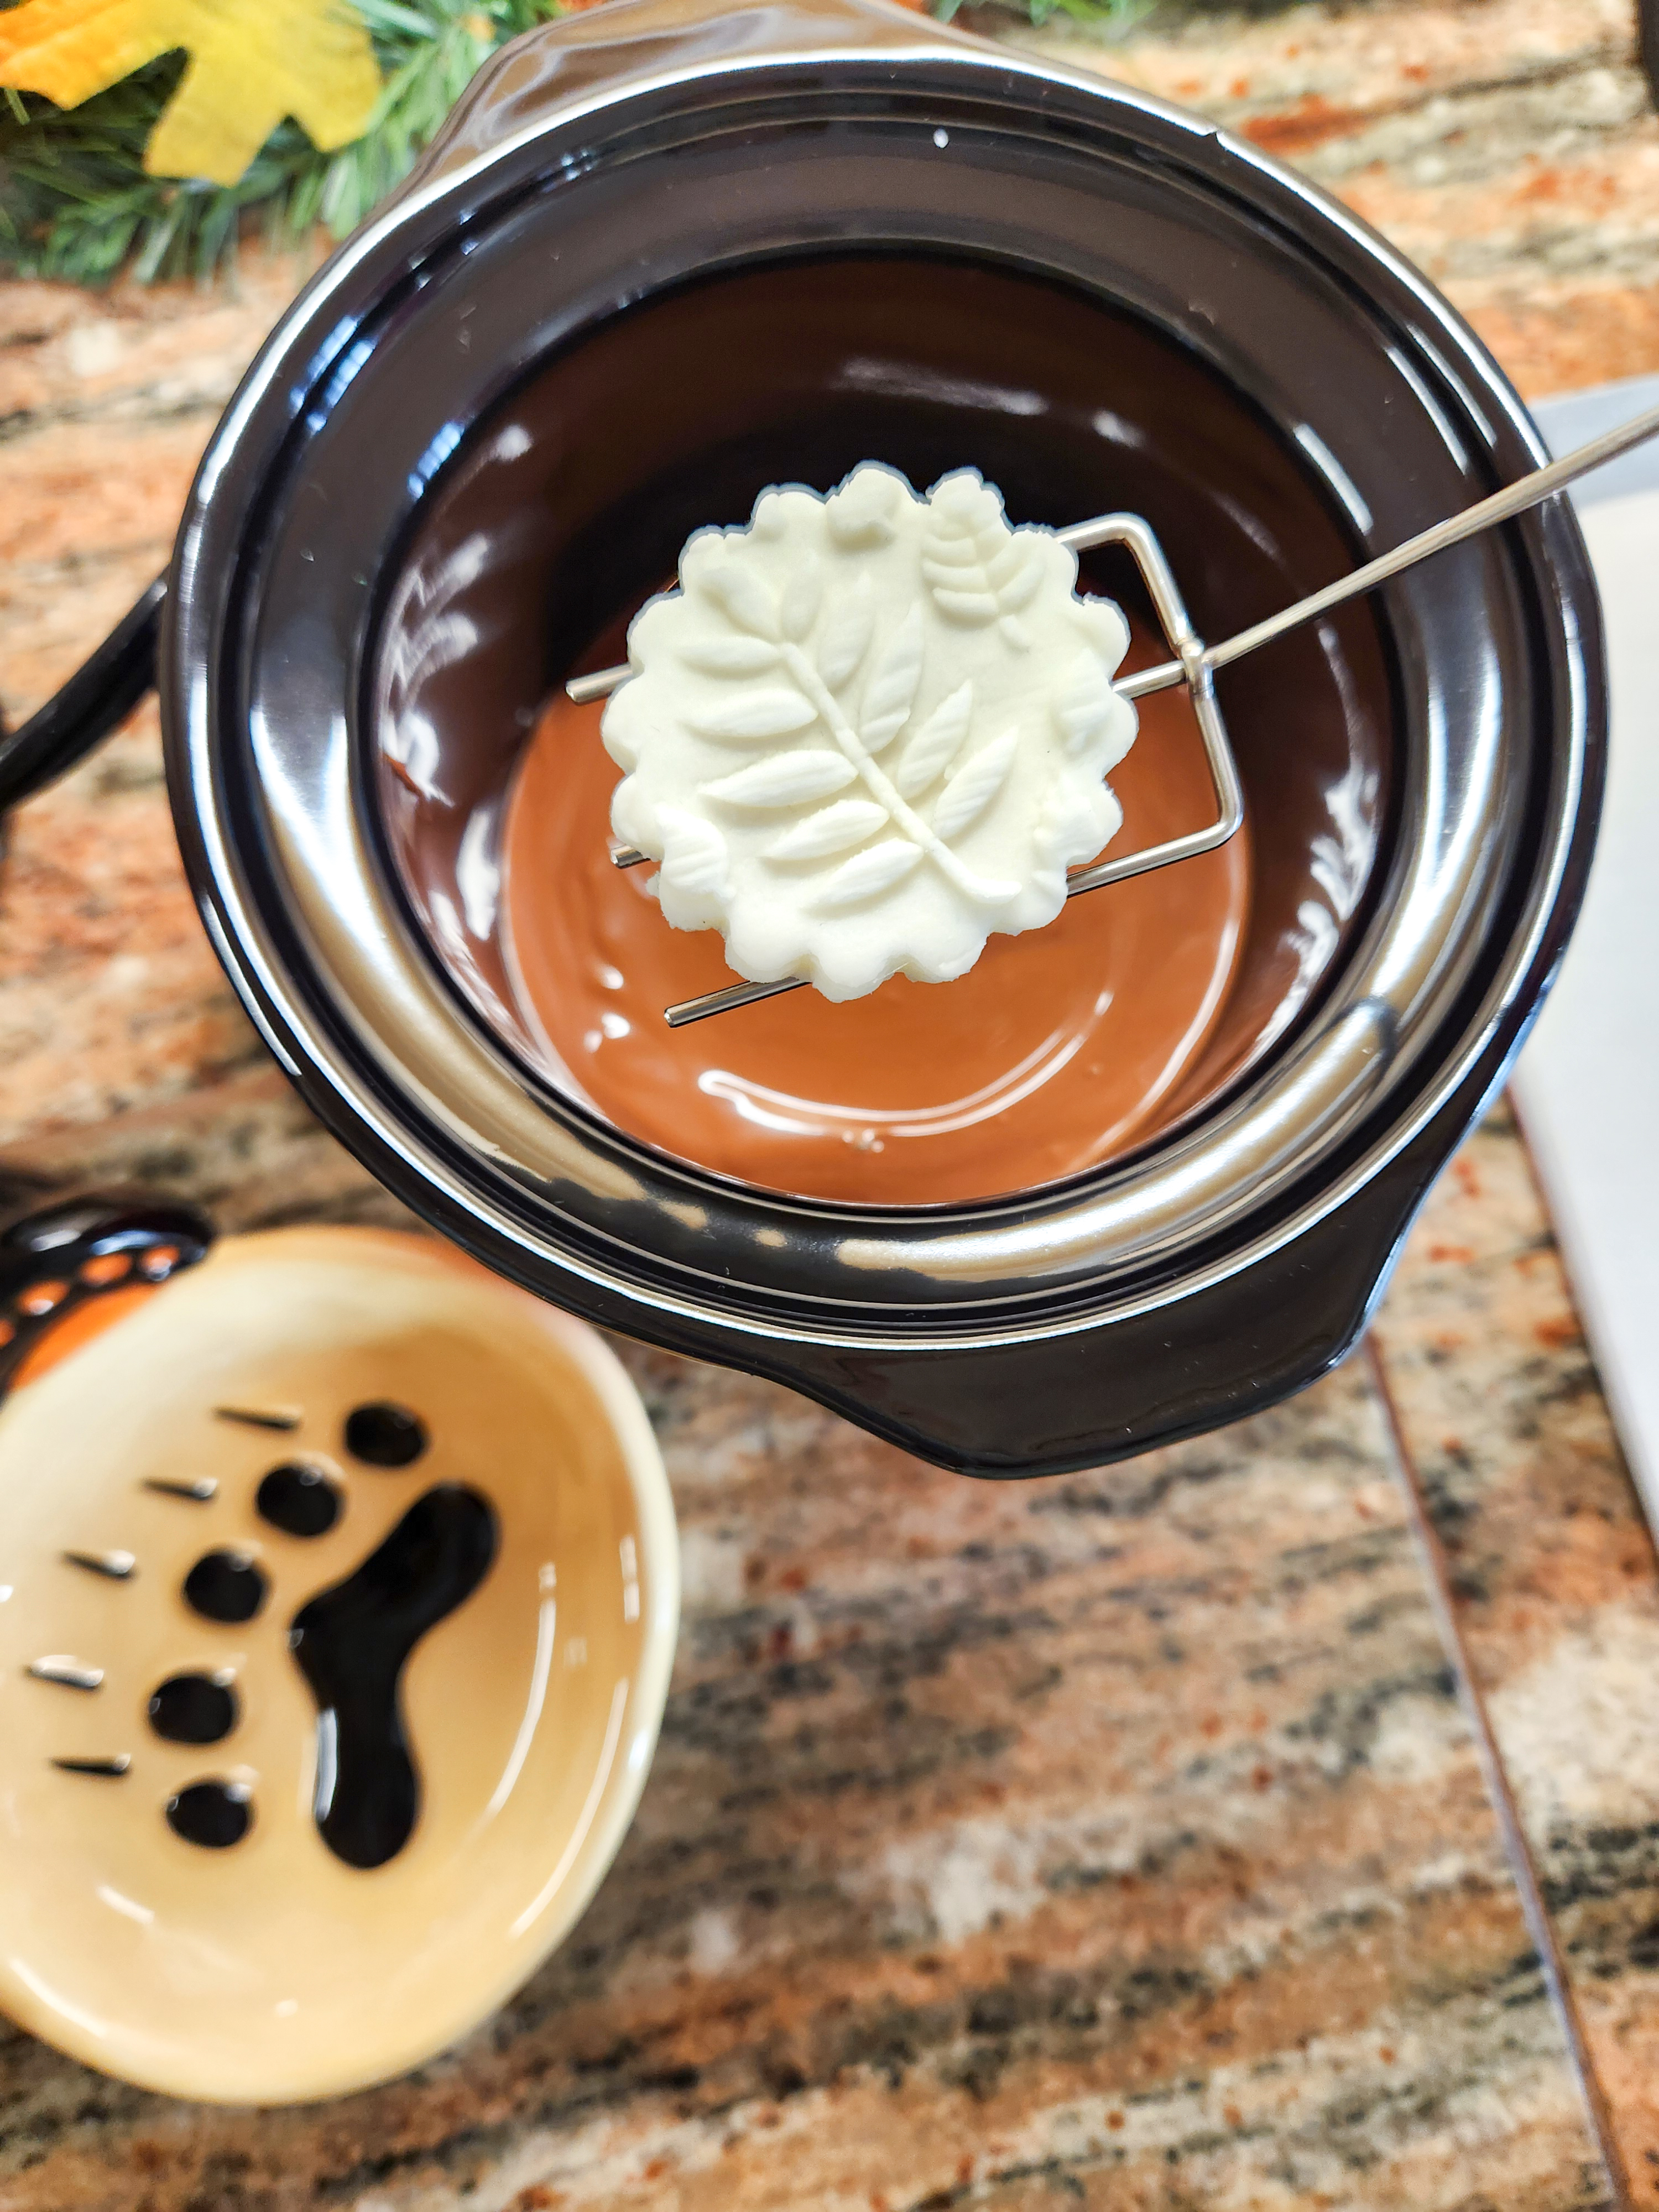
Cover them as much as you like. To coat one edge I simply put a finger against the top of the pattie and tilted it into the chocolate. After dipping, gently scrape the bottom against a plate edge to remove any excess chocolate.
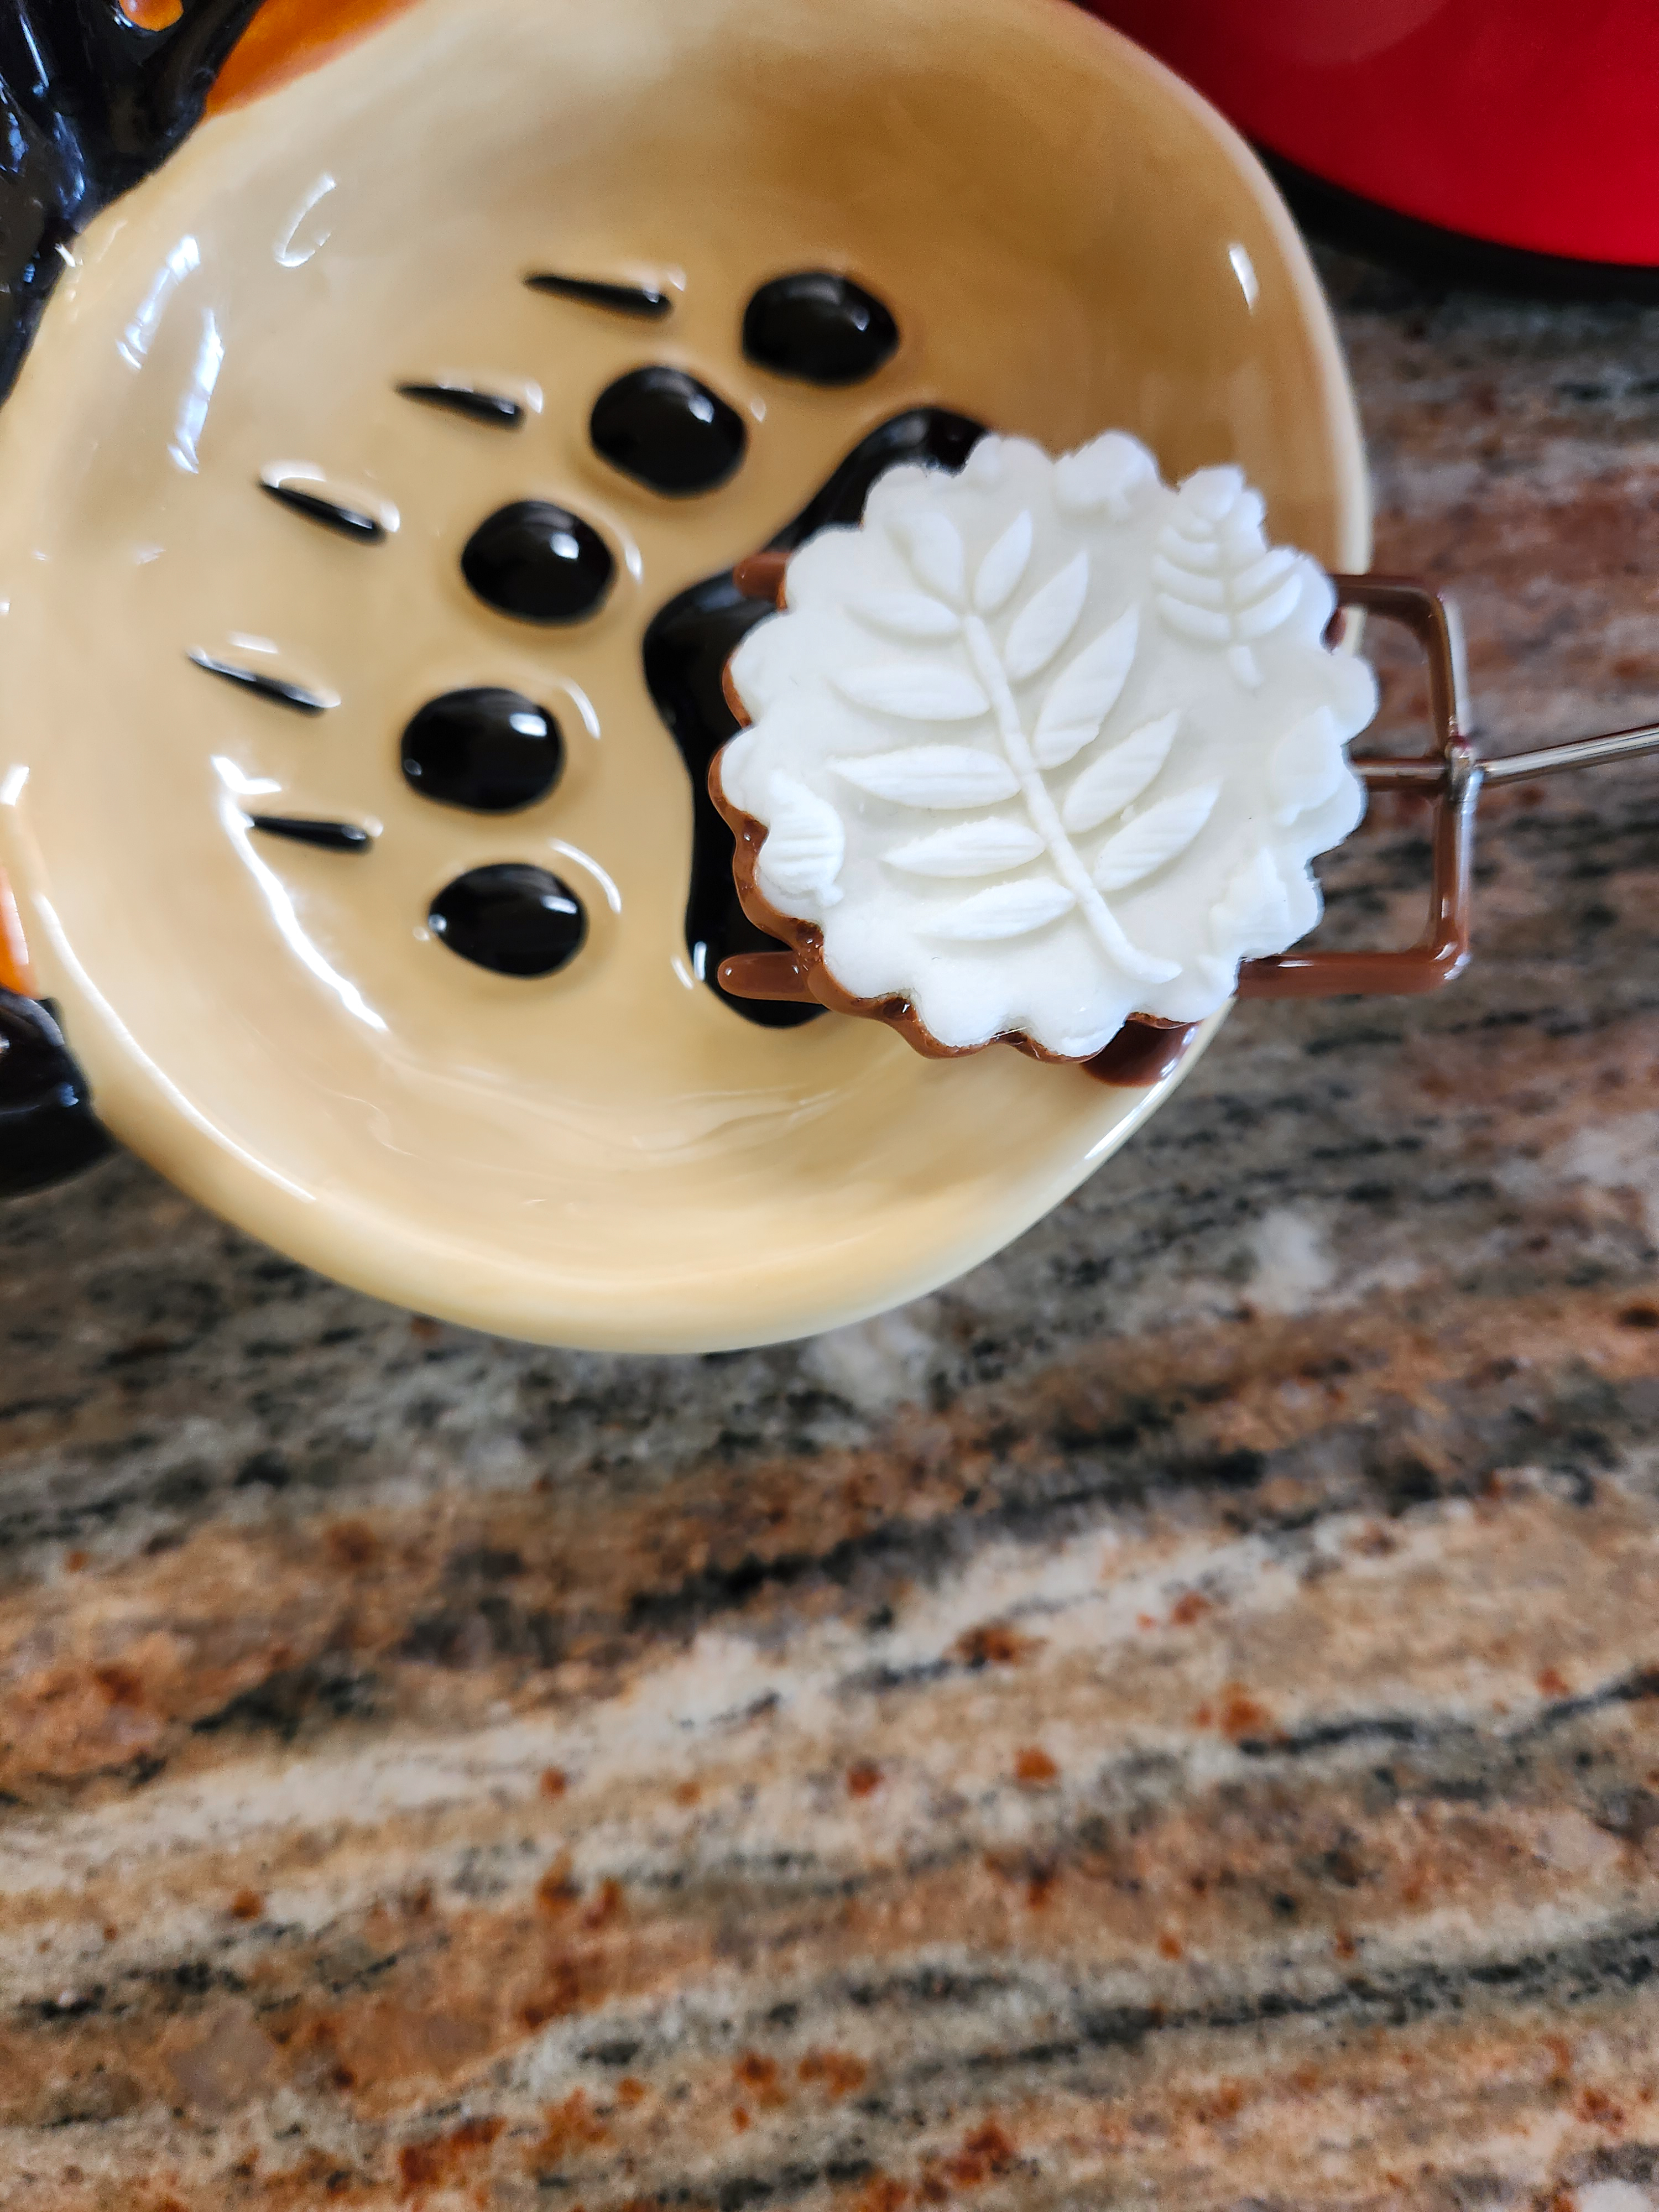
Place the dipped patties onto waxed or parchment paper. Then place them in the refrigerator for at least 15 minutes to harden the chocolate.
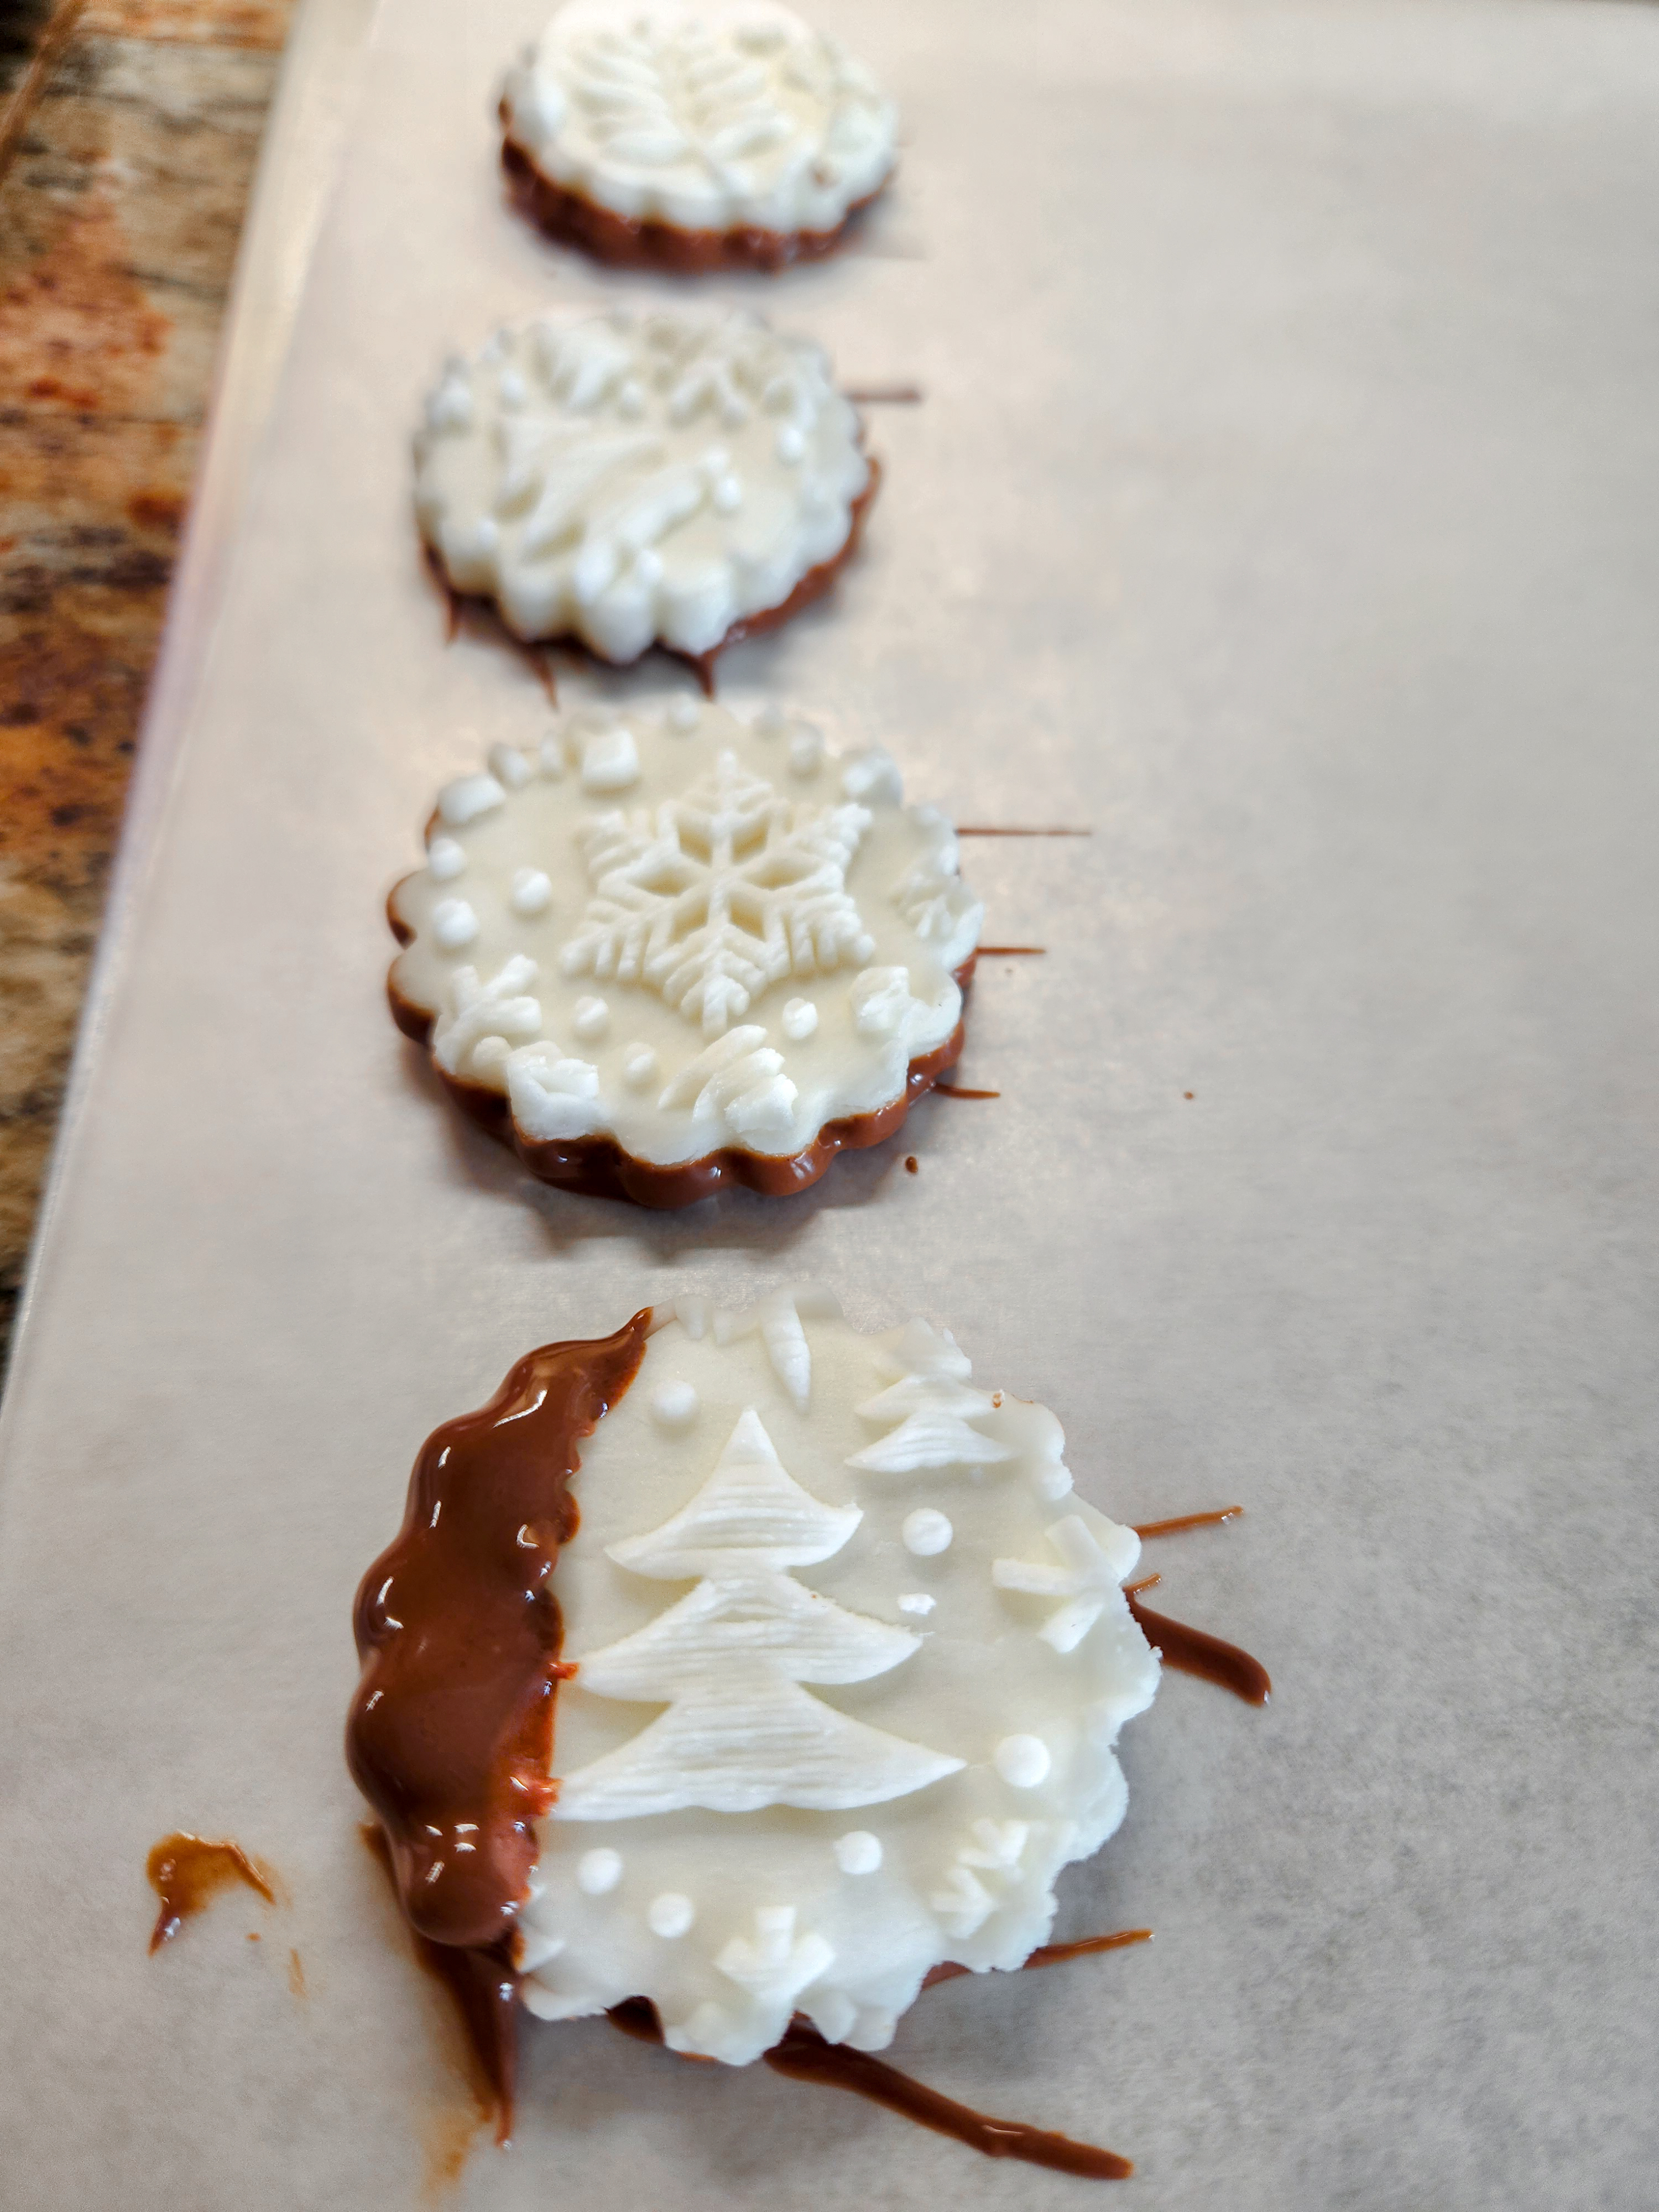
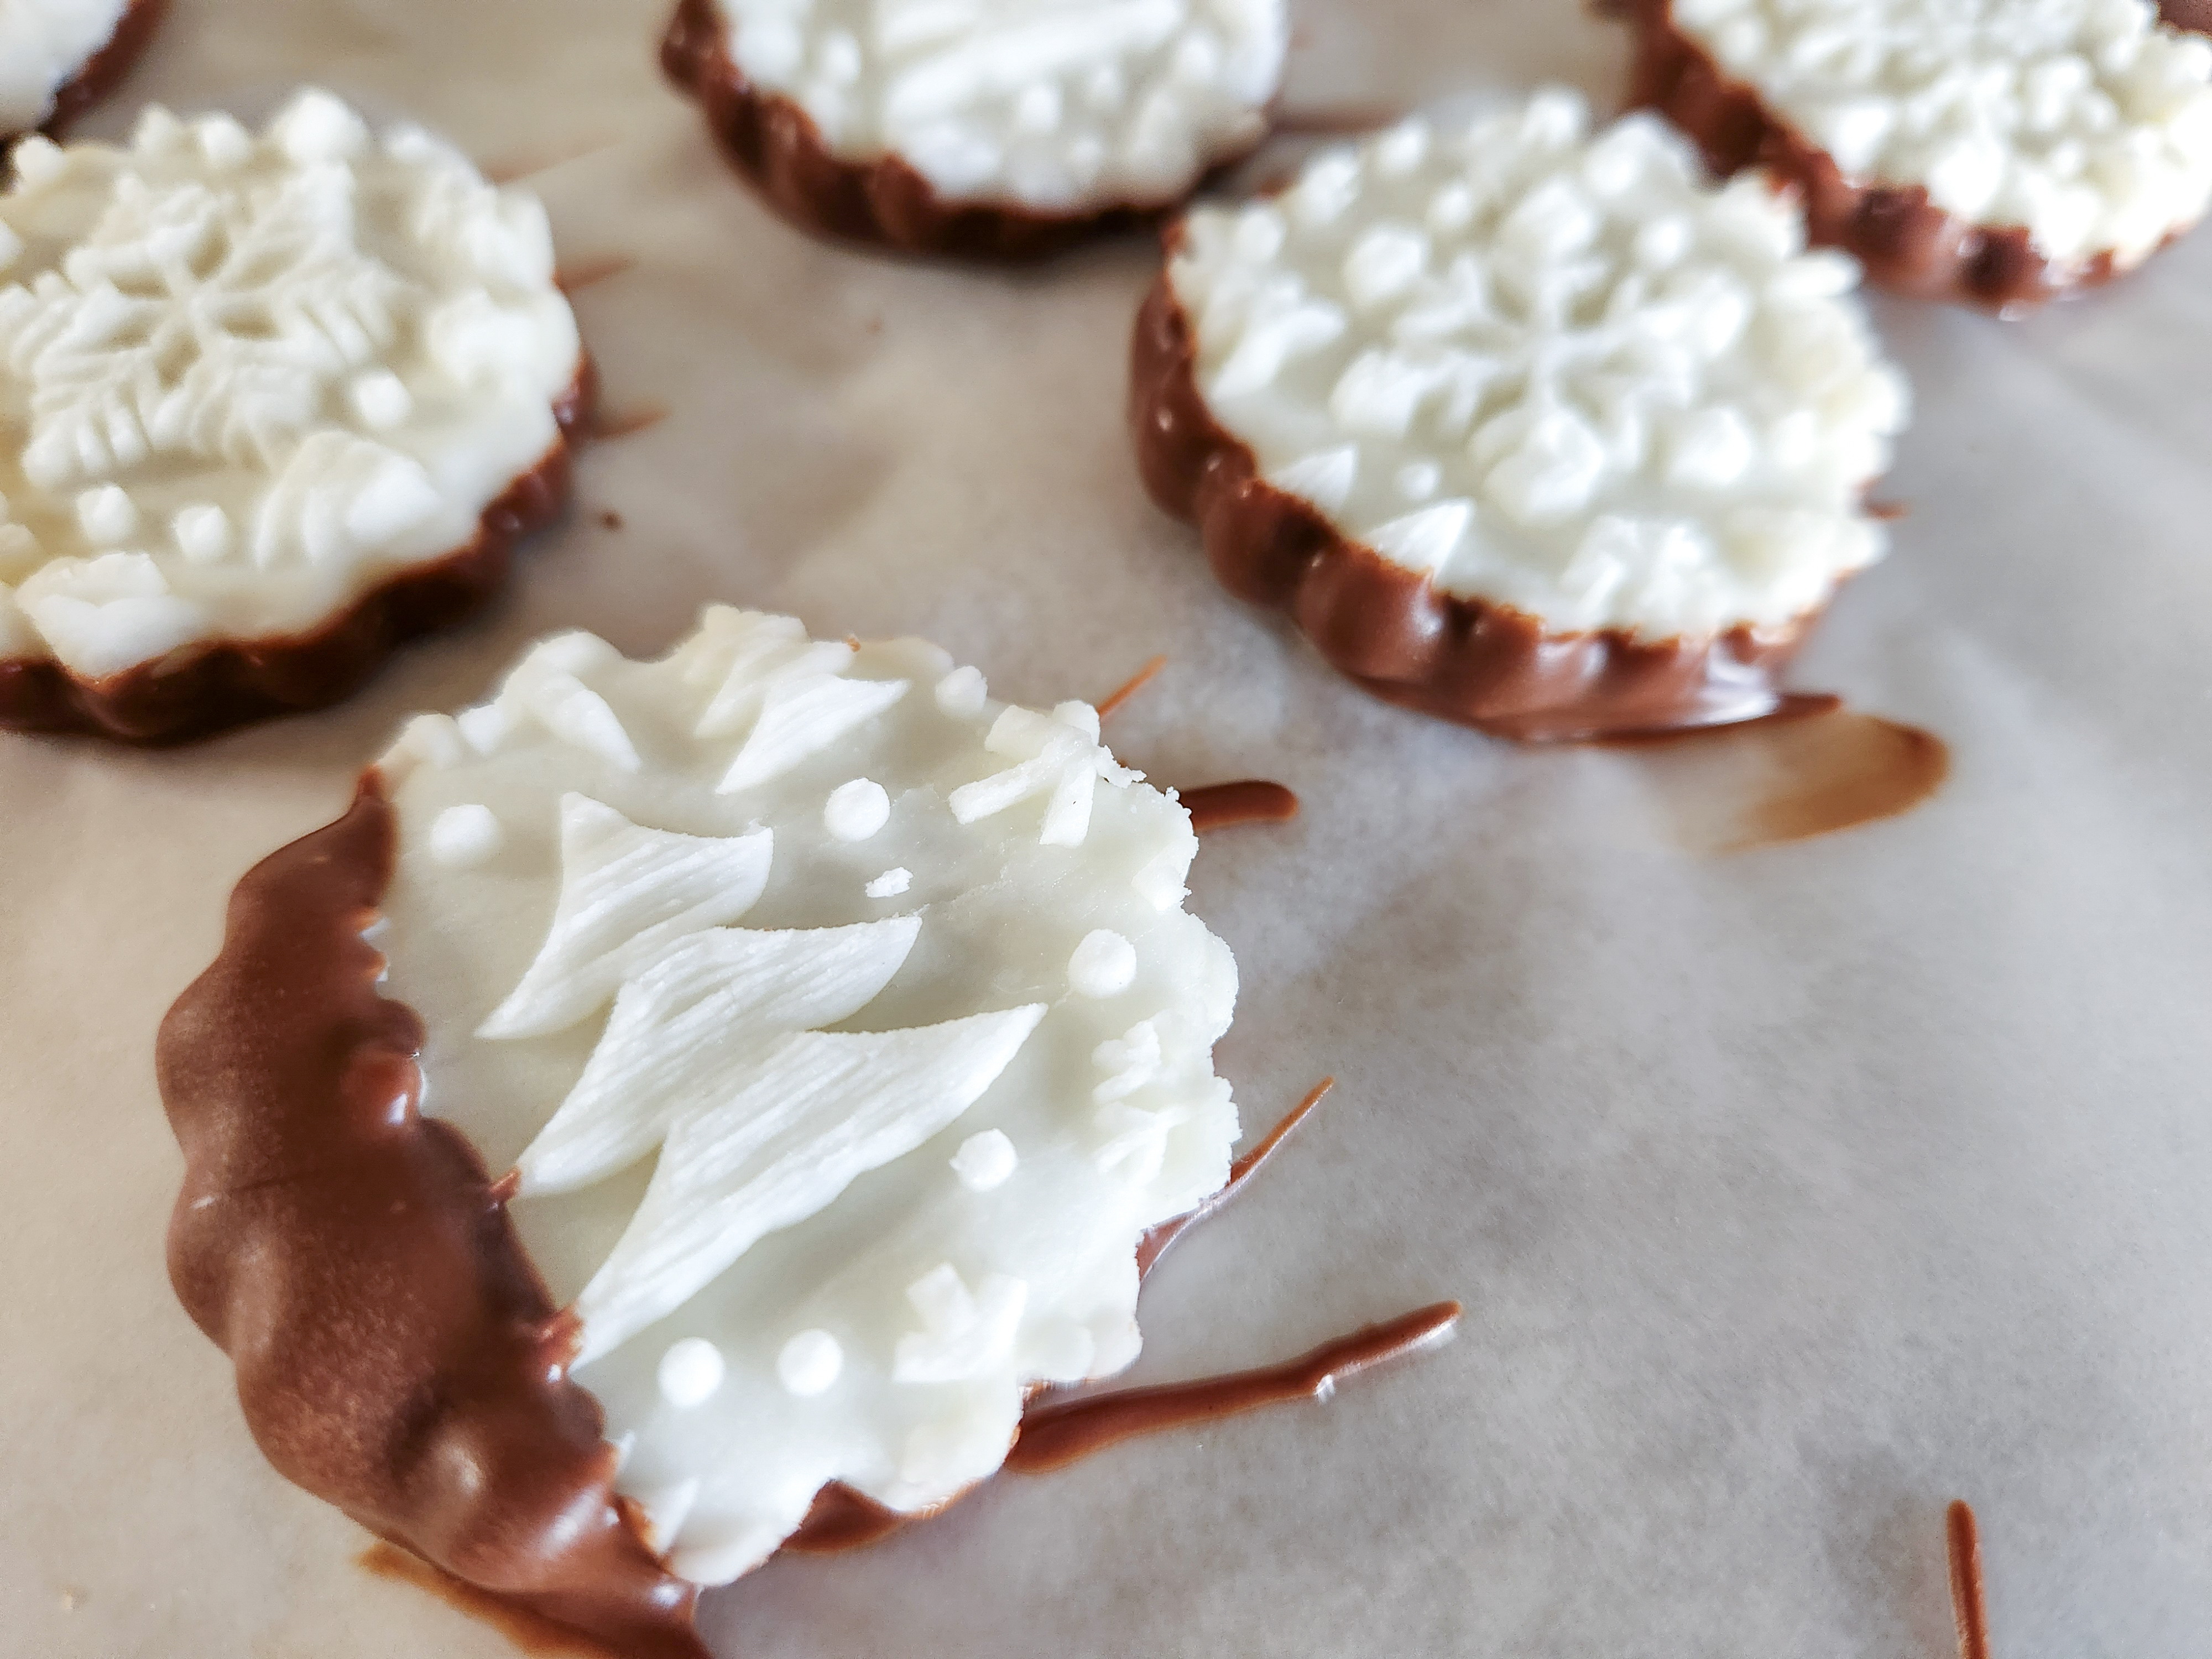
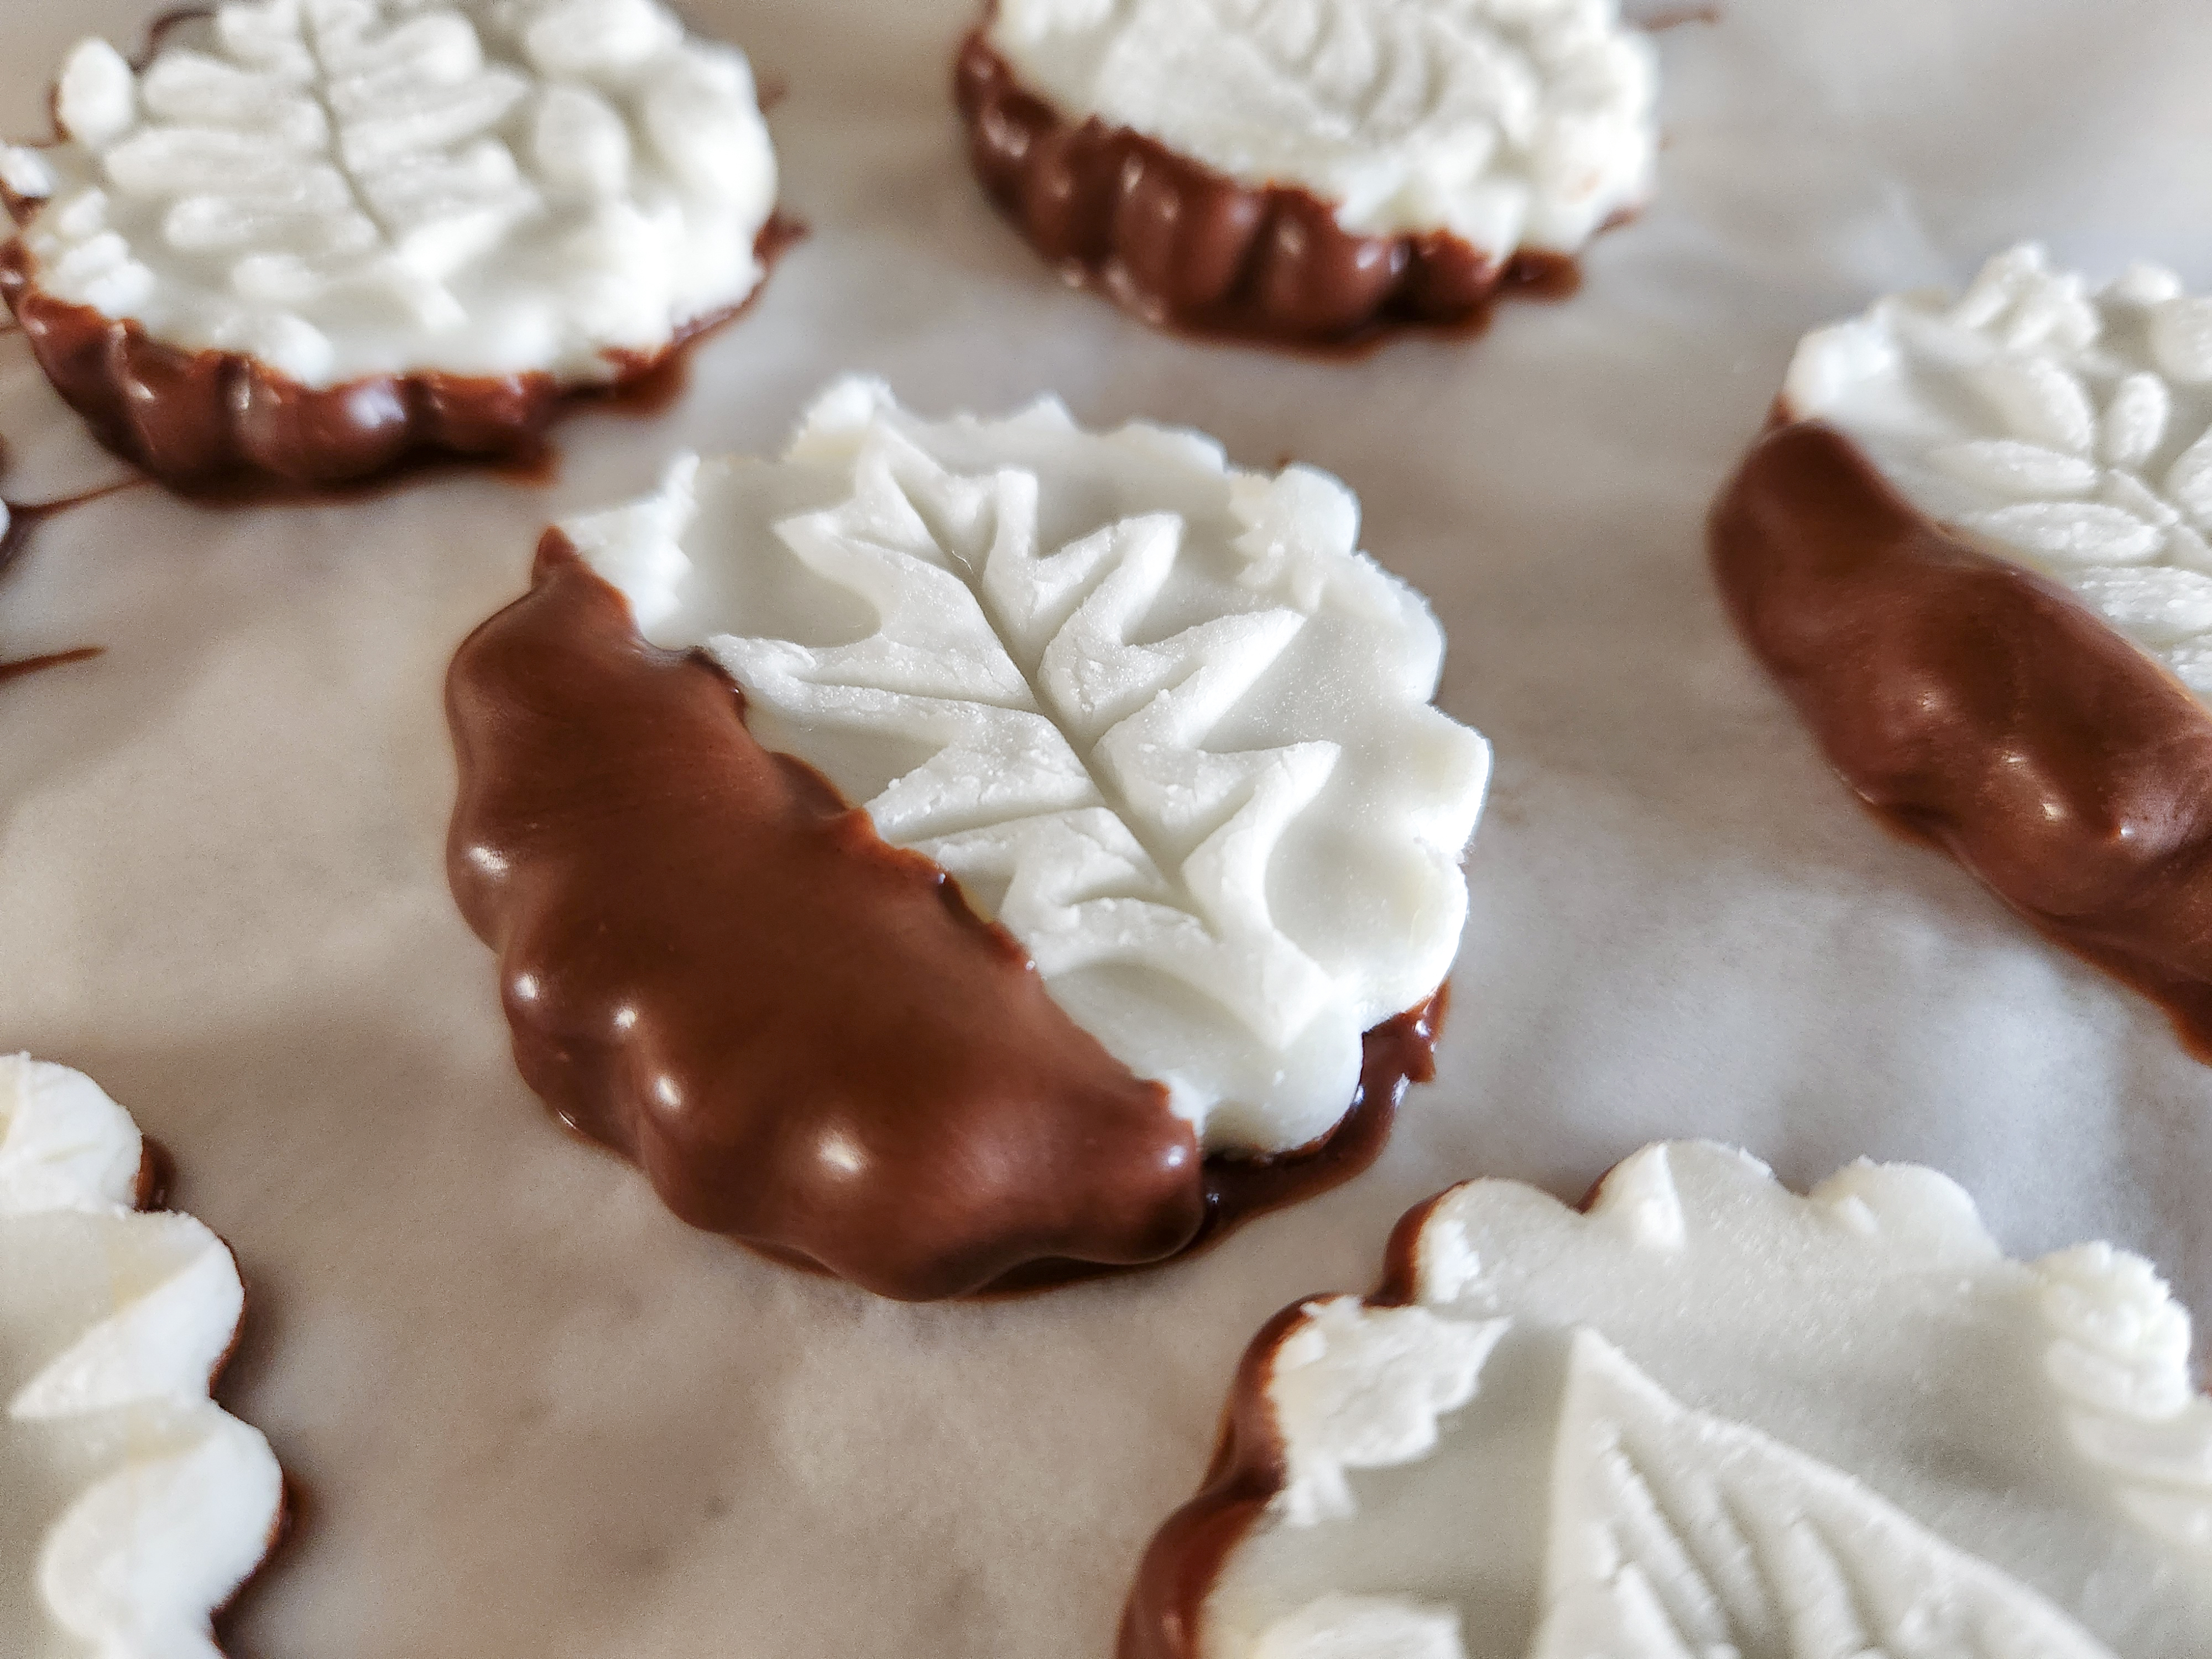
If you want to add sprinkles or sanding sugars, dip the pattie bottoms onto a plate of your sprinkles, and use your fingers to sprinkle some more on top if you like. Do this before refrigerating!
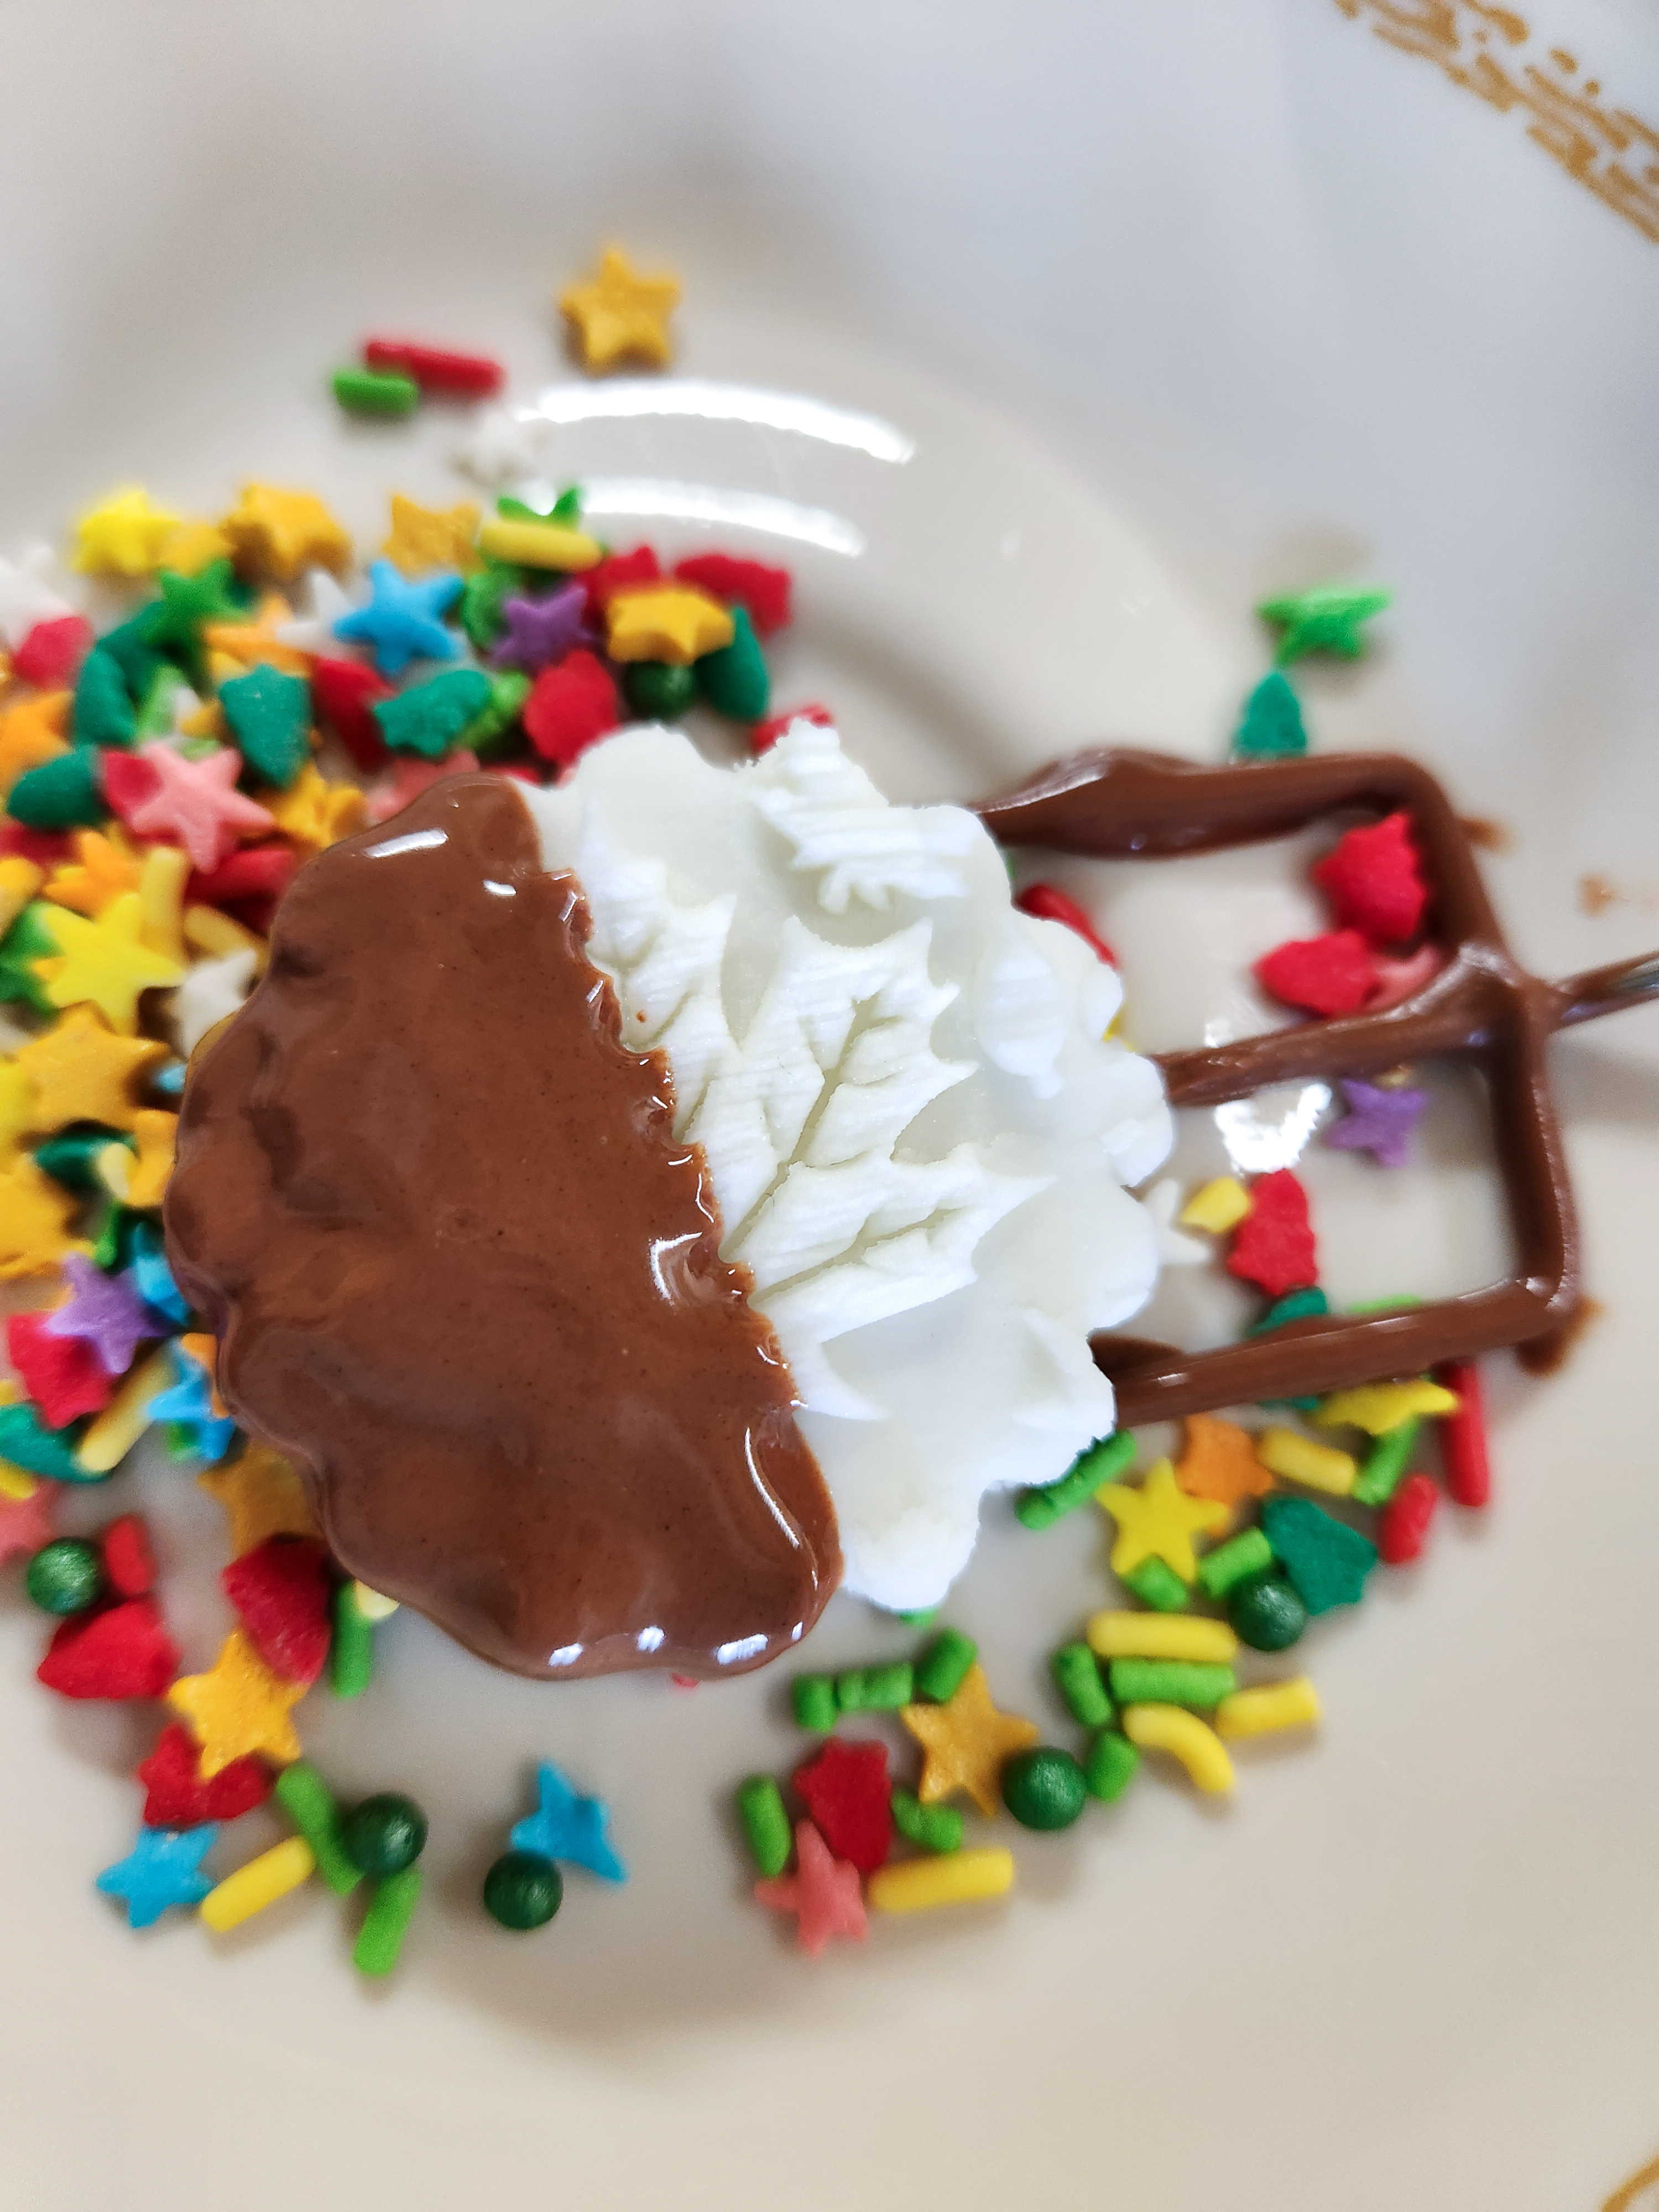
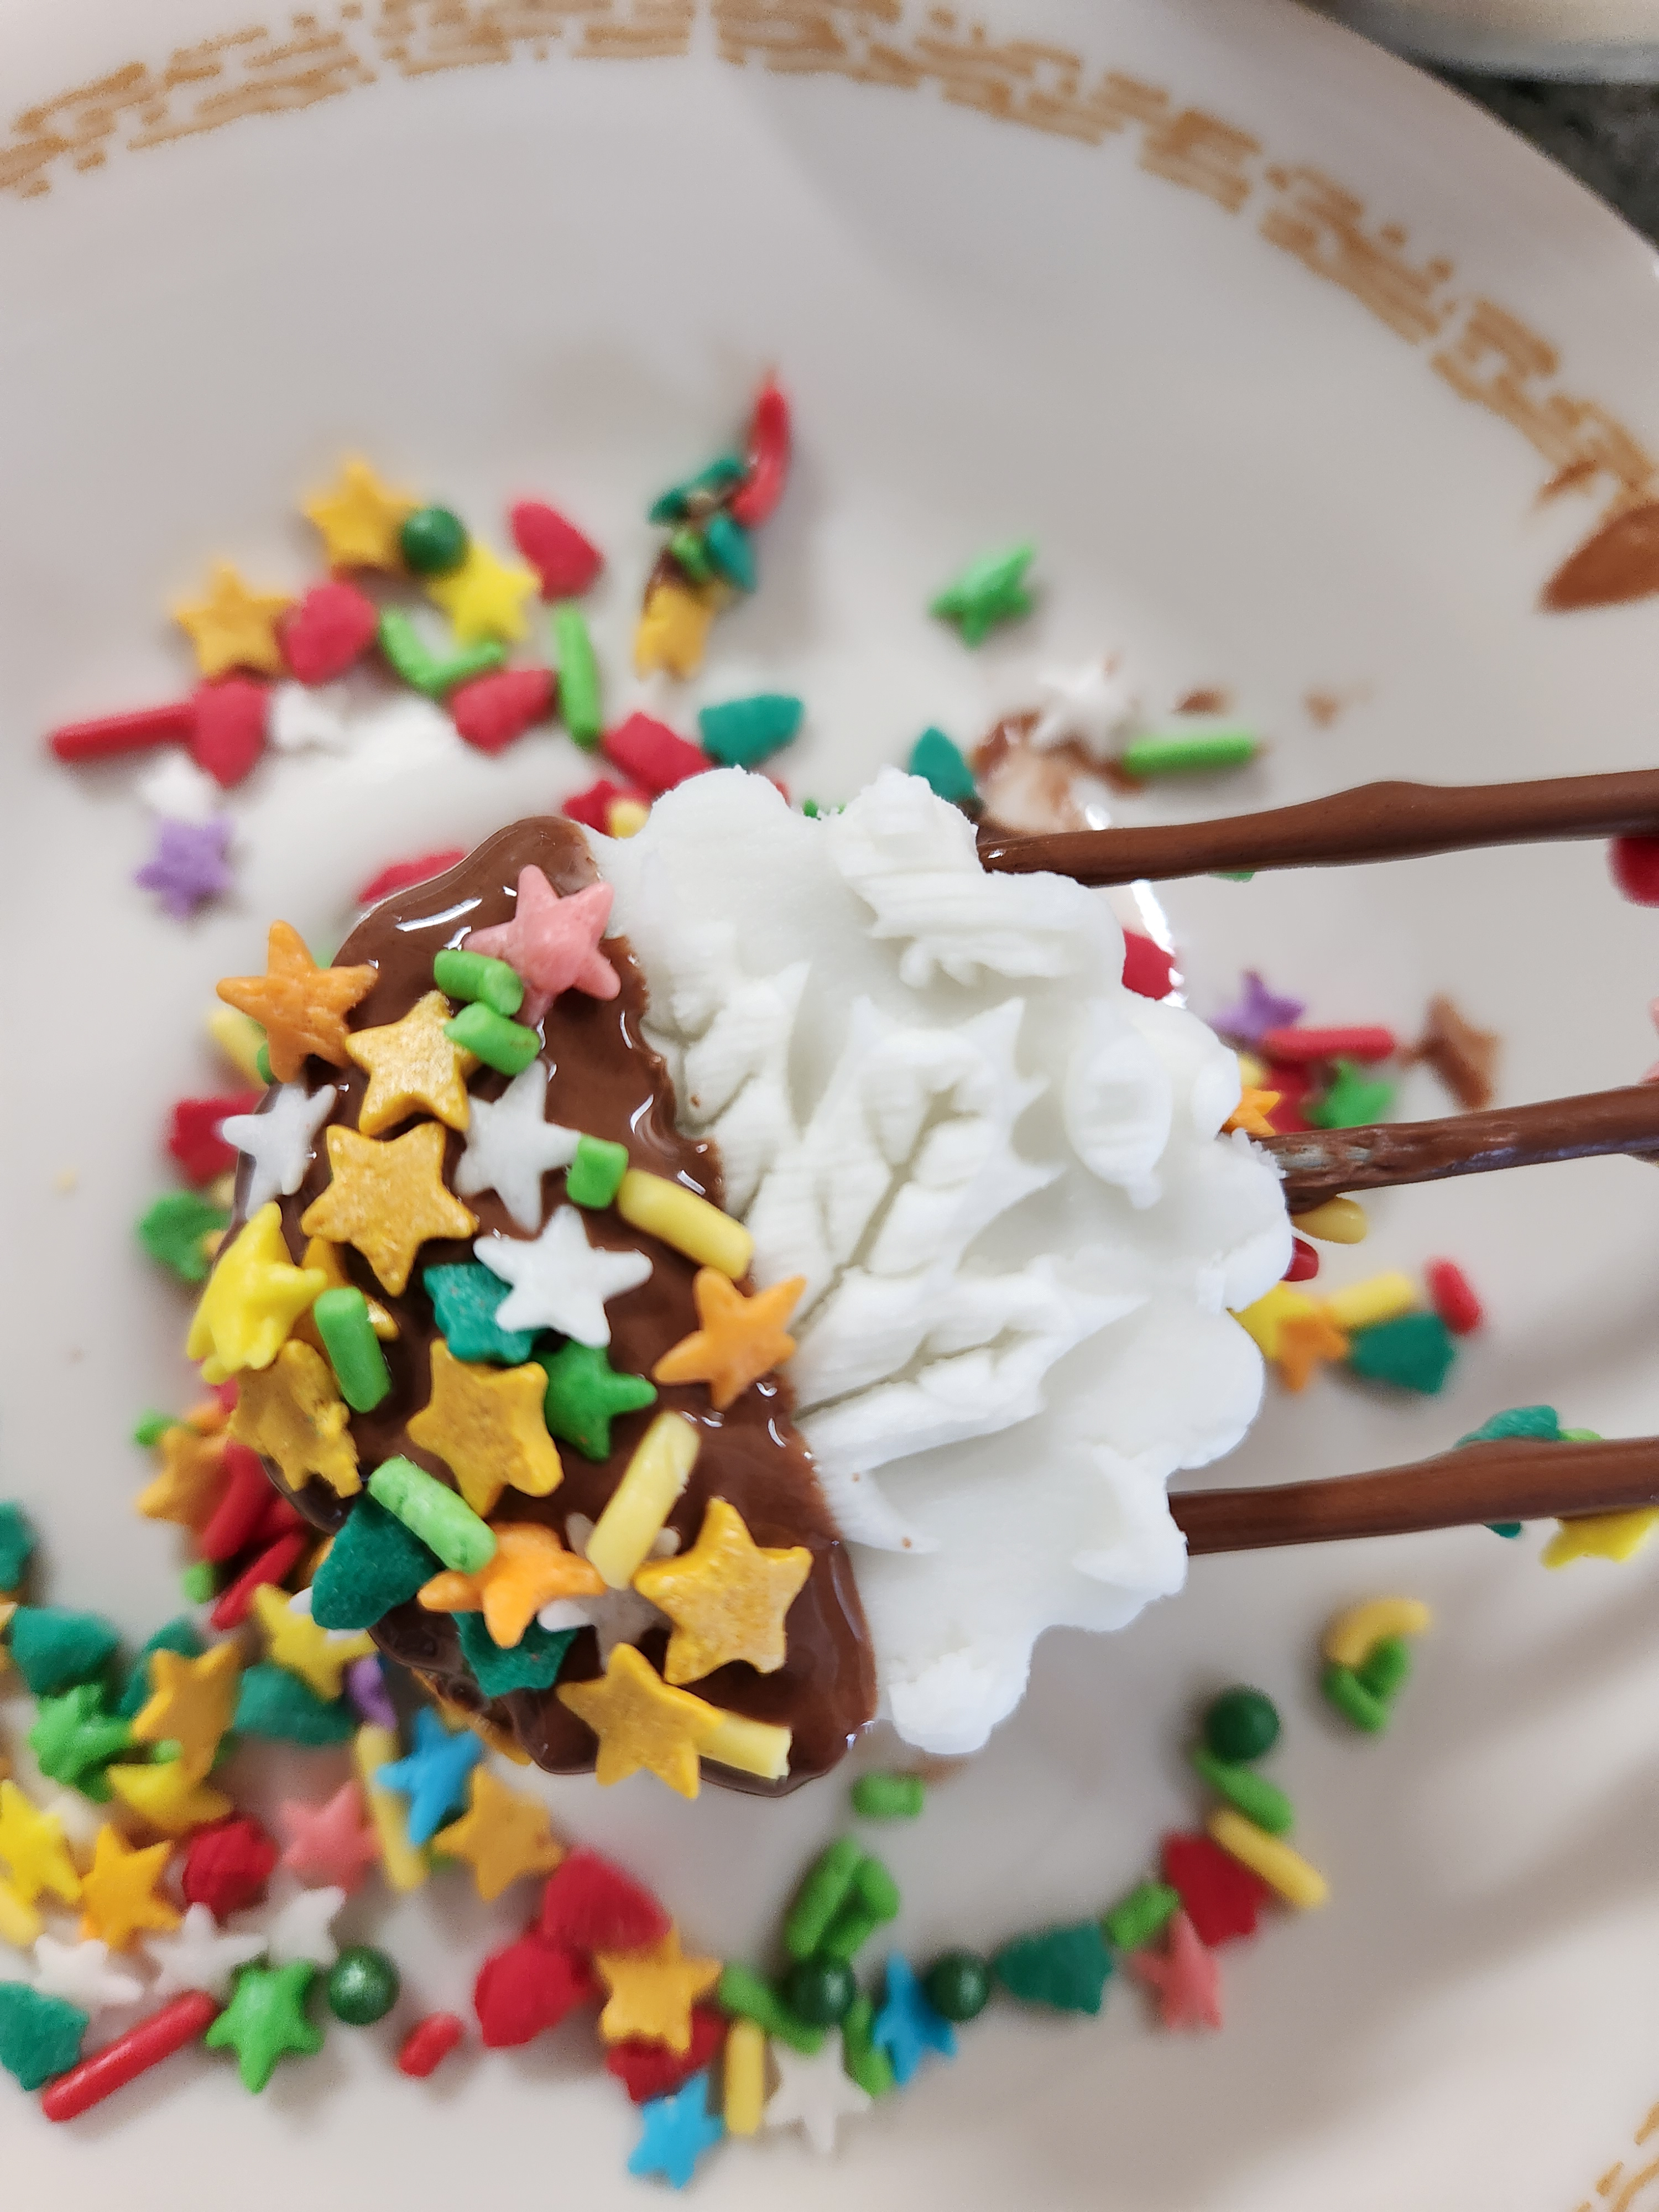
Also place these on waxed or parchment paper. Then place them in the refrigerator for at least 15 minutes to harden the chocolate.
That’s it! Butter and cream cheese mints for the holidays, in pretty patterns!
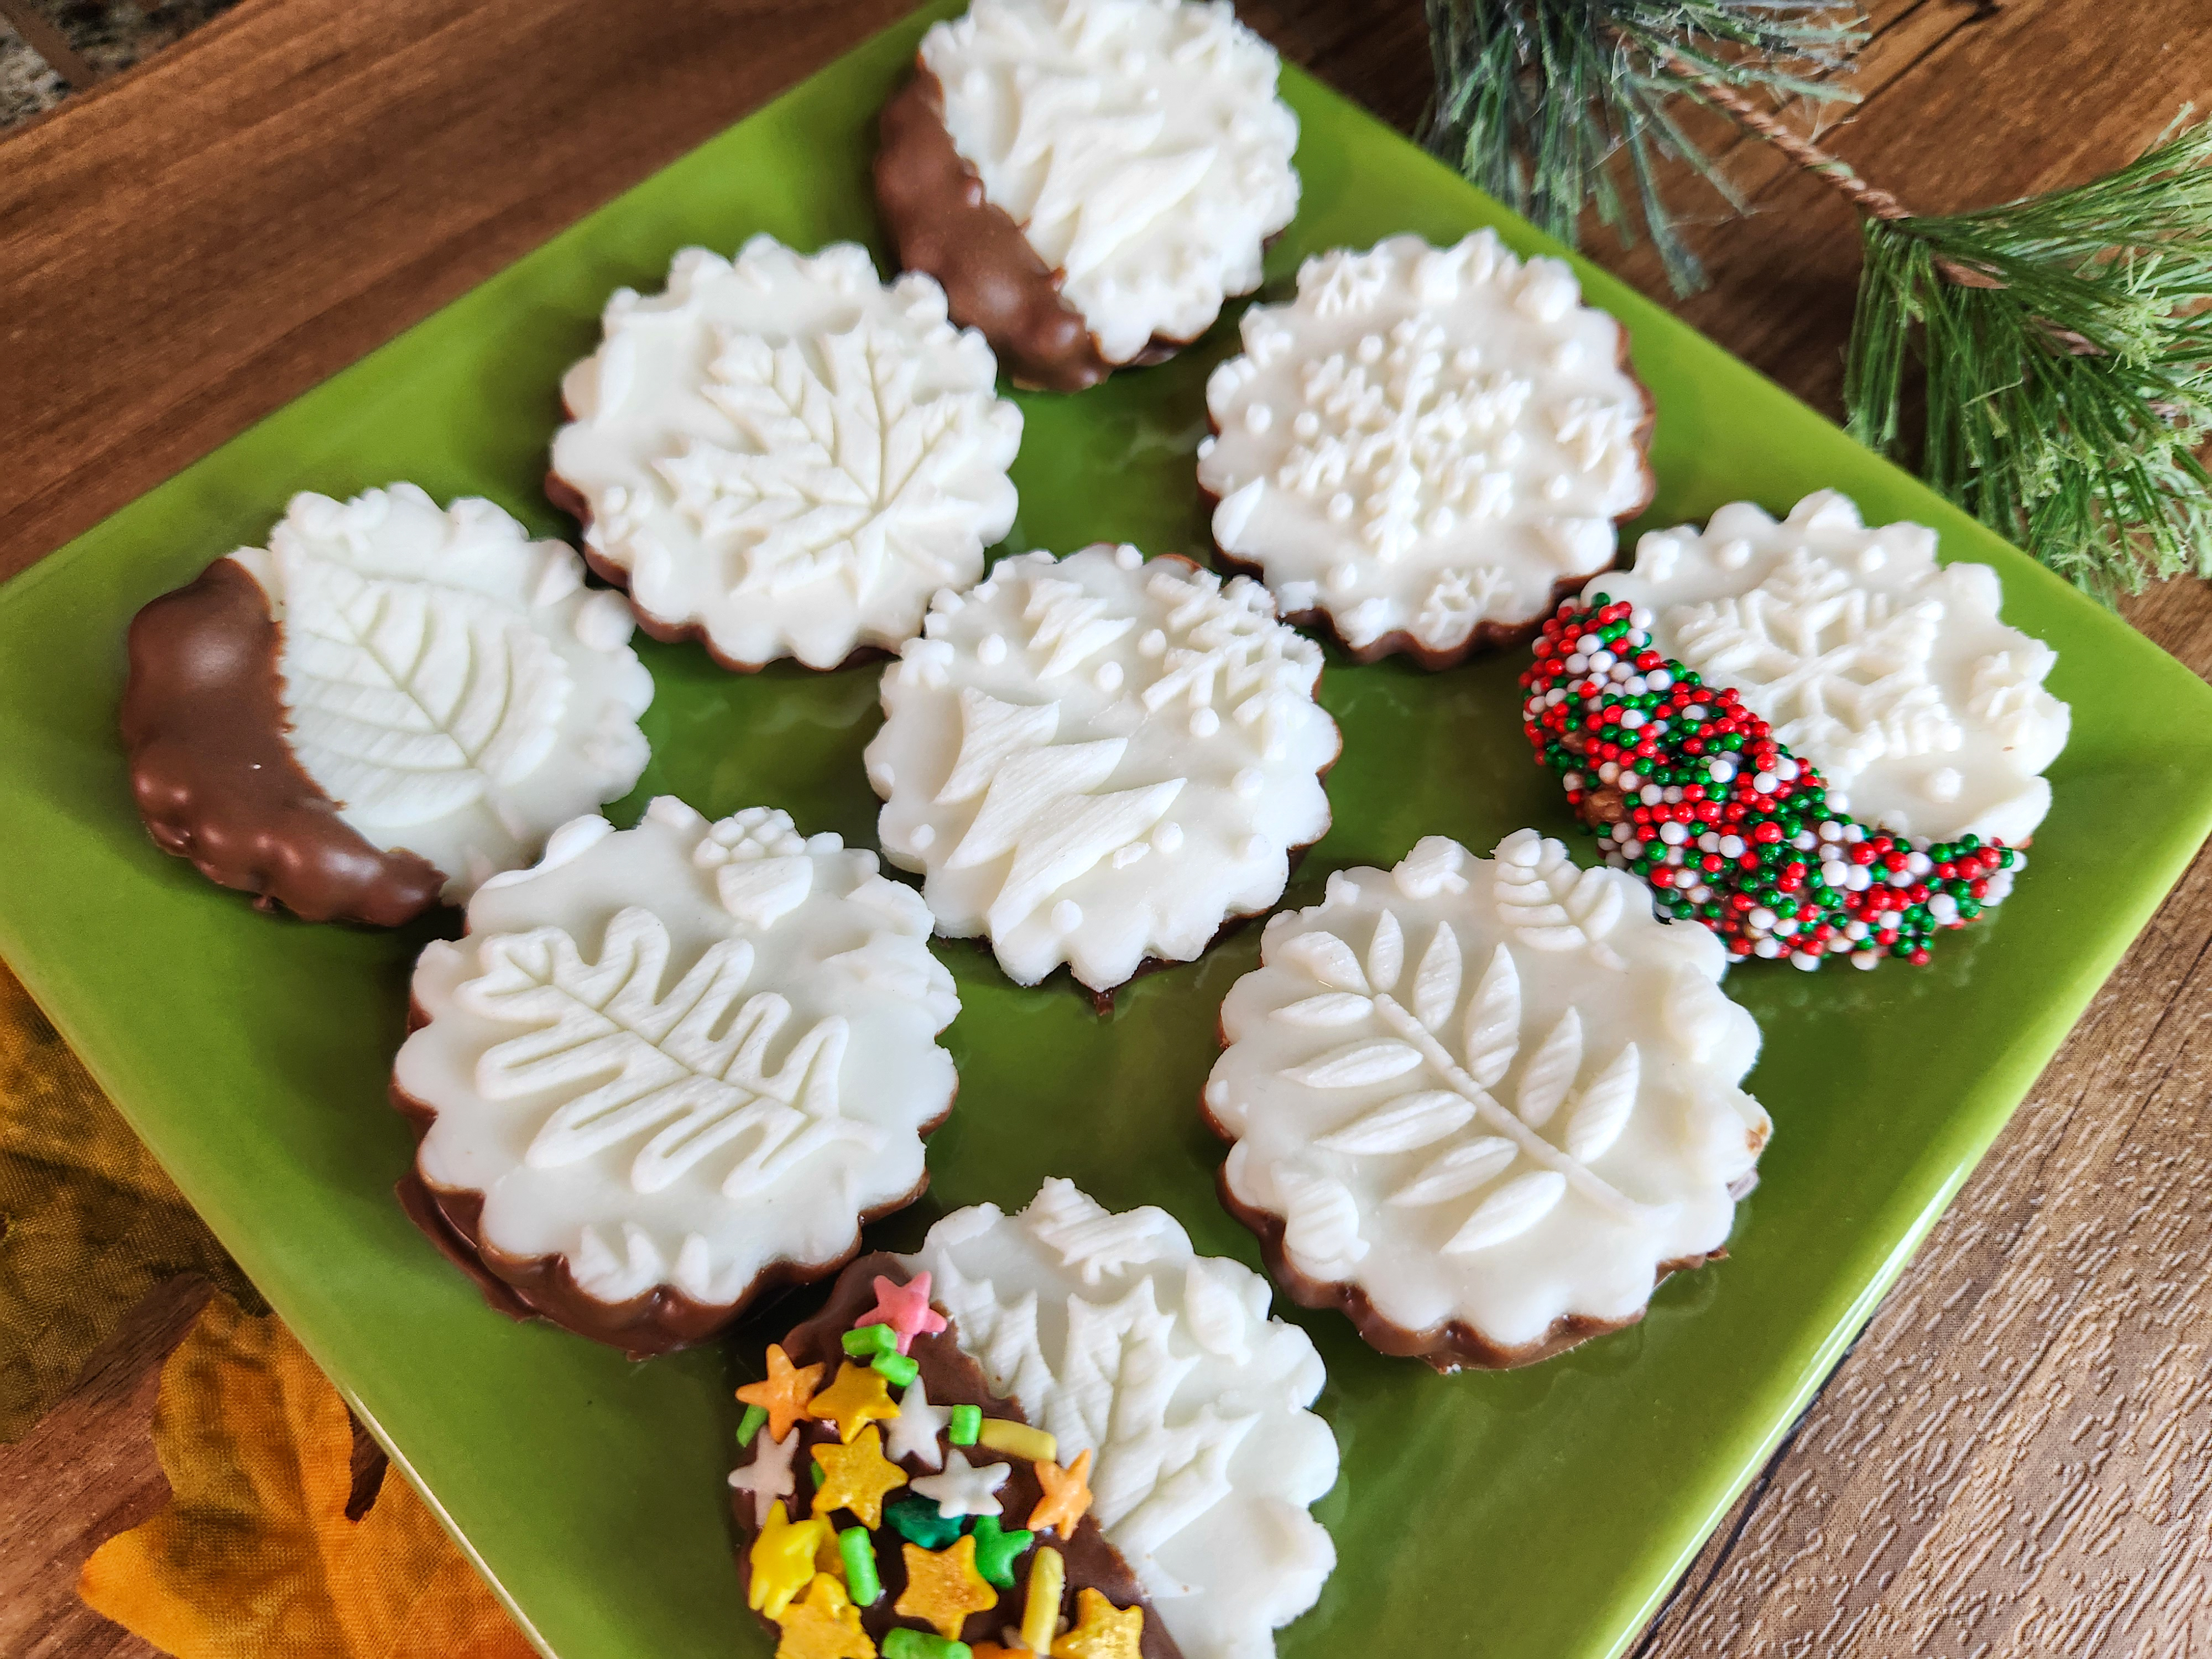
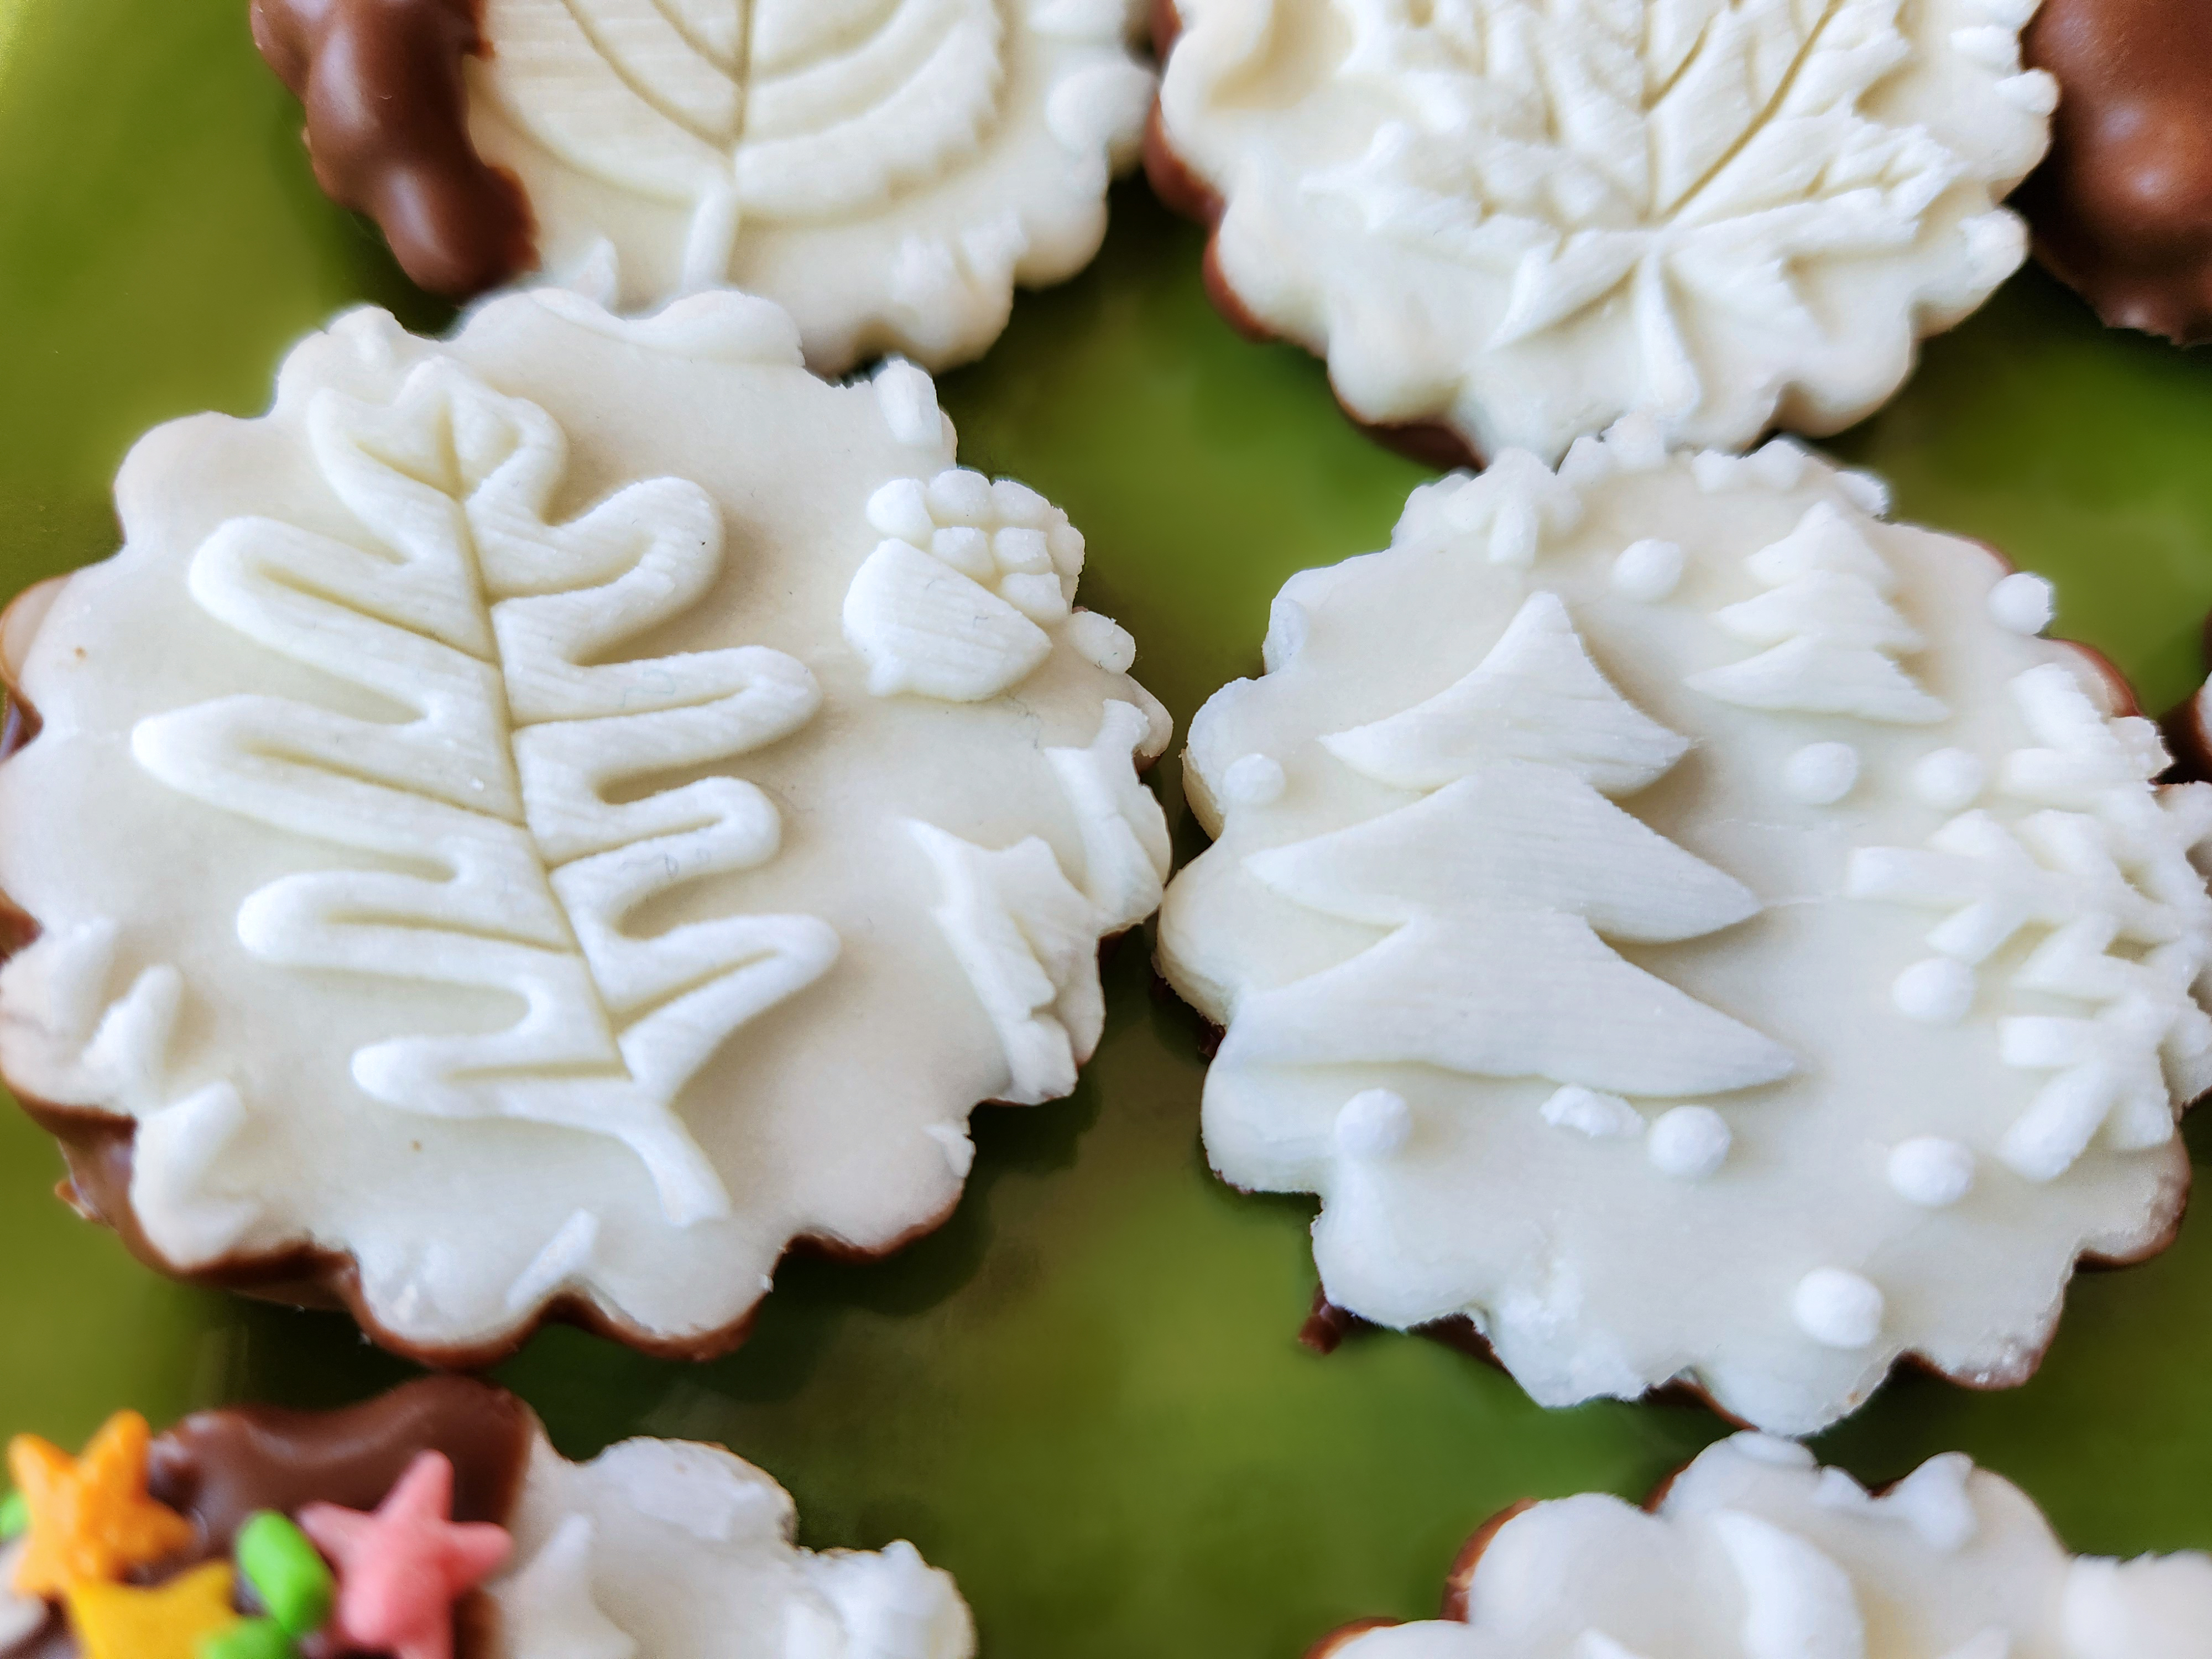
Wishing you all Holidays full of joy, and as always, Happy baking!
~Susie
Disk & Pin Designer/Co-Owner at Impress! Bakeware, LLC
Our website has all of our 300+ disk shapes, cookie press, embossed rolling pins, baking accessories plus more about our Women/Family Owned company! impressbakeware.com
All products are on our Etsy shop.
Our Amazon shop has our cookie press and disks and embossed rolling pins.
Follow us on facebook!

