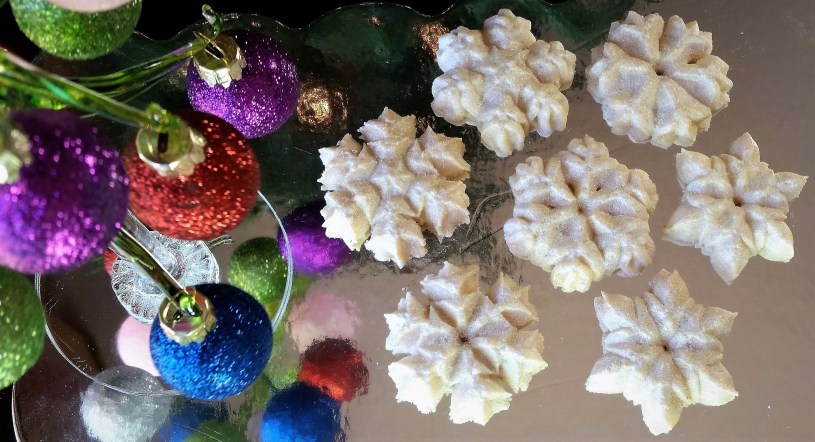
 It’s cold and snowing tonight here in Colorado, but my kitchen is warm and cozy with the lingering scent of almond cookies. My table is covered with shimmering snowflakes and so is my deck!

I wasn’t going to post again before Christmas, but I liked the almond recipe from the advent calendar blog so much I just had to showcase it. Then I realized I had never blogged about my favorite way to make snowflake cookies shimmer, so I combined the two ideas and made sparkling almond spritz snowflakes.
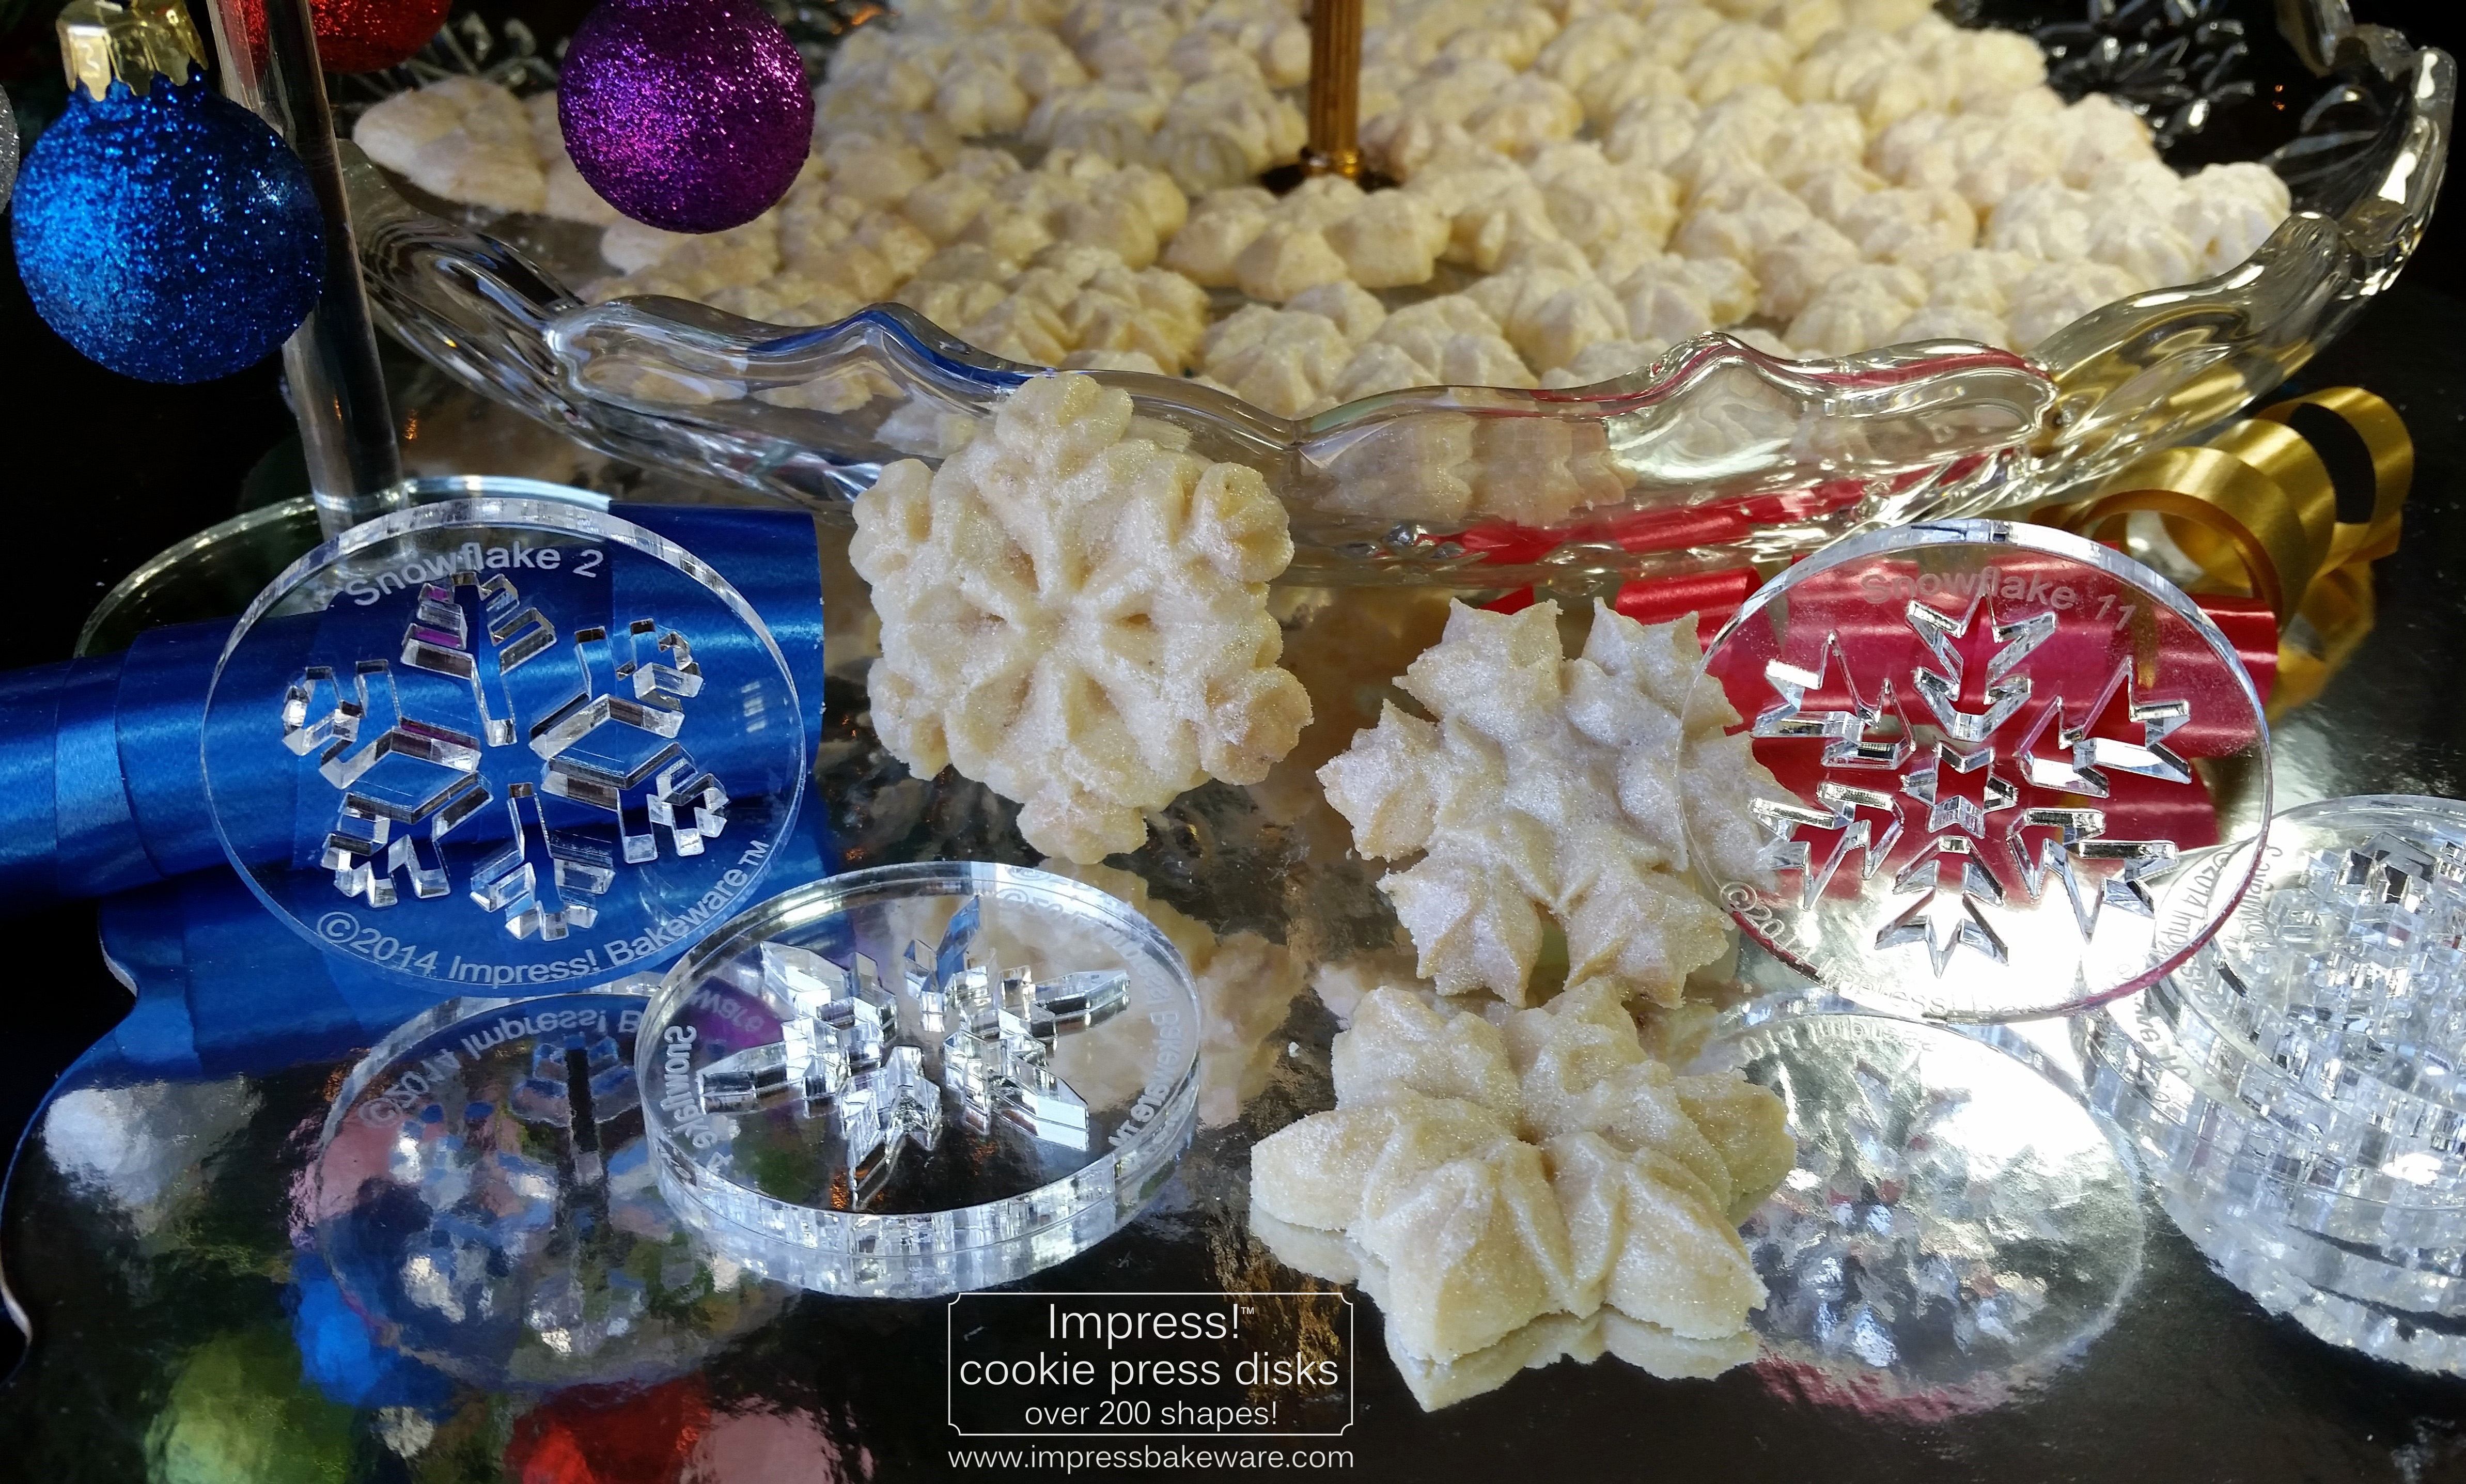
This is a very rich recipe but luckily also very simple, as is the decorating. So if you’re looking for a showy but easy recipe, this is a good one. I used all 12 of our snowflake disks but any combination would be pretty. Heck, even just one or two would be dazzling. (*NOTE: At the time of our 2019 Re-Opening the SNOWFLAKES sets have been combined into one 8 disk set.)
Our website has all of our 200+ disk shapes, cookie press, embossed rolling pins, baking accessories plus more about our Women/Family Owned company in beautiful Colorado Springs! Ordering HERE helps us the most and we appreciate it! 🙏impressbakeware.com
All products are on our Etsy shop.
Our Amazon shop has our cookie press and disks and embossed rolling pins.
🎉 “Tis the Season!” 15% off SALE❗ EXTENDED 🙂
🎄Make edible art for the Holidays, because baking should be fun!
Discount on our cookie press disks, cookie press, embossed rolling pins, luster dusts, cookie cutters & baking accessories. Sale November 26 – December 17, 2025, on our website and Etsy shops ONLY! (Links above) Sale excludes holiday gift sets and our recipe book.
(If almond isn’t your thing there are a few recipes on here you could choose from: How to make Christmas Trees Cookies post has my gold standard spritz recipe, vanilla-honey spritz; Chicks & Eggs, Bunnies & Carrots- Easter Spritz has a cream cheese spritz recipe; and Colorful Fall Leaves… has a powdered sugar spritz recipe. They are all tasty and press great! Browse the home page for more recipes and ideas!)
So, in what’s probably my simplest post of the year, let’s make some snowflakes!
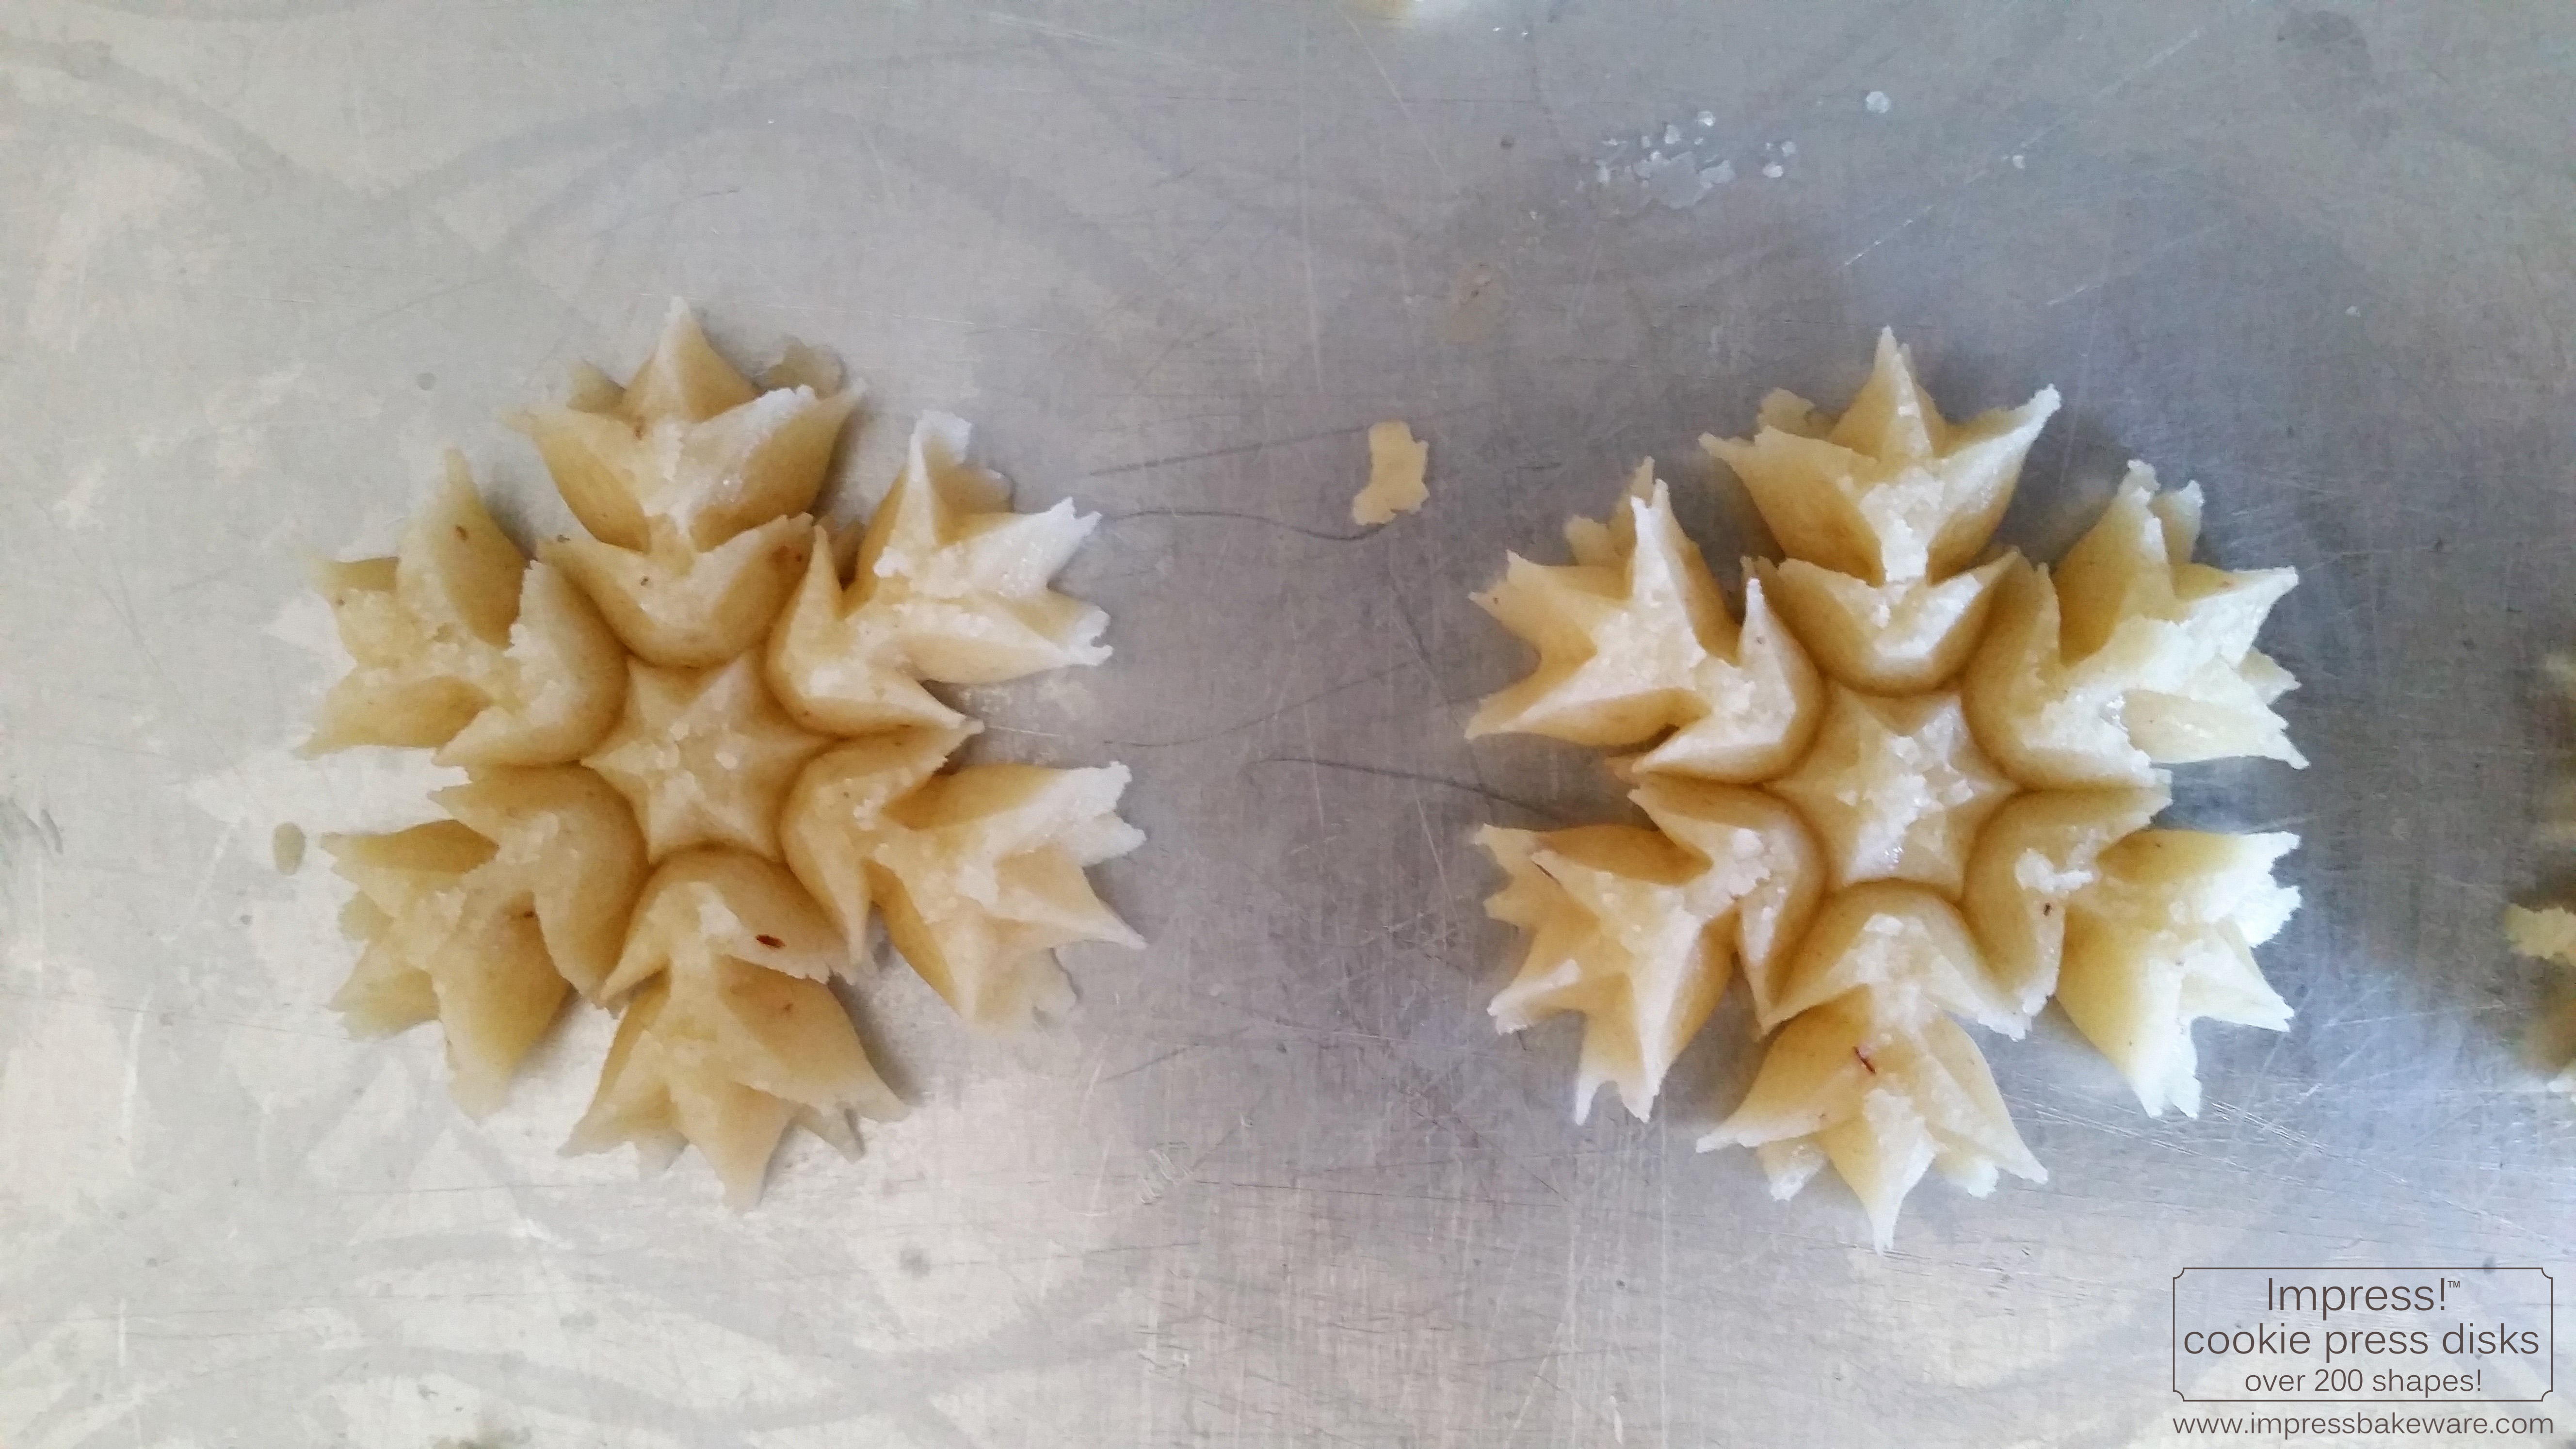
They tend to pick up the hue of different lighting, so I had a lot of fun with that during photography. The cool white from my Christmas tree and warm yellow of sunlight made such different effects. Like shiny ornaments on a tree, they reflect whatever glows upon them.
Impress! Incredibly Almond Spritz Cookies
1 1/2 cups (3 sticks) butter, softened (not melted) (I recommend Land O Lakes brand as I know it creams well. I have had trouble with some generic butters not creaming properly and making the dough hard to press)
1/2 cup plus 3 Tablespoons granulated sugar
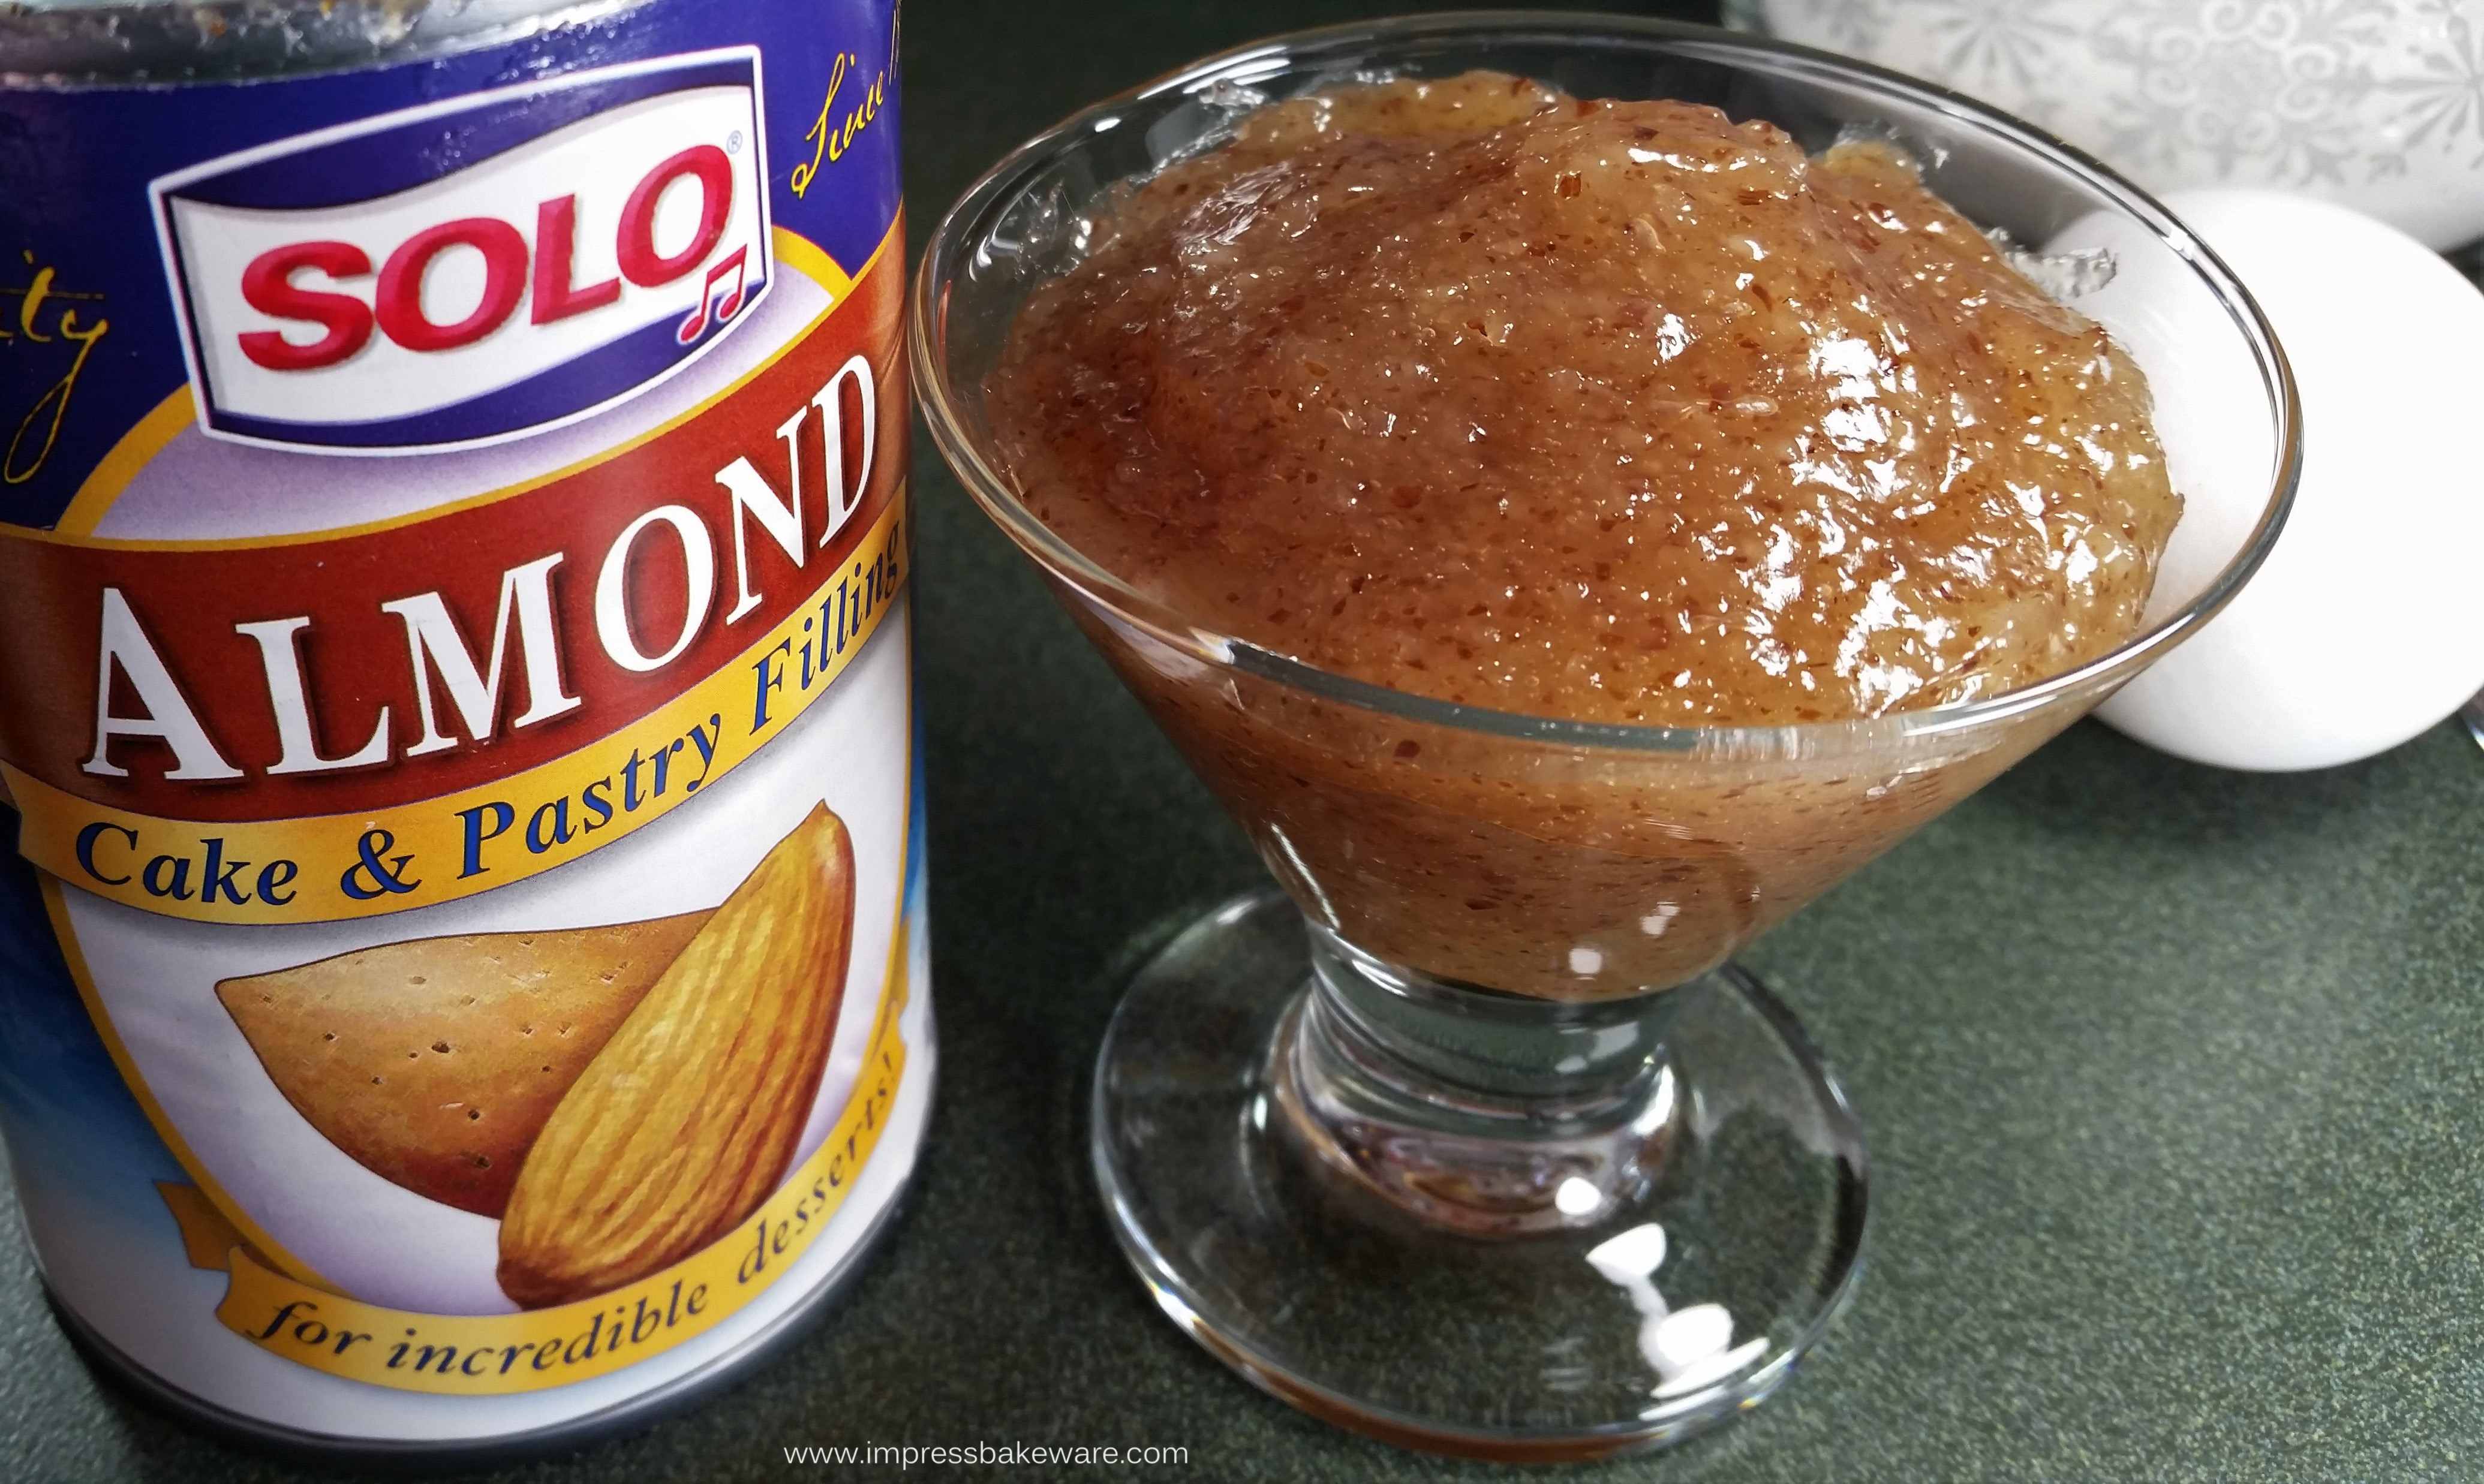
1/3 cup canned Solo® Almond Cake and Pastry Filling NOTE: STIR it well if it has separated! It should be smooth and creamy.
1 Tablespoon vanilla extract
1/2 Tablespoon almond extract
1 egg
4 cups all-purpose flour
3/4 teaspoon baking powder
1/4 teaspoon salt
White luster dust

Gather your ingredients and disks.
*NOTE: Our new disks are made of a solid white material, but the designs are exactly the same, and press identically. At the time of our 2019 Re-Opening the SNOWFLAKES sets have been combined into one 8 disk set.

Preheat oven to 400°F.
In a large bowl, combine the flour, baking powder and salt and set aside.
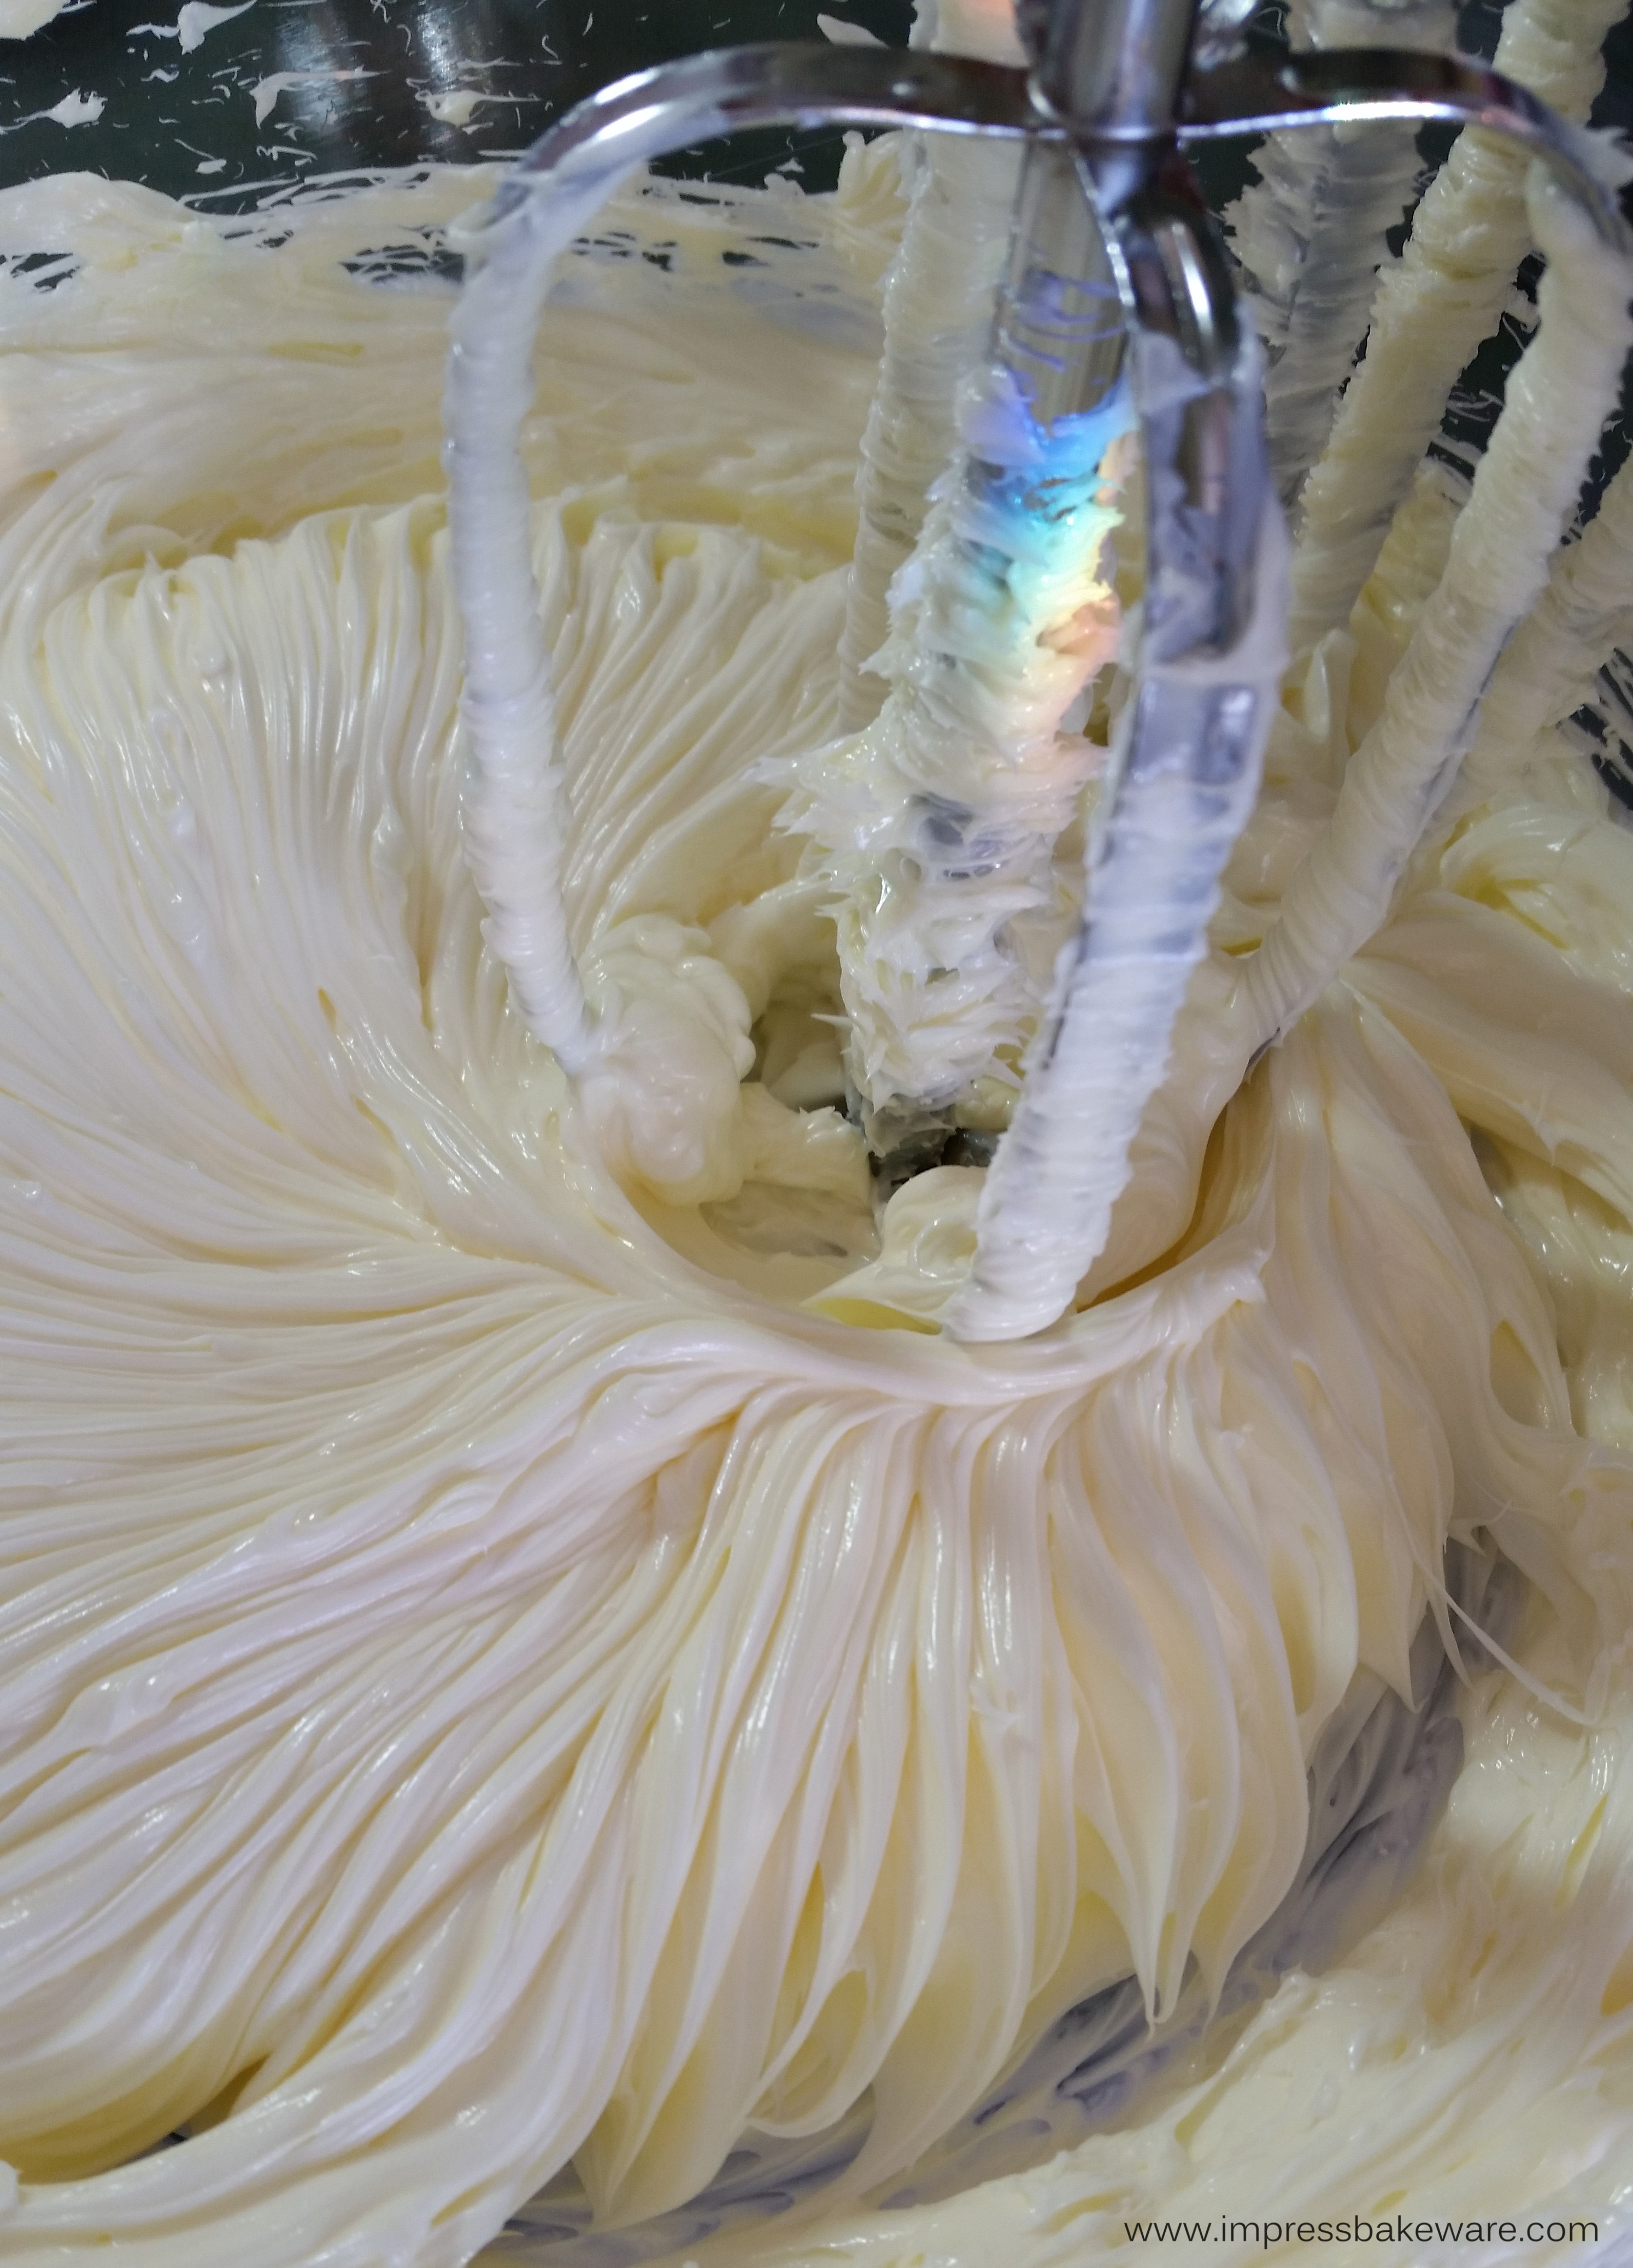
Cream the butter well. Perfect spritz cookies begin with super-creamed butter. I use an electric mixer and set it on “whip”. You want seriously fluffy butter.
If you read my blogs often, give a little chuckle. The rainbows are back! Must be the angle of the sunlight this time of year. They got all through these photos. Not that I’m complaining. 😉
Next add the sugar and cream it well again. With every additional ingredient make sure you re-fluff the mixture. Add the almond filling and cream it again. Isn’t that aroma incredible? Add the vanilla and almond extracts and the egg and fluff it up again after each addition. I thought the tiny specks of almond were pretty in this stage of the dough.
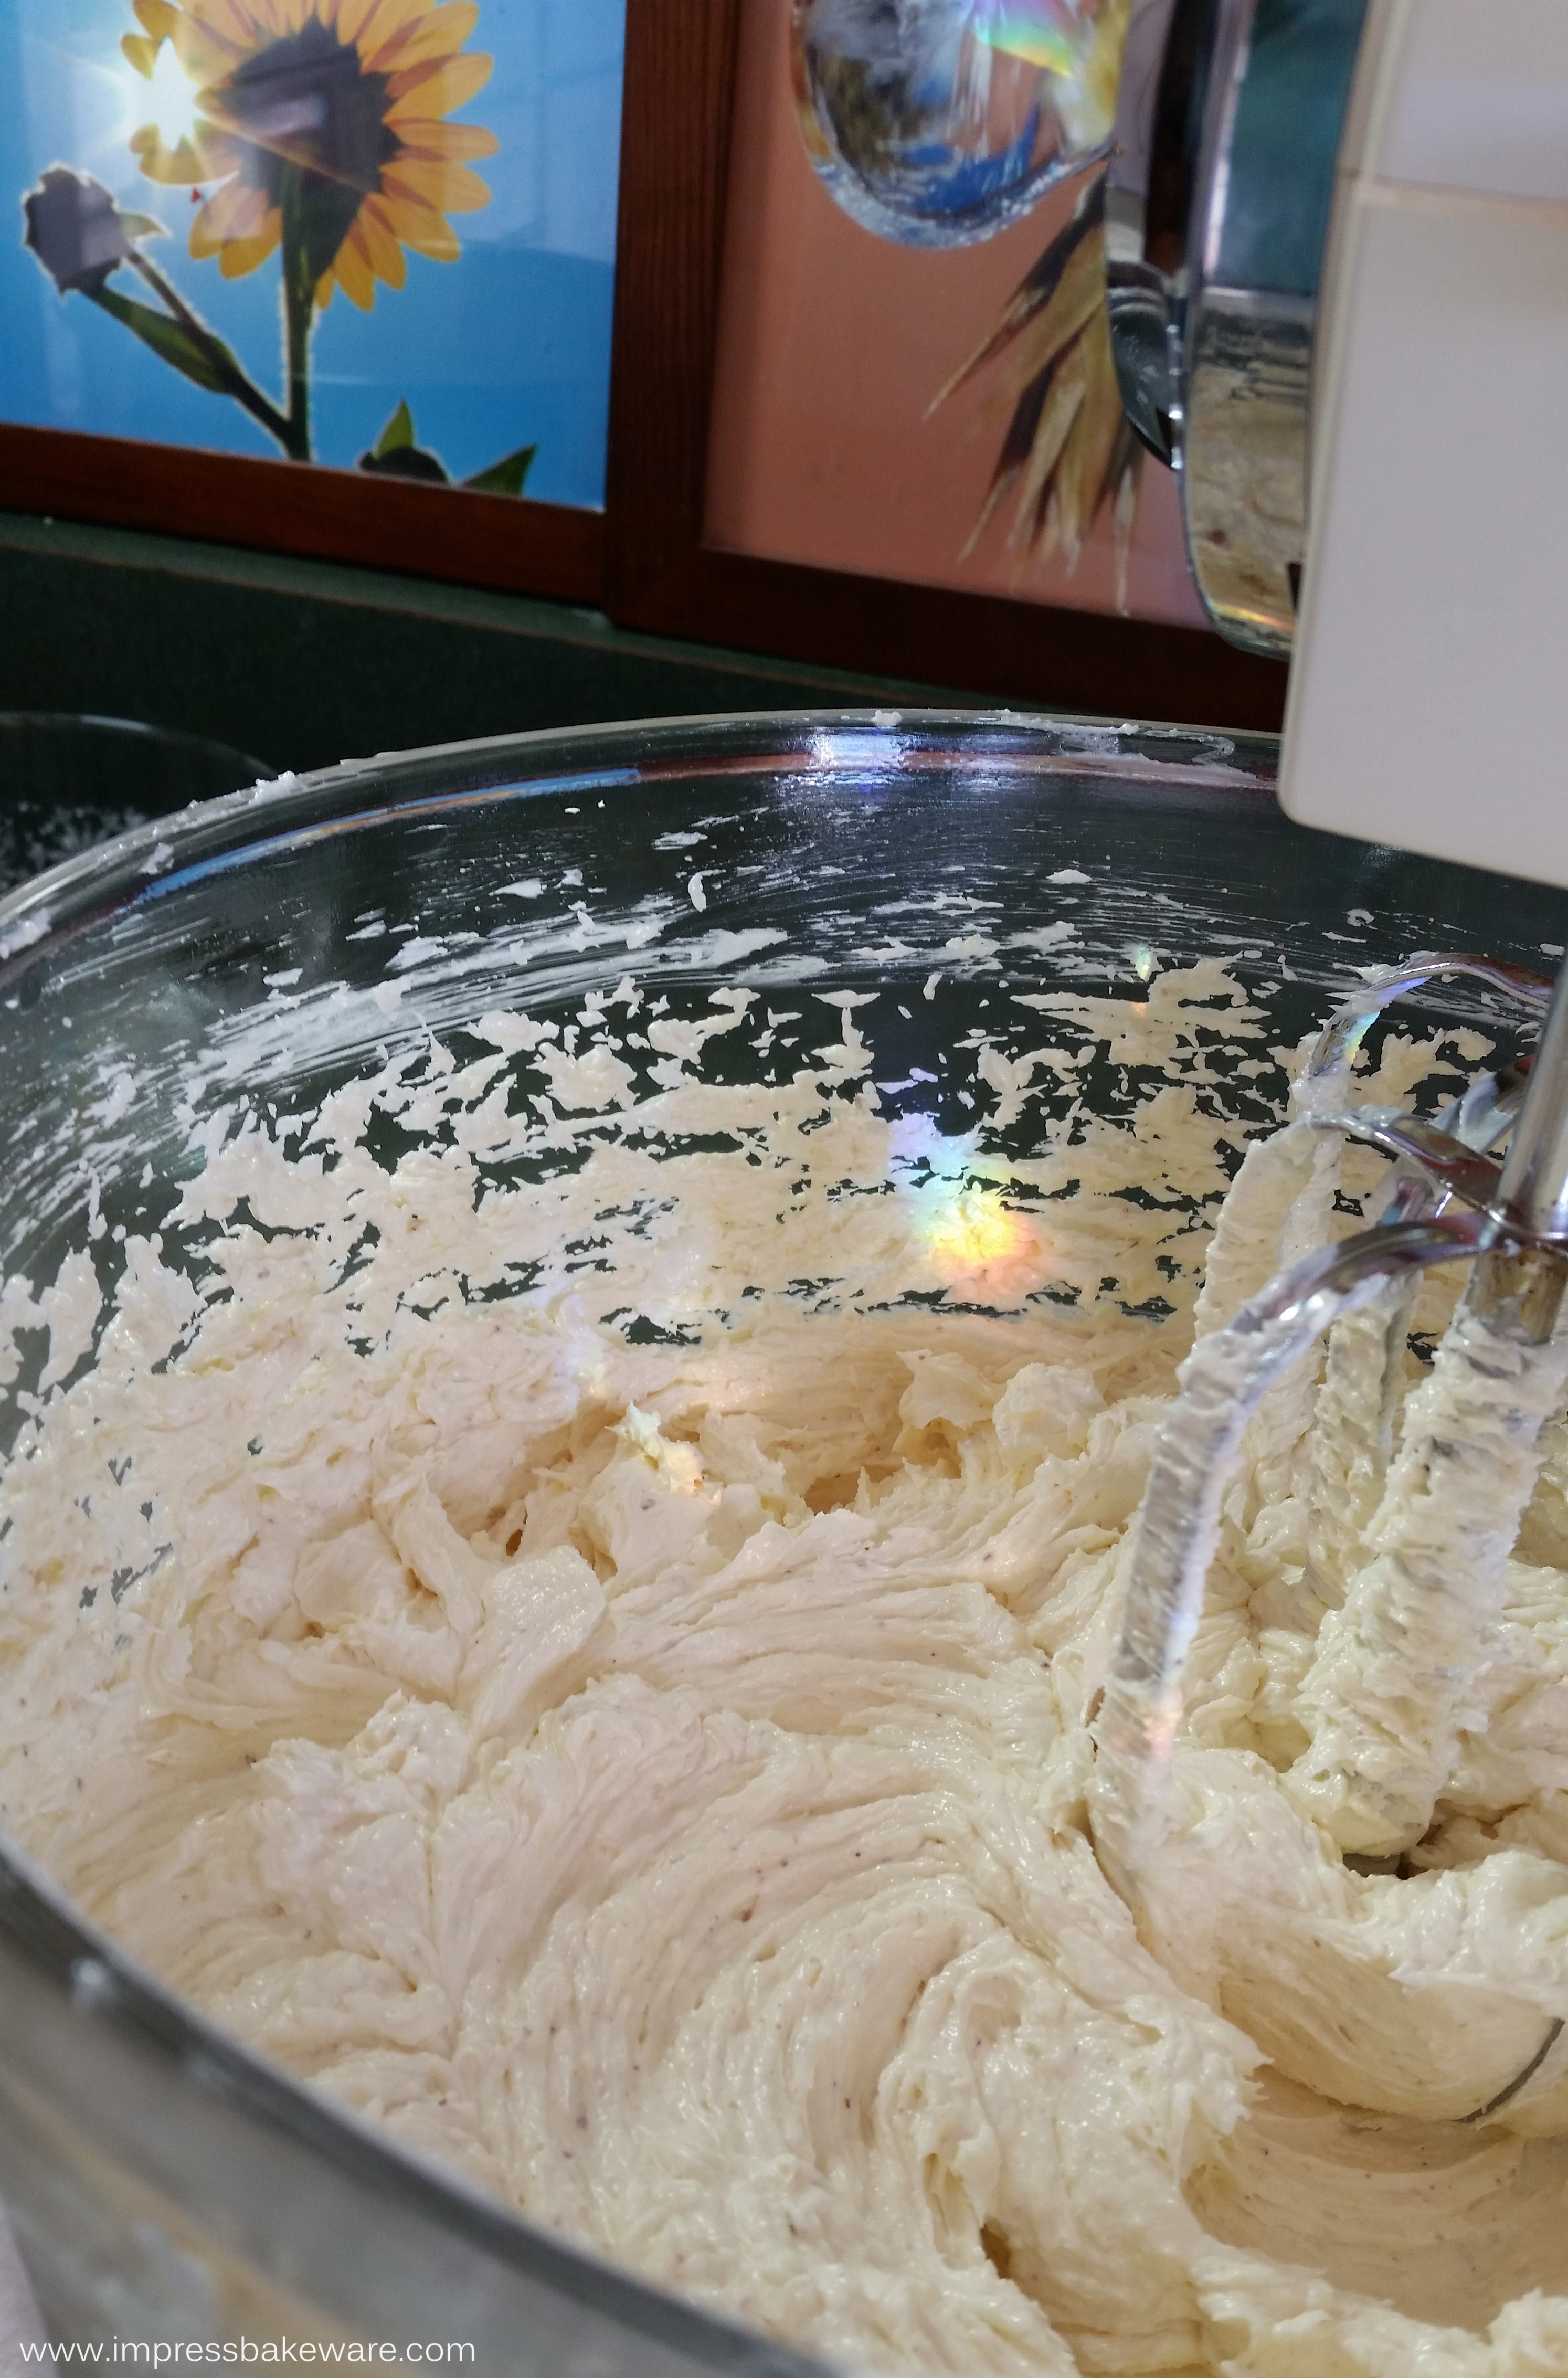
Add the flour mixture a little at a time on low speed until it is completely incorporated in the mix. This dough has a nice dry feel, and like all good spritz doughs is not too soft.
You can always troubleshoot a spritz dough by adding water or vanilla extract a teaspoon at a time to stiff, dry dough, or adding flour a tablespoon at a time to overly sticky or soft dough. Perfect spritz dough has a soft malleable texture that is not too sticky or too stiff.

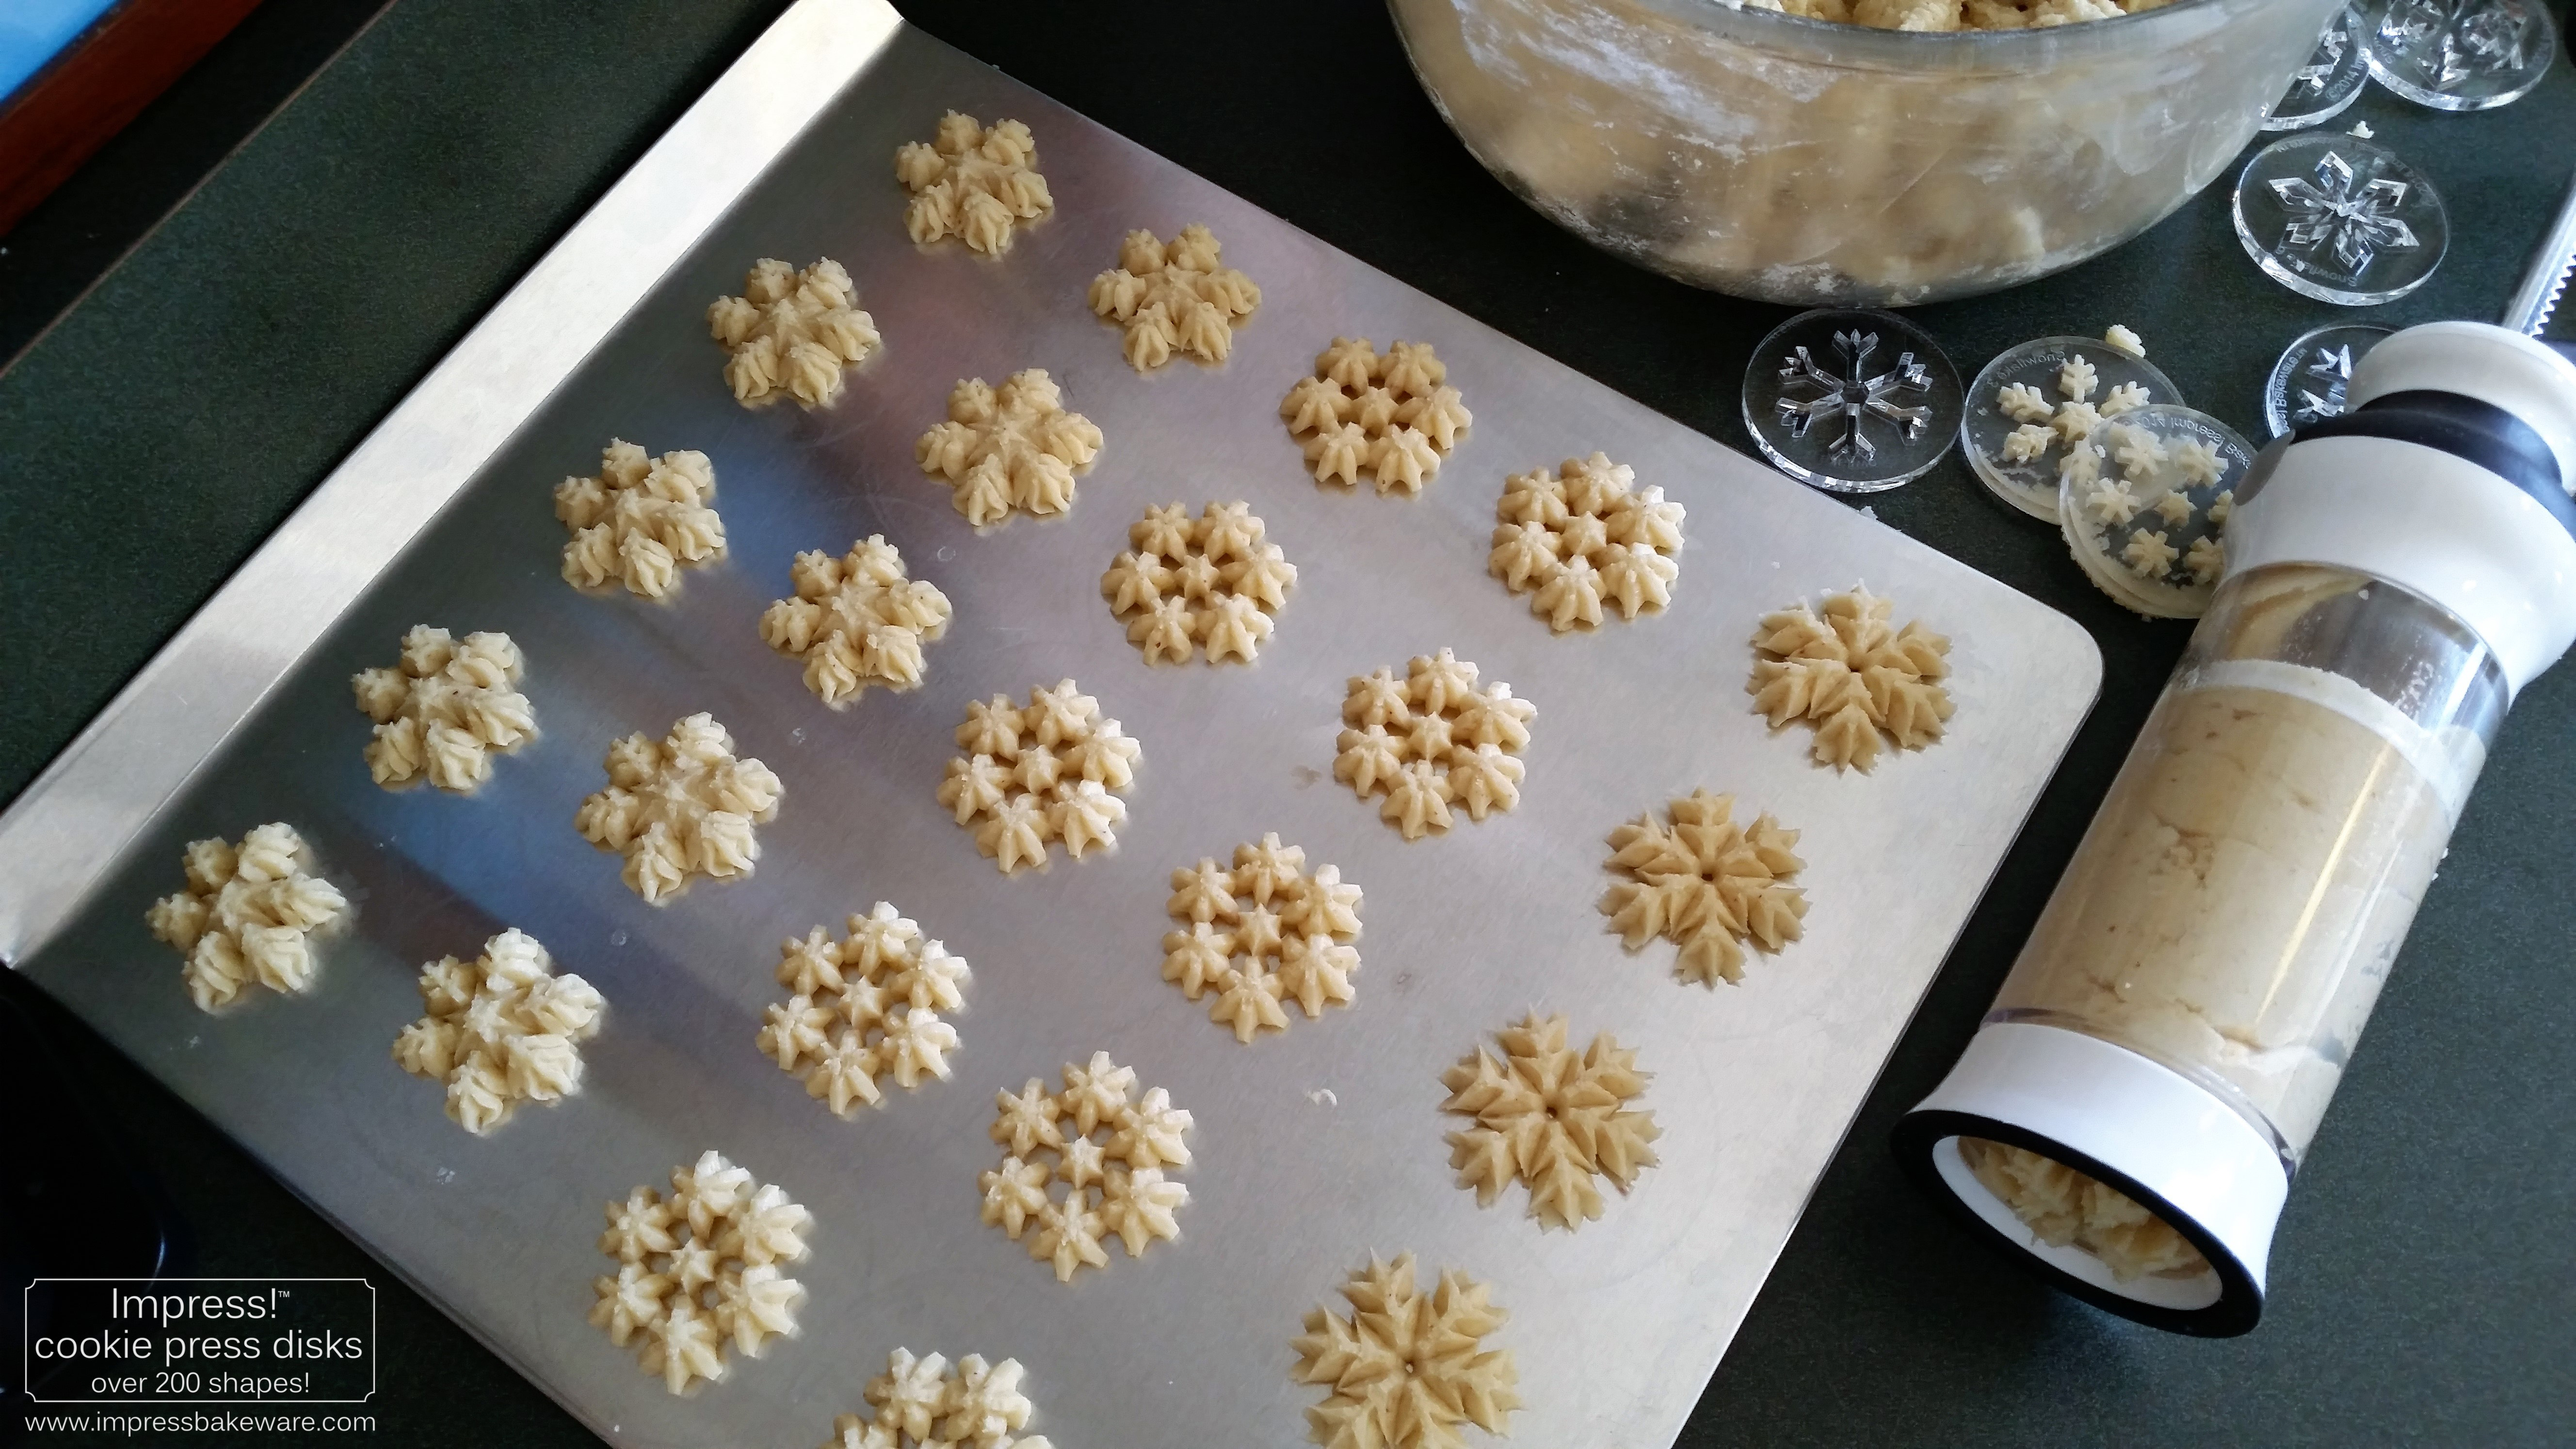
Pack the dough into your press barrel, using the back of a spoon to remove air bubbles as you go.

Press your shapes onto un-greased (NOT non-stick) cookie sheets. It’s not uncommon for the first few shapes to come out mis-shapen or have trouble sticking. Pressure has to build up in the barrel for the cookies to come out consistently. Once you’ve got a good shape, try to press in a consistent rhythm.


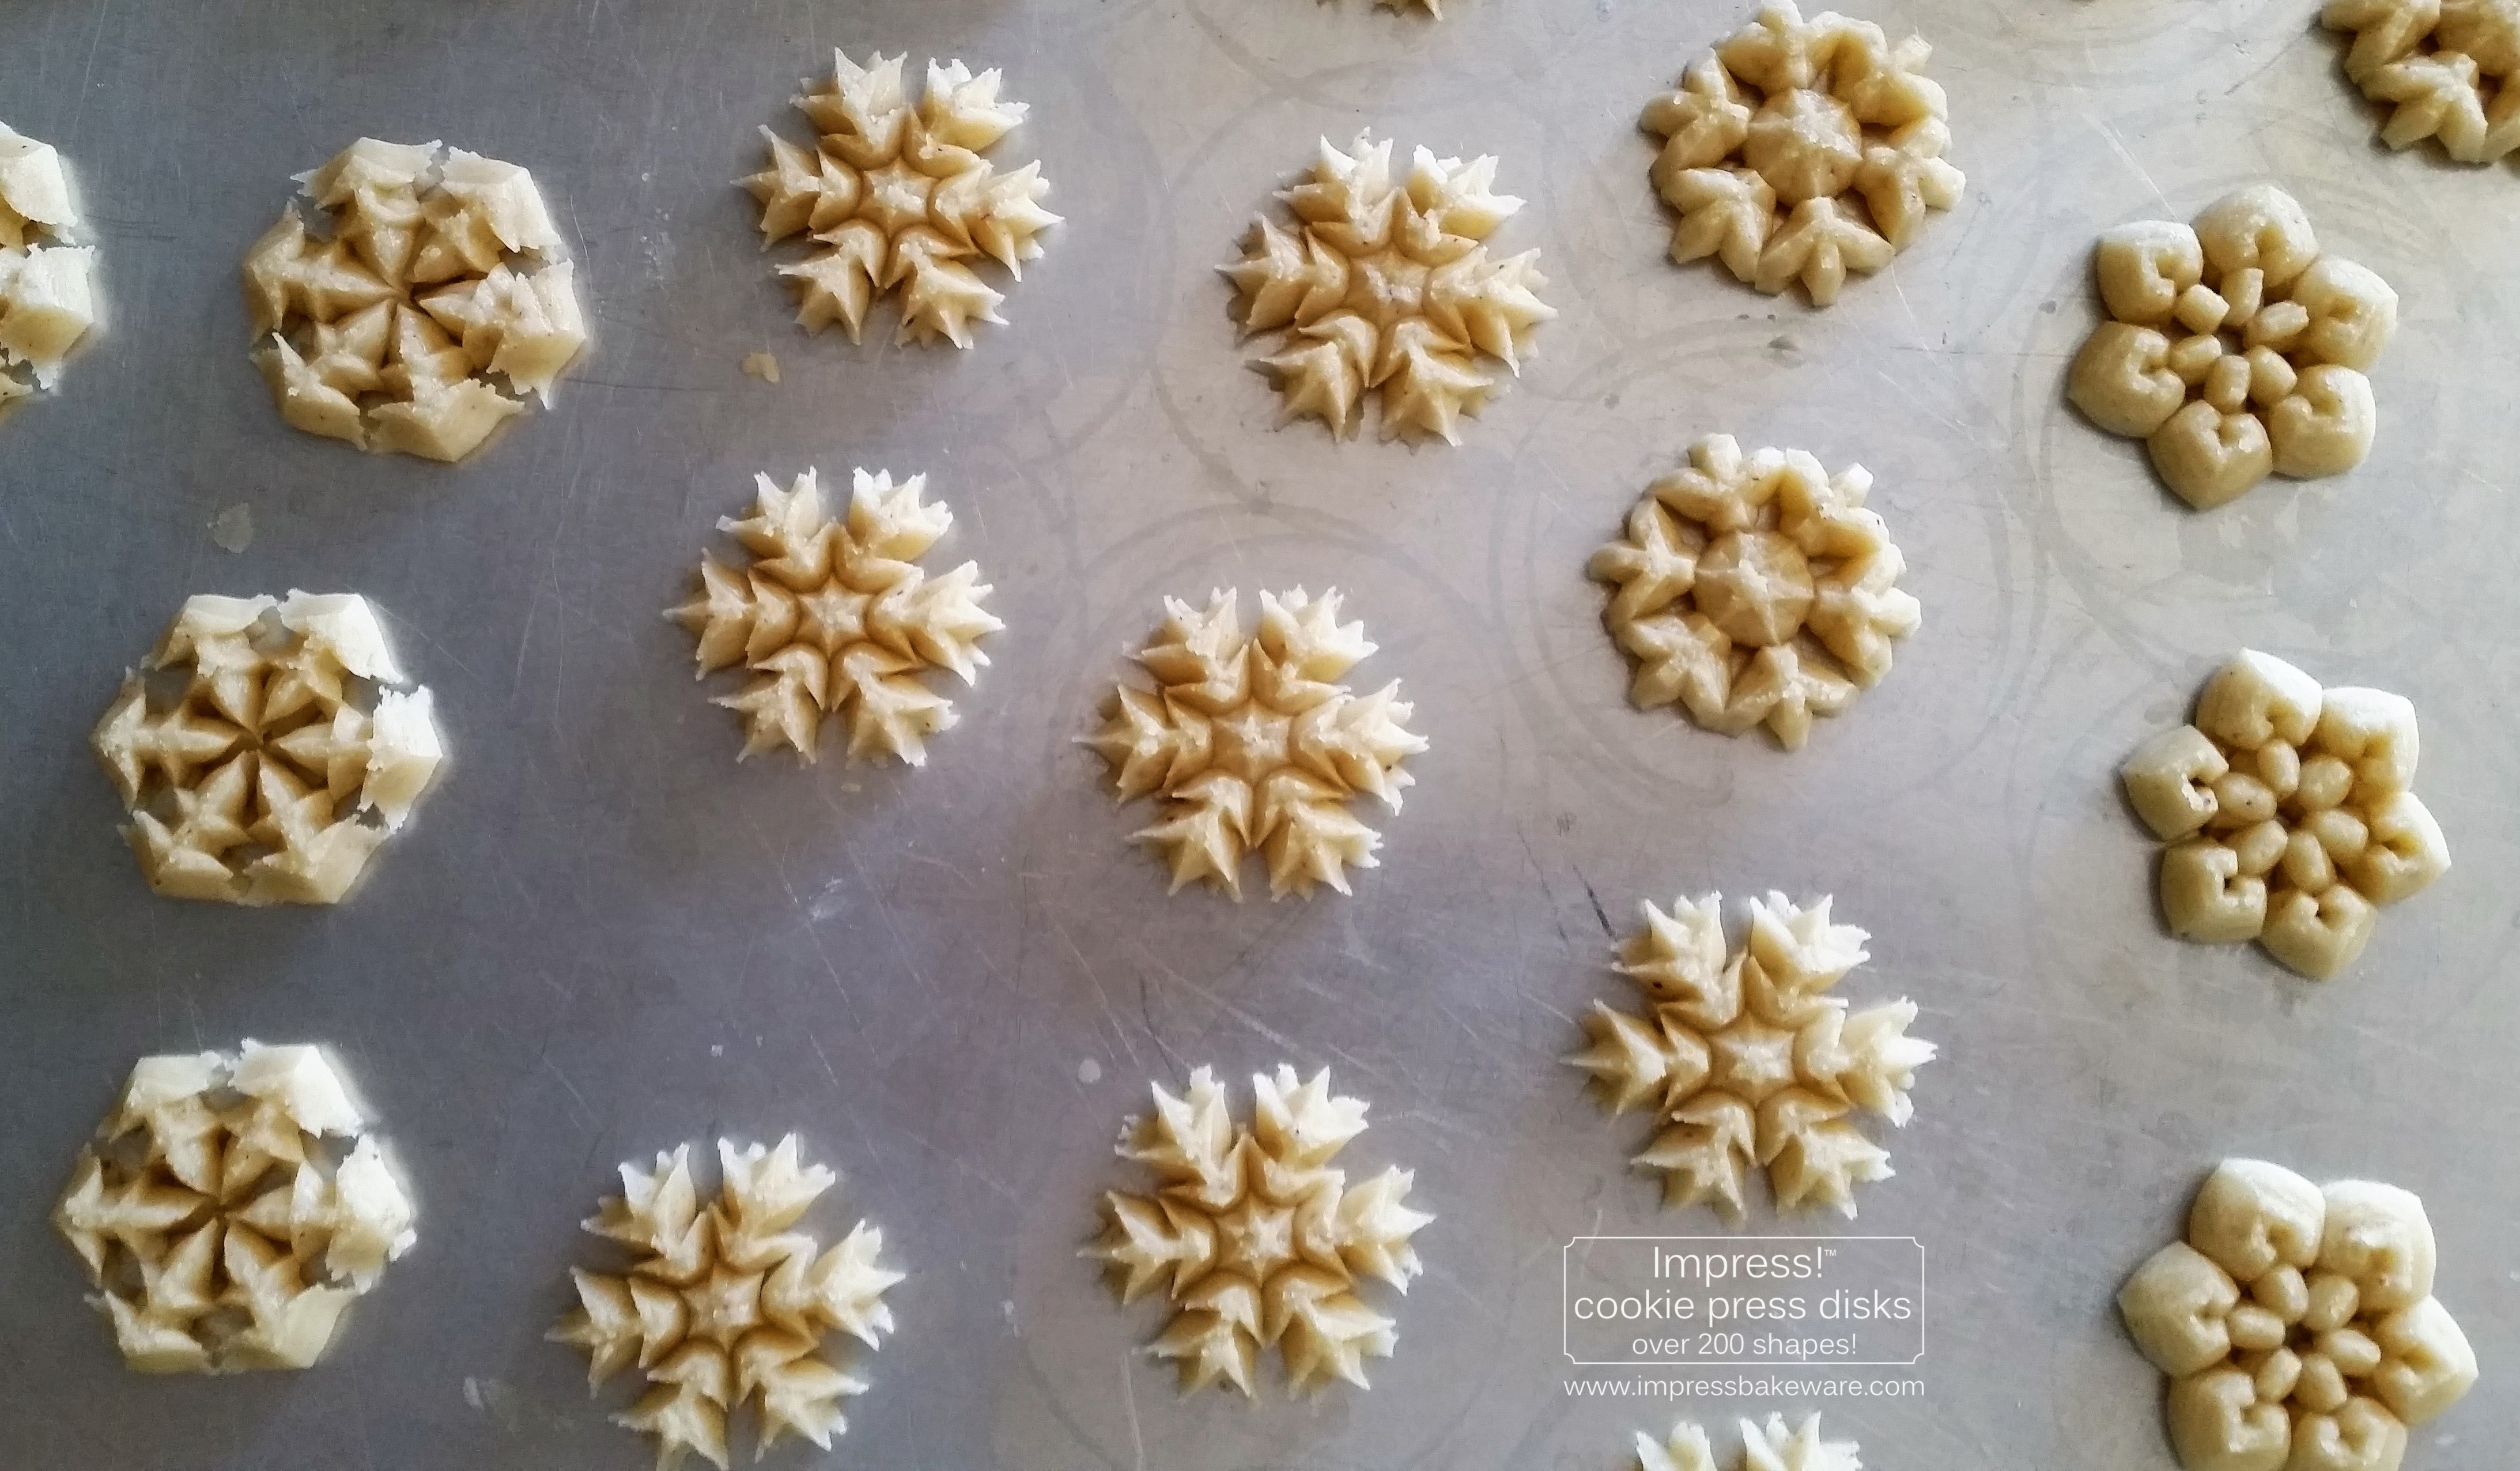
Bake your pressed cookies for 6 to 9 minutes. Check the first batch early and often to get a feel for what’s right for you, as all ovens are different. You can let these brown slightly at the edges if you like a drier cookie, but don’t let them get too browned.
Let them sit for about 2 minutes before removing to a wire cooling rack.

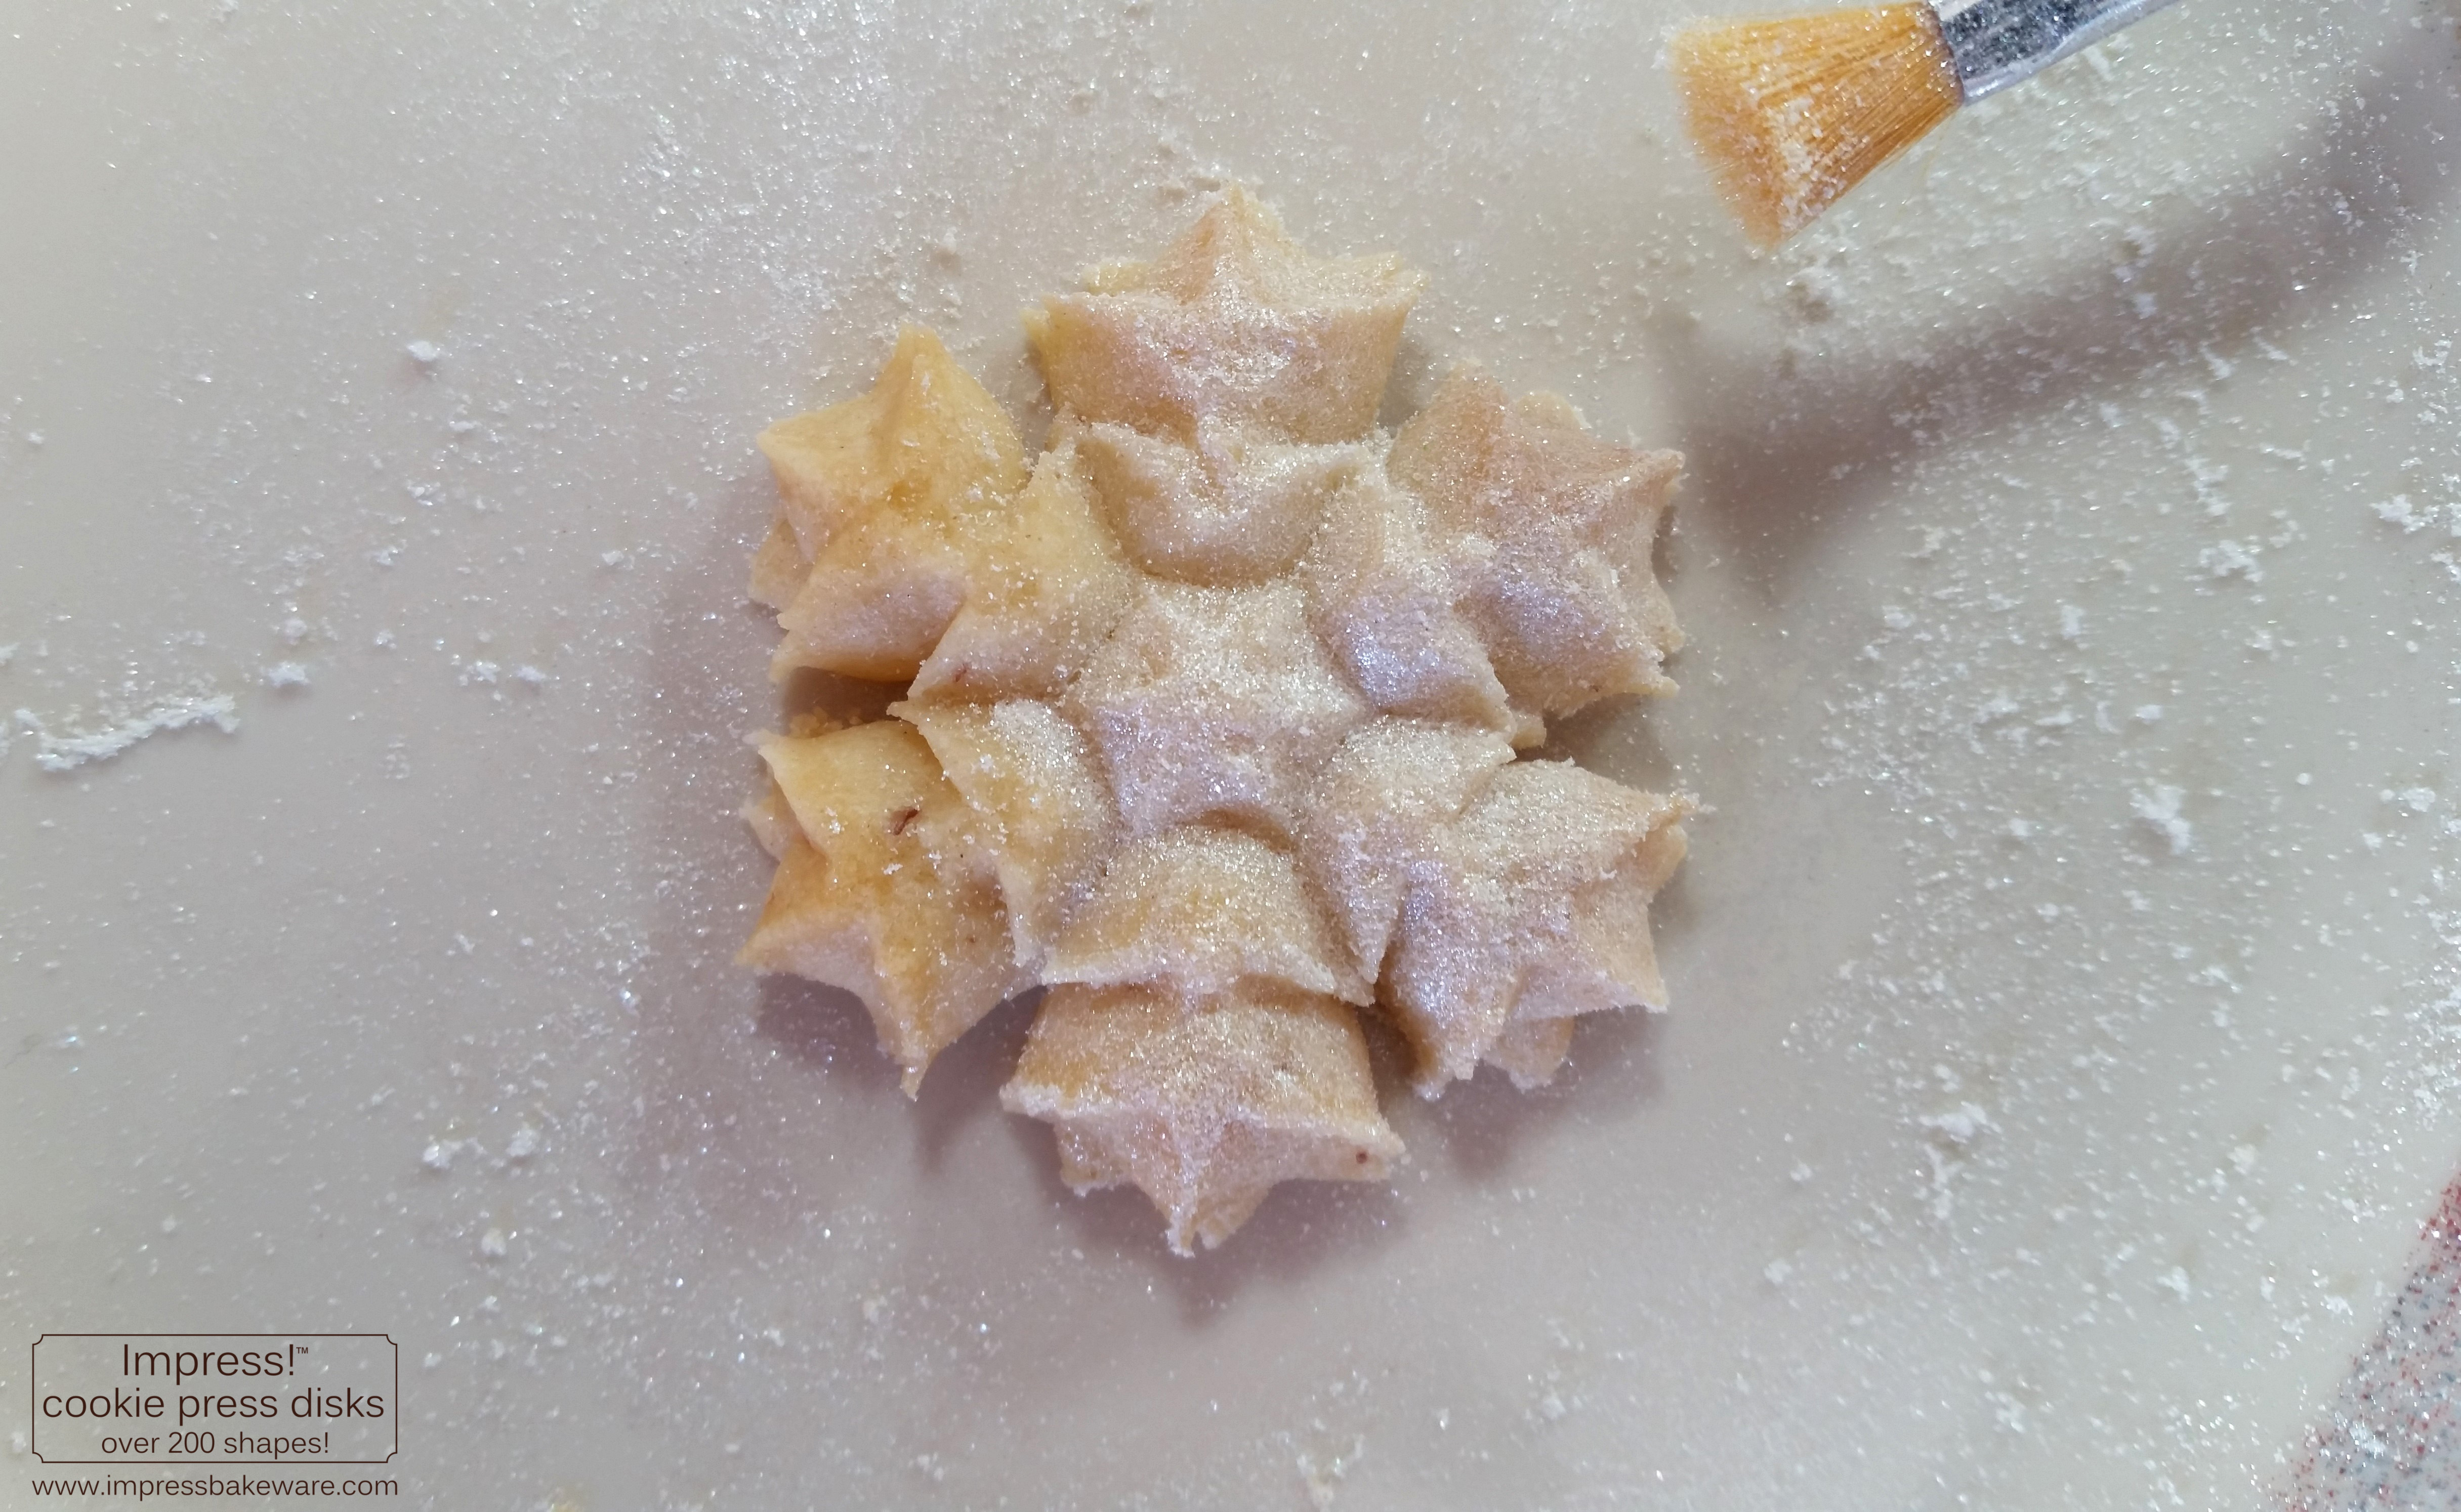
To decorate, all you’re going to do is apply the luster dust with a food safe decorating brush. I like to vigorously tap my brush on the plate before dabbing it in the dust. Fanning the brush out that way helps the dust stick to it. You’re applying the dust dry.
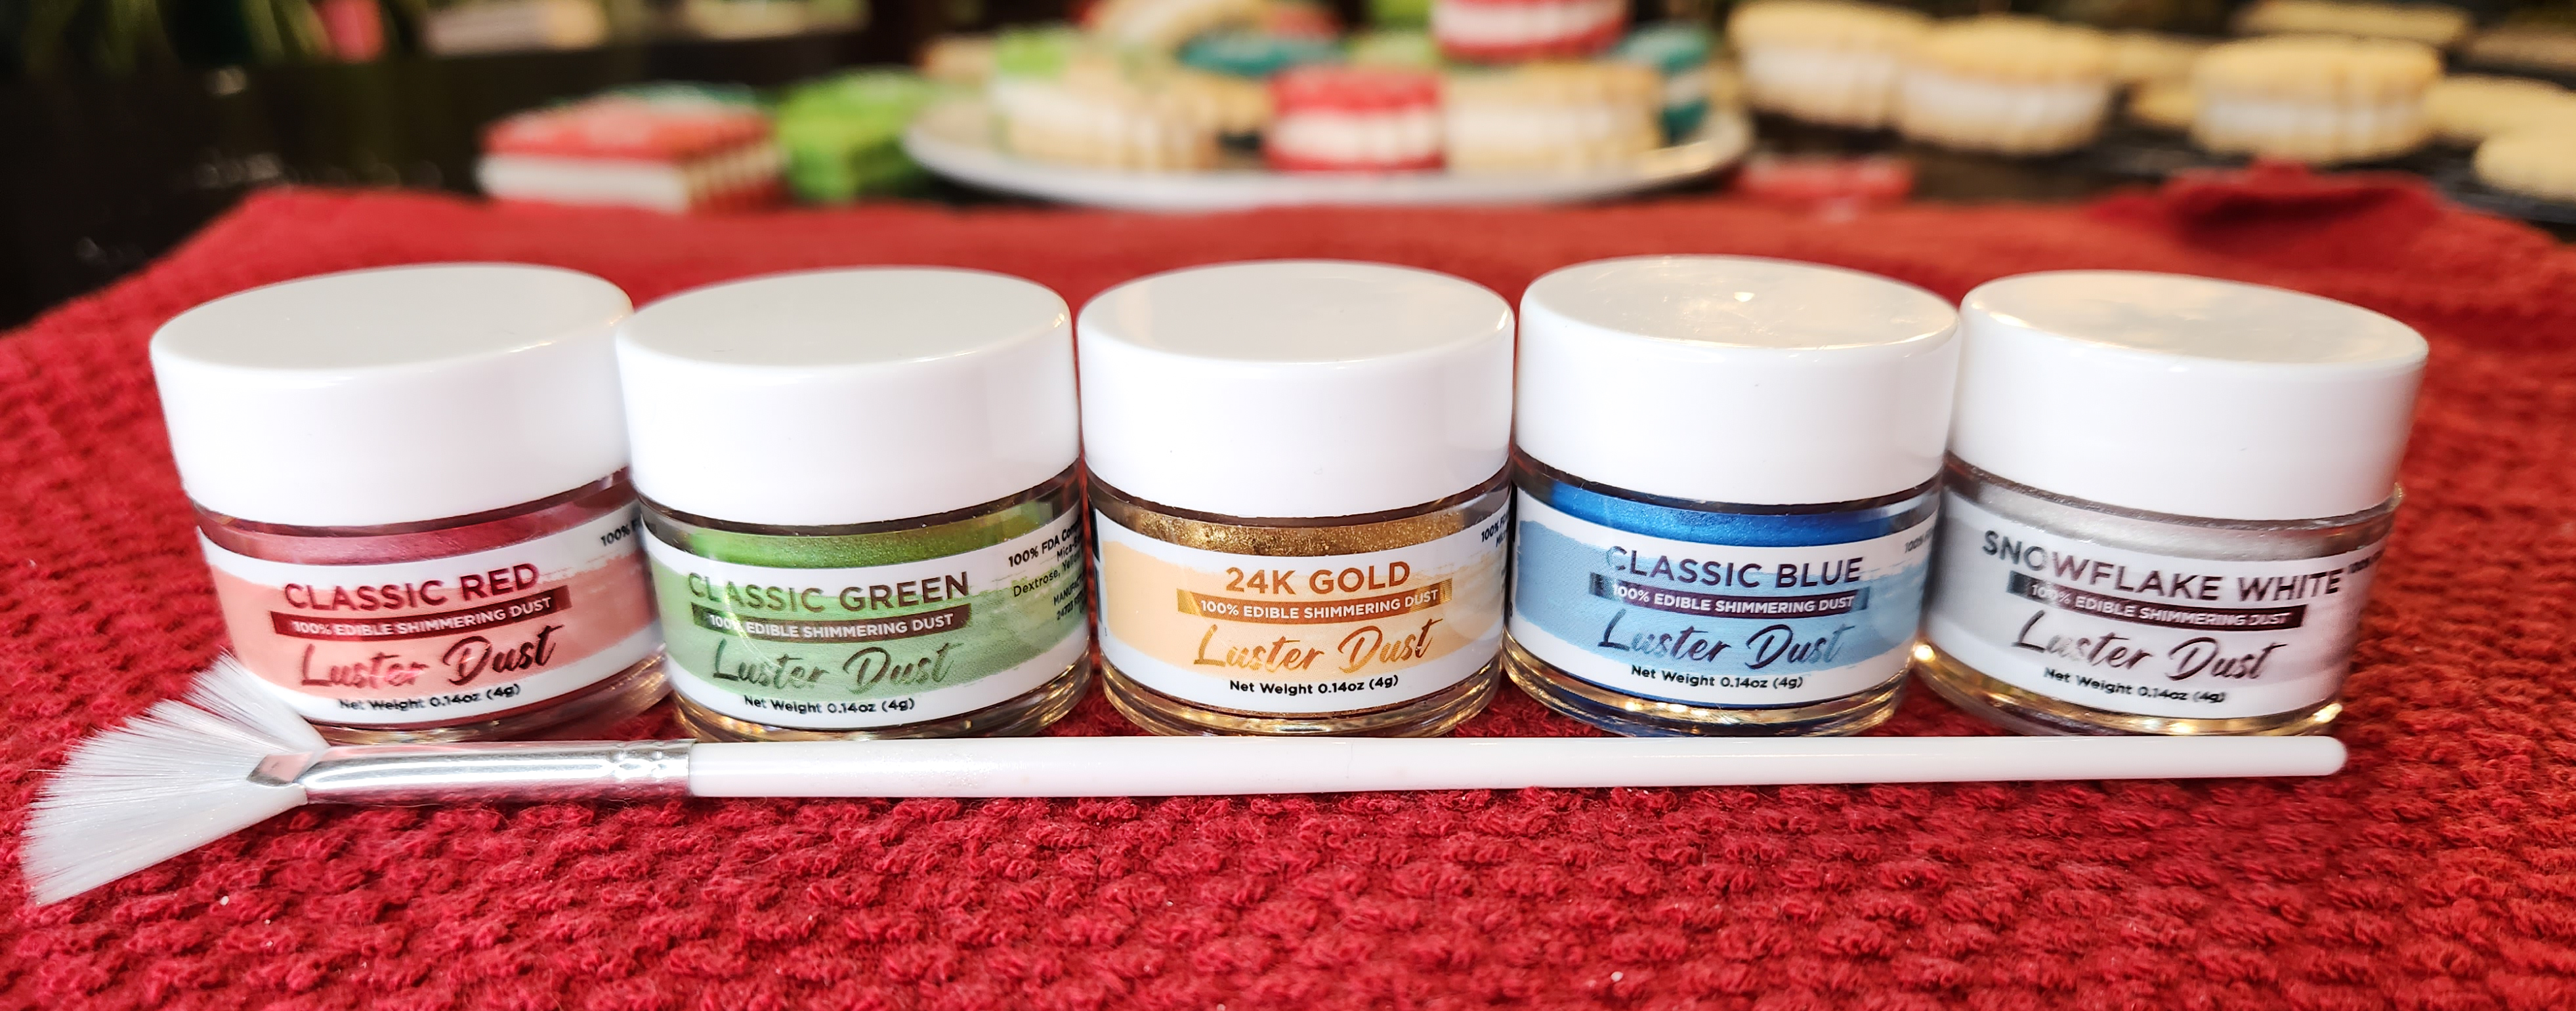
NOTE: Always make sure you are using EDIBLE dusts! Some lustre/pearl/glitter dusts on the market are “non-toxic” but that does not mean they are edible. Plenty of brands have actual food ingredients and are marked “edible”. ONLY use those for safety’s sake!
Luster dust is what makes this beautiful presentation possible. I use it so often in my cookie press posts that this year (2022) we’ve started selling it on our website and Etsy shop! We chose to partner with an American company, Bakell, that makes dusts here in the USA. They make gorgeous dusts that are silky, vibrant, and a joy to work with. Their 4 gram jars last and last. A little goes a long way!
Their snowflake white luster dust is amazing on these cookies!

First just tap the dust on to the cookie then spread it all around. I use a motion similar to making a rubbing of a leaf. Remember doing that as kids? It let the impression of the leaf show through to the paper. As you smear the dust all around, the pattern of the snowflakes really pops.
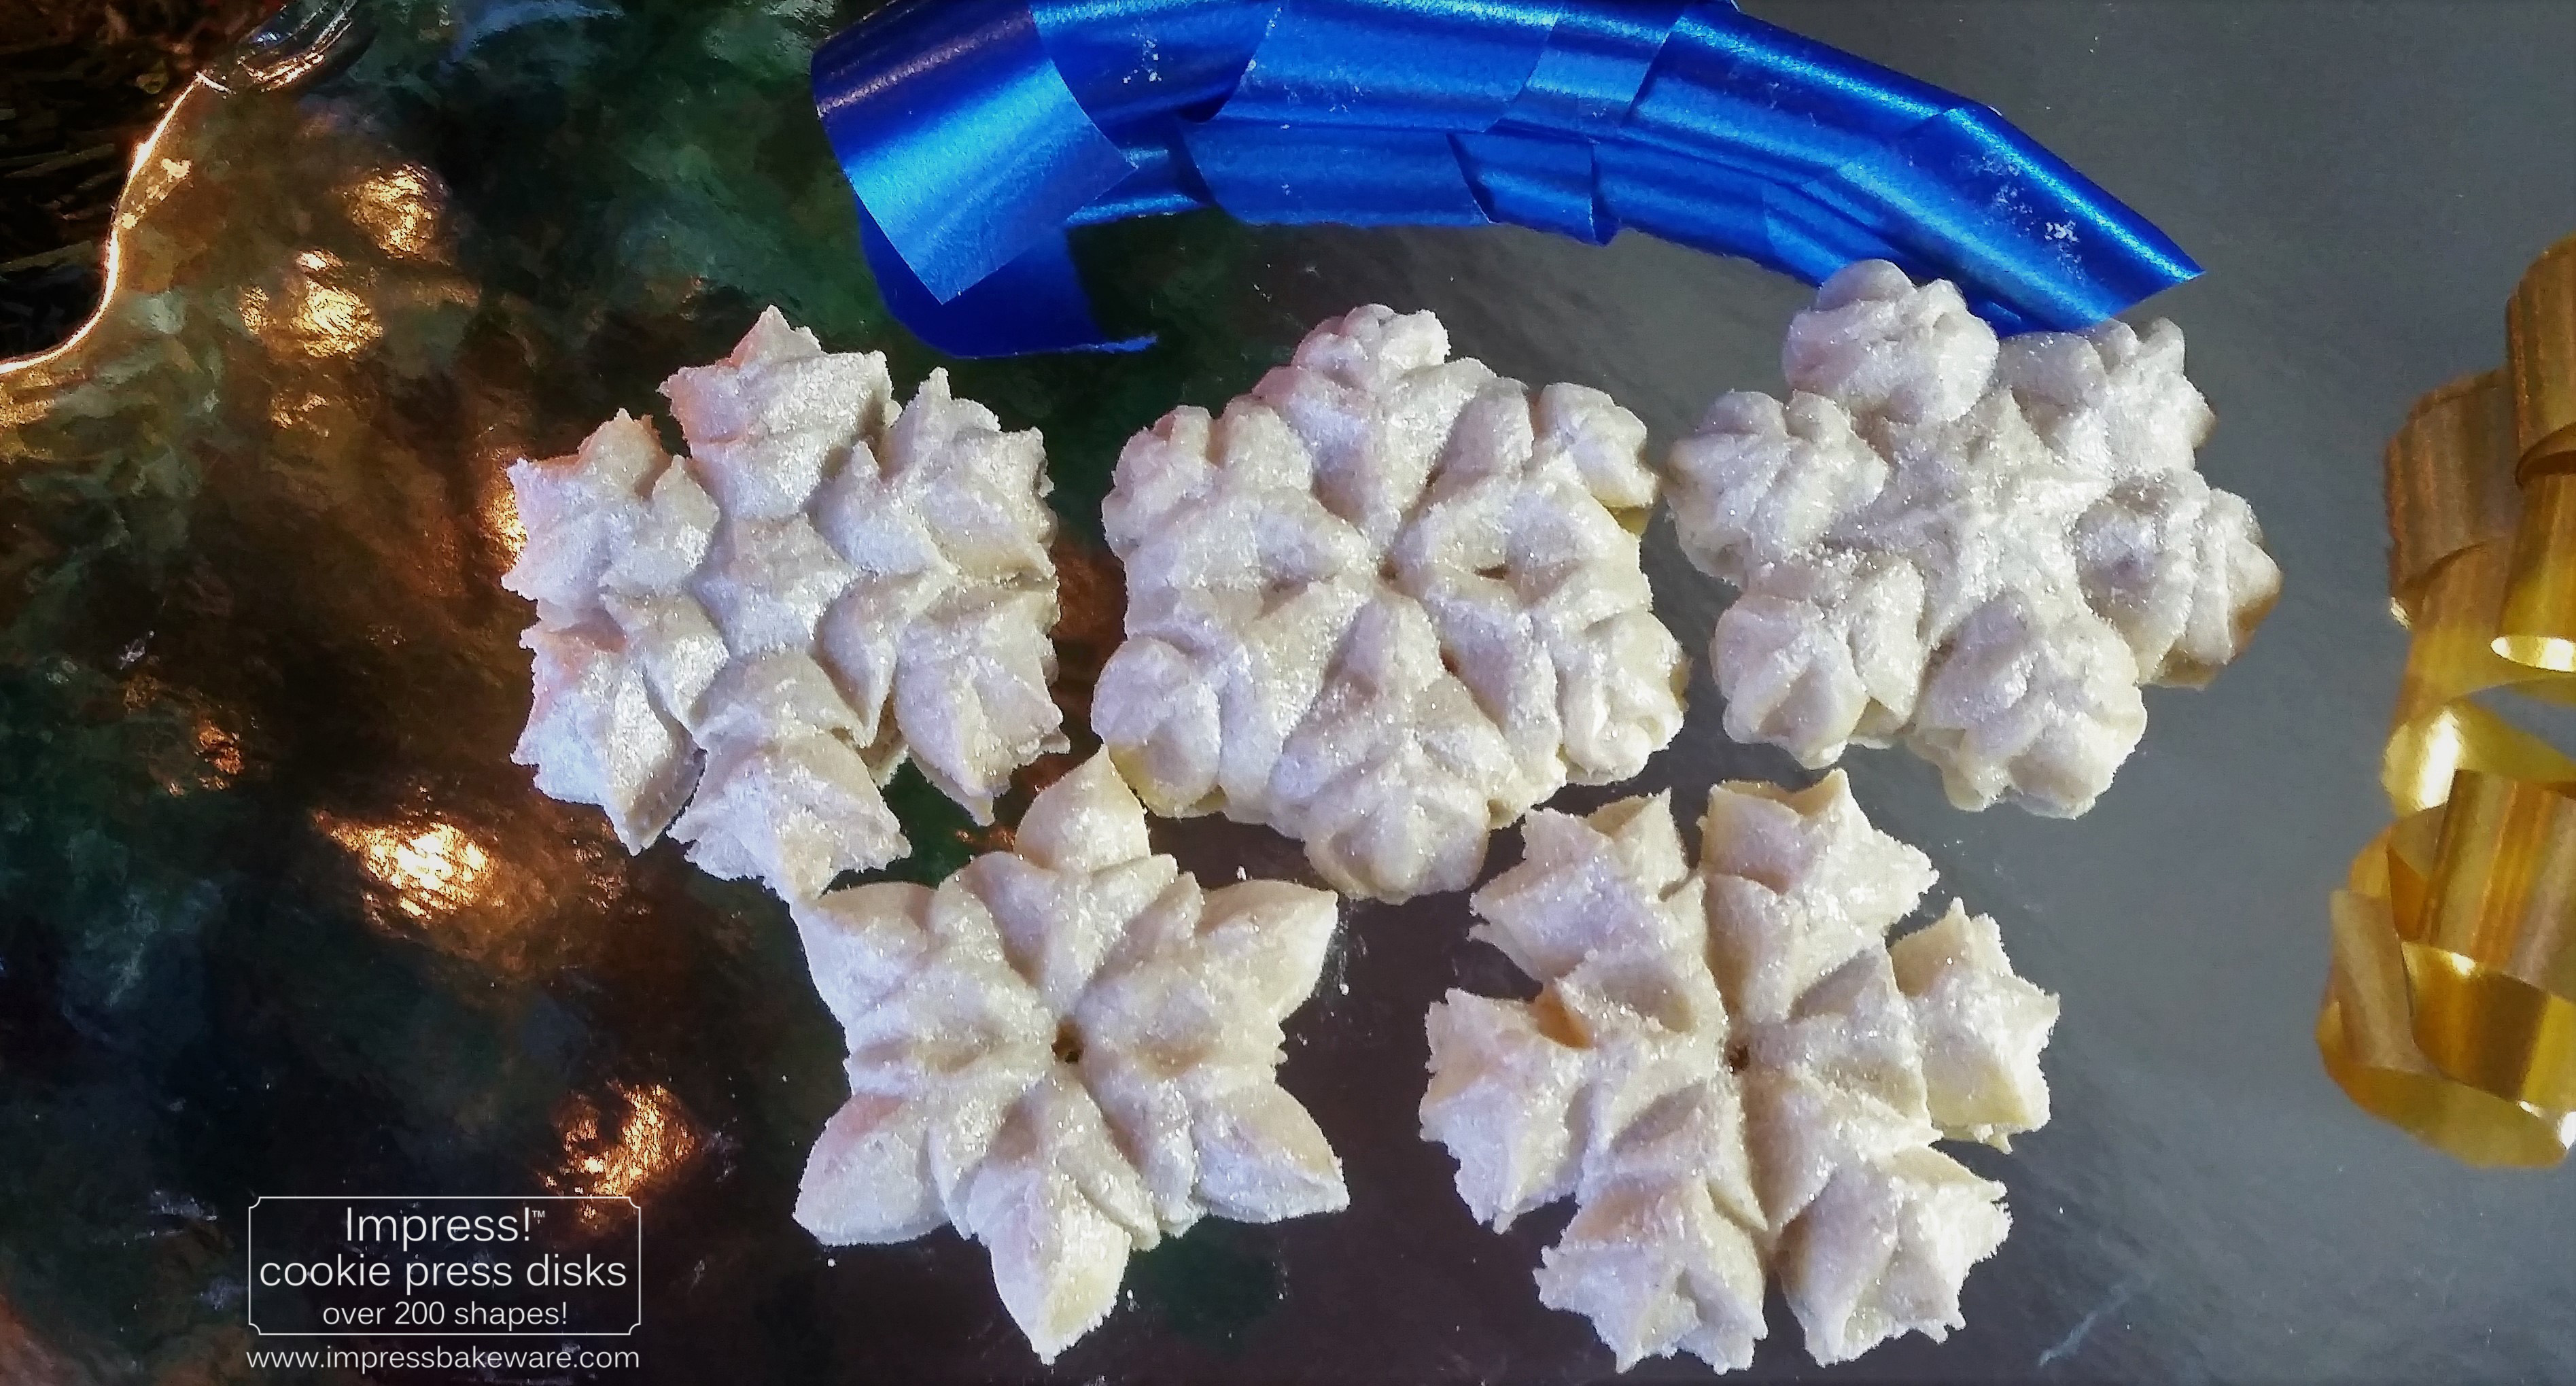
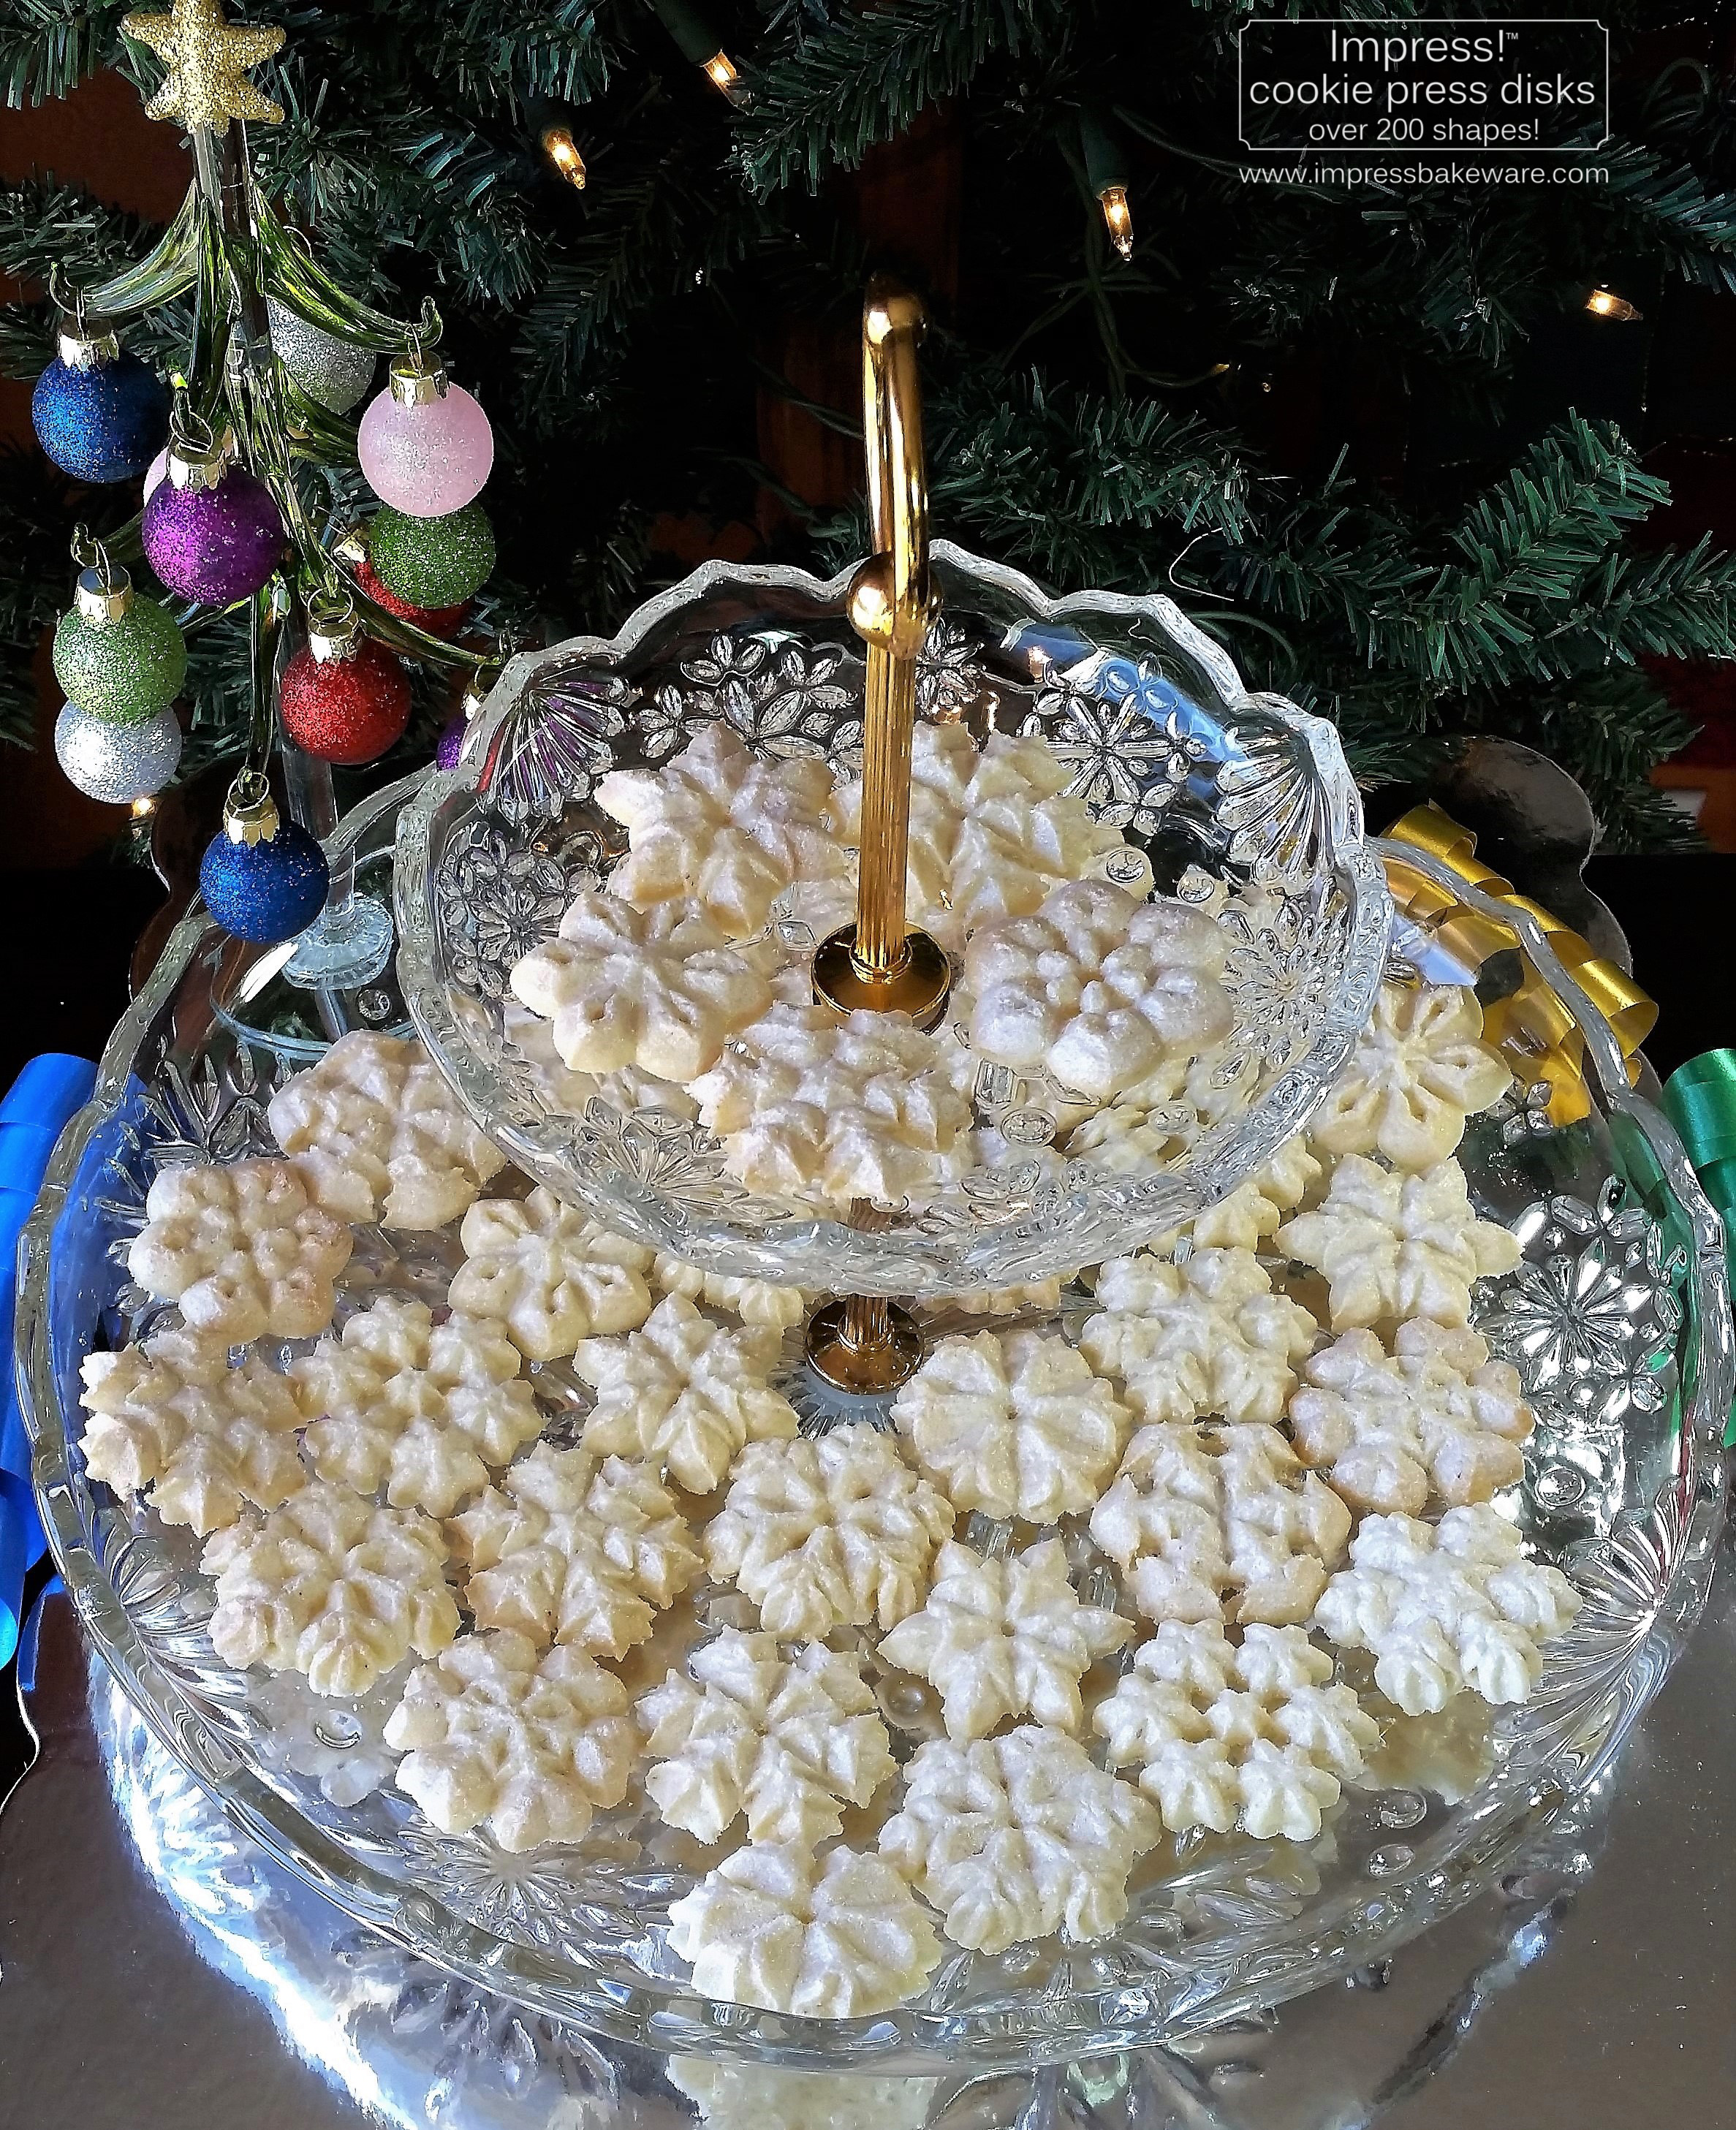
Believe it or not, that’s it. Sparkling almond spritz snowflakes.
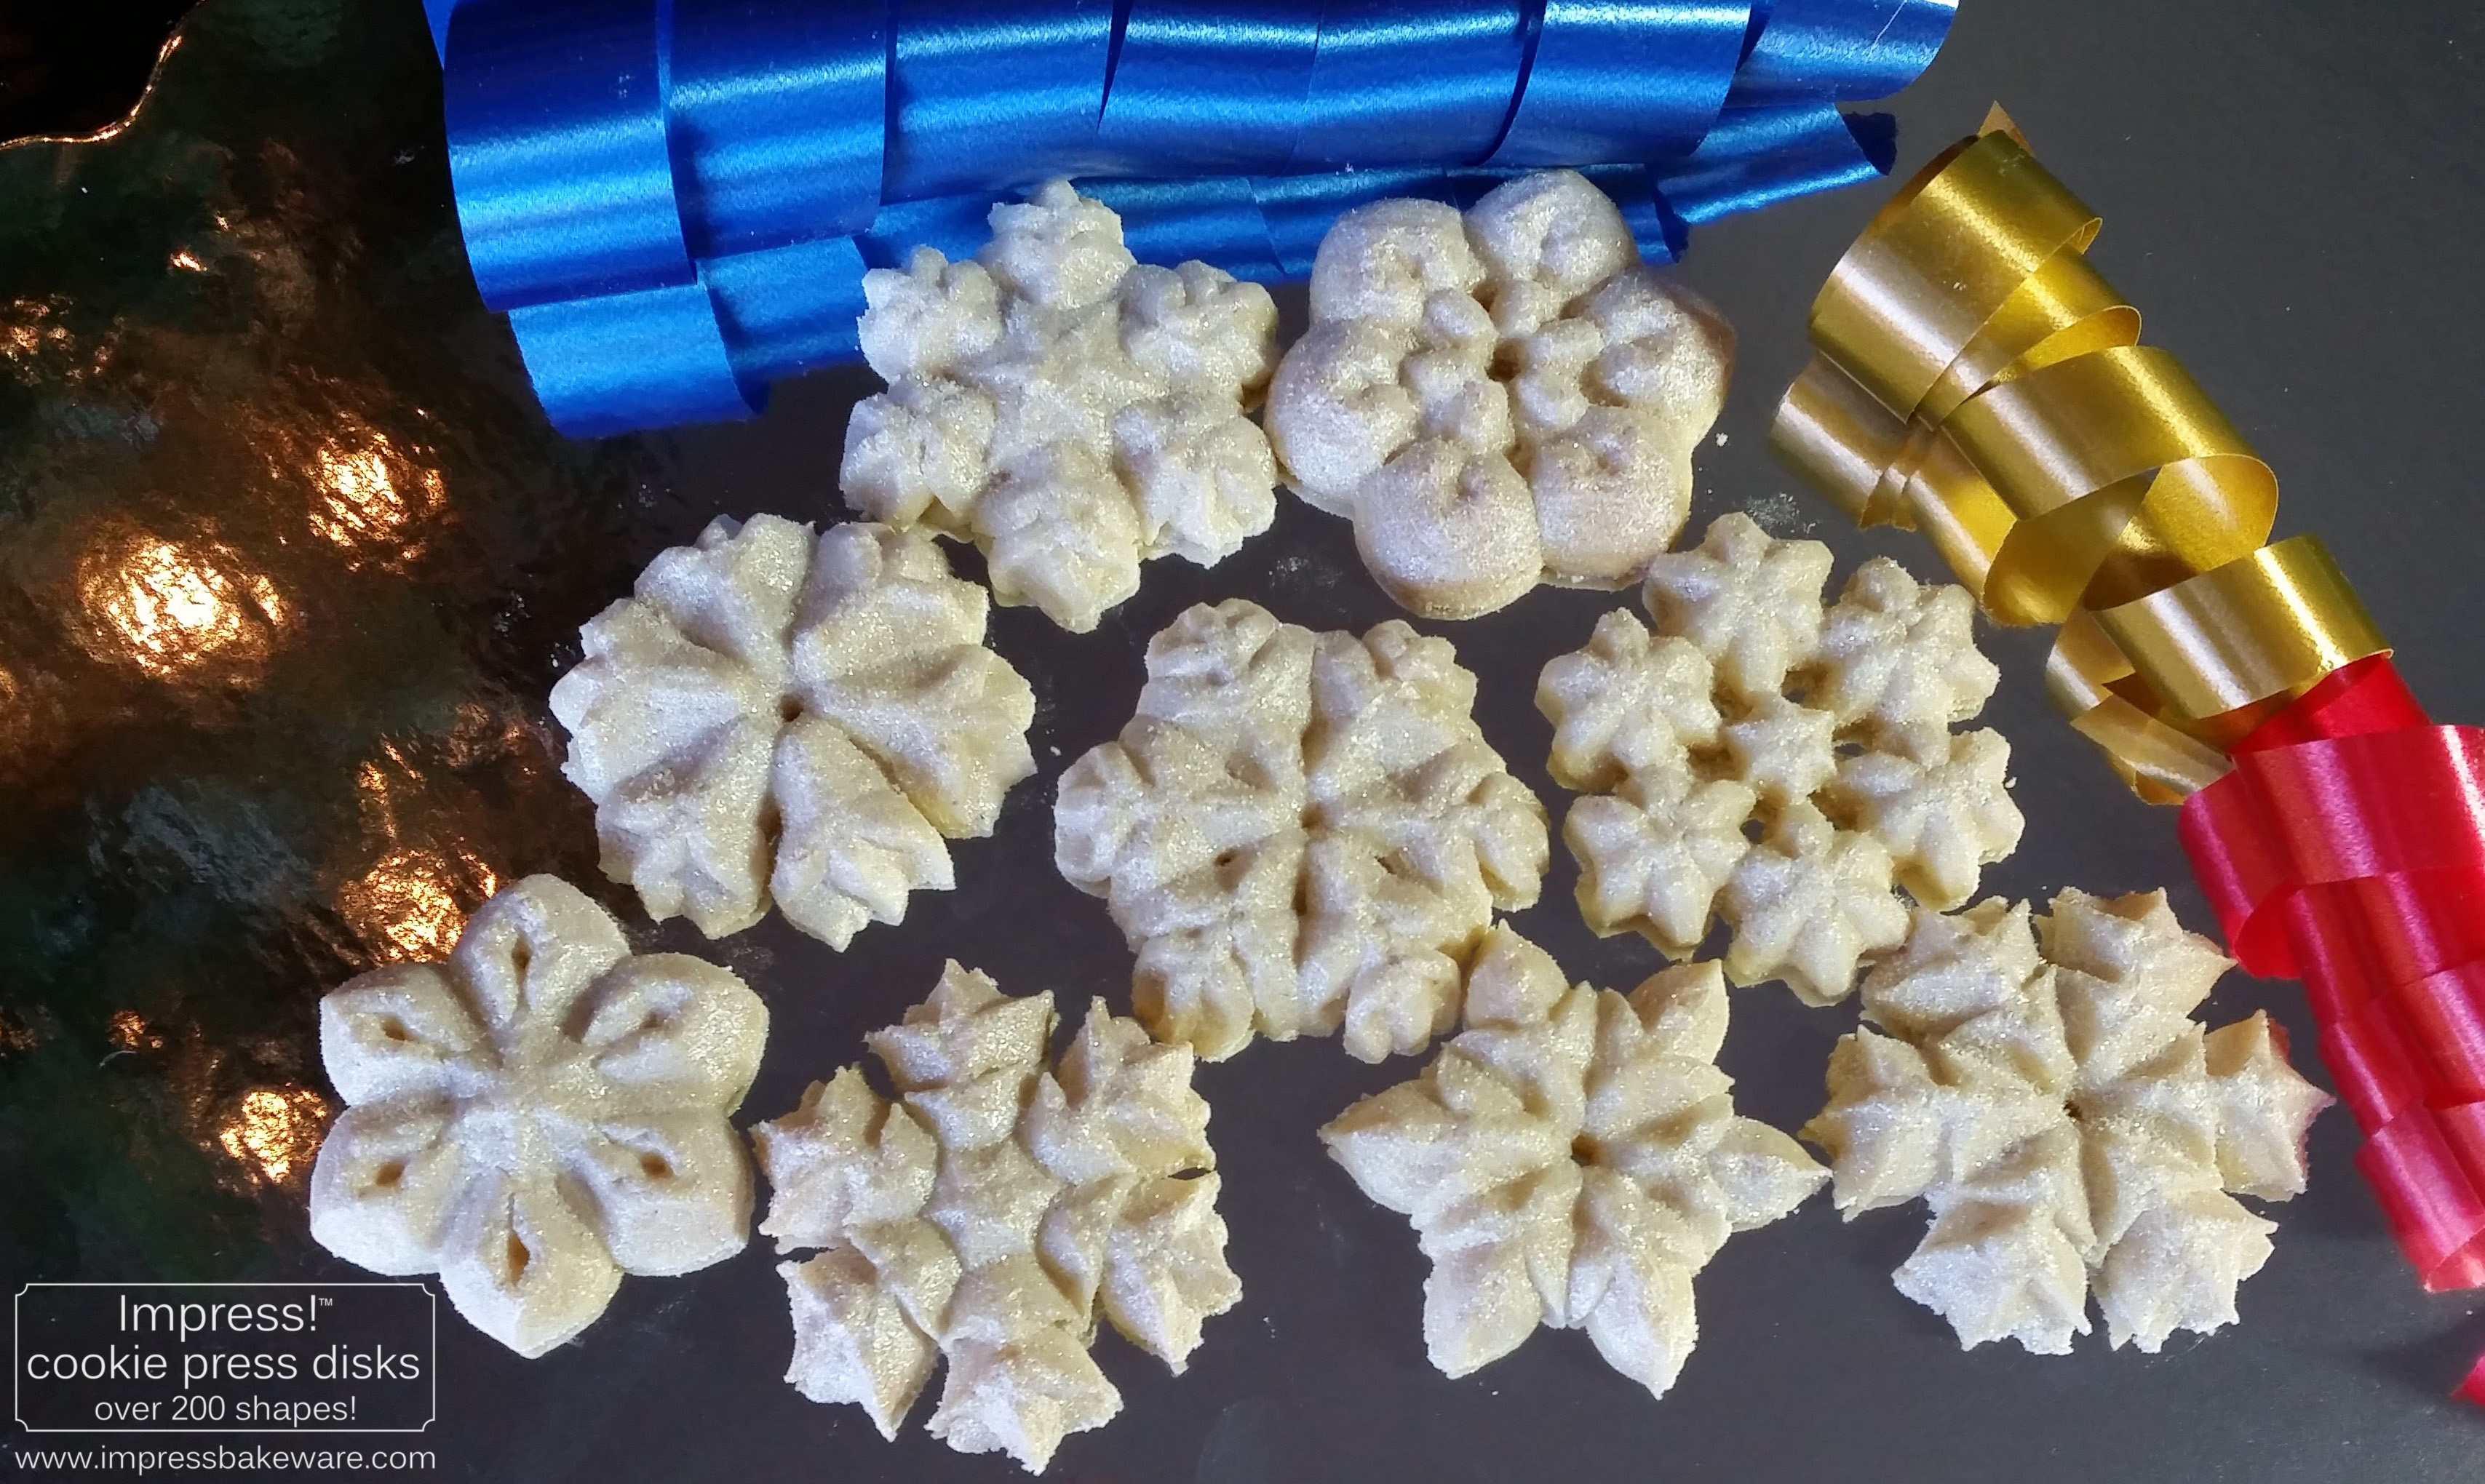

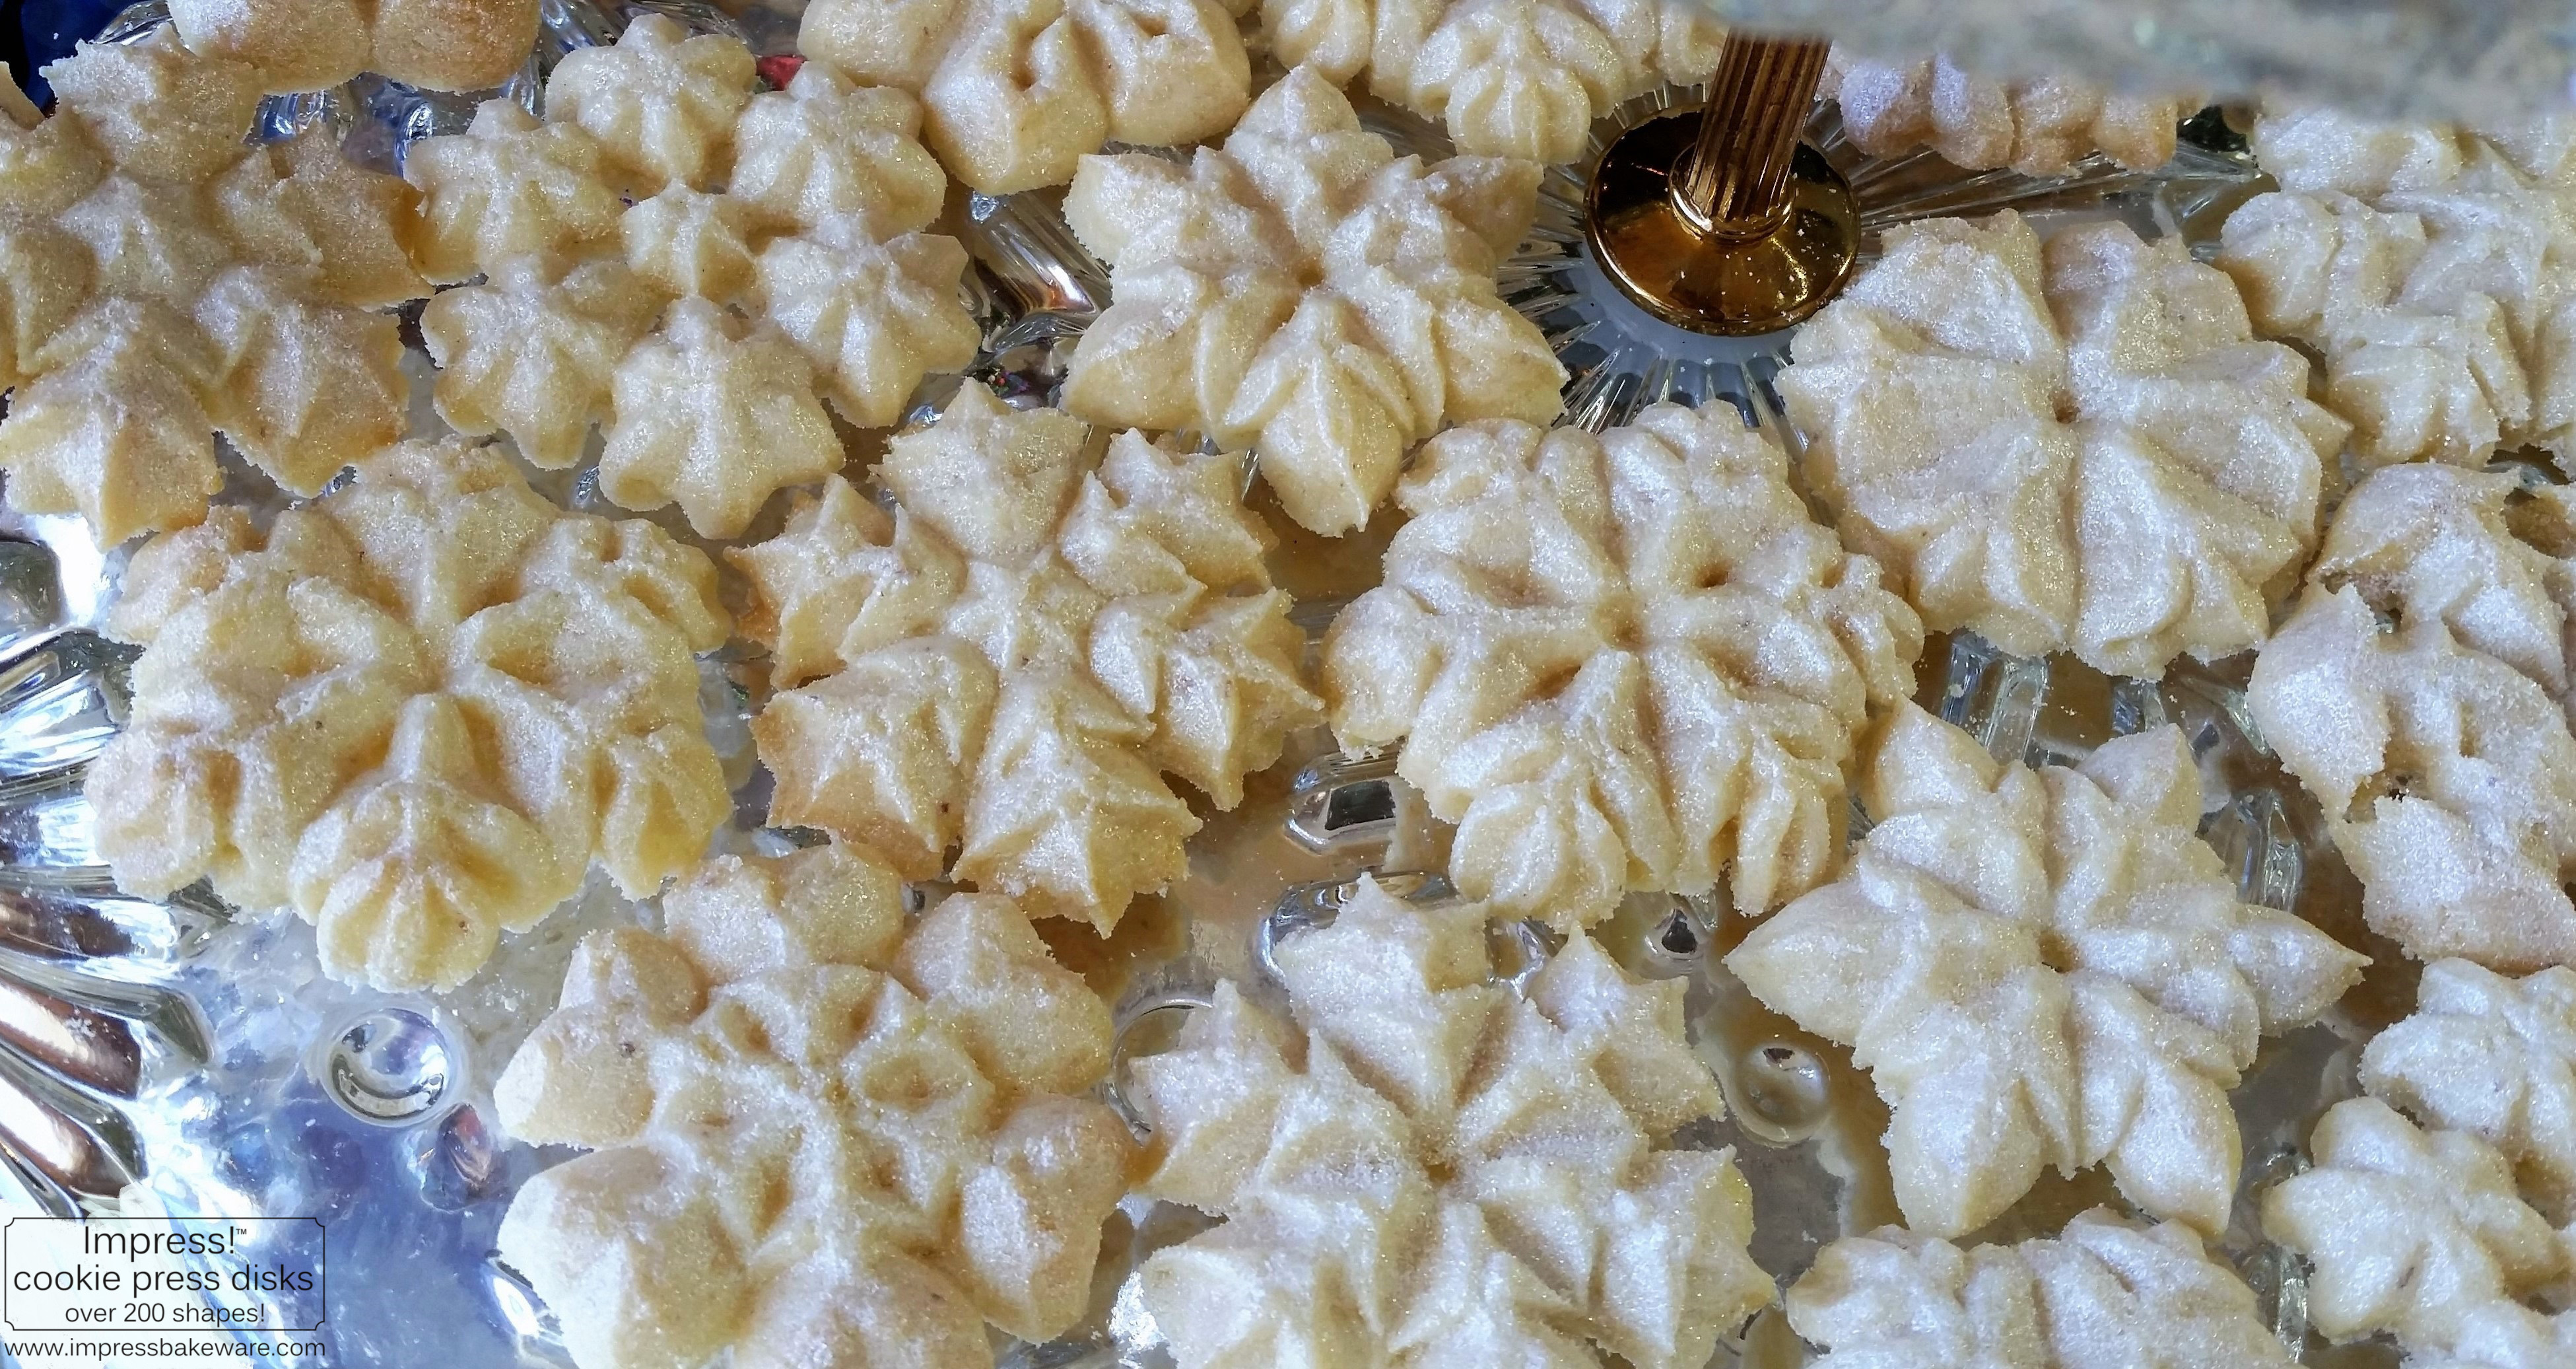
Give them a pretty display and watch them disappear.
I want to take a moment to say a heartfelt “thank you!” to all our customers for your business and your enthusiasm for our disks. It has been an amazing journey bringing this company, and these little creations, to life. We wouldn’t be here without you, so from our families to yours, thank you!

The happiest of baking to you all!
🙏We have a request💕 If you’re enjoying our recipes, *EVERY DISK & PIN PURCHASED helps us stay in business* & supports our families! Impress is a women/family-owned USA small business in Colorado. We design, make, & sell over 300 shapes of cookie press disks & dozens of embossed rolling pins. The recipes we share are free – we have no ads on this recipe blog – we make our money selling disks & pins. The recipes give our customers creative ideas and attract new customers!💕 THANK YOU! 💕~Susie the Disk & Pin Designer
~Susie
Disk Designer/Co-Owner at Impress! Bakeware, LLC
Our website has all of our 200+ disk shapes, cookie press, embossed rolling pins, baking accessories plus more about our Women/Family Owned company! impressbakeware.com
All products are on our Etsy shop.
Our Amazon shop has our cookie press and disks and embossed rolling pins.
Follow us on facebook!
The Snowflakes set: (*NOTE: Our new disks are made of a solid white material, but the designs are exactly the same, and press identically. At the time of our 2019 Re-Opening the SNOWFLAKES sets have been combined into one 8 disk set.)


**NOTE 11-8-19**
Our new streamlined website is finally up! Get creative this Holiday Season with our 28 unique sets of Cookie Press Disks & the new Impress! Cookie Press. Learn with our recipe tutorials & decorating blog, with expert advice & troubleshooting tips. The press & 12 other disk sets are ready for purchase now, & more will be available as they come in stock! Happy Baking! ~Susie the Disk Designer www.impressbakeware.com
Our products are also available on Amazon: https://www.amazon.com/s?k=Impress+Bakeware&ref=bl_dp_s_web_0
Read here about our new cookie press and 5 new disk sets: https://creativecookiepress.com/2019/11/05/were-back-meet-our-new-disks-and-press/

Keep up these posts , I love them and makes me get my disks out! And want more .
Sent from my iPad
>
LikeLike
Thanks Verna! I love your enthusiasm. 🙂
LikeLike
Is the almond paste gluten free?
Have you tried making these gluten free?
LikeLike
Hi Sally!
I can’t say for sure if the almond filling is gluten free. I read the label and I see no wheat-derived ingredients so my best guess is that it’s gluten free. I did try making my honey spritz gluten free a few years ago. I used King Arthur Gluten free all-purpose flour mix and as I recall the result was good! I believe I substituted it in the same amount as regular flour. If you give it a try do let us all know how it works! Best of luck and Happy Baking! ~Susie
LikeLike
Have you tried any sugar free substitutes?
LikeLike
HI Mia! Sorry I missed this comment I never got a notification! I have never tried any sugar free substitutes. Good luck in your search for that kind of recipe. Thanks for stopping by. ~Susie the Disk Designer
LikeLike